Reusable Winter Jar Accents: A Practical Guide to Safe, Stylish Seasonal Scenes
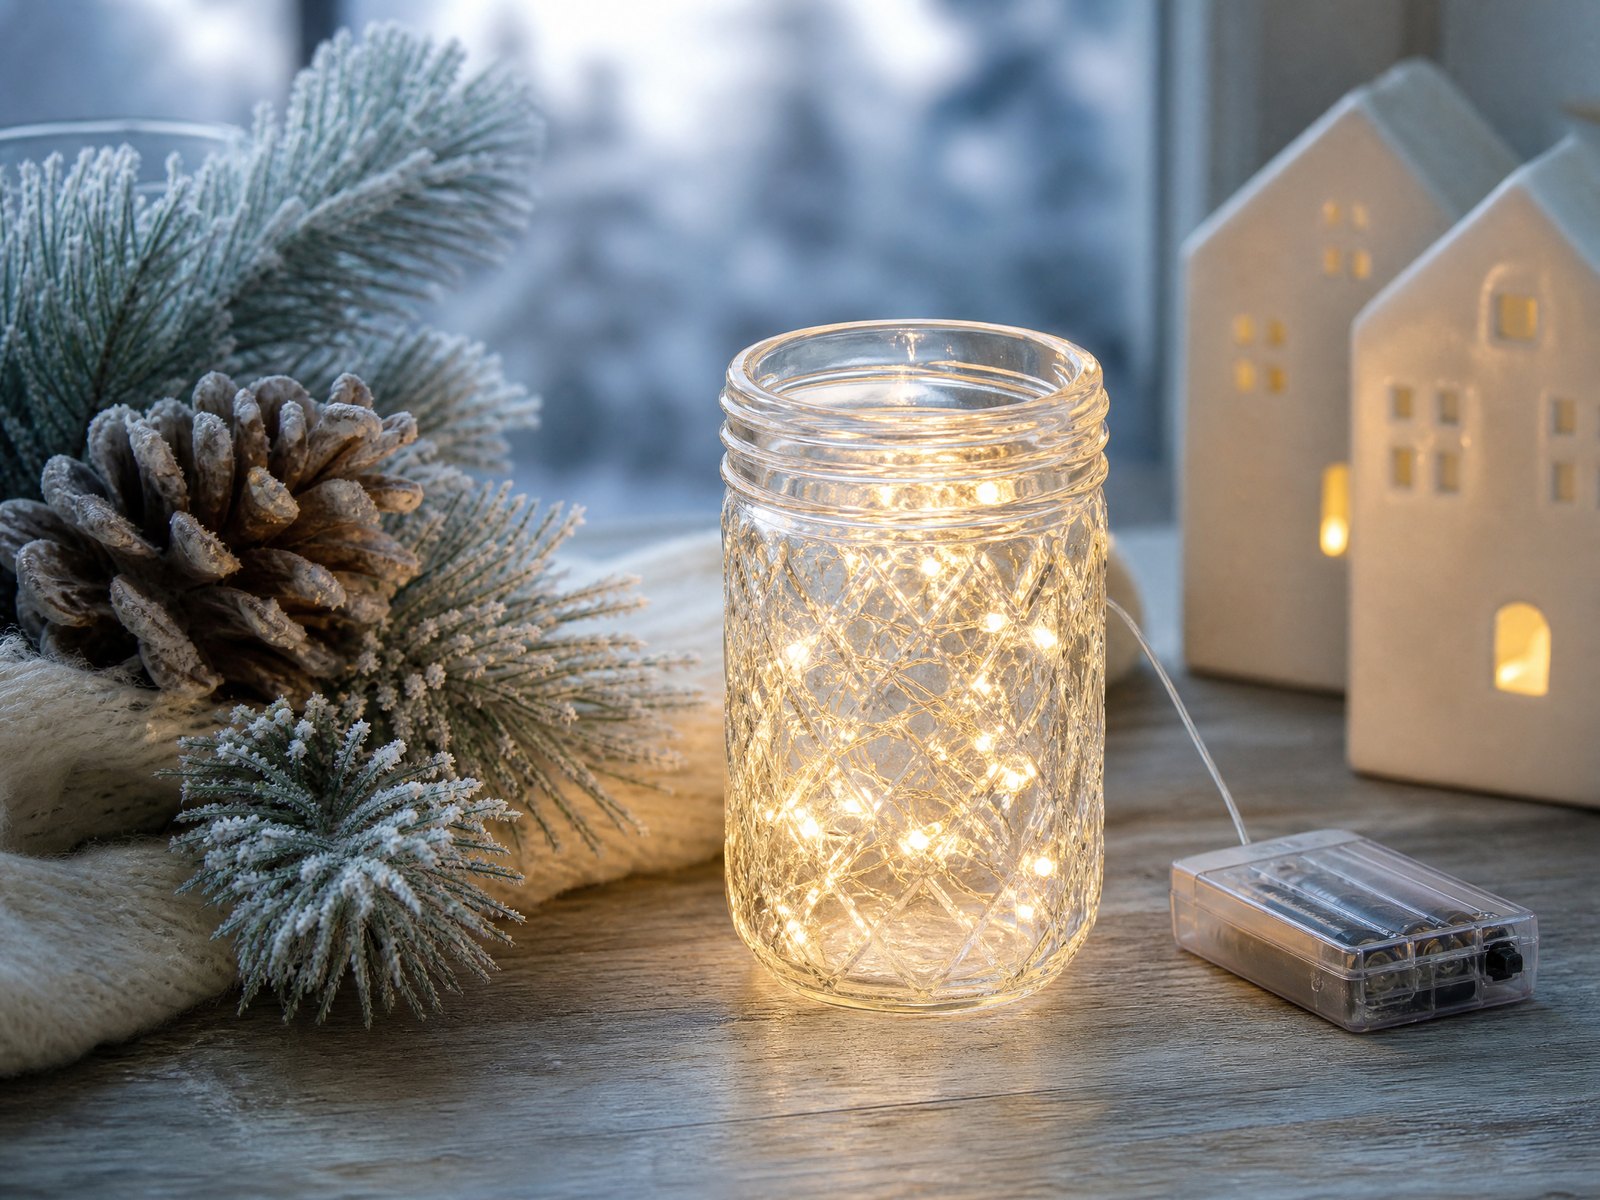
A small glass jar can become a year-after-year winter accent when you plan for safety, repeatability, and tidy storage. This guide walks through choosing a stable jar, composing a restrained color story, layering natural textures, and using low-heat battery lighting so your decorations are beautiful and safe for tabletops, shelves, or to give as thoughtful gifts.
Each section offers practical guidelines rather than step-by-step recipes so you can adapt ideas to the jars and materials you already own. Focus on modular components and removable assemblies: they make the jars easy to refresh, clean, and reuse season after season.
1. Pick a safe, stable jar
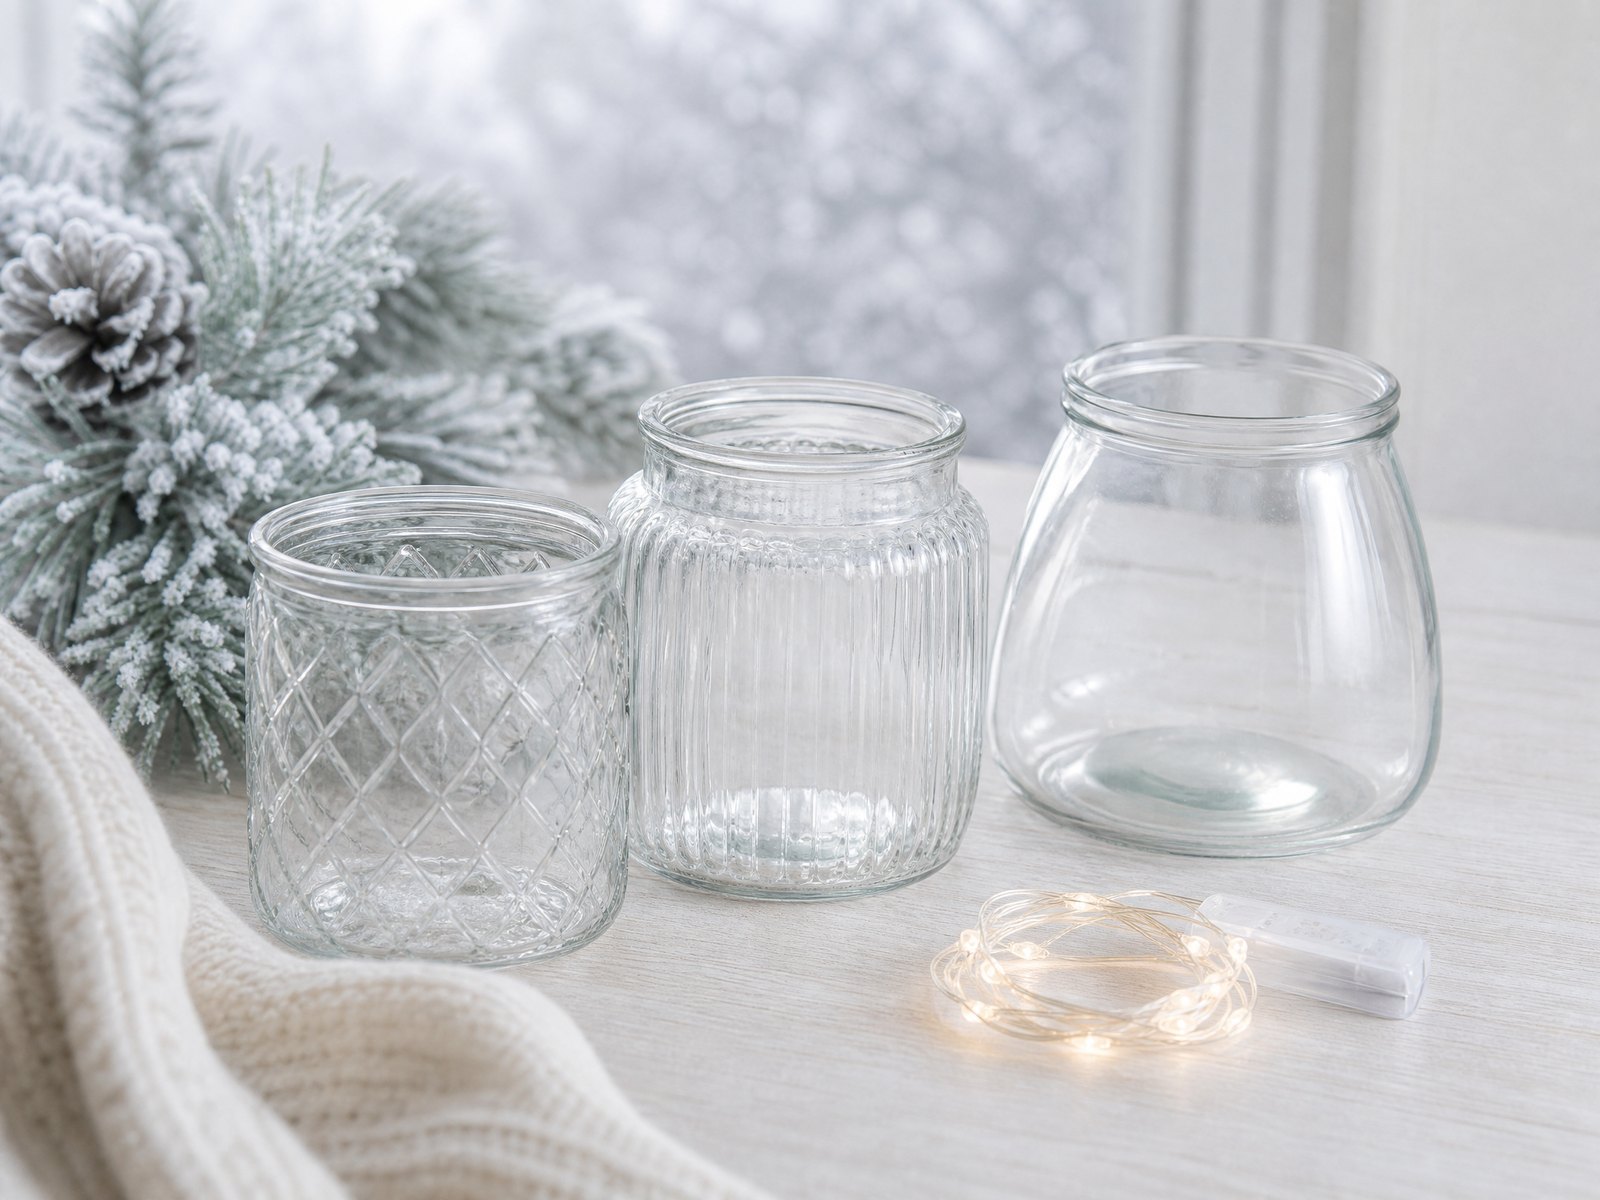
Start with glass that’s in good condition: no hairline cracks, chips at the mouth, or clouding. Thicker-walled jars with a flat base and a wide mouth are easiest to work with because they sit steadily and let you arrange elements without awkward angling. Consider the jar’s size relative to the intended spot — a low, squat jar works better for coffee tables while a taller jar suits a side shelf or mantel.
If you plan to close the jar, select lids or bands that fit snugly and don’t press on delicate contents. Screw-top jars or jars with removable insert trays can simplify keeping the interior secure. For long-term reuse, choose shapes and sizes that can nest or stack for storage so they take up less room when not in use.
2. Plan a simple winter palette
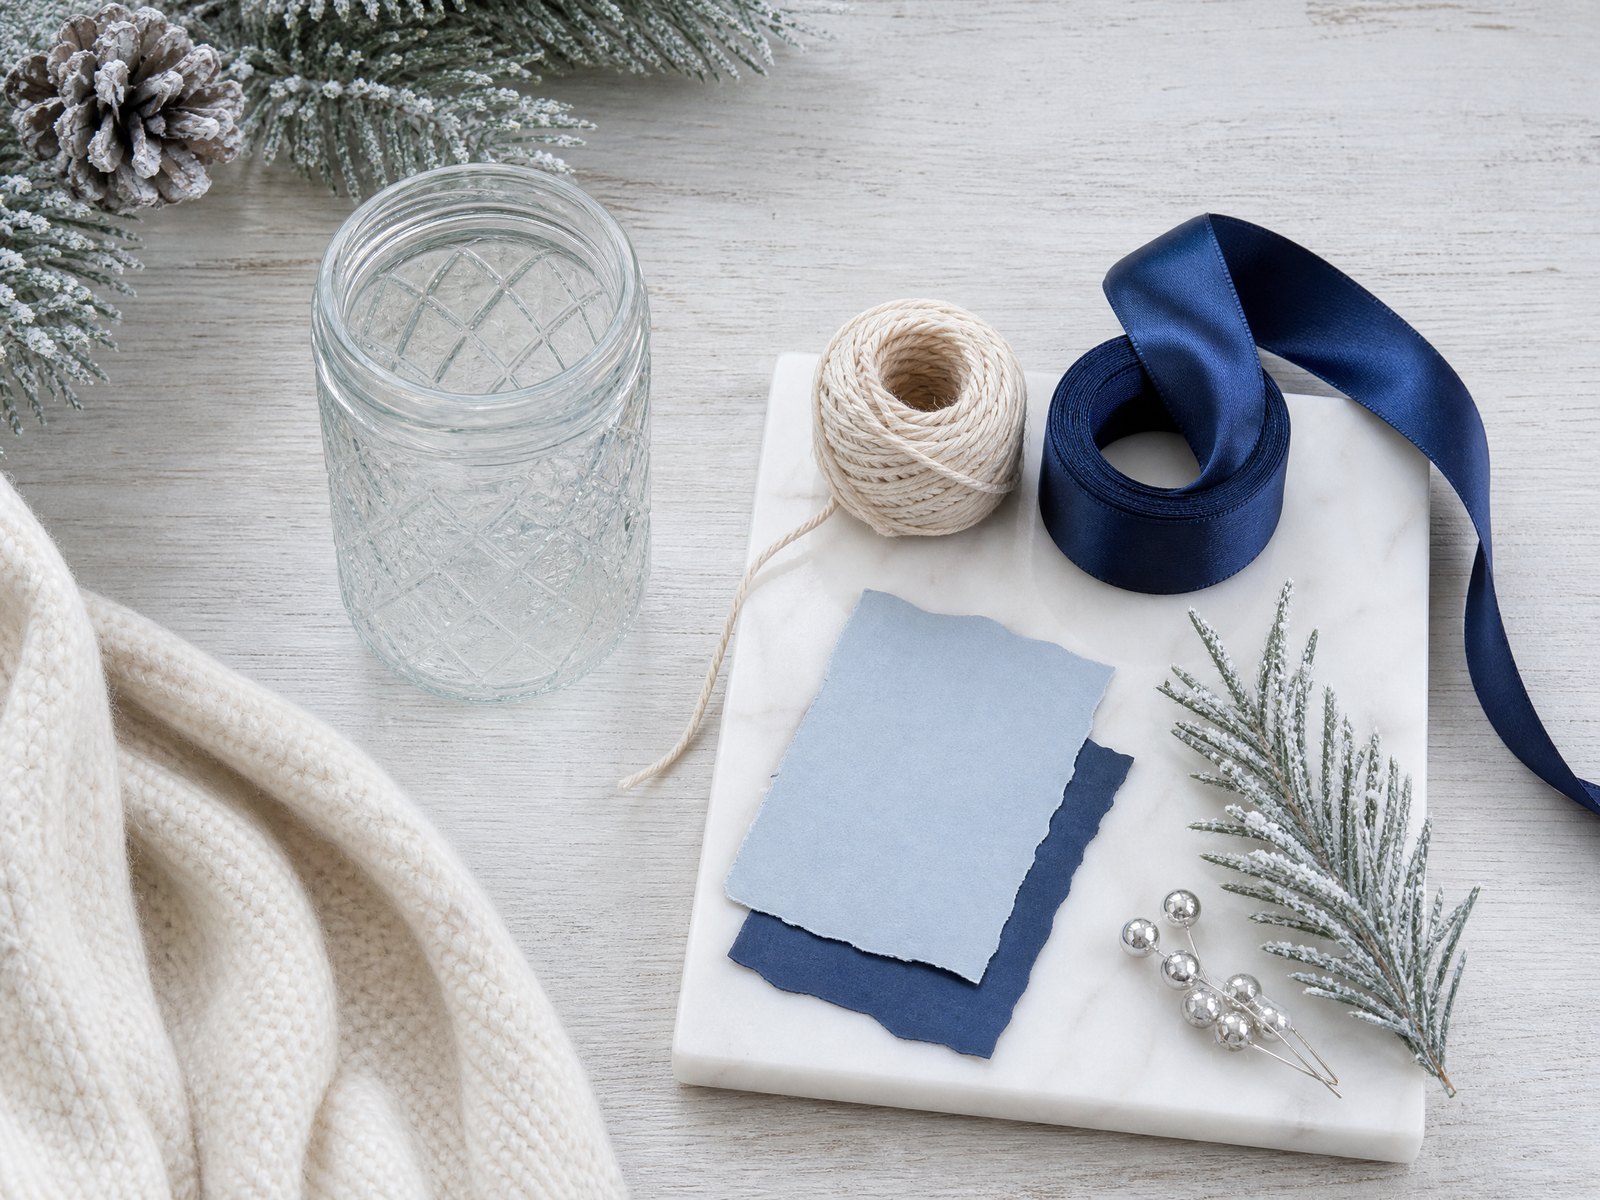
Limit your palette to two or three main tones to keep the scene calm and cohesive: a neutral base, one cool accent, and a small metallic or natural highlight. Neutral bases (clear glass plus whites, creams, or soft greys) let light and texture do the work while an accent color or a touch of brass, silver, or warm wood adds character without overwhelming.
- Choose one neutral base color
- Add one complementary accent hue
- Include one texture or metallic highlight
- Test colors together against a white background before filling the jar
- Favor translucence so lights can shine through
3. Layer a small scene with natural textures
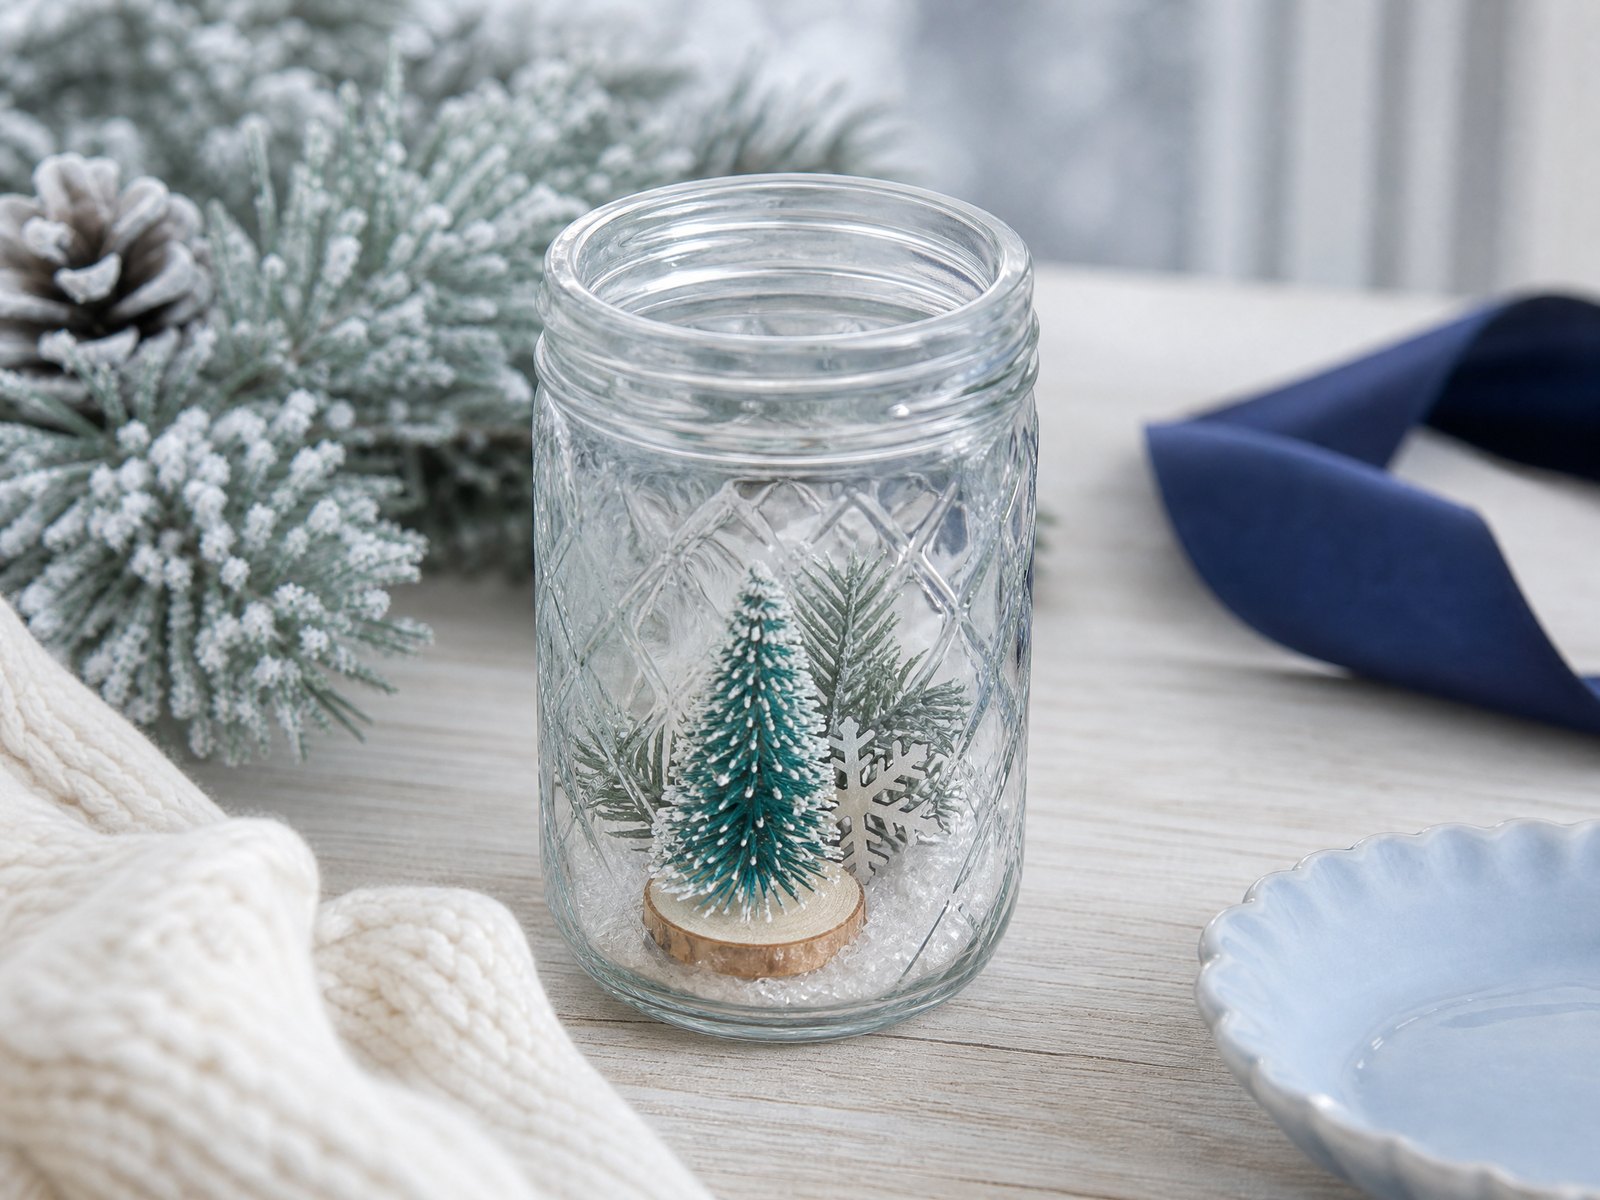
Think about depth and contrast when composing the interior: a low ‘ground’ layer of fine material, a middle plane of textured elements, and a few taller focal pieces give visual interest. Materials like dried moss, small pebbles, clean sand, compacted plant bits, or tiny cones lend an organic feeling. Tuck smaller pieces behind and around larger ones to create the illusion of a miniature landscape rather than a flat display.
Anchor fragile or light items so they don’t shift when the jar is moved. Use removable bases—small discs of reusable foam, felt pads, or shallow trays—that sit inside the jar to hold heavier or glued elements in place temporarily. These supports let you remove decorations later for cleaning without disturbing the glass.
4. Choose battery-powered micro lights
Small battery-powered LED micro lights are the safest option for enclosed jars. They produce almost no heat, run quietly, and come on thin flexible wires that can be threaded through openings or coiled inside without crowding the scene. Select warm or cool light to match your palette: warm for cozy, golden tones; cool for crisp, wintry whites.
- Use battery-powered LED micro lights, not open flames
- Pick a wire color that blends with your scene (brown, green, or silver)
- Prefer lights with a timer or low-voltage setting for longer life
- Test battery life and switch placement before final assembly
- Conceal the battery pack behind heavier elements or under a removable base
5. Make elements removable and repairable
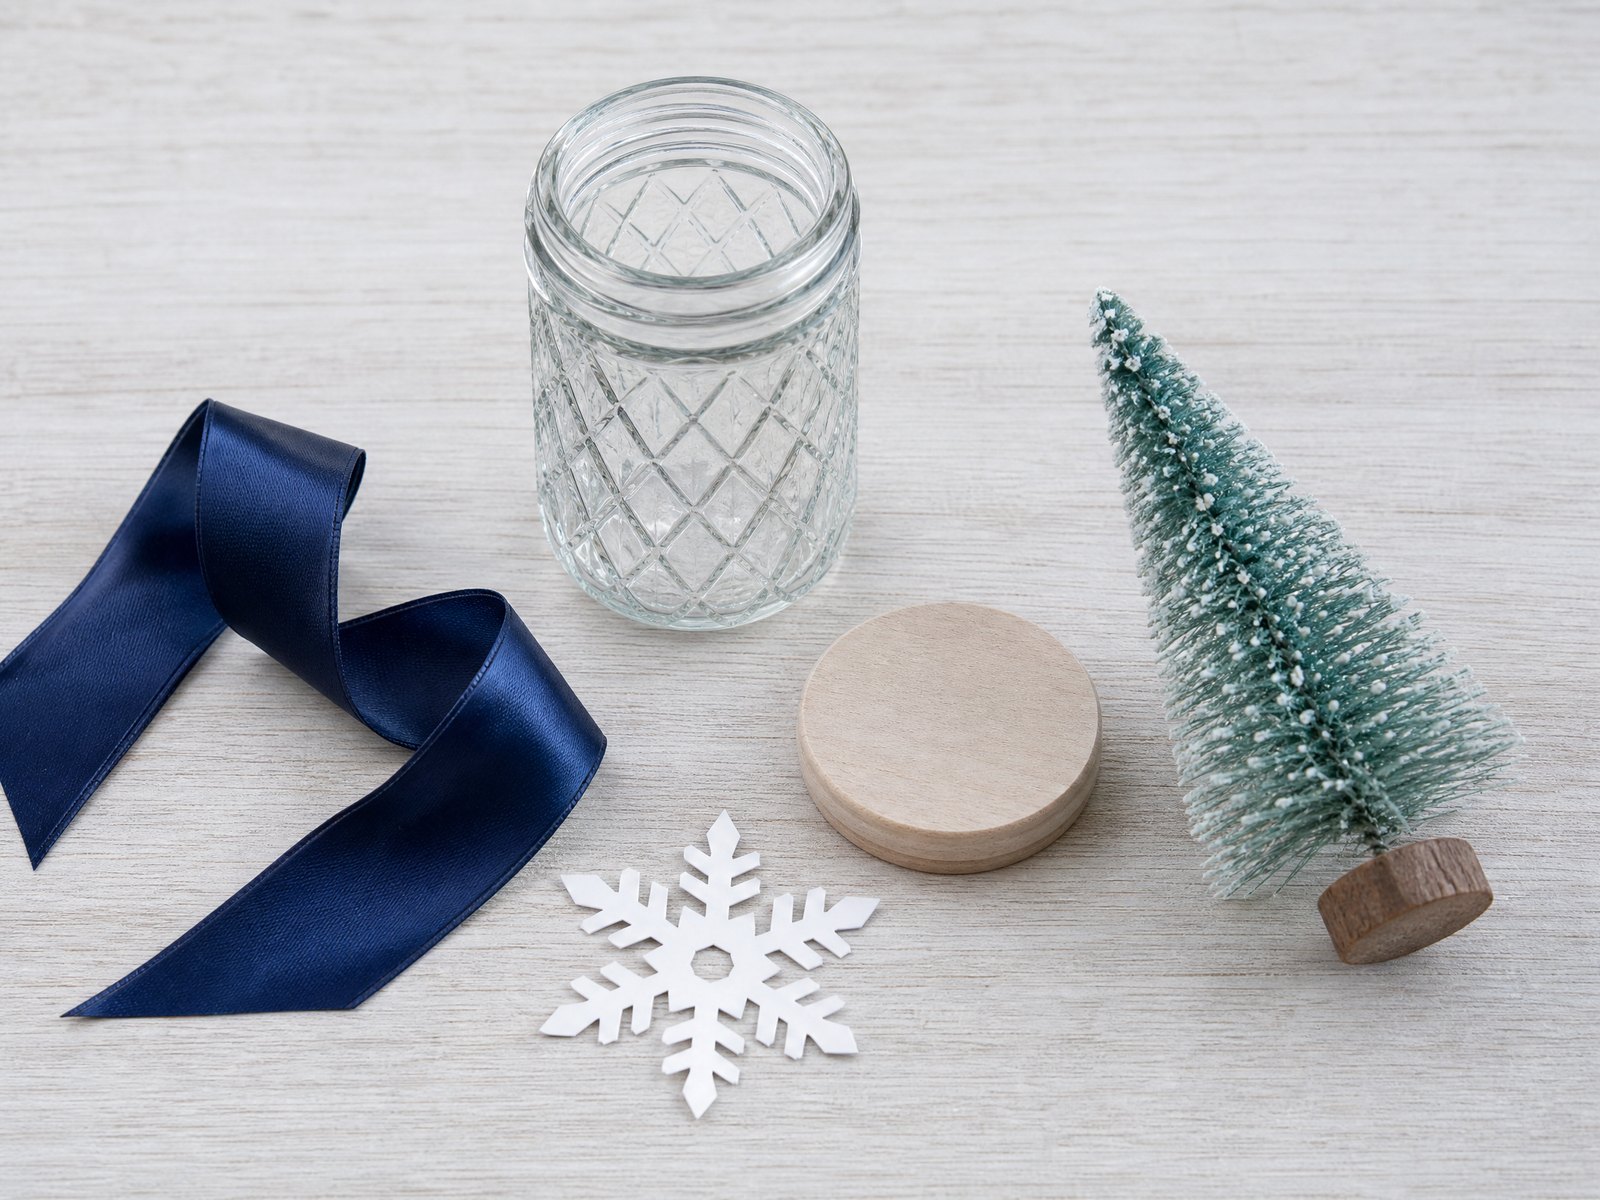
Design each jar so components can be taken out without damage. Avoid permanent glues and instead use museum putty, small reusable adhesive dots, or shallow recessed trays to hold items in place. If you want some pieces to feel fixed, mount them on a small removable platform or insert that lifts out with a gentle tug — that way you can change the scene next year without breaking anything.
Label or photograph your arrangement before disassembly so you can recreate it later. Keep tiny or fragile pieces in a separate compartment while working to minimize accidental loss, and use tweezers or long-handled tools for placing small items without touching the glass interior excessively.
6. Build a wintry tabletop grouping
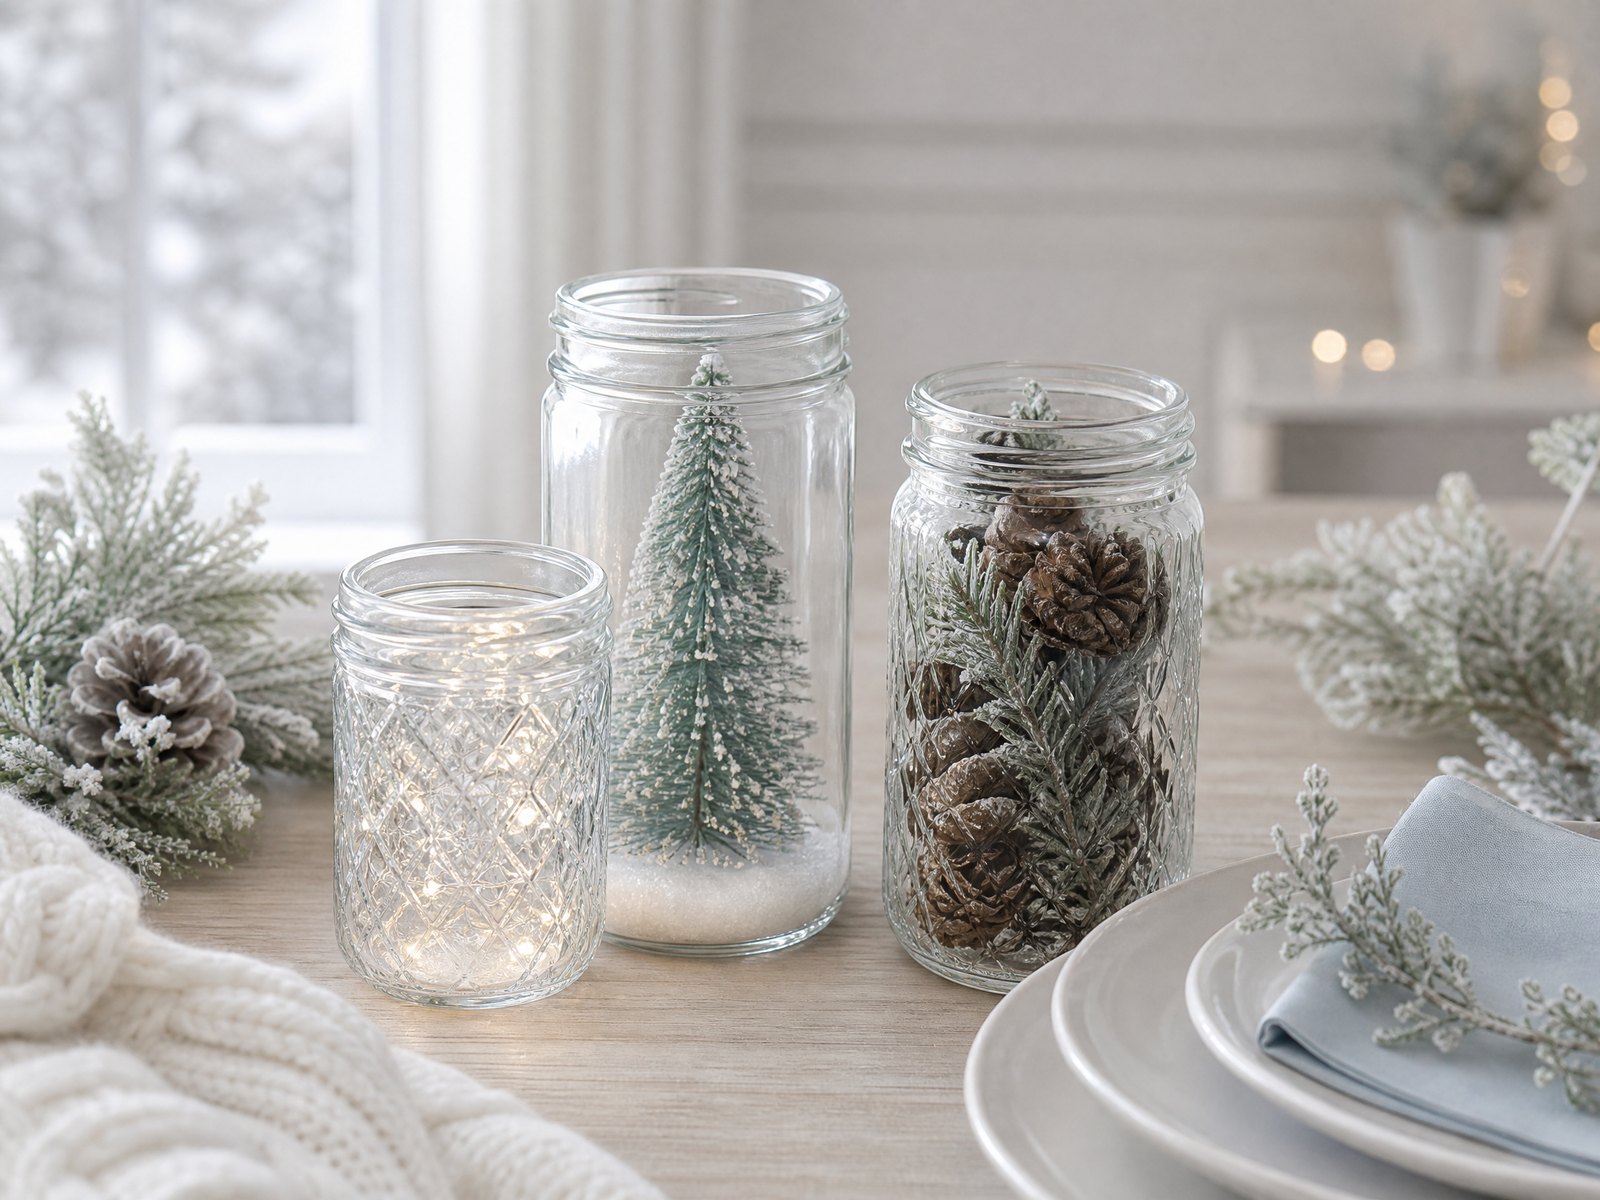
Group jars with a few coordinating objects for a polished tabletop vignette. Vary heights and widths, placing a taller jar beside a lower one and anchoring the grouping with a heavier piece or a simple tray. Repeat one element across jars, such as a sprig of evergreen or a ribbon color, to create rhythm without rigid matching.
- Arrange in odd numbers (3 or 5)
- Place tallest piece toward the back
- Use a tray or runner to define the grouping
- Repeat one texture or accent color across pieces
- Keep negative space so each jar reads clearly
7. Assemble a thoughtful gift-style jar
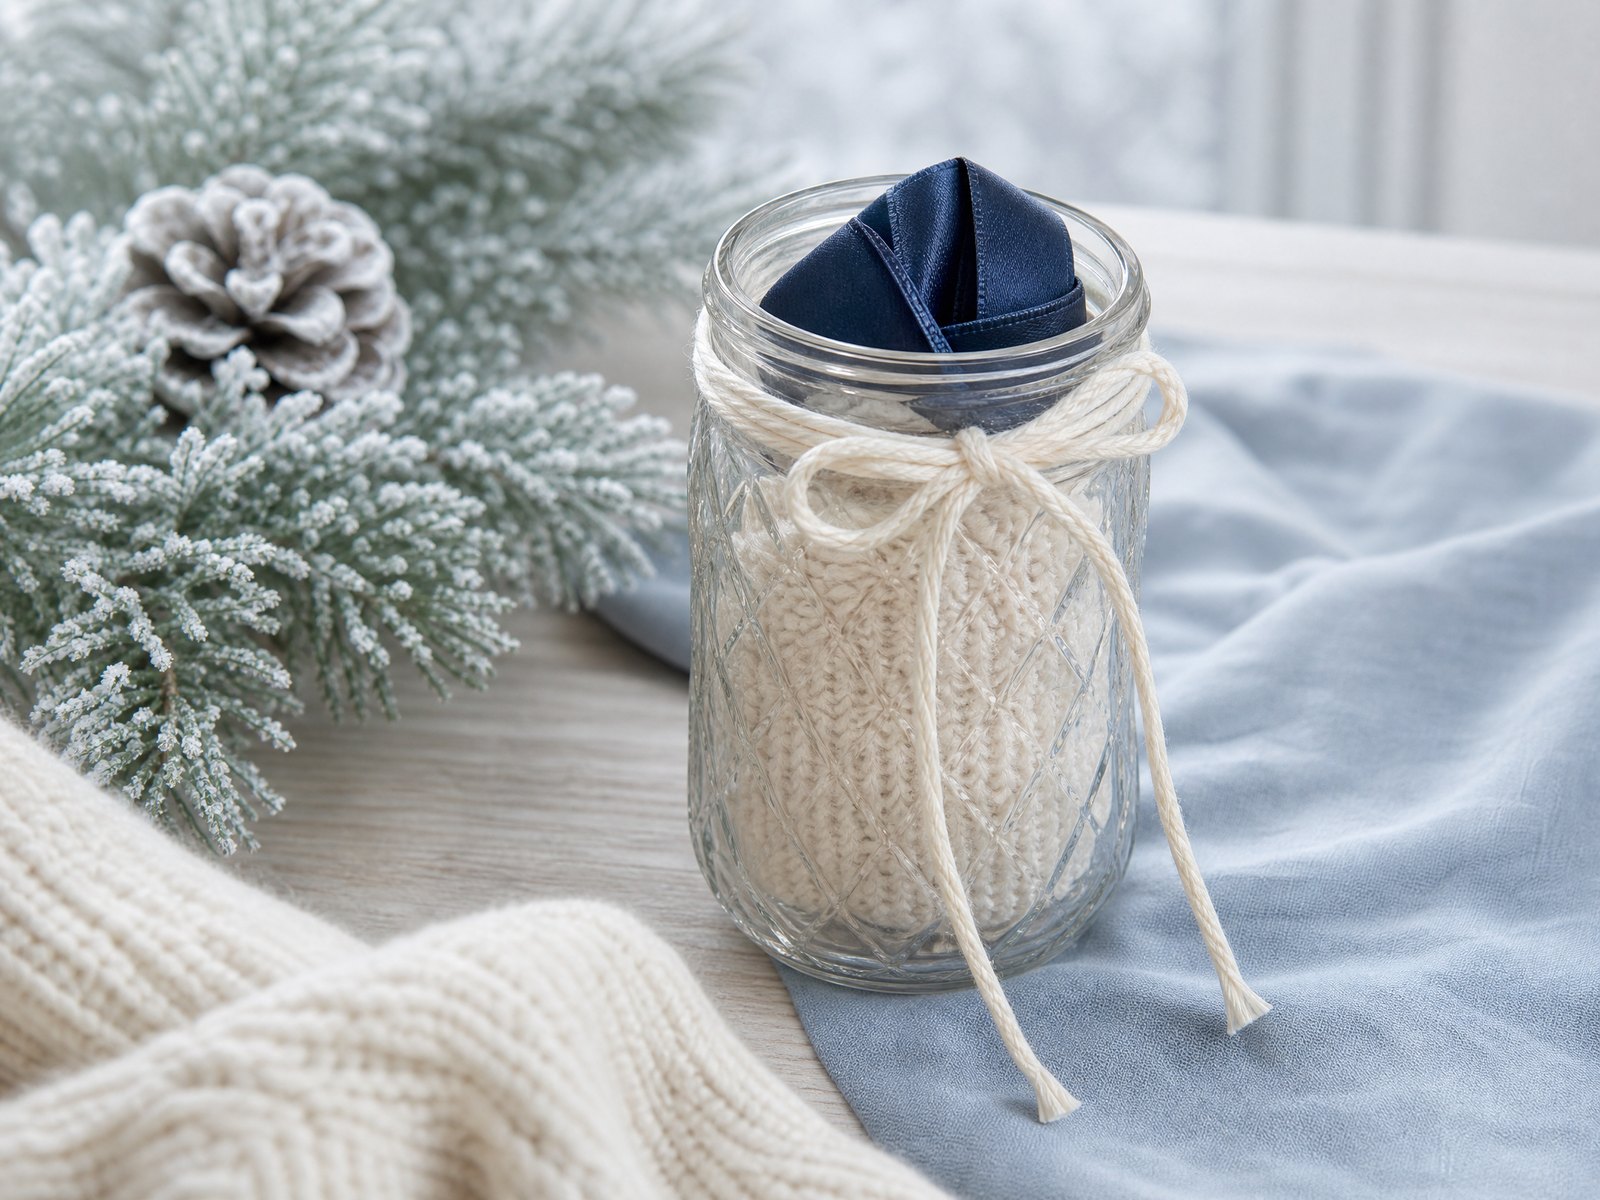
When preparing a jar as a present, prioritize safe packing and clear instructions. Keep battery packs accessible and detached or secured separately so the recipient can replace batteries easily; include a small note with care instructions and any recommended battery type without overcomplicating things. Add a personal tag explaining the materials are reusable and how to dismantle the jar for storage.
Wrap the jar for transport in a padded box or with tissue and recycled crinkle paper to protect delicate pieces. Avoid taping items inside the jar shut — instead use removable supports or soft padding to hold things steady. A reusable cloth wrap or simple box makes the gift feel considered and ensures the recipient can reuse the packaging for storage.
8. Clean, store components, and keep tools tidy
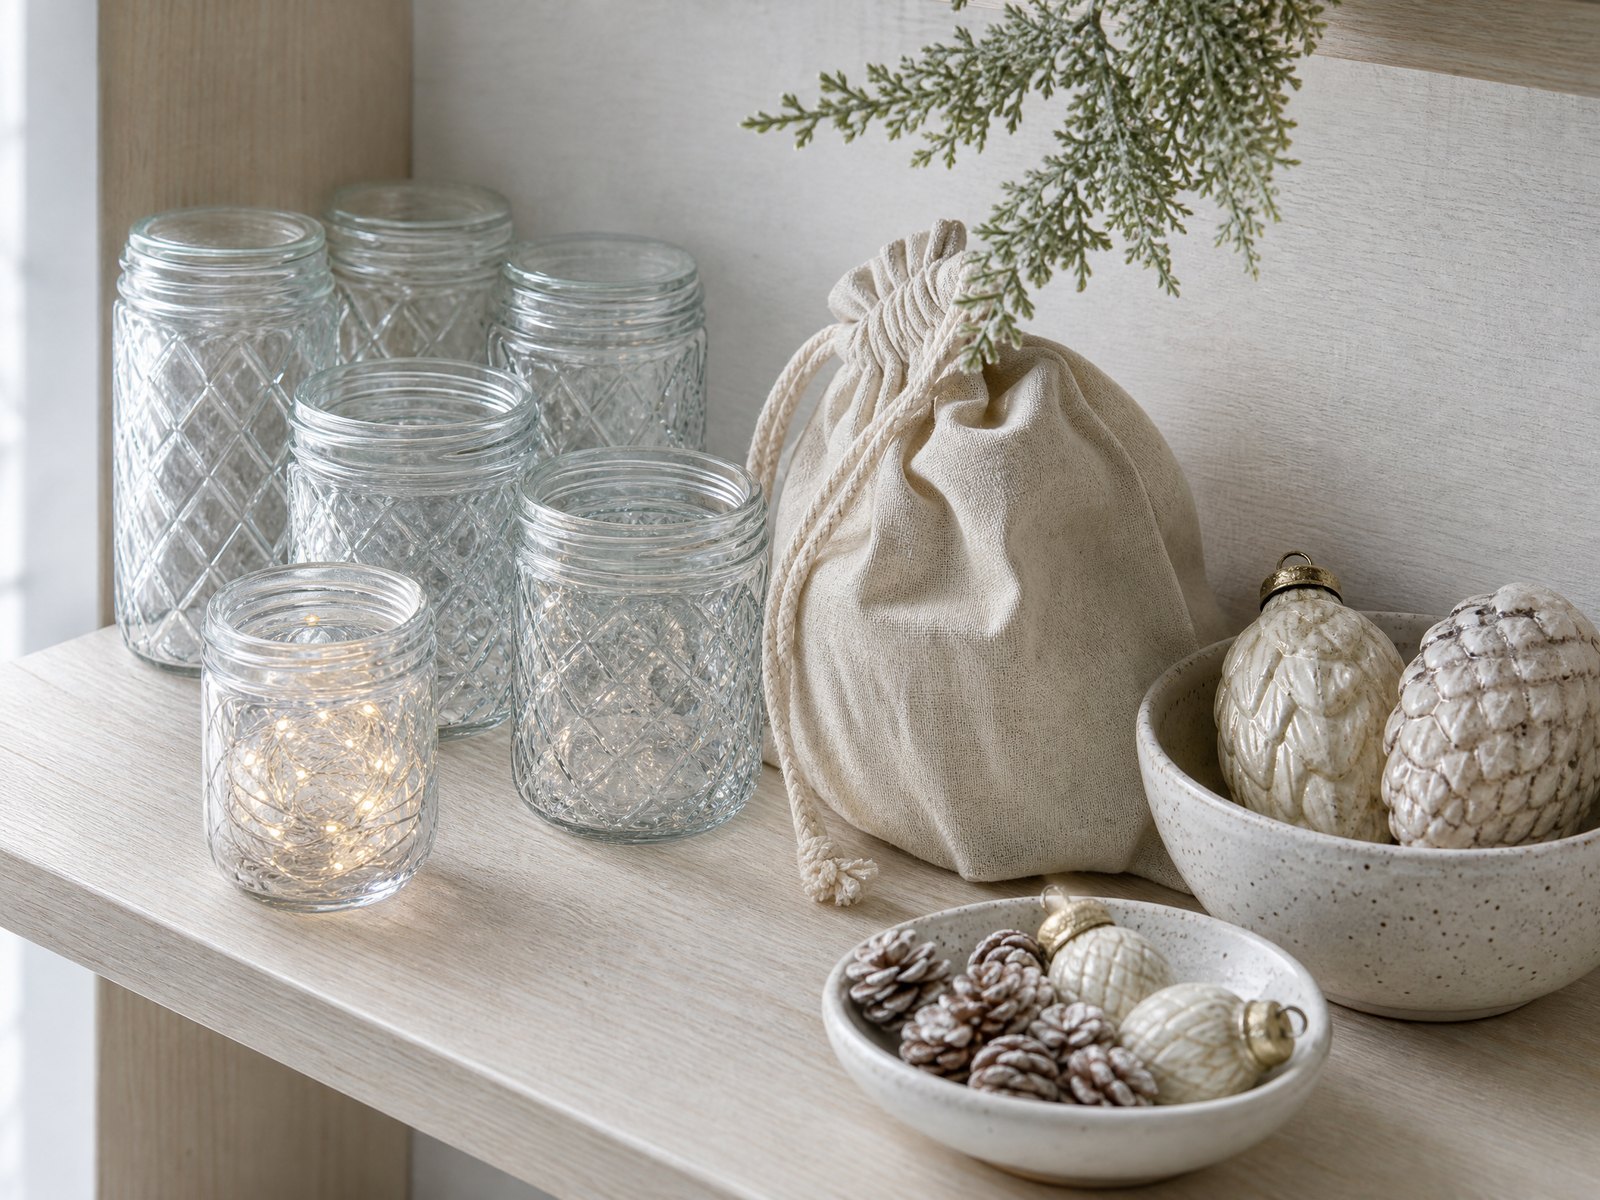
After the season, remove batteries and lights, and separate organic materials that may retain moisture. Wipe the glass with a gentle, non-abrasive cleaner and dry thoroughly before storing to prevent mildew or stuck-on residue. Store natural items in breathable containers if they could hold moisture; synthetic and metallic elements can go into sealable compartments to avoid tarnishing.
- Remove batteries from lights
- Wipe and dry glass thoroughly
- Store delicate pieces in padded compartments
- Label storage boxes with contents and season
- Keep a small tool kit (tweezers, scissors, spare batteries, cloth) together for future use
Final Thoughts
Creating reusable winter jar accents is about thoughtful choices: pick sturdy glass, a restrained palette, and modular components so you can enjoy and adapt the display for years. Using battery-powered micro lights and removable assemblies keeps the jars safe and easy to refresh, while simple storage and tidy tools mean the project pays back your effort each season.