11 Simple Christmas Nail Ideas That Feel Festive Without Feeling Fussy
Holiday style does not have to arrive covered in glitter from fingertip to wrist. Sometimes the most wearable Christmas manicure is the one that leaves a little breathing room: a sheer finish, one carefully placed motif, or a classic color combination with a seasonal twist. These designs are easy to live with, simple to explain at a salon, and polished enough for everything from a family dinner to a winter work event.
The best part of a pared-back holiday manicure is its flexibility. You can ask for a full set, adapt one idea to an accent nail, or recreate a simplified version at home with a few steady brushstrokes. Before choosing a design, think about the clothes and jewelry you expect to wear, how much maintenance you want, and whether you prefer a glossy, pearly, matte, or reflective finish.
Start with the mood, not the motif
A Christmas manicure can be cheerful without featuring a tree on every nail. Decide first whether you want your hands to look cozy, icy, romantic, or modern. That decision makes the rest easier: warm reds and brown-based neutrals create a fireside feeling, while white, silver, and translucent pinks suggest frost. Green can look traditional, but it also becomes surprisingly contemporary when paired with a quiet base and used sparingly.
The shape of the nail matters, too. Rounded short nails suit tiny dots and miniature stars, while a longer almond or squoval shape gives French-style designs more room to breathe. If you are unsure, bring a written description of the finish and color palette rather than relying only on a name; “sheer pink with a thin silver edge” is more useful than simply asking for “festive nails.”
1. The one-red-detail manicure
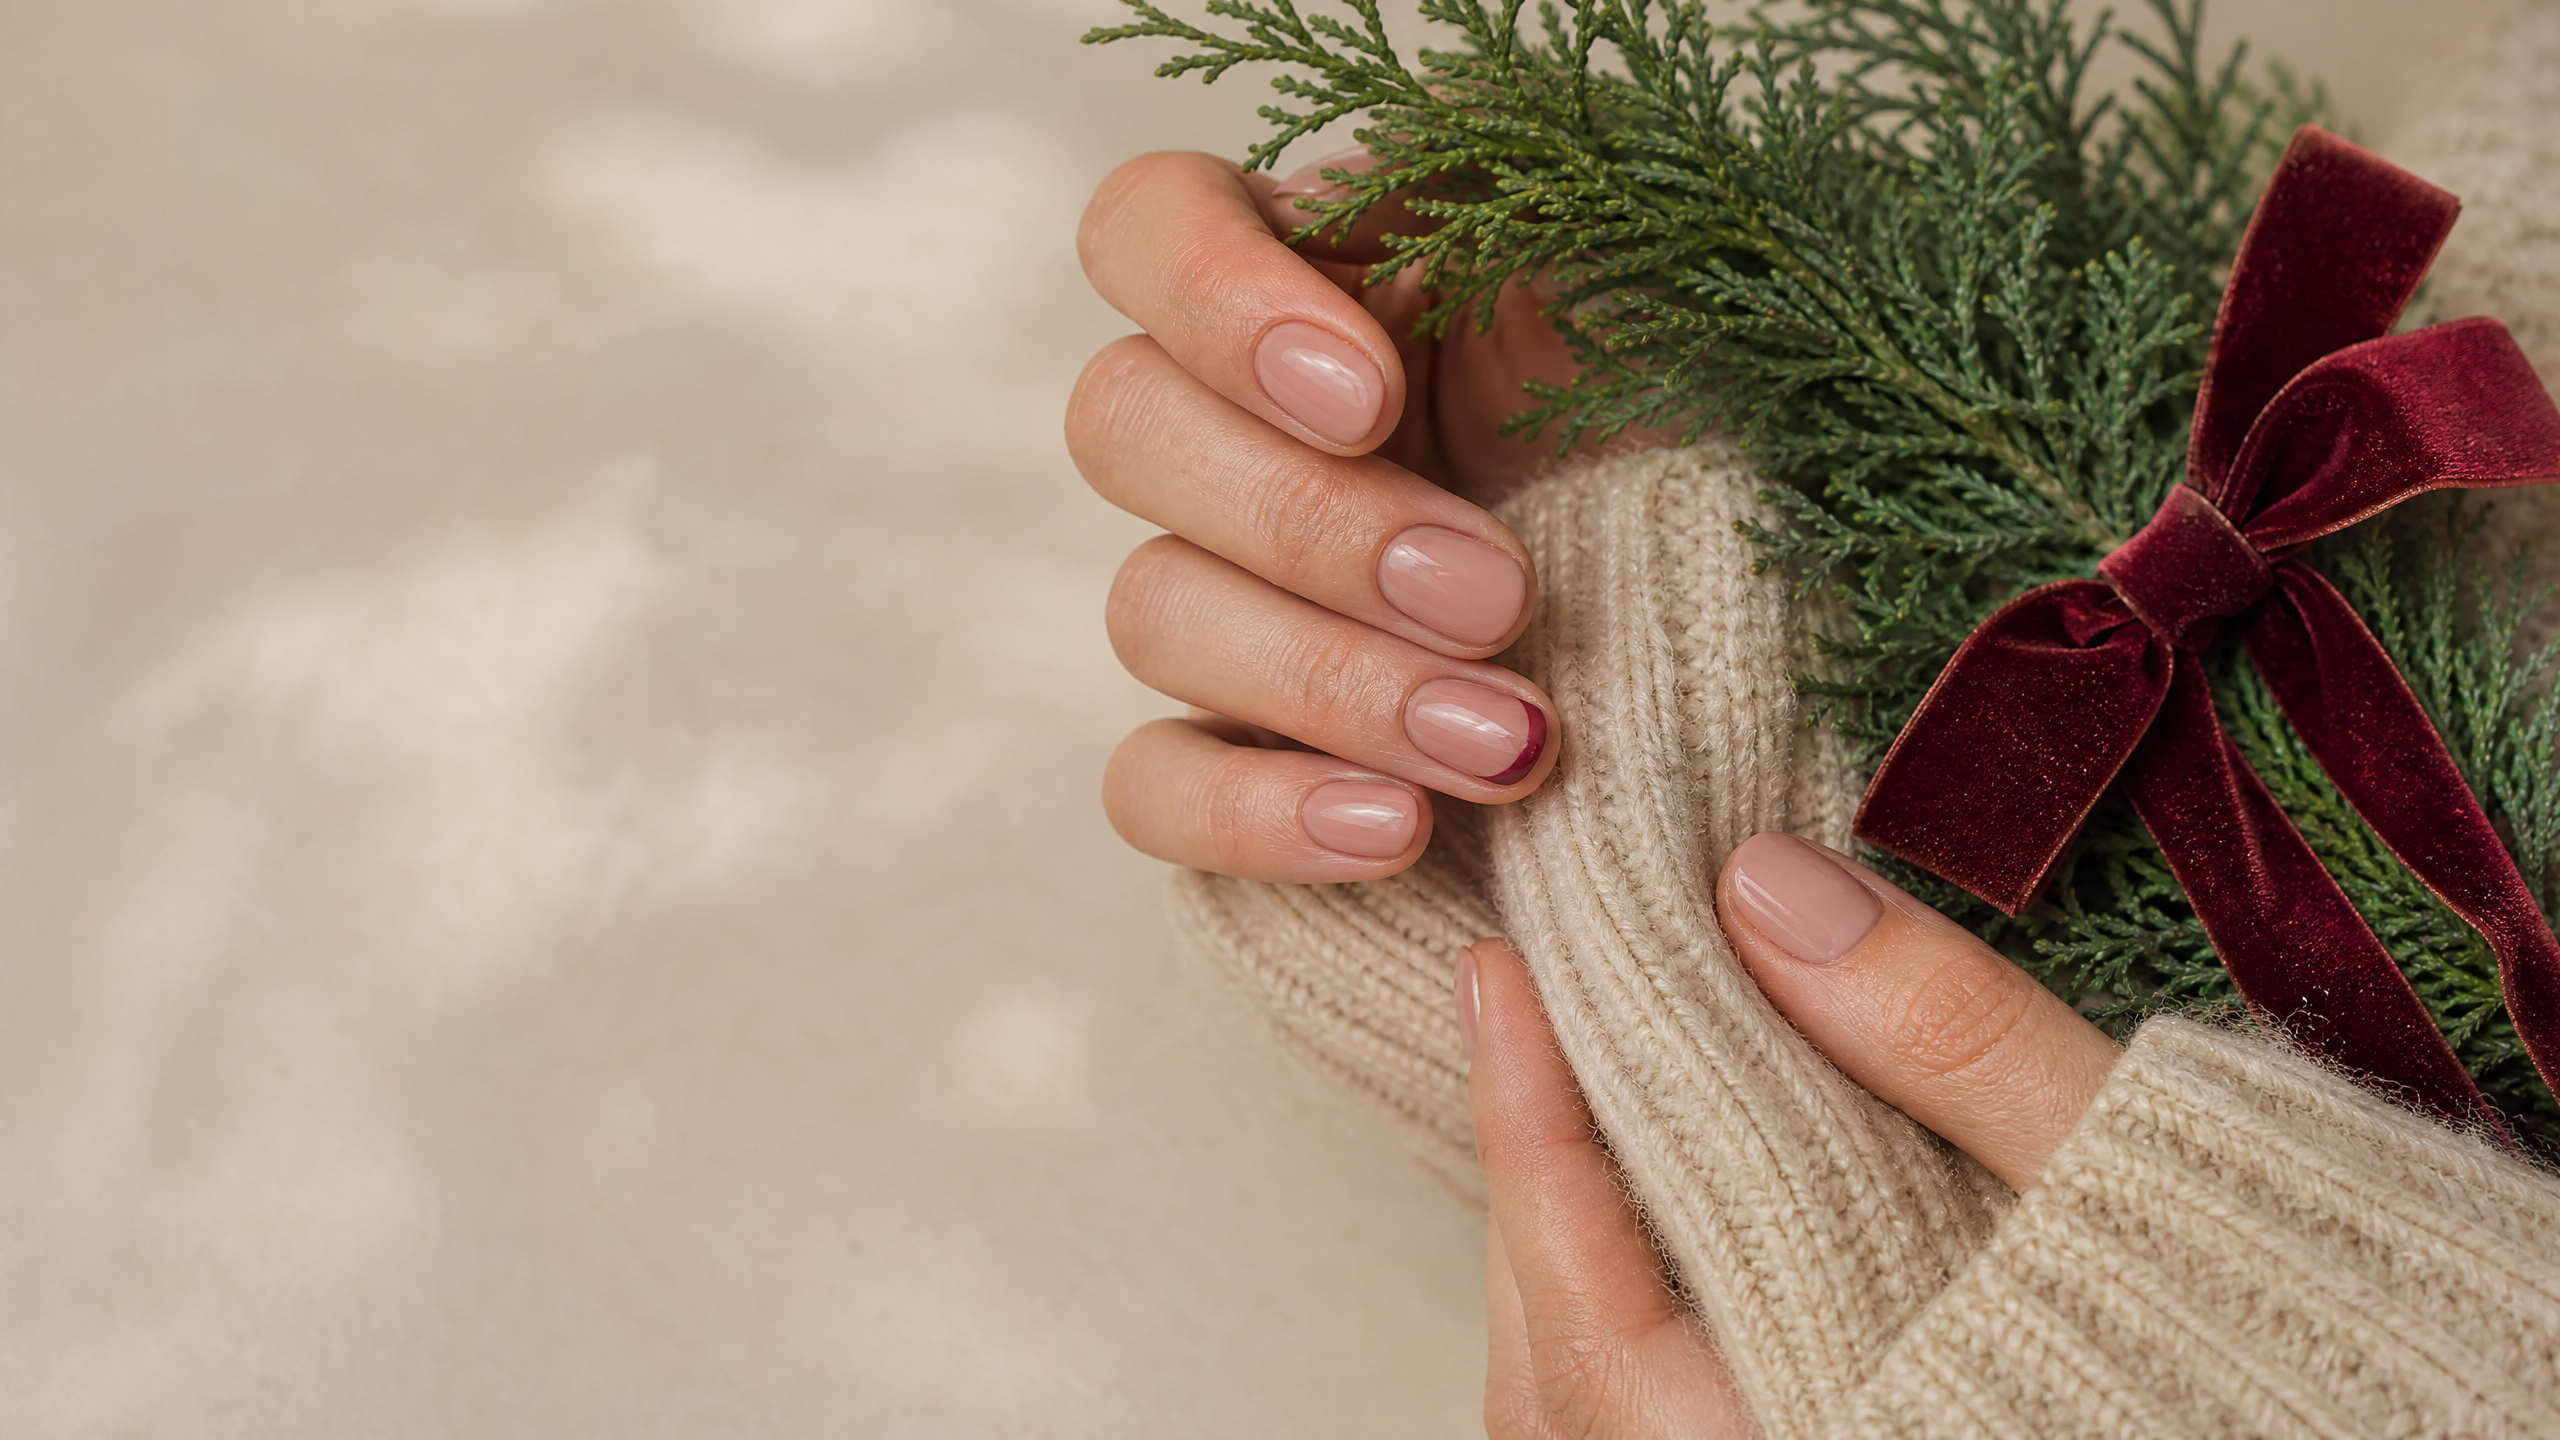
For a subtle look with a clear holiday connection, begin with a translucent nude, blush, or milky beige base. Add one small red detail to each hand rather than decorating every nail. A tiny heart near the cuticle, a narrow side stripe, or a miniature four-point star can do the work of an entire theme.
Keep the red a true cranberry or classic holiday shade, and finish with a generous glossy topcoat. The contrast will be visible without overwhelming the neutral background. This is also an approachable home manicure because small imperfections are less noticeable when the design is intentionally minimal.
2. Frosted-glass tips
Trade the usual white French tip for a soft, semi-transparent tip that resembles a pane of winter glass. Ask for a sheer nude base and a narrow band of pearly white or pale silver across the free edge. The effect is especially pretty when the shimmer is fine rather than chunky.
To make the design feel more modern, keep the tip shallow and use the same finish on every nail. A softly rounded edge works beautifully here, but the look can be adjusted to a straighter tip on square nails. It is festive enough to catch candlelight while remaining suitable for everyday outfits.
3. Evergreen half-moons
A deep green half-moon at the base of the nail offers a fresh alternative to a full green manicure. Paint the rest of the nail in a warm cream or barely-there pink, then place a clean curved section near the cuticle in forest, pine, or juniper green. The negative space keeps the design light.
If you want a little more decoration, add one pinpoint of gold to the center of each green curve. Avoid adding several metallic accents; the charm of this style comes from its graphic simplicity. Because the design is concentrated near the base, it can also remain attractive as the manicure grows out.
4. Ribbon-line nails
Imagine a narrow ribbon winding across a present, then translate that movement into a single flowing line on the nail. Use a neutral base and paint a fine metallic stripe diagonally from one corner toward the center. On alternating nails, change the direction so the set feels relaxed rather than perfectly repetitive.
Gold gives the design a warm, traditional character, while silver makes it cooler and more contemporary. A nail artist can create the line with polish, foil, or a very thin raised detail. At home, use a striping brush and work with less polish than you think you need; several thin passes are easier to control than one heavy stroke.
5. Cranberry and cocoa color blocking
A rich red-and-brown palette can suggest holiday desserts without turning the manicure into a literal illustration. Pair cranberry, espresso, and creamy latte shades in simple blocks: two nails in one color, two in another, and one nail divided by a neat diagonal or vertical line.
This approach is ideal if you like seasonal color but do not want recognizable holiday symbols. Keep the finishes consistent for a pulled-together result, or make the accent nail glossy while the others are creamy. For a shorter nail, use larger areas of color and fewer divisions so the pattern stays legible.
6. Tiny constellation accents
Stars do not have to look cartoonish. On a sheer midnight-blue, smoky mauve, or pale gray base, place three or four tiny dots and fine points in a loose constellation. The arrangement should feel scattered, not stamped into a rigid row.
Choose one metallic shade—silver, champagne, or soft gold—and repeat it throughout the set. A single accent nail can carry the constellation while the rest receive only one small star. This version captures winter-night sparkle without requiring snowflakes, ornaments, or a dense glitter layer.
7. The negative-space wreath
For a playful design that still feels refined, use a tiny open wreath as an accent. Paint a thin green circle or curved garland on one or two nails, leaving the center untouched. Add two or three red or gold dots as berries, but stop before the wreath becomes crowded.
A milky base helps the detail stand out, and a short nail can accommodate a partial wreath tucked into one corner. If painting a circle is difficult, create the shape from three small curved strokes instead. The result will look deliberately hand-drawn rather than overly mechanical.
8. Velvet-looking tips
A magnetic or reflective polish can create depth without adding embellishments. Rather than covering the whole nail, use the dimensional shade only for a French tip. Ruby, garnet, pewter, and deep green are especially effective choices for winter.
The rest of the nail can remain sheer or be painted in a close neutral. Direct the reflective band toward the center of the tip for a soft glow, or angle it slightly for a more dramatic flash. Since the tip provides the visual interest, skip additional gems and let the finish speak for itself.
9. A miniature tree, used sparingly
If you love whimsical nail art, reserve the full Christmas tree for one statement nail. Paint the other nails in a solid cream, red, or green shade, then build the tree from three small green triangles or overlapping brushstrokes. A tiny gold dot at the top is enough decoration.
The key is scale. The tree should be recognizable but not packed with ornaments, garland, and snow all at once. A simple outline can be even easier: draw a narrow zigzag silhouette, add a small trunk, and seal it carefully with topcoat once the design is dry.
10. Soft blush with a single metallic edge
For people who usually wear neutral manicures, a pink-beige base with a thin metallic line is an effortless seasonal update. Choose a blush tone that allows some natural nail color to show through, then trace the side edge or tip with a fine champagne stripe.
This design works particularly well when the rest of your holiday wardrobe already includes sparkle. It adds a quiet glint rather than competing with sequins, statement earrings, or a bright lipstick. Keep the line delicate and avoid mixing multiple metals unless you are intentionally creating an eclectic look.
11. Matte winter color with glossy details
A matte finish can make familiar holiday colors feel entirely new. Try matte brick red, evergreen, navy, or cream, then add one glossy detail: a tiny dot, a narrow French tip, or a single curved line. The contrast between flat and reflective surfaces creates interest without extra decoration.
Because matte polish can show smudges more readily, let the manicure dry fully and follow the product’s care instructions. If you want a lower-commitment version, use the matte effect only on the accent nail while keeping the remaining nails glossy.
How to keep simple nail art looking polished
The foundation matters more than the number of decorations. Shape the nails evenly, gently smooth rough edges, and apply a thin base coat. Do not paint over irritated skin or attempt to disguise damage with layers of polish. Clean, comfortable nails will make even a single-color manicure look intentional.
When recreating an idea at home, practice the design on a piece of paper or a nail wheel first. Let each layer dry before adding a line, dot, or topcoat; rushing is one of the easiest ways to drag a small detail across the nail. A fine brush, dotting tool, and cleanup brush dipped in remover are useful, but a toothpick can also make tiny dots in a pinch.
At a salon, describe the look in three parts: base, accent, and finish. For example, you might request “a sheer milky base, one cranberry star on each hand, and a high-gloss finish.” This gives the professional room to adapt the design to your nail length while preserving the overall idea.
Choosing the right design for your plans
A full schedule may call for a forgiving option such as color blocking, half-moons, or a simple metallic edge. These designs remain attractive even when the manicure is no longer perfectly fresh. If you have one special celebration, a velvet tip, constellation accent, or miniature tree provides a focal point without requiring elaborate art on every nail.
| If you want… | Try… | Keep in mind… |
|---|---|---|
| A barely-there seasonal update | Blush nails with a metallic edge | Choose one metal and keep the line fine |
| Traditional holiday color | Evergreen half-moons or cranberry accents | Use a quiet base to prevent visual heaviness |
| A little glamour | Velvet-looking tips | Let the reflective finish remain the star |
| Something playful | One miniature tree or a tiny wreath | Limit the motif to an accent nail or two |
| A modern, graphic look | Cranberry-and-cocoa color blocks | Use larger sections on shorter nails |
| Winter sparkle without chunky glitter | Constellation accents or frosted tips | Fine shimmer creates a cleaner finish |
A final topcoat check
Before you leave the salon or start wrapping gifts, look at the manicure in more than one kind of light. A design that seems delicate indoors may appear much brighter near a window. Check that the free edges are sealed, the lines are dry, and no embellishment catches on clothing. If a detail feels too busy, remove one element rather than adding another to balance it.
Simple Christmas nails work because they leave room for the season around them. A small red mark, a cool pearly edge, or a single evergreen motif can make your hands feel ready for December without locking you into one loud theme. Choose the color story that feels most like you, keep the details intentional, and let a little restraint become part of the celebration.