10 Creative Halloween Nail Art Designs to Elevate Your Spooky Style
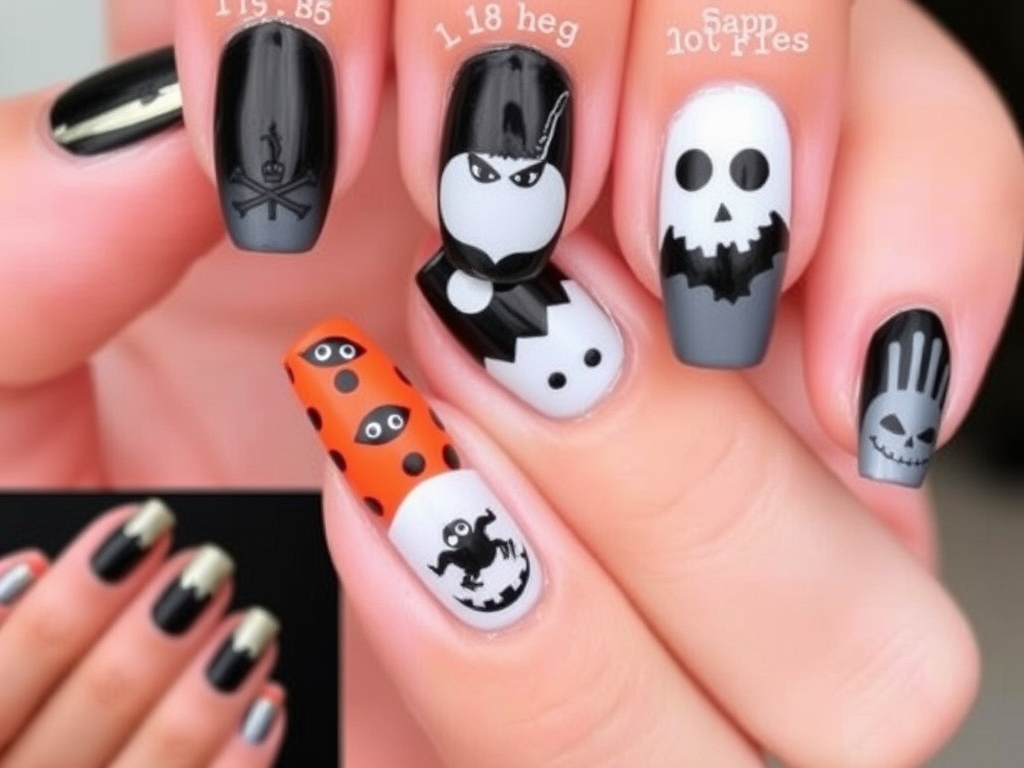
Halloween is the perfect time to let your creativity shine through your nails, transforming your fingertips into tiny canvases of festive fun. Whether you’re gearing up for a costume party, a cozy night of horror movies, or just want to embrace the spooky season, the right nail art can take your look from basic to bewitching. From classic candy corn patterns to eerie haunted house scenes, Halloween nail designs offer endless opportunities to showcase your personality and playfulness.
This year, why settle for plain polish when you can dive into a world of creepy cobwebs, ghoulish gradients, and vampire vibes? Whether you’re a nail art novice or a seasoned pro, our list of 10 creative Halloween nail art ideas covers everything from cute and charming to dark and mysterious. Get ready to inspire your next manicure with designs that capture the spooky spirit and get everyone talking!
1. Wrap Yourself in Whimsy: The Ultimate Mummy Mani Adventure
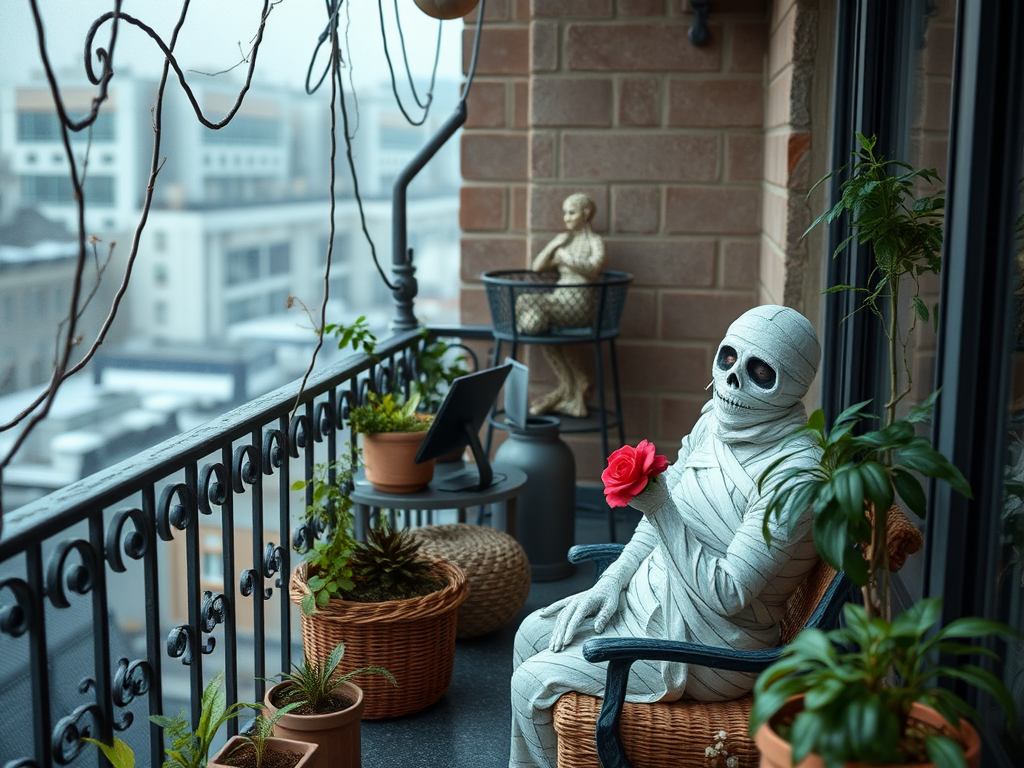
Every October, as the leaves crunch beneath my boots and pumpkin spice scents swirl in the air, I get this undeniable urge to deck out my nails in something playful and spooky. Last Halloween, I dove headfirst into a quirky mummy manicure that was equal parts eerie and adorable—a perfect way to celebrate the season without going full-on gothic. Picture this: nails painted in soft, creamy whites and sandy beiges, wrapped delicately in tiny off-white bandage lines that twist and turn like an ancient Egyptian curse come to life. To finish, a pair of googly eyes winking at you from each nail added a mischievous charm that made me smile every time I texted or sipped coffee. It was like carrying a mini Halloween party on my fingertips!
The best part? This mummy mani was a breeze to do, even while binge-watching my favorite spooky movies. The subtle layers of the bandages gave the nails texture and personality without looking over-the-top. Plus, you can customize the googly eyes—big, small, or even painted cute little mummy faces for a personal touch. Whether you’re aiming for something whimsical or a little mysterious, this look wraps up Halloween spirit in a perfectly polished package.
Supplies & Tools You’ll Need:
- White or beige nail polish (for the base)
- Off-white or light taupe polish (for the bandages)
- Fine nail art brush or a toothpick
- Tiny googly eyes stickers or black and white nail polish for painting eyes
- Top coat (matte or glossy, your choice)
- Nail glue (if using googly eyes)
How To Create Your Mummy Mani:
- Prep Your Nails: Start with clean, shaped nails. Apply a base coat if you like to protect your natural nails.
- Lay the Base: Paint your nails with two coats of white or beige polish. Let this dry completely.
- Draw the Bandages: Using your fine nail art brush or toothpick, paint thin, irregular horizontal lines across each nail with the off-white or taupe polish. These should resemble strips of mummy wraps—don’t worry about making them perfectly even.
- Add Eyes: Either stick on tiny googly eyes onto each nail with a dab of nail glue or, for a DIY twist, use a dotting tool or toothpick to paint little eyes with black and white polish.
- Seal the Deal: Finish with a generous layer of top coat to keep all your spooky details secure and give your mani lasting shine.
- Show It Off: Flash those playful mummy nails at every Halloween party and watch the compliments roll in!
Wrap your fingertips in fun this season and let your nails tell a story of ancient mystery and Halloween cheer—because when it comes to spooky style, the details make all the difference.
2. Spellbinding Nails: A Touch of Witchy Magic at Your Fingertips
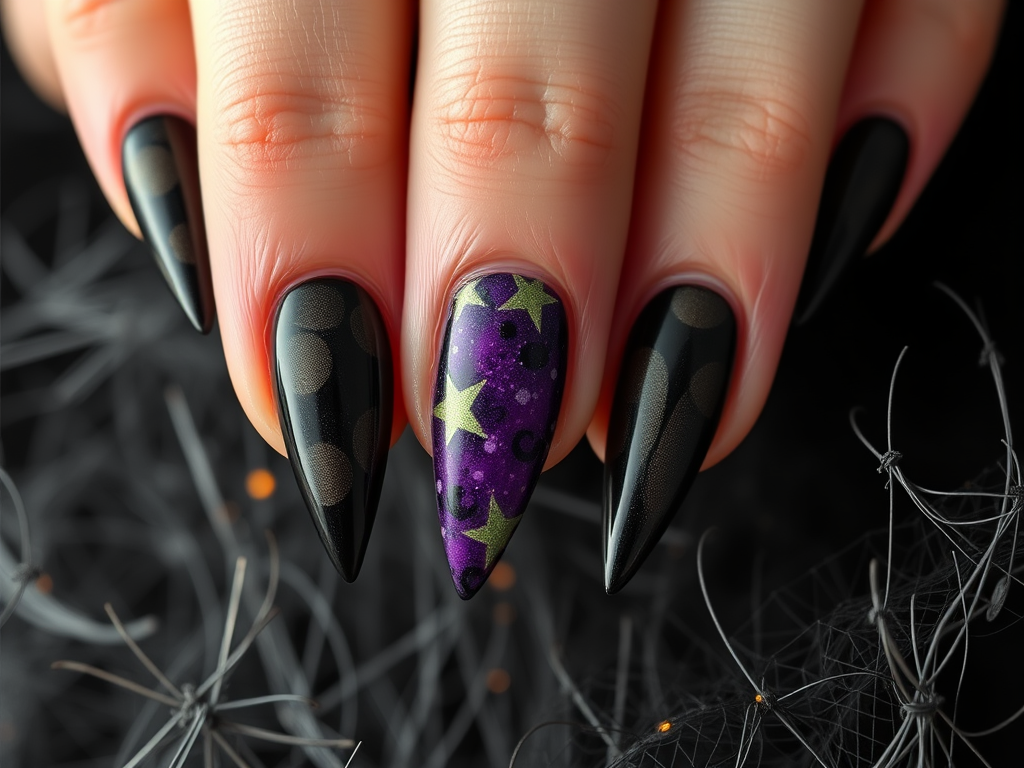
There’s something undeniably enchanting about nail art that captures the essence of Halloween, and this year, I’ve been utterly obsessed with channeling a little witchy charm right at my fingertips. Picture this: a rich, velvety forest green backdrop that instantly sets a mysterious mood, like walking through whispering woods under a moonlit sky. I remember the first time I tried these spellbinding nails—painting the deep green felt like cloaking my hands in a curious, magical aura.
The real fun started when I transformed each nail into a tiny magical scene. Using a fine brush and a little patience, I doodled delicate witch hats topped with tiny silver stars and slender broomsticks that looked like they might whisk away at any moment. I couldn’t resist sprinkling on a touch of glitter to mimic sparkling fairy dust, which gave the whole design a shimmering enchantment. Somehow, these nails didn’t just complete my Halloween look—they felt like small talismans, perfect for anyone who loves a sprinkle of mysticism in their style.
Ready to cast your own nail art spell? Here’s how to create your very own witchy nails:
Supplies Needed:
- Deep dark green nail polish
- Black nail polish (for hats and broomsticks)
- Silver or gold glitter polish or loose glitter
- Thin nail art brush or toothpick
- Rhinestones or small nail gems (optional)
- Top coat
- Base coat
How To:
- Start with clean, dry nails and apply a base coat to protect your nails.
- Paint all your nails with two coats of the deep dark green polish and let them dry completely.
- With the thin brush or toothpick, draw tiny witch hats: a pointed triangle with a small band near the base on each nail.
- Next, sketch slender broomsticks using thin black lines angled diagonally at the bottom corners of your nails.
- While the designs are still slightly tacky, add a tiny dab of glitter polish along the hatbands or broomstick bristles to resemble magical sparkles.
- Place a rhinestone or two near the designs for an extra bewitching touch if you like.
- Once everything is dry, seal your art with a clear top coat to lock in your mystical manicure.
There you have it—nails ready to enchant and captivate at every Halloween party or cozy night in with your cauldron bubbling. Embrace the magic, and let your fingers tell a little witch’s tale of their own!
3. Midnight Manor Magic: Your Spooktacular Nail Story
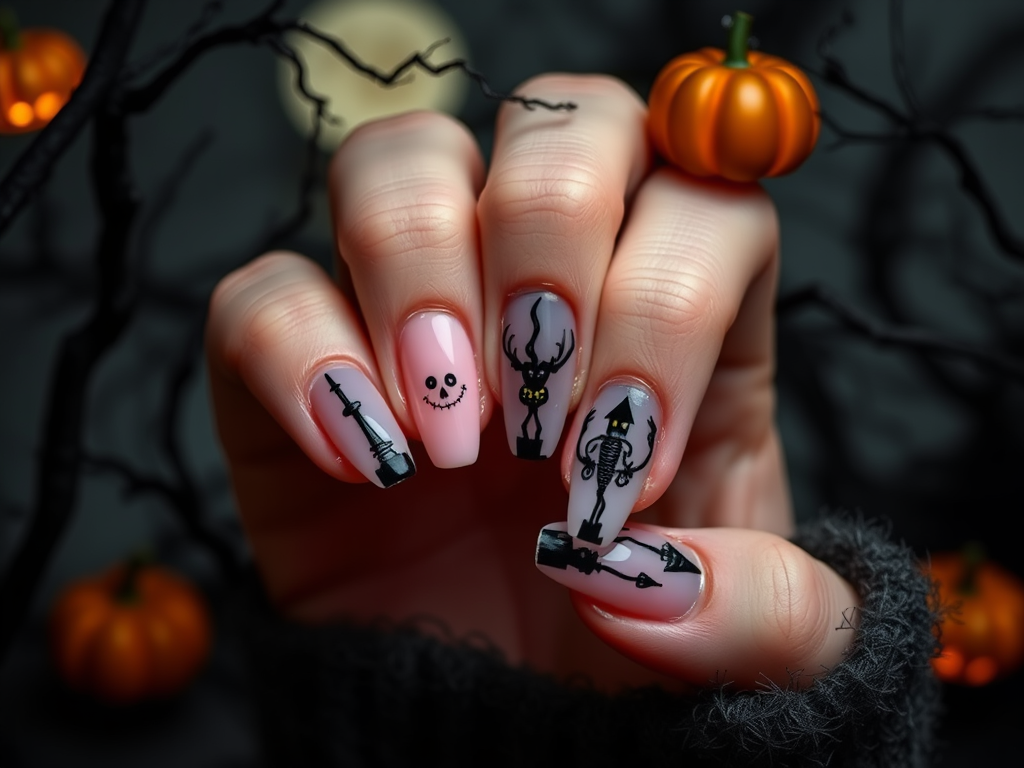
There’s something utterly thrilling about the crisp air of October evenings and the way shadows stretch just a little longer, isn’t there? One rainy night, I found myself inspired by a classic haunted house tale — you know, the kind where a creaky old manor stands silhouetted against a glowing full moon, with bats fluttering desperately in the chill wind. So I decided to bring that eerie magic directly to my fingertips. I started by painting my nails a deep, stormy navy blue, reminiscent of the midnight sky just before the ghosts come out to play. It felt like crafting a tiny canvas for a nocturnal adventure.
Next came the fun part — adding the spooky details. With a tiny nail brush, I carefully painted shadowy silhouettes of gothic windows and crooked rooftops, then dotted in little white ghosts that seemed to dance on my fingers. I added a silver crescent moon peeking through one corner and tiny black bats flitting across the scene. Each nail told a story of its own — mysterious, playful, and just a touch creepy. Friends couldn’t stop staring, asking if I was headed to a Halloween party or starring in a ghost story!
If you’re ready to conjure your own little haunted masterpiece, here’s what you’ll need and how to get those spooky nails just right:
Supplies & Tools:
- Navy blue or dark gray nail polish (for the night sky base)
- Black nail polish (for the haunted house shapes)
- White nail polish (for ghosts and details)
- Silver or light gray polish (for moon and accents)
- Thin nail art brush or fine detailing brush
- Dotting tool or toothpick (for tiny bats and eyes)
- Top coat (to seal your spooky scene)
How To Create Your Haunted House Nails:
- Apply two coats of navy blue or dark gray polish on clean nails and let dry completely.
- Using the thin nail art brush dipped in black polish, sketch the outline of haunted houses — think peaked roofs, crooked windows, and twisted chimneys.
- Once dry, switch to white polish to add playful ghosts: soft blobs with two tiny dots for eyes. Use the dotting tool or toothpick for precision.
- Paint little bats by making two small connected triangles pointed outward, using black polish and the fine brush.
- With silver or light gray polish, paint a crescent moon on one or two nails to add that spectral glow.
- Allow all your designs to dry thoroughly, then seal everything with a glossy top coat to keep your midnight manor magic intact.
Now, every time you glance down at your hands, it’ll feel like you’re holding a mini haunted tale whispering from the shadows — perfect for spooking up your Halloween style with charm and creativity.
4. Rock Your Halloween with Spooky Skull Chic Nails
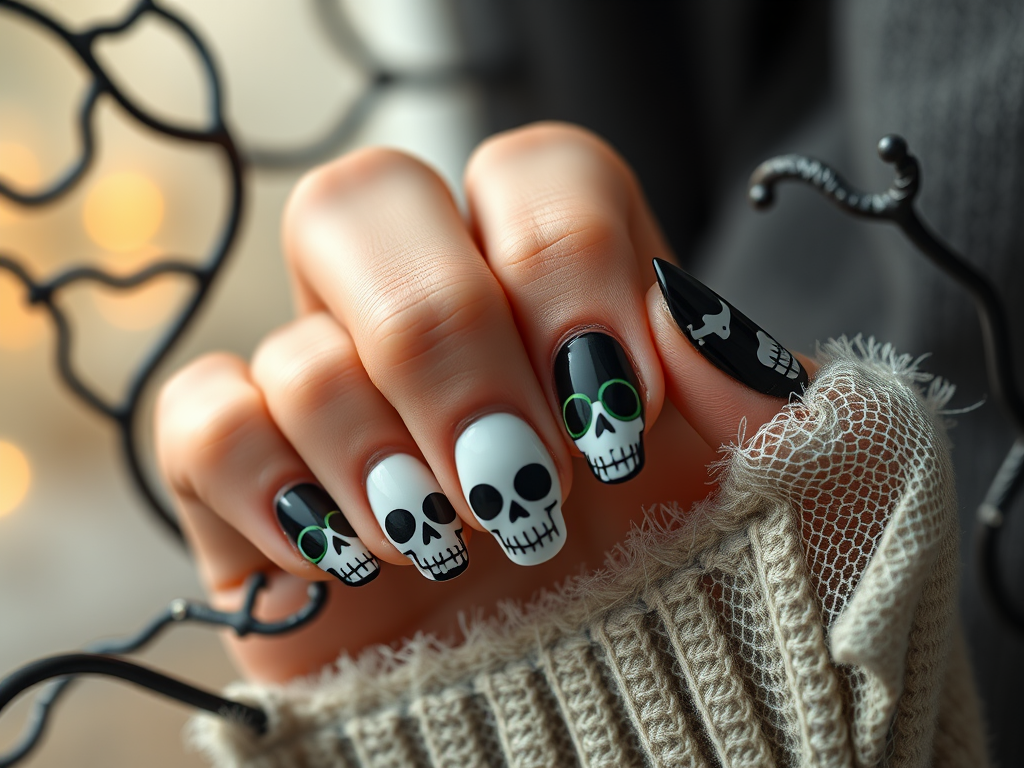
Halloween is that magical time when you can let your creativity run wild—and what better way to celebrate than with nails that scream edgy elegance? Last year, I decided to give my manicure a spooky twist with a skull-themed design that was equal parts creepy and chic. I started with a pale, ghostly white base that instantly reminded me of old pirate tales and rock concert vibes. Each tiny nail became a mini canvas where I painted delicate skull faces, each with its own quirky expression—from grinning grunge to mysterious charm.
To add a bit of glam, I dusted some silver glitter around the edges and popped on a few rhinestones, giving the eerie artwork a festive sparkle. It was like mixing a rockabilly look with Halloween chills—subtle yet striking enough to turn heads whether I was handing out candy or heading to a costume bash. Plus, I loved how personal these nails felt, like tiny stories told through art that glimmered under the party lights.
If you’re ready to channel your inner rock star with a spooky skull twist, here’s how you can do it yourself:
Supplies You’ll Need:
- White or light gray nail polish (for base color)
- Fine nail art brush or toothpick
- Black nail polish or acrylic paint (for skull details)
- Silver glitter nail polish or loose glitter
- Small rhinestones or nail gems
- Clear top coat polish
- Nail glue (optional, for rhinestones)
- Cotton swabs and nail polish remover (for cleanup)
How To Create Your Skull Chic Nails:
- Start by applying two thin coats of your white or light gray polish. Let each coat dry completely to create a smooth, opaque base.
- Using a fine nail art brush or a toothpick dipped in black polish, carefully paint tiny skull shapes on each nail—think round heads, hollow eye sockets, and a little grin made from dots or short lines.
- Once the skulls dry, decorate around them with a light dusting of silver glitter polish to add shimmer without overpowering the design.
- Attach a small rhinestone near the base or corner of each nail using nail glue for an extra rockstar glam touch.
- Seal your masterpiece with a generous layer of clear top coat to make sure your design stays flawless all Halloween night.
- Use a cotton swab dipped in remover to clean up any polish on your skin for that crisp, professional finish.
There you have it—skulls with sparkle, perfect for anyone wanting to mix a little rock ‘n’ roll spirit with their spooky season style. Trust me, you’ll love the way these nails bring a unique edge to your Halloween look. Rock on and be hauntingly beautiful!
5. Midnight Bite: Nail Art That’s Delightfully Fang-tastic
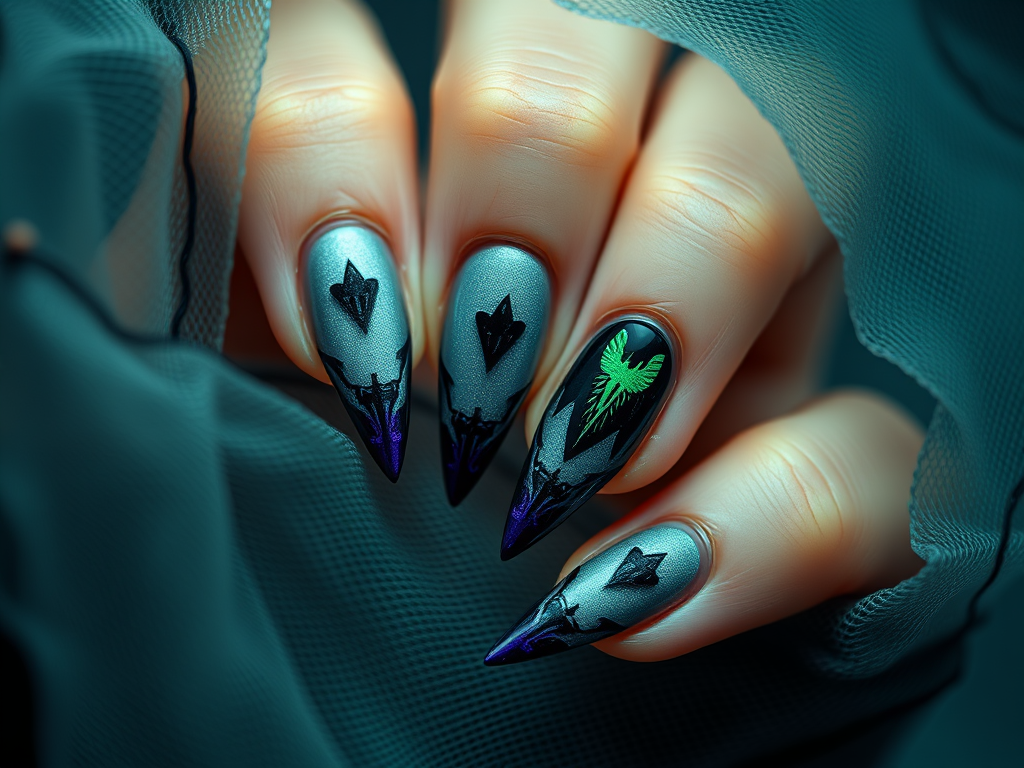
There’s something irresistibly thrilling about channeling your inner vampire every October, and what better way to do that than with nails that whisper tales of midnight escapades and secret blood feasts? Last Halloween, I decided to swap my usual sparkly manicure for something a little darker — a design that captured the essence of all things mysterious, spooky, and irresistibly vampy. Picture nails dipped in the perfect shade of crimson, so deep they could’ve been swiped straight from a freshly poured goblet of red wine. Then, tiny fang-shaped accents and delicate blood drips added just the right touch of eerie, turning my fingertips into little canvases of gothic artistry.
I remember carefully painting the base coat, my heart fluttering with excitement as each nail became a miniature masterpiece of dark allure. Adding the bite marks was my favorite part — those jagged, imperfect edges looked like a vampire had playfully nibbled right on my skin! It made the whole look feel personal, like a secret invitation to a moonlit masquerade. Friends couldn’t stop complimenting them, and I caught more than one lingering gaze during spooky festivities.
Ready to summon your own vampire vibes? Here’s how to transform your nails from ordinary to fang-tastic with just a few tools and a steady hand.
Supplies Needed
- Deep, dark red nail polish (think blood red or cranberry)
- Thin nail art brush or detail brush
- Black nail polish or nail art pen
- White nail polish (for highlights)
- Top coat (for shine and protection)
- Nail polish remover and cotton swabs (for any happy little accidents)
How To Create Your Midnight Bite Nails
- Prep your canvas: Start with clean, dry nails. Apply a clear base coat to protect your natural nails.
- Paint the blood: Apply two coats of your deep red polish. Allow each coat to dry completely for that rich, luscious color.
- Shape the fangs: Using your thin nail art brush dipped in white polish, carefully draw tiny pointed fang shapes near the tips of a few nails. Think small, sharp triangles peeking out from the edge.
- Add the drips: Switch to black polish or a fine nail art pen to outline small blood drips trailing from the fangs or randomly placed on other nails. Vary the size to keep it whimsical and realistic.
- Create bite marks: For an extra eerie effect, use the black polish to draw small jagged teeth marks around the edges of select nails — as if the vampire couldn’t resist taking a nibble.
- Highlight for depth: Add tiny white dots or streaks within the drips to mimic the glossy wetness of fresh blood.
- Seal the look: Finish with a glossy top coat to lock in your masterpiece and give your nails that irresistible shine.
Now you’re ready to stroll through moonlit streets or spooky parties with nails that truly bite back. Trust me, once you try this look, you’ll want to keep the vampire vibes all year round!
6. Webbed Wonders: My Glamorous Halloween Nail Adventure
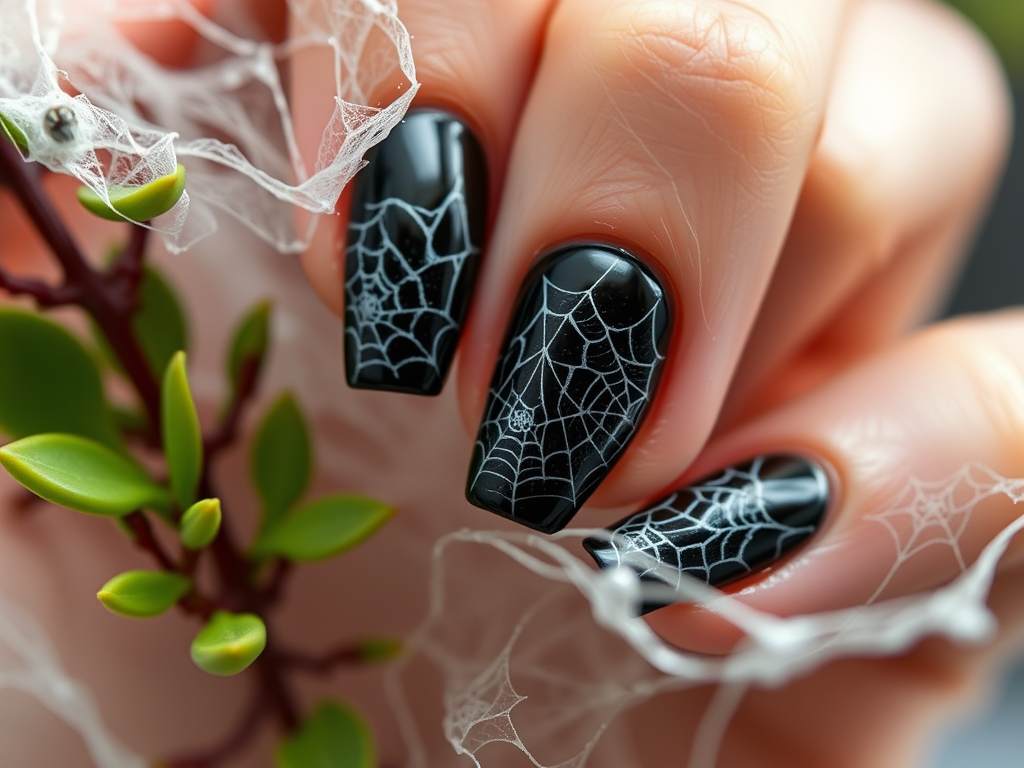
There’s something irresistibly spooky about spiderwebs fluttering in the crisp autumn breeze, and this Halloween, I decided to bring that eerie beauty right to my fingertips. Picture this: deep, velvety black nails serving as the perfect midnight canvas, each one delicately wrapped in shimmering spiderwebs that glisten like tiny silver threads under the light. It’s a blend of gothic allure and subtle glam — the kind of nail art that stops conversations and turns heads at every Halloween party.
I remember sitting curled up on my couch, Halloween tunes humming softly in the background, as I carefully traced each web with a fine brush. The process was almost meditative, like weaving a tiny silk masterpiece. To add a sprinkle of magic, I dotted a few rhinestones at the intersections of the webs, giving the effect of morning dew on a spooky morning. Not only did it satisfy my love for all things creepy-cute, but it also made me feel like a Halloween queen ready for a night of mischief and glamour.
If you’re craving a nail look that’s both eerie and enchanting, here’s your guide to making your own webbed wonders come to life.
Supplies You’ll Need:
- Black or deep purple nail polish (for your base)
- Thin nail art brush or a fine detail brush
- Silver or white nail polish for the webs
- Clear top coat
- Fine glitter (optional)
- Tiny rhinestones or nail gems (optional)
- Nail glue (if using rhinestones)
How To Get the Webbed Wonder Look:
- Start by applying two coats of your base color (black or deep purple) to clean, dry nails. Let each coat dry completely.
- Dip your thin nail art brush into silver or white polish. Starting from the corner of each nail, paint fine, gently curved lines radiating outward like spokes of a wheel.
- Connect these spokes with smaller curved lines, weaving a web pattern. Don’t worry about making it perfect — the charm lies in the delicate, slightly irregular lines.
- If you want extra sparkle, lightly dab some fine glitter onto the wet nail polish before it dries.
- Use a dotting tool or the tip of your brush to place tiny rhinestones at some of the intersections of the web.
- Once everything is thoroughly dry, seal your masterpiece with a clear top coat to add shine and ensure your spiderweb stays intact all season.
Embrace the thrill of Halloween with nails that whisper stories of moonlit nights and silky webs, blending spooky vibes with a chic twist!
7. Sweet Treats at Your Fingertips: The Candy Corn Nail Affair
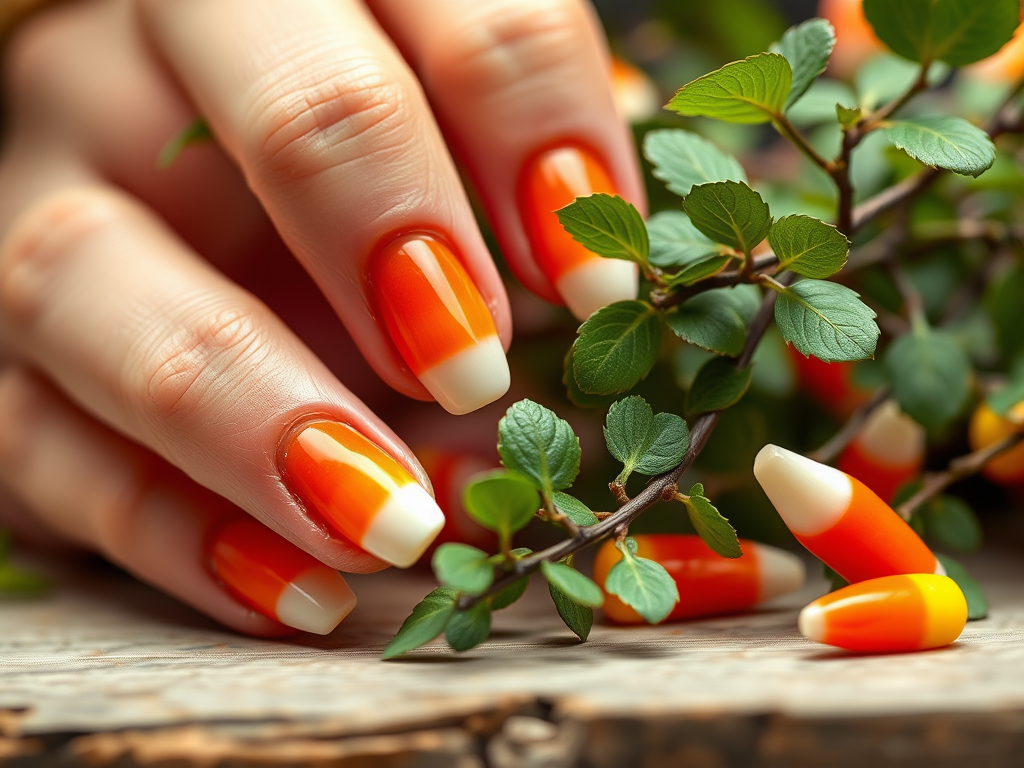
There’s something undeniably joyful about candy corn—the way its bright yellow, orange, and creamy white layers mimic a miniature sunset all wrapped into one delicious bite. One Halloween, caught in the spirit of the season and craving a bit of whimsy, I decided to translate that love for candy corn onto my nails. Sitting by my window with autumn leaves swirling outside, each brushstroke felt like painting a tiny slice of fall happiness. The bold colors contrasted perfectly against my pale skin, and the addition of sparkly rhinestones turned my fingertips into dazzling little treats that caught the light with every gesture. It wasn’t just nail art; it was a celebration of everything sweet and nostalgic about Halloween.
The best part? This design is surprisingly simple, yet packs an eye-catching punch perfect for cozy parties or candy runs. Even if you’re not a pro, the layered candy corn stripes make it playful and forgiving, while a hint of glitter elevates the overall magic. Whenever someone compliments my nails, I get to smile and confess my sugary inspiration—a conversation starter that’s as fun as the art itself.
Ready to sweeten your nail game? Here’s how to make your own candy corn masterpiece come to life:
Supplies & Tools Needed:
- Base coat nail polish
- Yellow nail polish (bright, sunny shade)
- Orange nail polish (classic candy corn orange)
- White nail polish (creamy white shade)
- Thin nail art brush or striping brush
- Clear glitter polish or loose glitter
- Small rhinestones (optional)
- Top coat nail polish
- Nail polish remover and cotton swabs (for clean-up)
How To Create Your Candy Corn Cuties:
- Prep Your Canvas: Start with clean, filed nails. Apply a thin base coat to protect your natural nails and create a smooth surface.
- Paint the Yellow Layer: Paint the bottom third of each nail with the yellow polish. Don’t rush—let this layer dry fully.
- Add the Orange Stripe: Using your thin nail art brush, paint the middle third of the nail in orange, creating a crisp transition over the yellow.
- Top it Off with White: Finish by painting the tips of your nails with the creamy white polish, completing the classic candy corn tri-color.
- Glitter Time: While the paint is still a bit tacky, gently dab a glitter polish over the orange and yellow areas for a subtle sparkle. Alternatively, carefully place tiny rhinestones near the base or along the stripe edges.
- Seal the Sweetness: Once everything is dry, apply a clear top coat to lock in your design and add shine.
- Clean Up: Use a cotton swab dipped in polish remover to clean any excess polish around your nails for a flawless finish.
And there you have it—a festive, sweet, and totally adorable candy corn manicure ready to brighten your Halloween mood and your fingertips!
8. Mystic Midnight Fade: A Halloween Nail Adventure
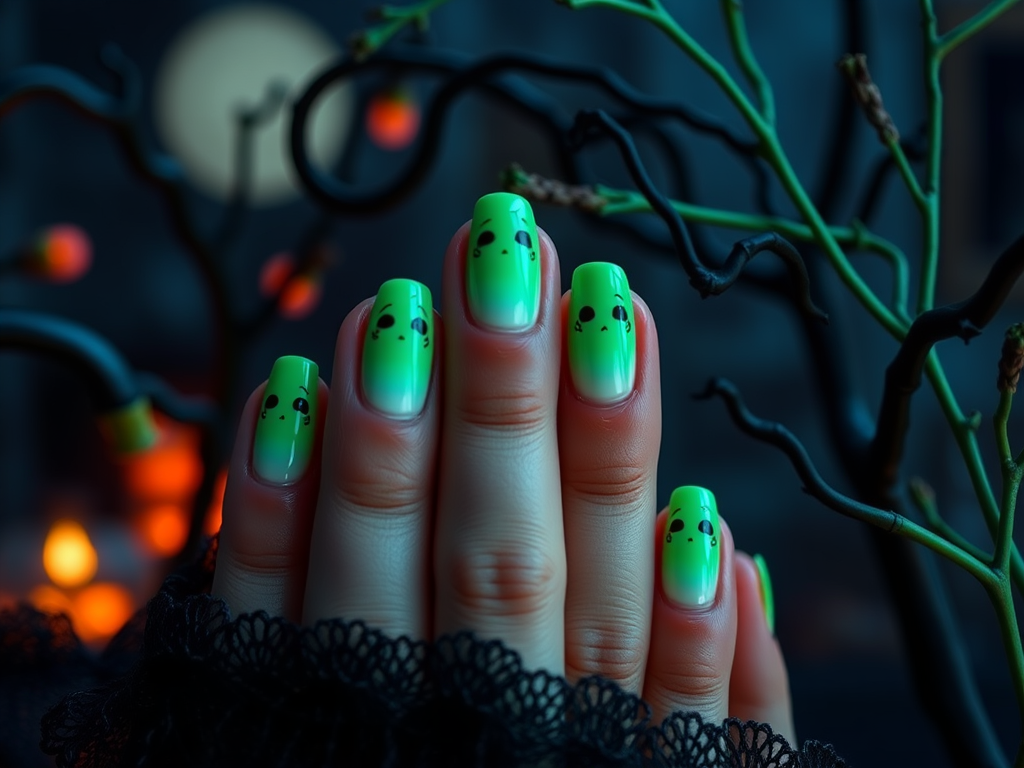
There’s something magical about the way colors melt into each other as twilight gives way to night, and that’s exactly the vibe I chased with my latest Halloween nail creation. Picture nails starting off soft and ghostly pale, gently swallowing edge deeper into the shadows with hues of purple and black—like a dark spell slowly coming to life at the stroke of midnight. I remember the first time I tried blending these shades using a makeup sponge; it was like painting an eerie fog rolling over my fingertips. Each nail felt like a tiny canvas capturing a mysterious Halloween night.
Adding delicate little accents was where the fun truly began. I freehanded minuscule bats lurking in the corners and tiny, spectral ghosts floating gently over the gradient backdrop. The contrast between the subtle color shift and the playful spooky details made my nails feel both haunting and chic—not overly gory, but perfect for those who adore a hint of the supernatural in their look. It quickly became my go-to style when I wanted to celebrate Halloween without going all out.
If you want to try this mystic midnight fade yourself, here’s what you’ll need and how to bring this dreamy, ghostly gradient to life:
Supplies You’ll Need:
- Base coat
- White or light gray nail polish
- Black nail polish
- Deep purple nail polish
- Makeup sponge (a wedge or triangle sponge works best)
- Thin nail art brush or dotting tool
- Black and white nail polish or acrylic paint (for accents)
- Top coat
- Nail polish remover and cotton swabs (for cleanup)
How To Create Your Mystic Midnight Fade:
- Start by applying a base coat to protect your nails.
- Paint all your nails with two coats of a white or light gray polish; let dry completely.
- Dab a makeup sponge with stripes of black, deep purple, and the light base color along one edge.
- Gently press the sponge onto your nails, rolling slightly to blend the colors and create a smooth gradient. Repeat for intensity, letting layers dry between dabs.
- Use a thin brush or dotting tool dipped in white polish to add tiny ghost shapes floating on some nails.
- With black polish or paint, carefully brush miniature bats or tiny crescent moons on others.
- Allow all artwork to dry fully before sealing your masterpiece with a glossy top coat.
- Clean up edges with a cotton swab dipped in remover, and get ready to show off your mysterious, perfectly blended Halloween look!
Dive in and watch your nails transform into an enchanting twilight scene—subtle, stylish, and just spooky enough to turn heads this season.
9. Spooky Silk: Weaving Magic on Your Nails This Halloween
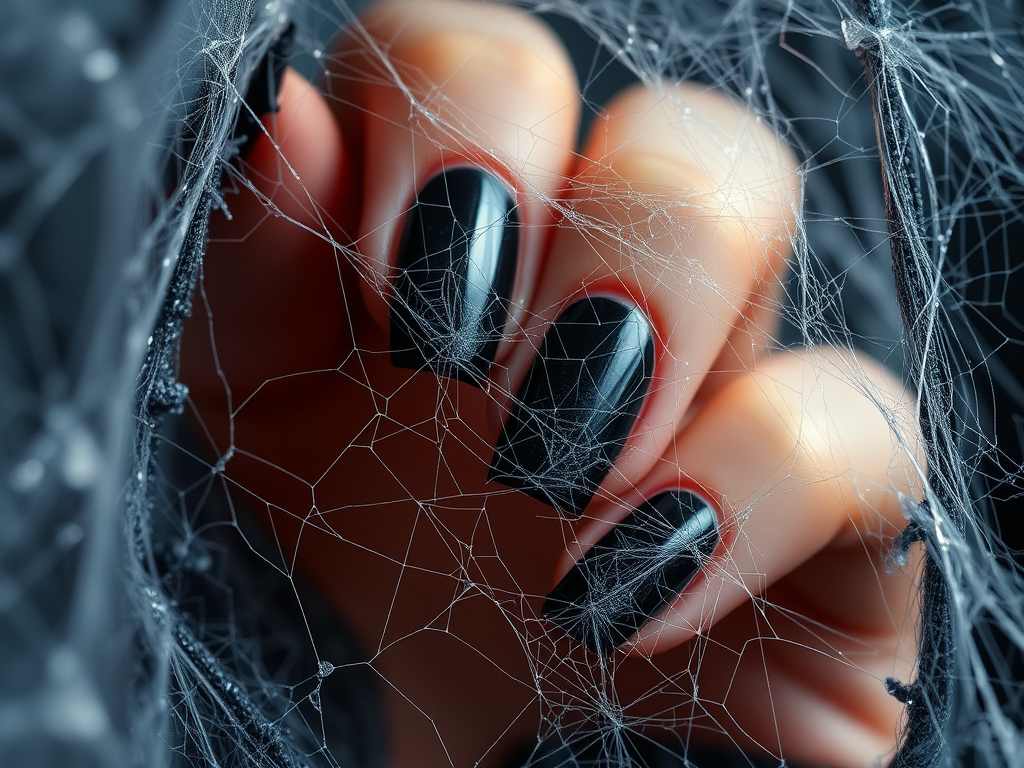
Every year, as October whispers of chilly nights and pumpkin-spiced delights, I find myself irresistibly drawn to one nail design that perfectly captures the eerie charm of Halloween: spiderwebs creeping across my fingertips. There’s something almost hypnotic about starting with a shadowy base — a black as deep as a moonless night or a rich, dark purple reminiscent of autumn twilight. It sets the perfect stage for those delicate, silvery strands of cobwebs to shimmer against. I still remember the first time I tried this look at a late-night Halloween party; friends kept leaning in, fascinated, as if the webs were spun by real spiders weaving magic just for the occasion.
The real fun begins with those tiny, intricate patterns. Using a slender brush, I trace thin lines that radiate from a single point near the cuticle, then connect them with delicate arcs, weaving a gossamer web right on my nails. To up the spooky factor, I sometimes sneak in miniature spider accents or a touch of glitter, catching light like dew in a haunted forest. It’s a design that feels both classic and playfully eerie — perfect for anyone who loves a little shiver with their style.
Supplies You’ll Need:
- Dark nail polish (black, deep purple, or vampy shades)
- Thin nail art brush or fine detail brush
- White or silver nail polish for the webbing
- Black or dark polish for spider details (optional)
- Glitter polish (optional)
- Top coat
How To Create Your Spooky Silk Nails:
- Start by applying a base coat to protect your nails.
- Paint your nails with two coats of your chosen dark polish. Let them dry completely.
- Using a thin nail brush dipped in white or silver polish, draw a small dot near the cuticle area as the center of your web.
- From this dot, paint 4 to 6 straight lines radiating outward to the edges of your nail.
- Connect the radiating lines with curved lines to create the web pattern, working from the center outwards.
- Optional: Add tiny spider shapes by painting small dots with legs on one or two nails.
- For a magical touch, lightly dab glitter polish over the web to mimic dewy spider silk.
- Seal your design with a glossy top coat to keep your spooky art lasting through all your Halloween adventures.
There’s something delightfully haunted about looking down at these webs on your nails — a small but shimmering tribute to the spirit of the season. Give it a try, and you might find your fingertips become the life of any Halloween gathering!
10. Pumpkin Patch Party: Your Adorable Halloween Manicure Adventure
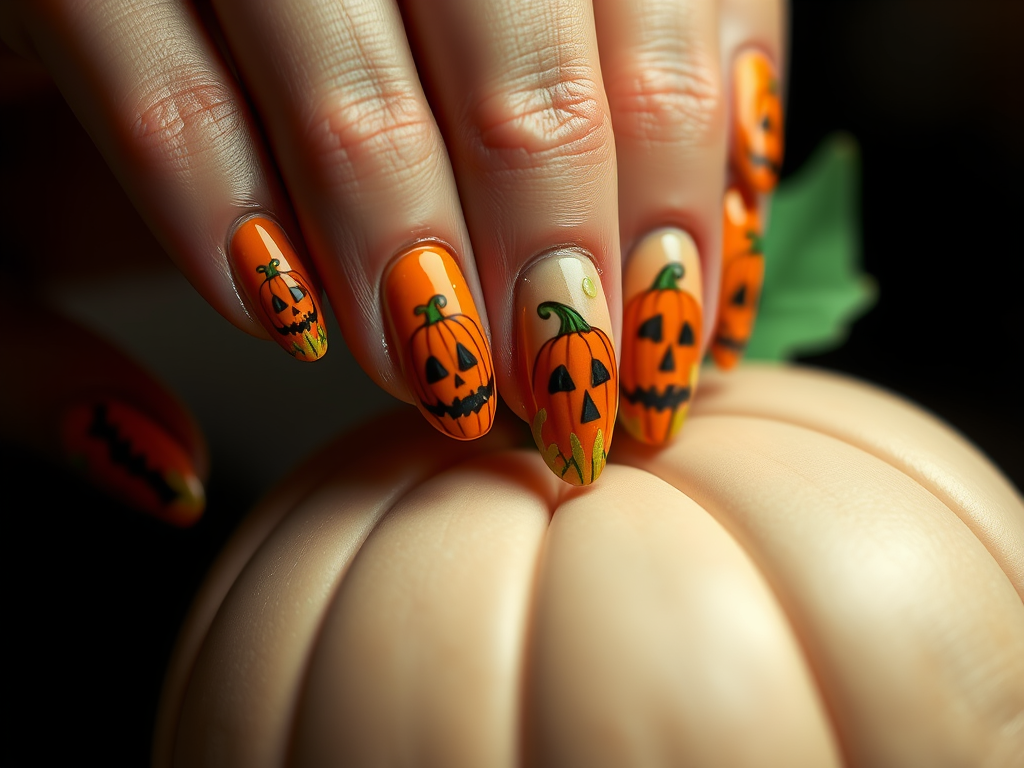
Every October, I find myself irresistibly drawn to the cozy charm of pumpkin patches—the crisp air, the vibrant orange glow, and the simple joy of little gourds peeking out from the hay. This year, I decided to bring that pumpkin patch magic right to my fingertips. Imagine tiny, plump pumpkins nestled against a warm, glowing orange background, each one sporting its own quirky little face. It’s the perfect way to celebrate Halloween if you’re all about cute vibes rather than spooky chills.
As I sat by my window with a cup of cinnamon tea, I painted my nails in a rich, pumpkin-orange shade that instantly lifted my mood. Then, armed with a toothpick and a steady hand, I got to work sketching on those whimsical pumpkin faces—some grinning, some winking, all utterly charming. Adding little emerald green stems gave each pumpkin its perfect finishing touch, making them pop with a lifelike pumpkin patch feel. Friends couldn’t help but smile when they saw my festive nails, and honestly, I felt like I was carrying a little slice of autumn magic everywhere I went.
Supplies & Tools Needed:
- Orange nail polish (your fave pumpkin shade)
- Dark brown or black nail polish (for pumpkin faces)
- Green nail polish (for stems)
- Thin nail art brush or a toothpick
- Base coat
- Top coat
n
How To Create Your Pumpkin Patch Party Nails:
- Prep your nails by cleaning and shaping them, then apply a base coat to protect your natural nails.
- Paint all your nails with two coats of the vibrant orange polish. Let them dry completely.
- Using a toothpick or nail art brush, carefully draw small pumpkin faces on each nail with the dark polish. Think cute smiles, tiny eyes, or playful winks—make each one uniquely yours!
- Add tiny green stems at the top of each pumpkin, using the green polish for a dash of realism.
- Once everything is dry, seal your masterpiece with a layer of glossy top coat to keep your pumpkins looking fresh all season long.
And there you have it—a pumpkin patch party right at your fingertips. It’s a fun, festive, and absolutely adorable way to carry the spirit of Halloween with you, no tricks, just treats!
Final Thoughts
No matter which Halloween nail art design you choose, the key is to have fun and let your spooky spirit shine through. These festive nail ideas are more than just a beauty statement—they’re a way to express your love for all things eerie and enchanting. So go ahead, mix and match your favorite designs, experiment with colors and textures, and make your nails the ultimate Halloween accessory.
Remember, Halloween is about embracing creativity and celebrating the magic of the season. With these inspired nail art ideas, you’ll not only turn heads but also add an extra layer of excitement to your festive look. Happy haunting and happy painting!
