What a Modest $100 Can Really Do for a Living Room Refresh
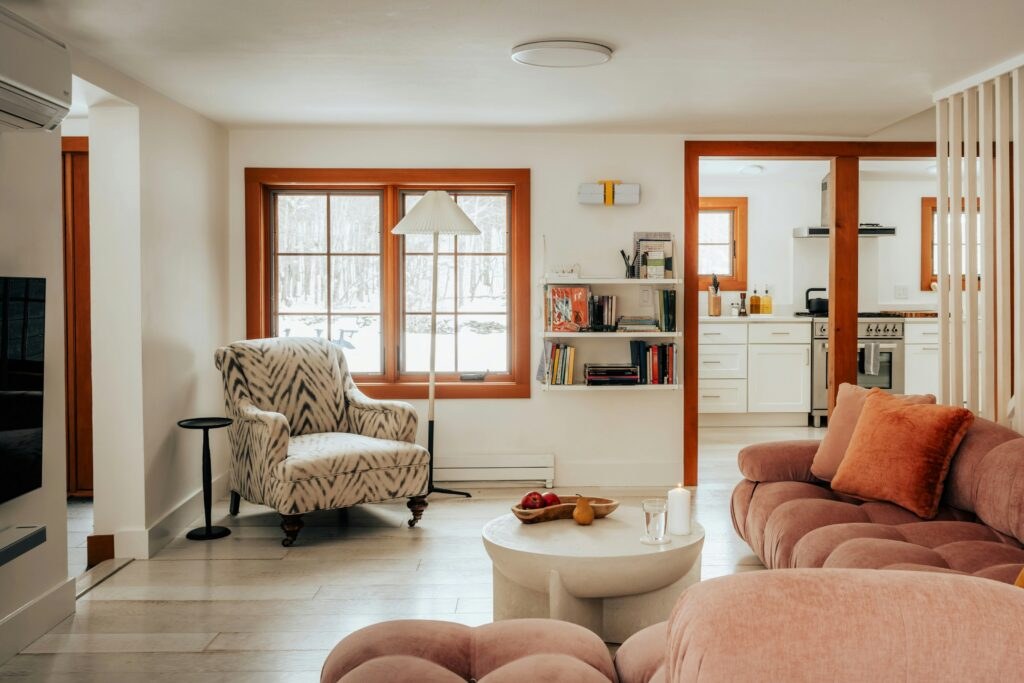
It’s surprising how the smallest, most intentional changes can alter how a room feels. With one weekend, a bit of sweat, and about a hundred dollars, you can shift a living room from “okay” to deliberately lived-in — without pretending you bought a whole new set of furniture. This is about choosing one or two high-impact moves and doing them well.
This article walks through six practical steps that together make a room feel edited, warmer, and more functional. Each section includes what you’ll need and a clear, numbered how-to so you can pick a plan and get to work — safely and with real results in sight.
1. 1. Start with a Simple Plan: Pick a Focal Point and a Priority
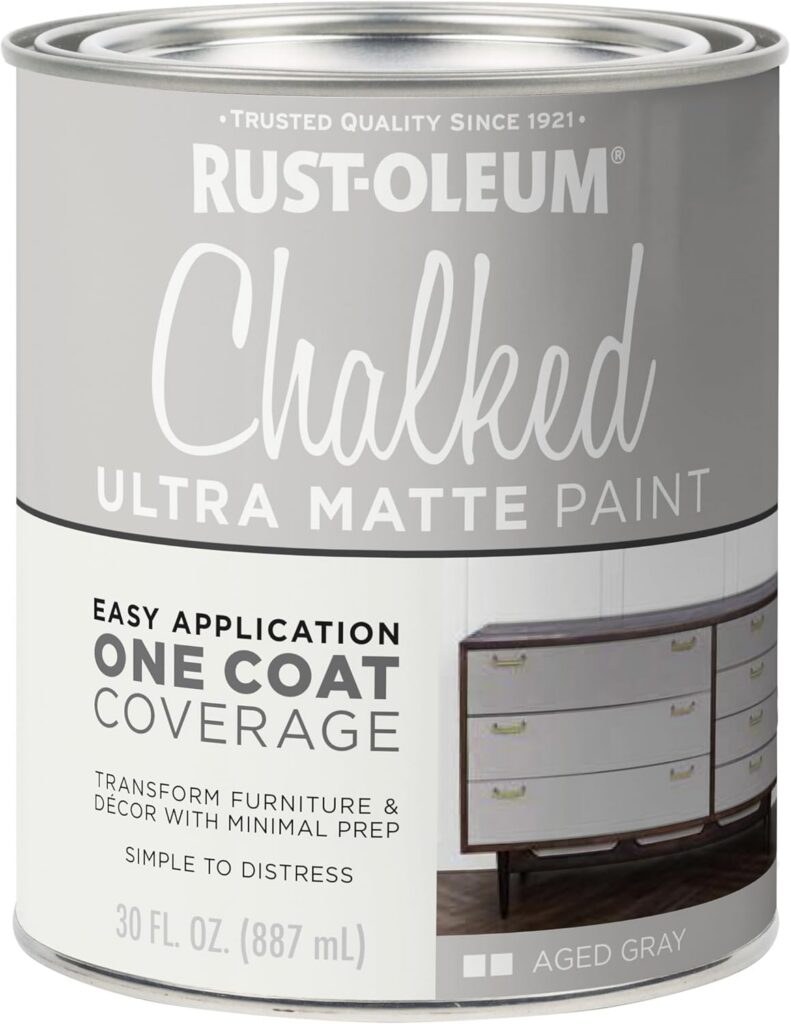
Before spending a cent, take an hour to walk the room with a notepad. Find the natural focal point — a large window, a TV wall, or a fireplace — and decide what single change would have the most honest effect: paint, light, curtains, or a large plant. A clear priority prevents scattershot purchases and keeps your $100 from getting swallowed by four small items that only sort-of work.
What You’ll Need
- Notebook or phone to sketch measurements and notes
- Tape measure
- Marker or painter’s tape for temporary placement
How to Put It Together
- Stand in the room and identify the focal point; take photos from several angles.
- Decide your one primary change (e.g., paint one wall, change bulbs, hang curtains) and allocate about two-thirds of your budget to it.
- Sketch a simple layout: where seating will sit relative to the focal point and where you’ll need pathways (aim for at least 30–36 inches of walking space).
- Make a short shopping/errand list from that plan and reserve the rest of the budget for a finishing touch.
2. 2. Paint Strategically: One Wall or Fresh Trim
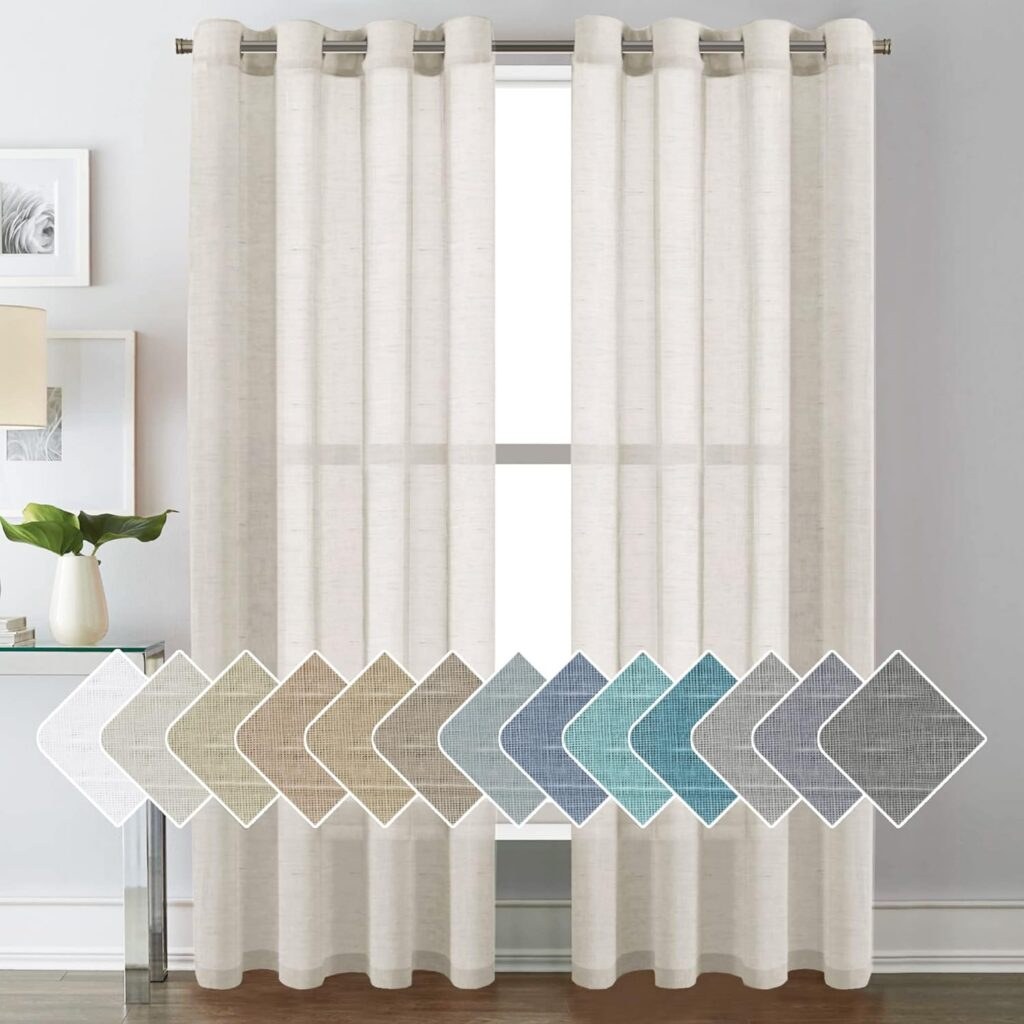
A single coat of color — on one wall, a piece of trim, or the back of a bookcase — can change how light reads in a room and make existing furniture feel intentional. Opt for a sample or quart sized can and test on the wall first; the right undertone matters more than a trendy name. Prioritize ventilation, use drop cloths, and wear a mask if sanding or using strong primers.
What You’ll Need
- Small can of paint (sample or quart) in a tested color
- 2″ angled brush and 4″ roller with tray
- Drop cloth or old sheet and painter’s tape
How to Put It Together
- Patch and lightly sand any holes; wipe the wall to remove dust.
- Apply painter’s tape along trim and baseboards; protect floors with a drop cloth.
- Cut in edges with the angled brush, then use the roller for the larger area; allow recommended drying time and add a second coat only where needed.
- Remove tape slowly while the paint is semi-dry; step back and evaluate whether the change improved the feel before spending more on additional paint projects.
Safety note: keep the room ventilated with windows open or a fan, and store paint away from children and pets.
3. 3. Light It Up: Warm Bulbs and Layered Lighting
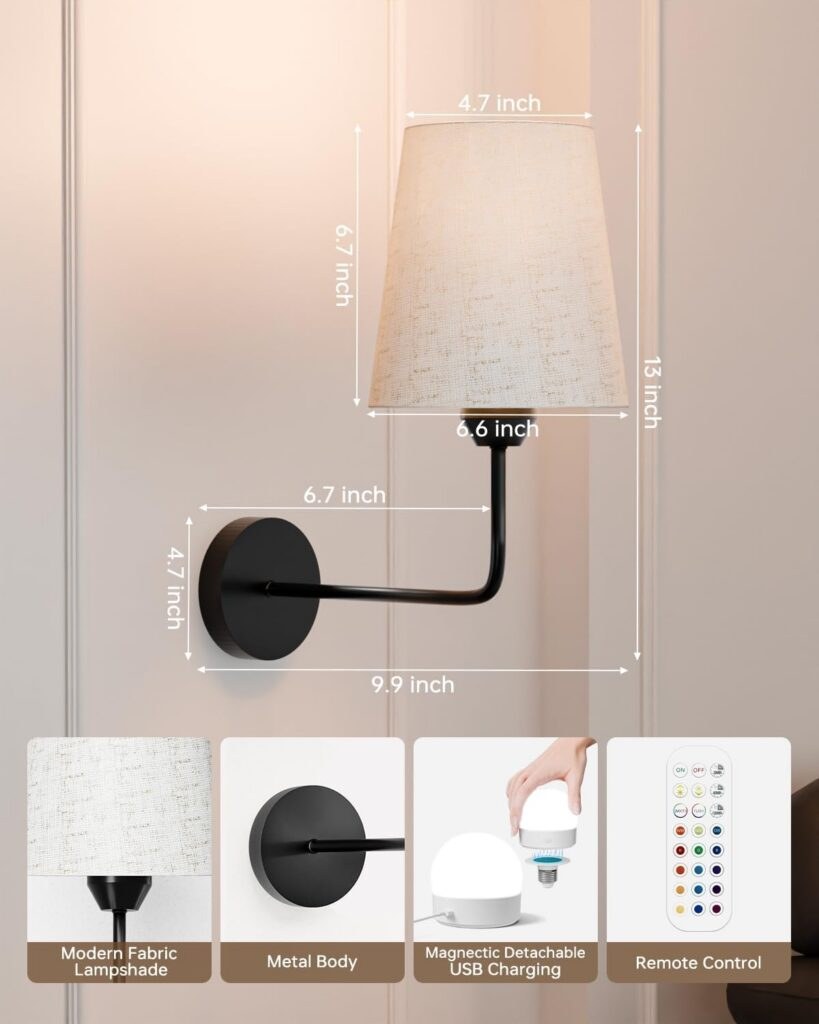
Lighting changes perception instantly. Swap harsh cool bulbs for warm white bulbs around 2700K and think in layers: ambient (overhead), task (reading), and accent (art or corners). Even inexpensive plug-in lamps or a new bulb in an existing lamp can transform the mood. Secure cords, anchor wobbly lamps, and avoid overloading outlets.
What You’ll Need
- Warm white (around 2700K) bulbs — consider a dimmable option if you have a compatible fixture
- A small table lamp or floor lamp if you need task lighting
- Power strip with surge protection if adding multiple lights
How to Put It Together
- Replace existing bulbs with warm 2700K bulbs throughout the space; test brightness and swap to a lower wattage if the light feels harsh.
- Add a task lamp by the primary reading seat or a floor lamp in a dim corner; position lighting to eliminate glare on screens.
- Use a dimmer or a plug-in smart dimmer for evening ambience if your fixtures support it.
- Secure cords along baseboards or under rugs where appropriate; never pin cords under heavy furniture in a way that damages insulation.
4. 4. Hang Curtains to Add Height and Softness
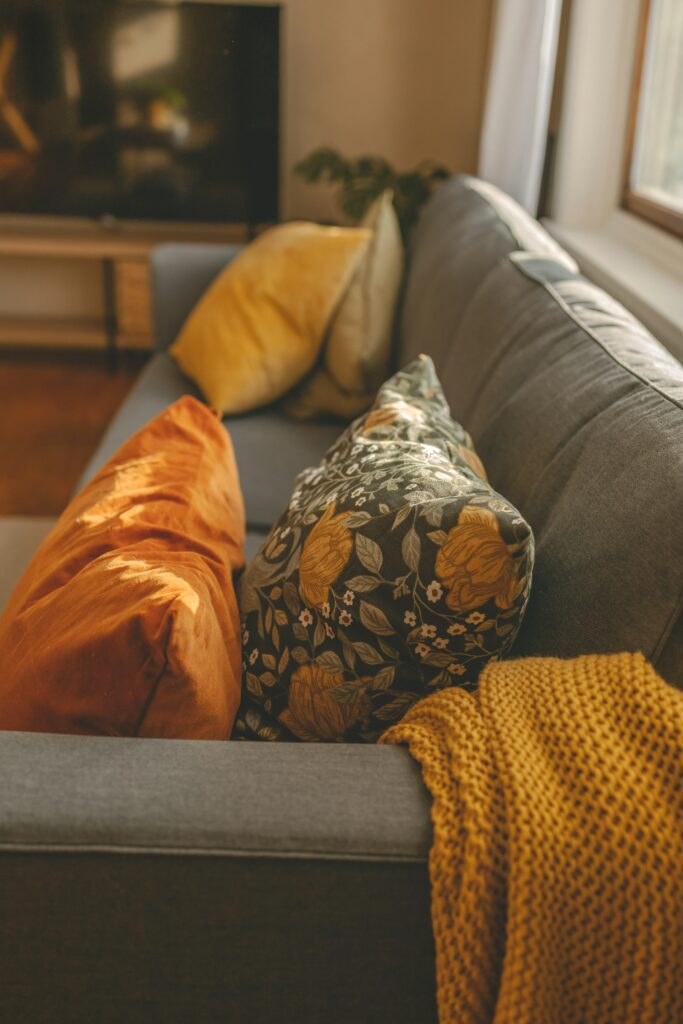
Curtains hung higher and wider than the window make ceilings feel taller and windows more generous. You don’t need expensive fabric — look for simple, washable panels and a sturdy rod. Measure first: hang the rod 6–12 inches above the window frame and extend it at least 3–6 inches past each side of the opening so the fabric stacks off the glass when open.
What You’ll Need
- Pair of full-length curtain panels (light-filtering or washable fabric)
- Curtain rod and hardware (appropriate for your wall type)
- Drill, level, and anchors (if drilling into drywall)
How to Put It Together
- Measure from floor to desired top of rod (6–12 inches above the frame is typical) and mark with a pencil and level.
- Install brackets with anchors for drywall; use masonry anchors for brick or concrete.
- Thread panels on the rod or clip them on, then hang and adjust length so they just skim the floor or hover slightly above it.
- Step back and adjust how the fabric stacks; if the room needs light, choose lighter-weight panels and avoid blocking natural light unnecessarily.
5. 5. Rearrange and Edit: Use What You Already Own
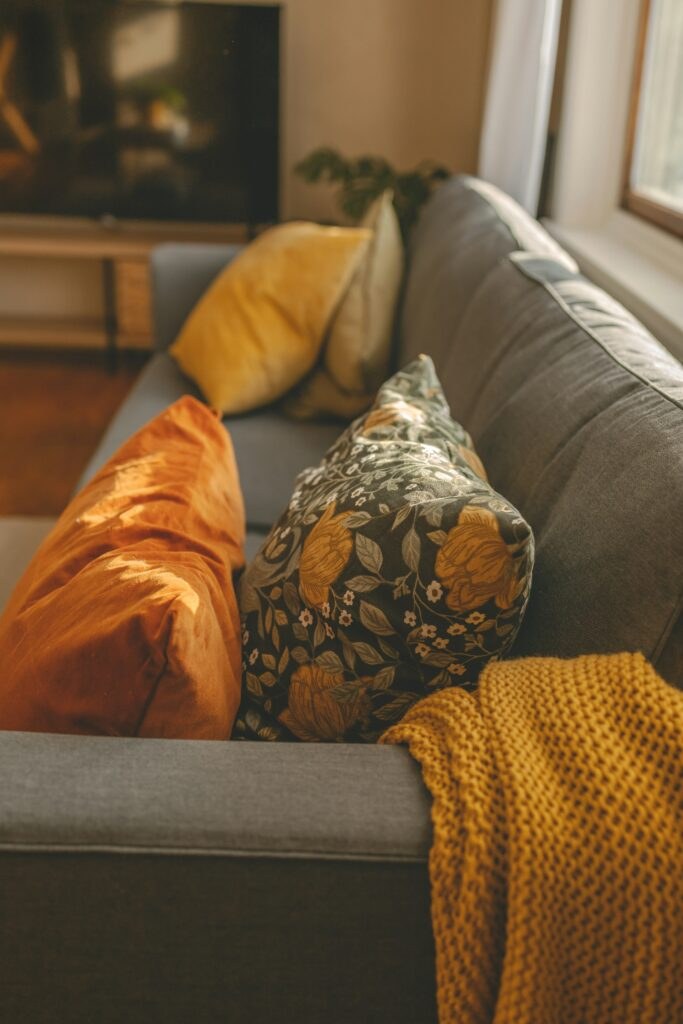
Moving furniture around costs nothing and often yields the biggest perceptual change. Find and accentuate the focal point, create proper circulation paths, and remove or box up items that are cluttering the sightlines. Editing — less is often more — will make surfaces and shelving feel curated instead of chaotic.
What You’ll Need
- Helper for moving heavy pieces (safety first)
- Furniture sliders or a moving blanket to protect floors
- Boxes or bins for temporary storage during the edit
How to Put It Together
- Clear surfaces and remove small items to a box so you can see the room’s structure.
- Move the largest pieces first: center seating on the focal point and maintain at least a 30–36″ walkway where possible.
- Place one conversation zone — arrange chairs and sofas to promote interaction; avoid pushing everything against the walls by default.
- Edit decorations: keep a few meaningful objects and store the rest out of sight; live with the edit for a day before deciding what to reintroduce.
6. 6. Finish with Texture, a Plant, and a Small Gallery
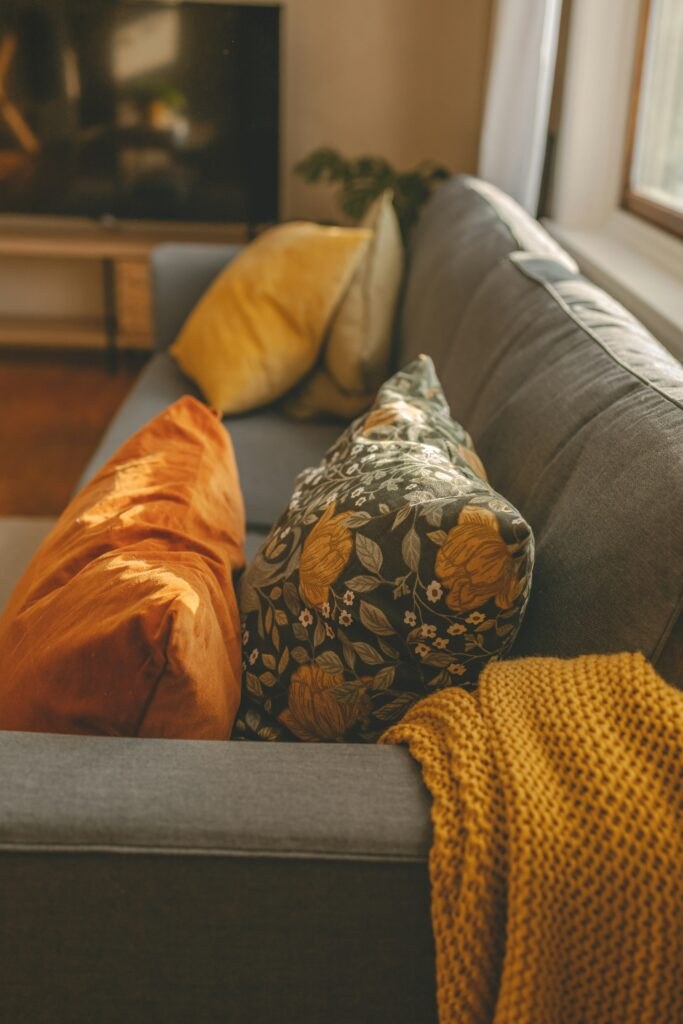
A single large plant, a cozy throw, and a small curated gallery will read as collected rather than bought-for-the-moment. Use neutral mats and uniform frames or paint thrifted frames the same color for cohesion. A copy shop can print inexpensive art-sized prints or photos — just be mindful of image licensing and choose public-domain or your own photos.
What You’ll Need
- One substantial houseplant suited to your light level and a simple pot
- One textured throw blanket and a couple of pillows that coordinate (not match everything)
- Frames (thrifted or inexpensive) and prints from public-domain sources or your own photos
How to Put It Together
- Choose the right plant for the corner: bright light = layered-leaf plant; low light = hardy, low-maintenance variety. Place it where it can thrive, not just where it looks pretty.
- Drape a throw casually over an arm or the back of the sofa; avoid perfectly folded presentation — lived-in is the goal.
- Arrange a small gallery: lay frames on the floor to compose, then hang starting at eye level and expanding outward; use consistent spacing for a collected look.
- Step back and live with the room for a night before buying any more accessories.
Final Thoughts
A hundred dollars won’t remake your living room overnight, but it will buy a decisive change if you spend it with intention. Choose one high-impact move — paint, better light, taller curtains, or a plant and a gallery — and resist the urge to buy four things that almost work. The time you invest, the edits you make, and the choices you don’t make are just as valuable as what you buy.
Begin with a plan, prioritize safety (ventilate when painting, get help moving heavy items, and secure lamps and cords), and give yourself permission to stop once the main change has landed. Small, smart choices done well create a room that feels like yours right now.