How to Transform a Long Living Room Wall Into a Balanced, Lived-In Feature
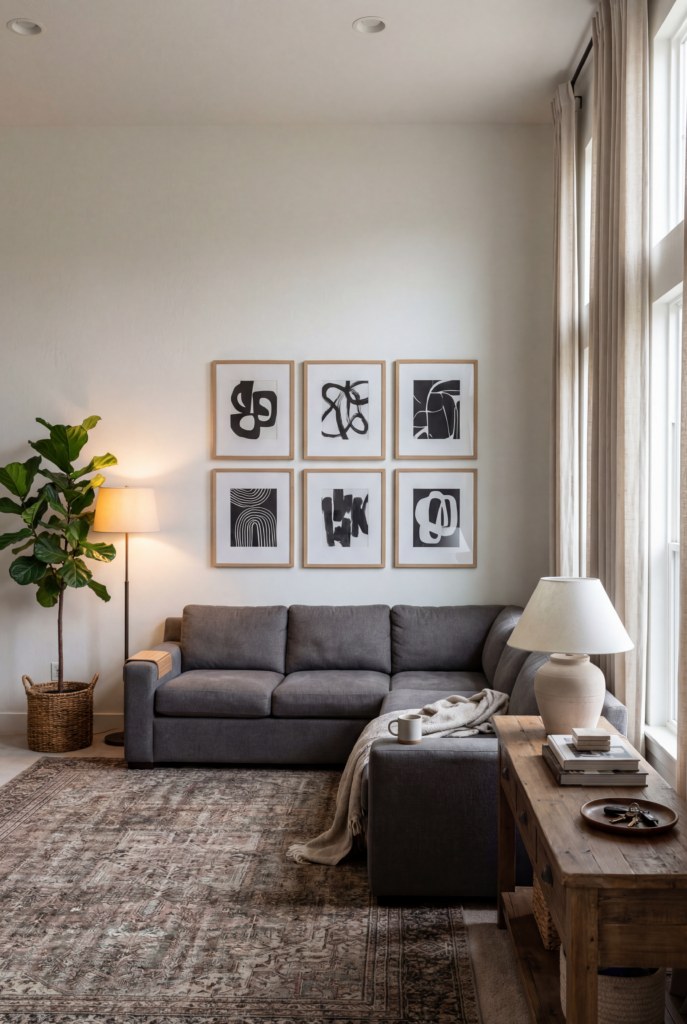
A long wall in a living room can feel like an opportunity or an anxiety trigger. The trick isn’t to plaster it with objects; it’s to give it a few purposeful moments that guide the eye, provide function, and make the whole room feel intentional. With a little prep and a few clear rules about scale, rhythm, and lighting, you can turn that blank expanse into a calm, confident backdrop for everyday life.
Start by measuring and mapping, then decide what role the wall should play: anchor, passage, media, or display. From there you’ll choose one dominant idea and layer supporting elements — a large artwork, a console with storage, ledges with curated pieces, or a run of shelves. Follow practical steps for safe hanging, balanced proportions, and lighting so the wall looks good morning through night.
1. Measure, Map, and Mark: Plan before you hang
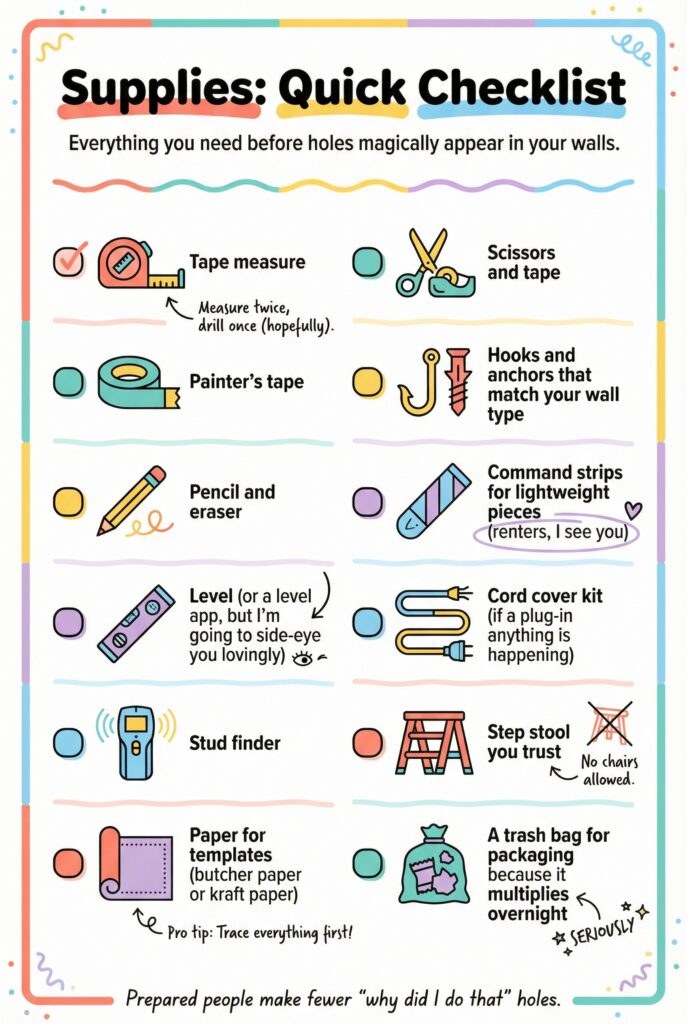
Before buying frames or shelves, get the facts. Measuring and mapping saves time and prevents common mistakes like art that floats too high or shelves that miss studs. Use a simple baseline for eye level, note outlets, switches, and studs, and tape out prospective widths so you can see how compositions will read in the room.
What You’ll Need
- Tape measure and painter’s tape
- Pencil and notepad
- Stud finder
- Masking paper or kraft paper for templates
- Ladder or sturdy step stool
How to Put It Together
- Measure the wall width and ceiling height and sketch a quick plan noting studs, outlets, and vents.
- Choose a visual center (a baseline at about eye level for seated and standing sight lines) and mark it lightly with painter’s tape.
- Tape out approximate group widths — aim for grouped artwork to span roughly two-thirds of adjacent furniture, or mark zones if you plan multiple features.
- Cut paper templates for oversized pieces or for key shelf lengths and tape them to the wall to test placement before any drilling.
- Re-check sight lines from seating areas and the doorway; small shifts often make a big difference.
2. Pick a Composition Lane: Keep one idea and run with it
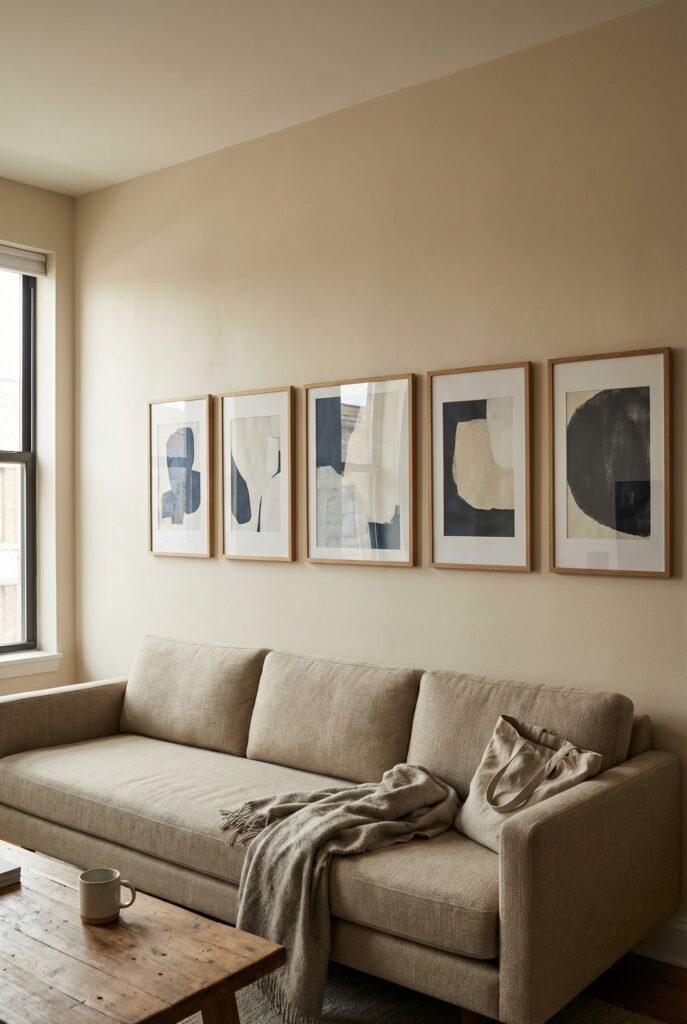
A long wall reads best when it’s speaking one language. Decide whether it will be an anchor (large art or textile), a gallery (grouped frames), a functional run (console and storage), or a display shelf system. Limiting your approach prevents the visual clutter that comes from trying to combine too many concepts at once.
What You’ll Need
- Notebook to record your chosen lane and constraints
- Reference photos that show the mood you want (not exact items)
- Measuring notes from the mapping step
How to Put It Together
- Decide the wall’s primary purpose (statement art, framed gallery, storage + styling, or media integration).
- Set clear limits: maximum span, color palette, and two finishes for frames/shelf hardware.
- If placing above furniture, make the grouping width relate to the furniture (about two-thirds is a useful starting point).
- Commit to your lane mentally and physically—avoid adding a competing element until your main idea is installed.
- Make a short shopping list that fits the plan so purchases support the composition rather than distract from it.
3. Large-Scale Anchors and Furniture: Give the wall weight
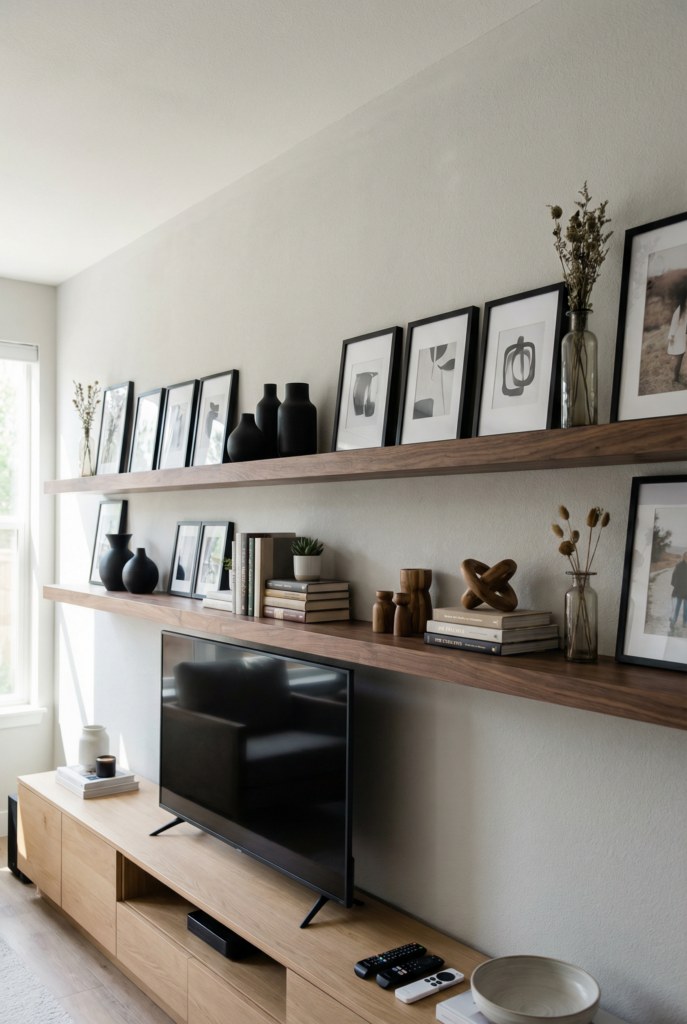
Big pieces create instant calm on a long wall. A single large artwork, a textile, or a planted console provides visual weight and a home base for smaller accents. Anchor moments should relate to the room’s furniture heights so nothing looks like it’s floating or fighting for attention.
What You’ll Need
- Large art or textile, or measurements for a statement piece
- Appropriate hanging hardware (anchors, picture hooks sized for weight)
- Stud finder and drill or screwdriver
- Console table or low cabinet sized to the space
- Furniture safety straps (for tall or top-heavy pieces)
How to Put It Together
- Select an anchor piece sized to the wall; when placed over furniture, aim for the anchor to span about two-thirds of the furniture width and sit 8–10 inches above it.
- Locate studs for heavy items; use proper anchors if studs aren’t available and follow weight ratings on hardware.
- Install the console or cabinet first so the anchor can be positioned relative to it, not the ceiling.
- Attach furniture to the wall with safety straps if it’s tall or could tip; this protects children and pets.
- Keep surface styling on the furniture simple—two lamps or one lamp plus a taller sculptural object and a small tray will ground the anchor without competing.
4. Gallery Groupings: How to achieve rhythm and scale
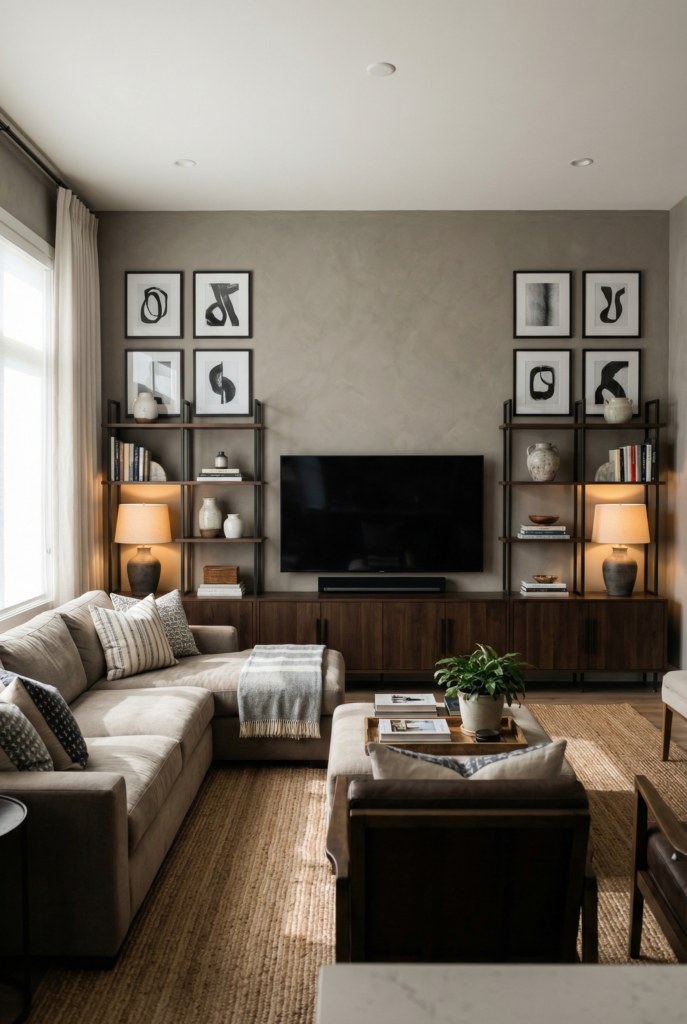
A gallery can look collected instead of chaotic with rules for spacing, frame finishes, and a clear outer edge. Think of the grouping as a single visual mass: keep gaps consistent, repeat one element (mat color or frame tone), and hang the largest piece first, working outward.
What You’ll Need
- Frames in two complementary sizes and up to two finishes
- Level and tape measure
- Paper templates or masking tape outlines
- Picture hanging hooks and wall anchors appropriate to frame weight
- Pencil and drop cloth to protect floors
How to Put It Together
- Lay out frames on the floor or use paper templates on the wall to establish the overall rectangle or organic cluster shape.
- Choose a consistent gap (2–3 inches is common) and keep it uniform across the grouping.
- Hang the largest or central piece first, using a level, then add surrounding pieces working symmetrically or in planned asymmetry.
- Step back frequently from seating positions to check balance and adjust spacing as needed.
- Limit frames to two finishes and repeat one mat color or a color accent to unify the group.
5. Shelving, Storage, and Functional Runs: Make the wall earn its keep
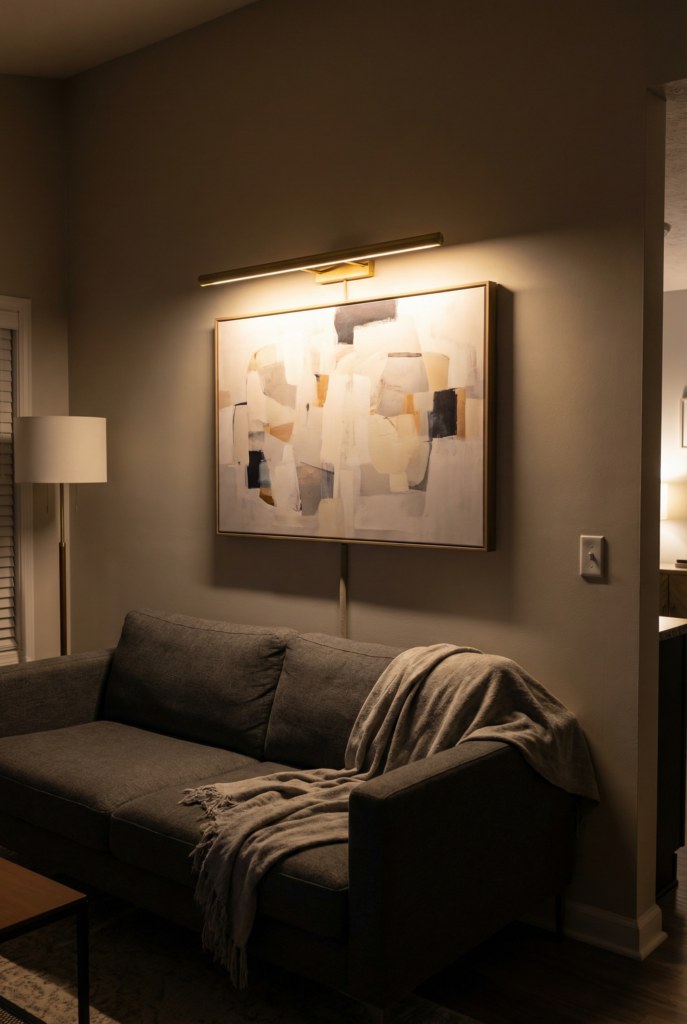
When the long wall needs to do storage duty, choose a system that balances openness and containment. Long low cabinets, a pair of floating shelves, or a mix of closed cabinetry and open ledges can create zones without overwhelming the room. Leave intentional empty space so shelves don’t become catch-alls.
What You’ll Need
- Floating shelves or a low storage console sized to the wall
- Proper wall anchors or mounting brackets (follow weight specs)
- A mix of baskets or boxes for concealed storage
- A few display pieces: books, framed prints, a plant, and one taller object
- Cable management supplies for lamps or plugged-in accessories
How to Put It Together
- Mount heavier storage units first, anchoring into studs where possible and following manufacturer weight limits.
- For ledges, establish two horizontal lines (one for functional items, one for decorative layering) and space them so items can sit comfortably without crowding.
- Group objects into clusters (art + object + plant) and repeat elements every few feet to create rhythm.
- Use baskets or closed bins for high-traffic areas to hide mail and everyday clutter; schedule a weekly sweep to keep surfaces tidy.
- Secure tall items to shelving where tipping is a risk and route cords neatly using cord covers or internal channels.
6. Lighting and Final Styling: The polish that makes it feel intentional
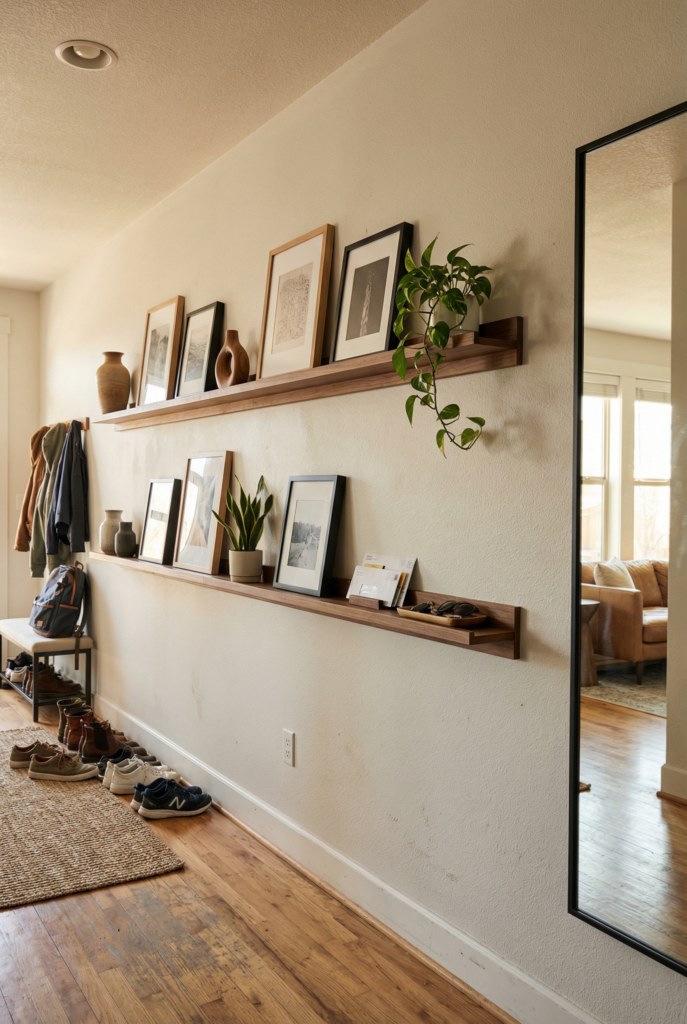
Good lighting is the difference between a wall that’s ‘nice’ and one that reads as designed. Add one layer of task or accent light: picture lights, wall sconces, or table lamps to highlight the anchor and create a pleasant evening atmosphere. Consider glare, bulb temperature, and switch/dimmer placement as you finish the design.
What You’ll Need
- Picture light, wall sconces, or table lamps appropriate to the scale
- Warm LED bulbs (2700–3000K recommended)
- Cord covers, cable clips, or hardwiring supplies (if hiring an electrician)
- Dimmers or smart plugs for adjustable light levels
- Optional: art-safe UV-filtering glass for sun-facing walls
How to Put It Together
- Choose one primary accent light for the anchor piece and size it proportionally (roughly half to three-quarters the width of the artwork for picture lights).
- Test light placement at night to check for glare and reflections; adjust angle and bulb brightness before final mounting.
- If using plug-in fixtures in a rental, plan cord routes and conceal with paintable cord covers or channeling to avoid tripping hazards.
- Install dimmers or use smart bulbs to create layered lighting that transitions from bright task light to soft evening glow.
- Add finishing touches—one living plant, a tactile textile, and a small rotation of framed photos—to make the wall feel like part of daily life rather than a staged set.
Final Thoughts
A long living room wall becomes a success when it has purpose, proportion, and a touch of light. By measuring first, choosing a single compositional lane, and anchoring the design with one or two major elements, you’ll avoid the ‘scattered across a desert’ look and create something that feels edited and useful.
Take your time with placement, prioritize safety when mounting heavy items, and add lighting as the final act. The wall should be a functional backdrop for how you live — not a vacuum for stuff. Small, deliberate edits over time will keep it fresh without undoing the balance you worked to create.
