Smart Ways to Hide and Showcase Your TV: Living Room Wall Strategies
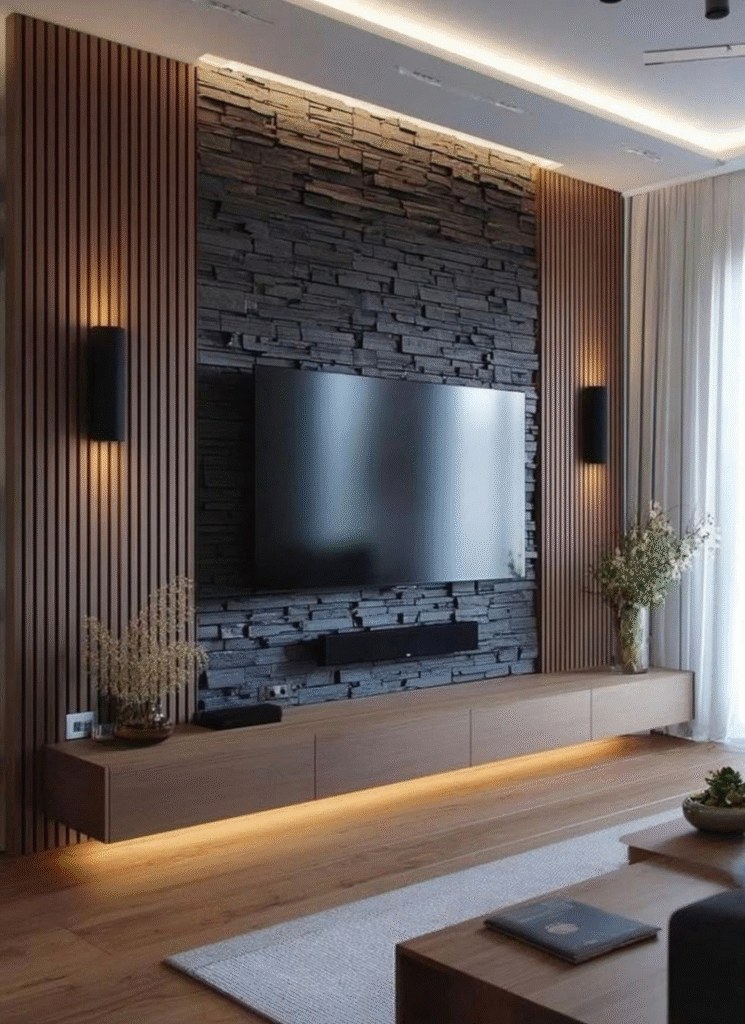
A TV doesn’t have to dominate a living room—or disappear awkwardly into a corner. The best TV walls make the screen feel intentional: part of the room’s rhythm rather than a distraction. With thoughtful scale, layered lighting, and a few clever storage moves, you can either tuck the screen away when it’s off or give it a quiet, elegant stage when it’s on.
This guide walks through practical, safe approaches that work for apartments, open-plan rooms, and family-living layouts. Each idea includes the key materials you’ll need and clear step-by-step actions, plus small design decisions—paint, texture, and symmetry—that make the difference between a makeshift setup and a living-room-ready wall.
1. Built-In Shelving That Makes the TV Part of a Library
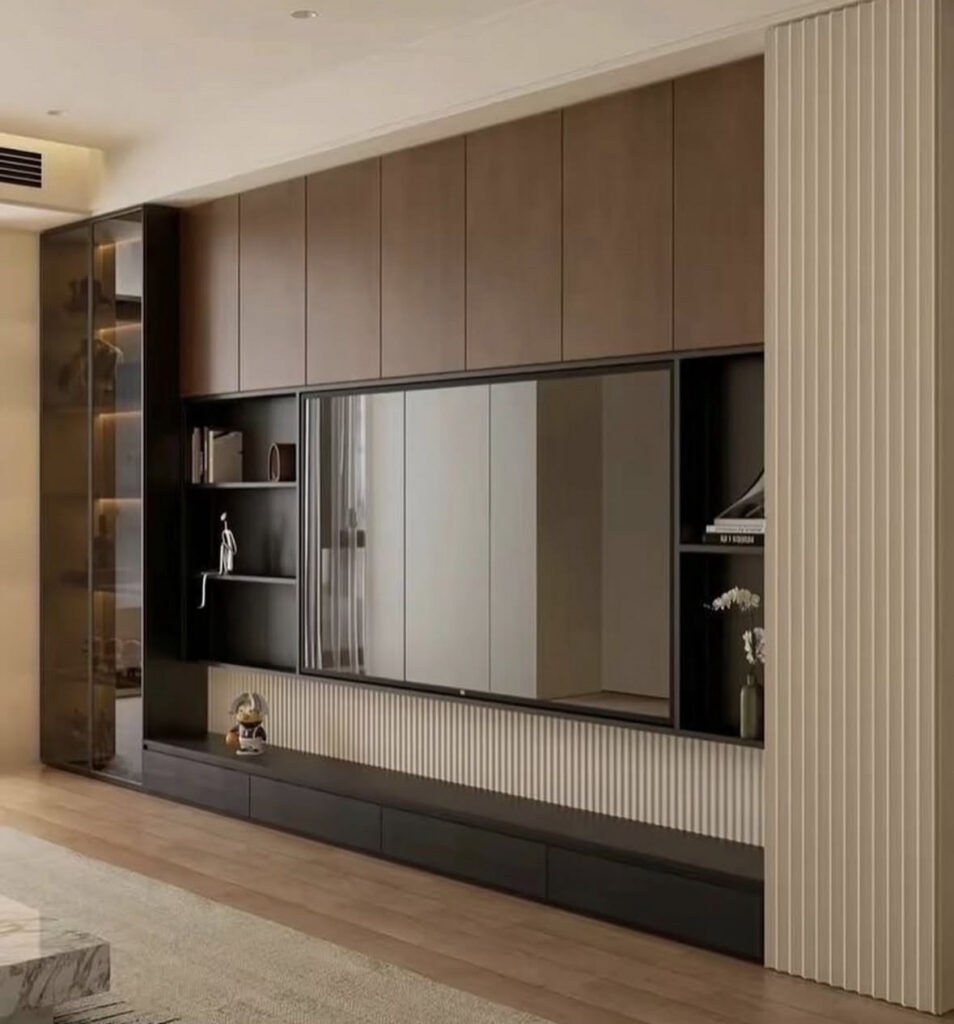
Wrap the TV in a purposeful arrangement of shelves and cupboards so it reads like one element among many. Balanced shelving keeps the screen from feeling like the room’s centerpiece while providing useful storage for remotes, consoles and decor.
What You’ll Need
- Stud finder and level
- Plywood or MDF backer and shelving boards
- Heavy-duty shelving brackets or integrated cabinet supports
- TV mount rated for the TV’s weight and VESA pattern
- Cable raceway or in-wall-rated conduit (follow local code)
- LED puck or strip lighting for shelf illumination
- Decorative baskets, books, and a few larger sculptural objects
How to Put It Together
- Measure the TV and plan the shelving composition: allow at least 2–3 in. of breathing room on each side and above the screen. Keep the TV opening slightly off-center if you’ll balance with a tall plant or stack of books.
- Locate and mark studs; fasten a continuous plywood backer to create a solid mounting surface for shelves and the TV bracket.
- Secure the TV mount to studs through the backer and hang the TV before finishing shelves so you can confirm sightlines.
- Run power and AV cables through a code-compliant conduit or surface raceway; hire an electrician for in-wall wiring.
- Install shelf lighting on the undersides of shelves to create depth and reduce contrast between a bright screen and a dark wall.
- Style thoughtfully: group objects in odd numbers, leave some empty space to prevent clutter, and reserve closed storage for controllers and cords.
Safety note: always use hardware rated for the combined weight of shelves, contents and the TV; ventilation matters—don’t seal equipment into a tight, heat-trapping box.
2. Cabinet Doors and Panels to Hide the Screen When You Want Privacy
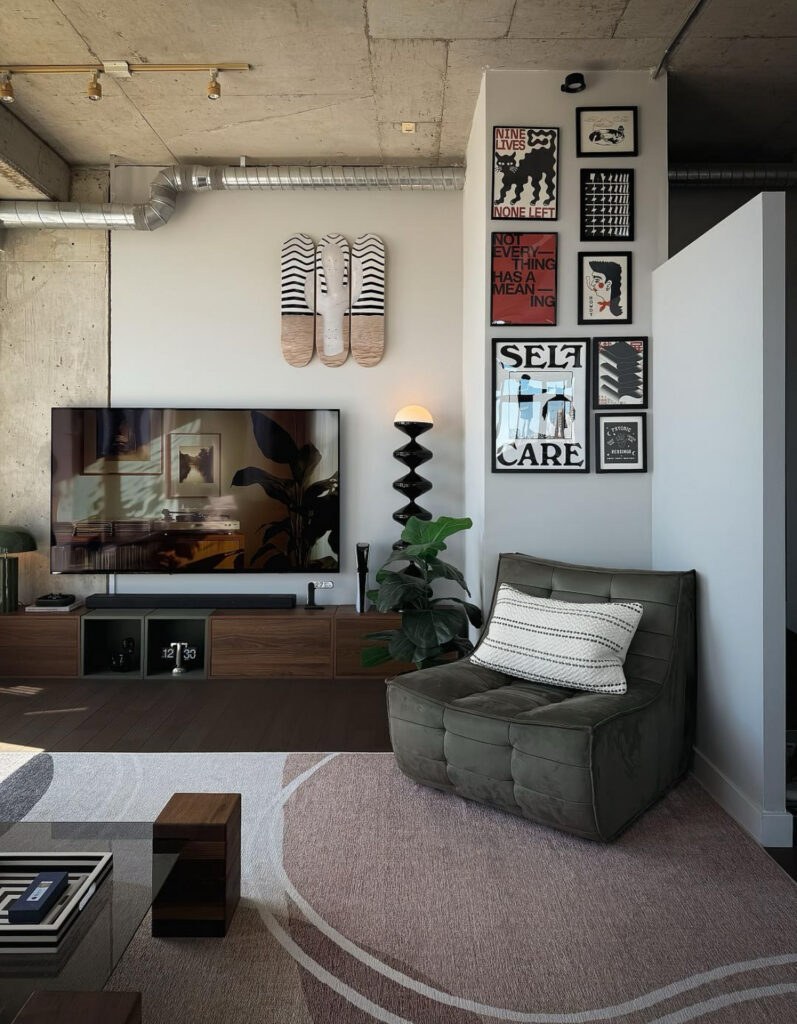
A framed cabinet with doors gives you the option to hide the TV completely when it’s not in use—ideal in multi-purpose rooms or minimalist spaces. With the right clearance and airflow, this approach is both neat and family-friendly.
What You’ll Need
- Cabinet carcass or custom-built enclosure deep enough for the TV and mount
- Soft-close door hinges or bi-fold door hardware
- Low-profile or recessed TV mount
- Ventilation grille or small quiet fan for heat dissipation
- Power strip with accessible switch and cable ties
- A door stop or magnetic catch to protect the screen when closing
How to Put It Together
- Measure the depth of your TV plus any wall plug and recommend at least 2 in. of extra space for airflow behind the screen.
- Build or buy a cabinet whose opening aligns with the TV mounting plate; reinforce the mounting area with solid blocking or plywood for secure TV attachment.
- Install the TV mount inside the cabinet and secure the TV; route cables through a rear opening fitted with a grommet.
- Add passive vents at the top and bottom of the cabinet or install a quiet fan to keep temperatures safe; monitor with a thermometer during first use.
- Fit doors with soft-close hinges and add felt or rubber bumpers so the screen doesn’t rest against hard surfaces when the doors close.
- Use the cabinet’s closed storage for media players and remote batteries; label interior compartments so everyday use is simple.
Safety note: never enclose AV equipment without airflow; high temperatures can damage electronics and are a fire risk.
3. Frame the Screen: Make Your TV Read Like a Piece of Art
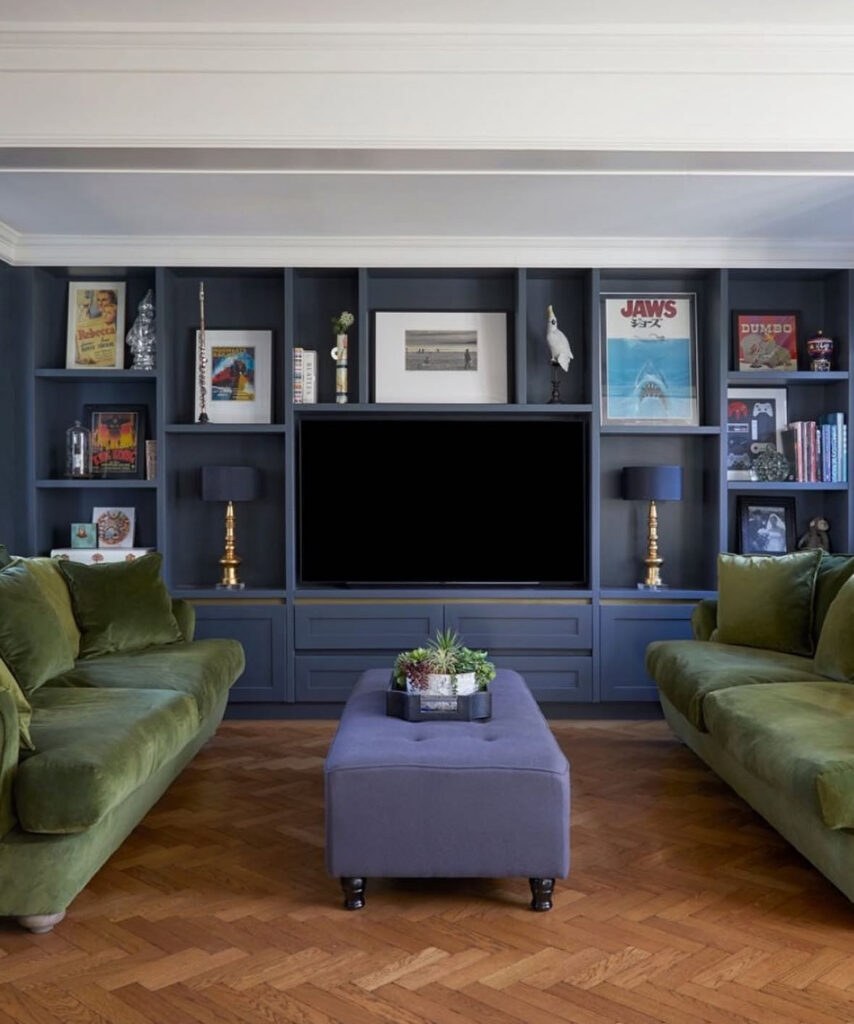
A tailored frame and subtle backlight transform the TV into an intentional focal point that feels more like a framed artwork than a device. This reduces visual tension when the screen is off and creates a cinematic glow when it’s on.
What You’ll Need
- Picture-frame molding or a prefabricated TV frame kit
- Dimmable LED bias lighting (2700–3000K warm recommended)
- Painter’s tape and matte paint for the frame area
- Low-reflection or anti-glare screen filter (optional)
- Cable channel or recessed in-wall kit (installed to code)
How to Put It Together
- Choose frame proportions that suit your room—wider frames create a gallery effect; thinner frames read modern. A 2–3 in. frame width is a common starting point.
- Mount the TV and affix the frame so it sits a small distance from the screen (leave at least 1 in. for heat and access). Use spacers to maintain consistent gaps.
- Install dimmable LED bias lights behind the frame to reduce eye strain and add ambience; keep the color temperature warm for a cozy effect.
- Paint the frame and surrounding wall in a color that complements the room—darker paint makes the TV vanish at eye level; lighter tones help the frame look like a picture.
- Tidy cables into channels; hide power and source devices in nearby cabinetry to keep the framed effect clean.
- After installation, calibrate picture settings for the viewing environment and organize remotes or streaming hubs out of sight.
Safety note: ensure the frame does not trap heat against the TV; follow manufacturer guidance on clearances.
4. Vertical Slat or Battens to Add Texture and Height
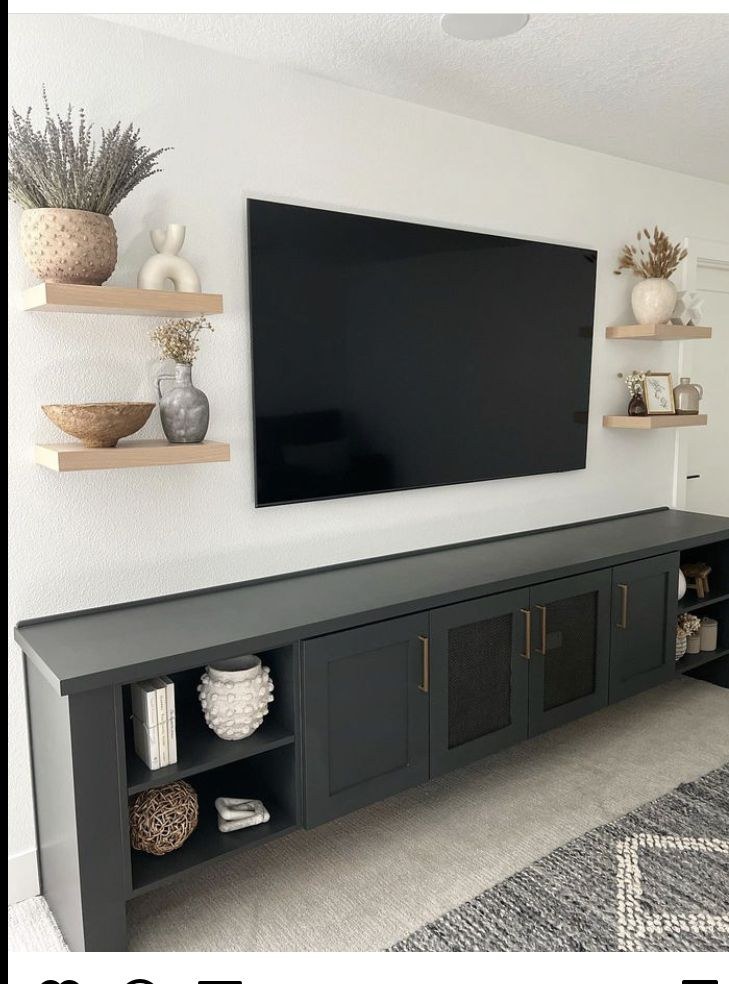
Adding vertical slats behind the TV creates a sculptural, textured backdrop that visually lifts the room. It’s a great way to add height, hide an awkward seam or make the TV feel anchored and purposeful.
What You’ll Need
- Plywood backer and wood battens or MDF slats
- Construction adhesive and finishing nails or screws
- Stain, paint or clear coat to finish the slats
- Acoustic insulation or foam to place behind slats (optional)
- Cable raceway and mounting hardware
How to Put It Together
- Attach a plywood backer to the wall, anchored to studs, to create a flat, secure surface for slats and the TV mount.
- Plan slat spacing and width; 2–3 in. slats with 1/2–1 in. gaps give a modern profile—test a sample section to confirm the look from the seating position.
- Fix battens to the backer with adhesive and nails; leave openings or channels for cables where the TV will be mounted.
- Mount the TV to the reinforced backer so its bracket is flush with the slatted panel; consider a low-profile bracket so the TV sits slightly proud of the slats.
- Finish the wood with stain or paint and add acoustic backing to help with sound quality if the room is echo-prone.
- Add narrow LED strips between the slats or a floor lamp beside the panel to emphasize texture and create layered light.
Safety note: use flame-retardant finishes if required in your jurisdiction and ensure slats are securely fastened to prevent loosening over time.
5. Symmetry and Warmth: TV Above a Low Media Shelf or Fireplace Accent
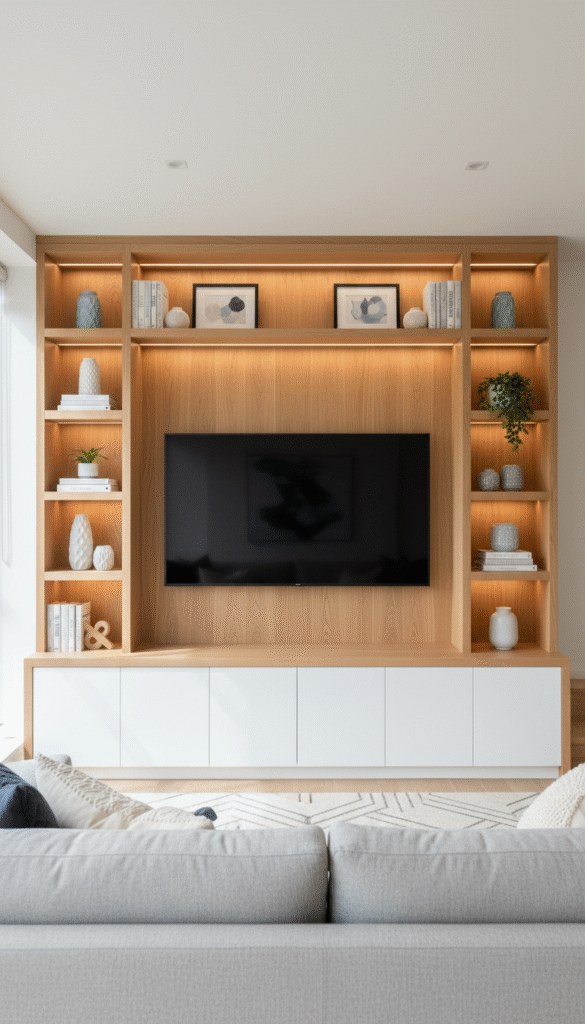
Pairing a TV with a low console, linear fireplace, or continuous shelf creates a balanced, warm composition. Careful attention to viewing height, heat sources and lighting keeps this setup comfortable and safe for long viewing sessions.
What You’ll Need
- Low media cabinet or mantelpiece secured to studs
- Tilt wall mount for optimal viewing angle
- Surface thermometer to check fireplace temperatures (if applicable)
- Wall sconces or picture lights for even wall illumination
- Cable management kit and surge protector
How to Put It Together
- Determine comfortable viewing height: the centre of the screen should typically sit 42–48 in. from the floor for standard seating—adjust if your sofas are unusually low or high.
- If mounting above a fireplace, measure surface temperature while the fireplace runs; if the wall surface exceeds safe limits (consult TV manual), relocate the TV or install a heat deflector.
- Use a tilting bracket so the TV can angle slightly downward toward seating, reducing neck strain and glare.
- Anchor the console or mantel securely to studs and use it for hidden storage of remotes, streaming devices and game consoles.
- Add balanced lighting—two sconces or an overhead dimmable fixture—to reduce contrast and create an inviting glow around the TV.
- Keep a 2–3 in. air gap behind the TV and route power through a protected channel; use a surge protector and label connections for easy maintenance.
Safety note: never rely on shallow mantel surfaces to support heavy equipment; confirm manufacturer clearances above fireplaces.
6. Clean Minimal Floating Console with Layered Lighting
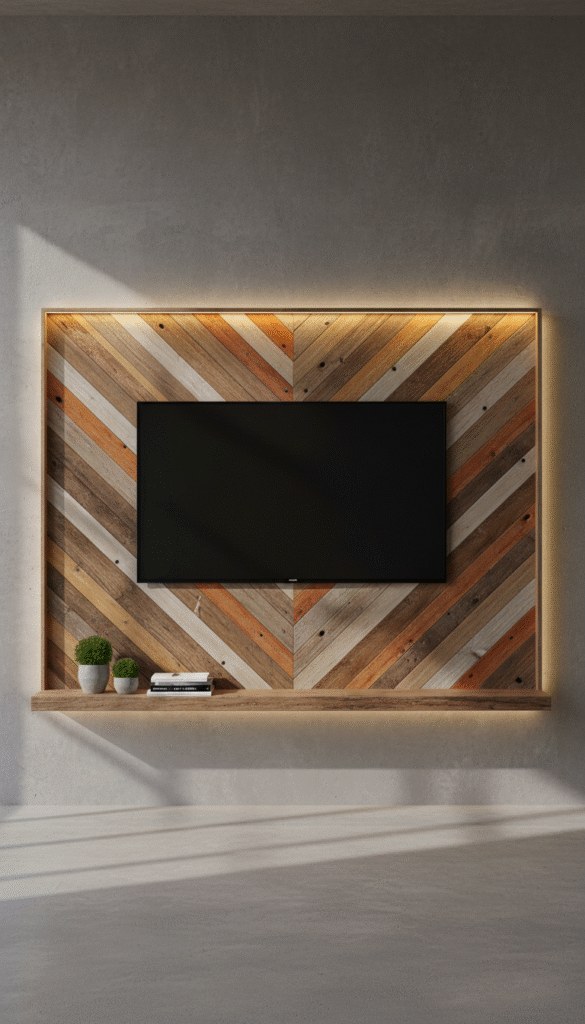
A floating console keeps the floor visible and the room feeling lighter while offering discreet storage. Pair it with layered task and ambient lighting to keep the TV from looking like the only interactive thing in the room.
What You’ll Need
- Heavy-duty floating console brackets and reinforcement blocking
- Closed drawers or baskets to conceal controllers
- Dimmable wall wash lights and LED strip for bias lighting
- Cable grommets and hidden power strip
- Small motion-activated interior lights for the cabinet
How to Put It Together
- Determine console height so the TV sits at a comfortable eye level from the primary seat; the console top commonly sits 22–28 in. from the floor depending on sofa height.
- Reinforce the wall with horizontal blocking at bracket height and mount the console securely; test load capacity before adding heavy items.
- Mount the TV above the console using a low-profile bracket; route cables through a grommet in the console to a concealed power strip.
- Install bias lighting behind the TV and under the console to create depth; use dimmable lighting so you can soften it during movies.
- Store remotes and small accessories in drawers or baskets; install motion-activated pucks inside drawers for nighttime use.
- Keep tabletop styling minimal—one sculptural object, a stack of books, and a plant maintain balance without competing with the screen.
Safety note: test the console anchoring and avoid overloading shelves; maintain airflow around devices and allow equipment to cool between long sessions.
Final Thoughts
An attractive TV wall is about intention: choose whether the screen should vanish, be framed like art, or be a warm part of the room’s composition. Small adjustments—lighting temperature, proper mounting height, and thoughtful storage—transform the TV from an afterthought into a harmonious element of your living space.
When planning, prioritize safety and ventilation, check mount and finish clearances, and don’t hesitate to call a professional for in-wall wiring or heavy carpentry. With a few strategic choices, your living room can feel both cozy and neatly organized around the way you actually live and watch.