Transform Your Living Room Corners: Practical, Stylish Ideas for Small Spaces
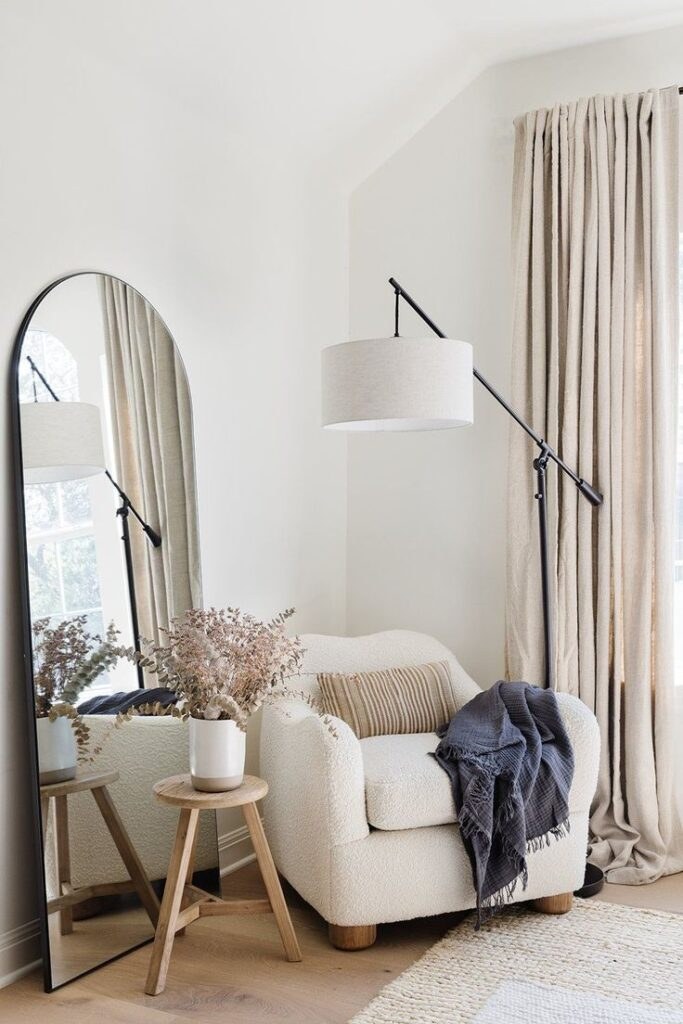
Empty corners are one of the easiest places to add personality and function to your living room without a big renovation. With thoughtful scale, the right lighting and a few layered textures, a once-forgotten nook can become a favorite spot for reading, plants, work, or display.
This guide offers practical, easy-to-execute corner concepts you can adapt to your room’s size and style. Each idea includes simple materials, step-by-step assembly tips, and safety reminders so you can make the most of every square foot while keeping the space comfortable and attractive.
1. Cozy Reading Nook with Compact Seating
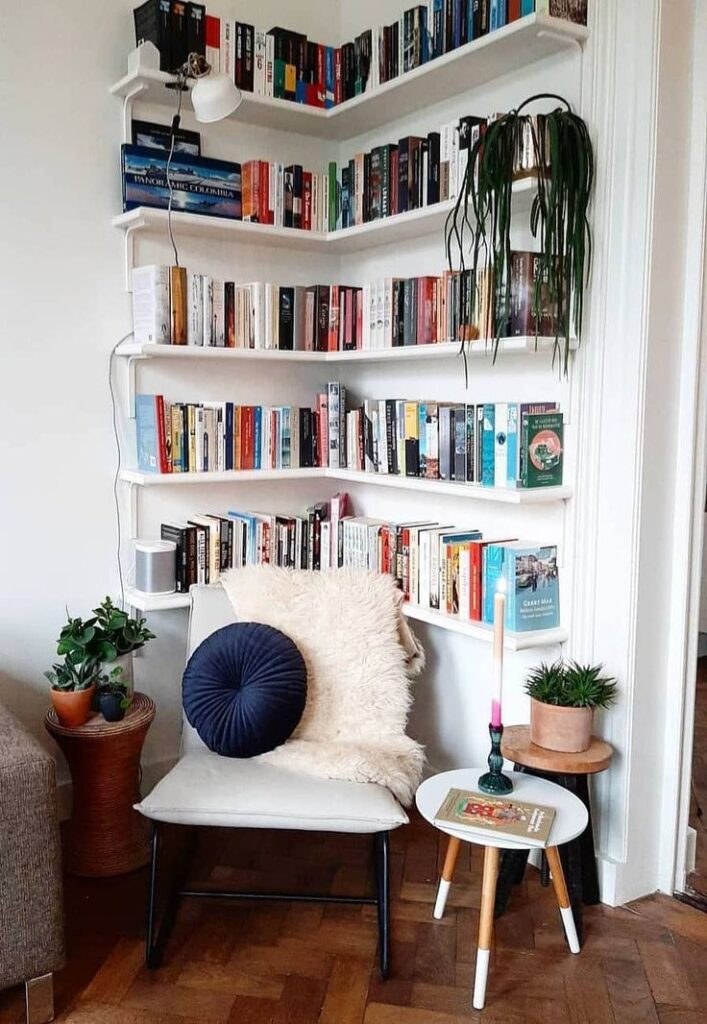
Create a corner that invites you to linger with a compact chair, layered textiles and task lighting. Aim for a seat that fits the scale of the room so it doesn’t dominate; slip into one armchair or a deep occasional chair with a slim profile. Add a small side table for a drink and a directional lamp to support long read sessions.
What You’ll Need
- Compact accent chair or small armchair
- Slim side table or stackable nesting tables
- Floor or table lamp with adjustable head
- Throw blanket and 1–2 pillows
- Small rug or floor cushion to anchor the area
How to Put It Together
- Measure the corner and choose a chair that leaves 12–18 inches of walk space around it so circulation remains clear.
- Position a low-profile table within easy reach of the chair for a mug or book; use nesting tables if you need flexibility.
- Place the lamp behind or beside the chair to avoid glare; choose a warm bulb (2700–3000 K) for cozy light.
- Anchor the spot with a small rug slightly larger than the chair’s footprint to define the nook.
- Add textiles—a throw and one or two pillows—to soften the look and add color without crowding the seat.
- Keep the area tidy by using a tray or small basket on the table for remotes, bookmarks and other small items.
2. Lush Plant Corner for Height and Texture
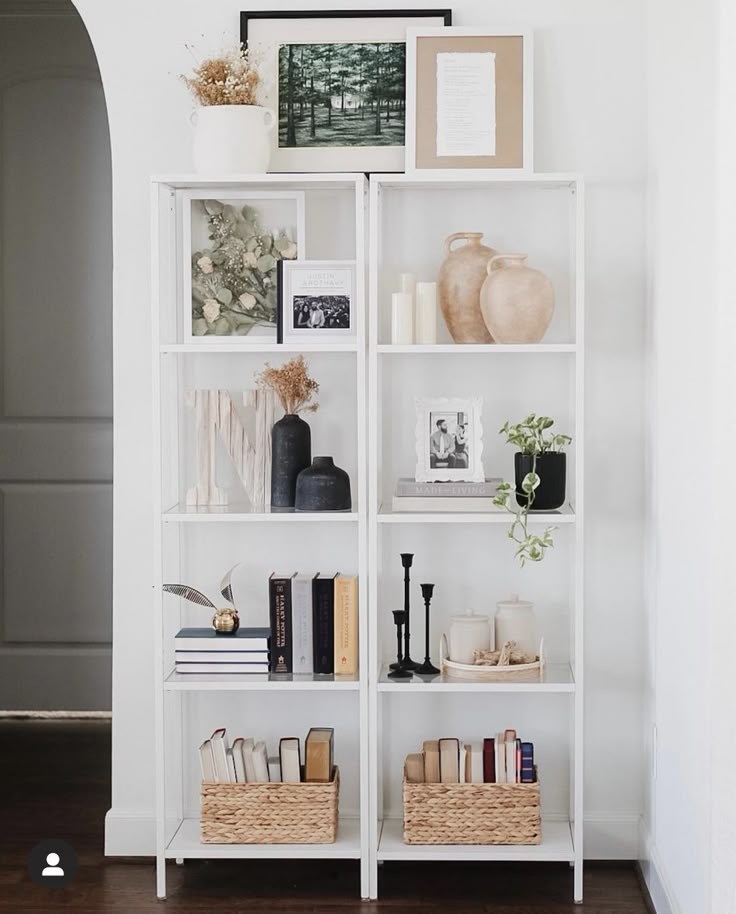
A green corner adds life, improves air quality and visually lifts the room by drawing the eye upward. Mix tall statement plants with lower pots and a trailing species on a shelf or stand. Consider the light in that corner when choosing plants, and select pots that complement your room’s palette to keep the look cohesive.
What You’ll Need
- One tall plant (e.g., fiddle-leaf, palm, or similar) in a stable pot
- 1–2 smaller potted plants and a trailing plant
- Plant stand or tiered shelving for varying heights
- Tray or saucers to protect the floor
- Moisture-absorbing mat if near wood floors
How to Put It Together
- Assess natural light for the corner and select plants matched to that light level: bright, indirect, or low-light tolerant.
- Place the largest plant at the back or in the corner to create height, and layer smaller pots in front or on staggered shelves.
- Use a stable, weighted pot or add stones to avoid tipping; secure tall pots with non-slip pads if on a hard surface.
- Position a tray or saucer beneath each pot to protect floors from water; use a moisture-absorbing mat under trays if needed.
- Rotate plants periodically for even growth and prune to maintain shape; keep a watering schedule to avoid overwatering low-light varieties.
- Add a small grow light if the corner lacks sufficient natural light, and follow electrical safety—use an outlet with surge protection and avoid daisy-chaining extension cords.
3. Built-In-Style Corner Shelving for Storage and Display
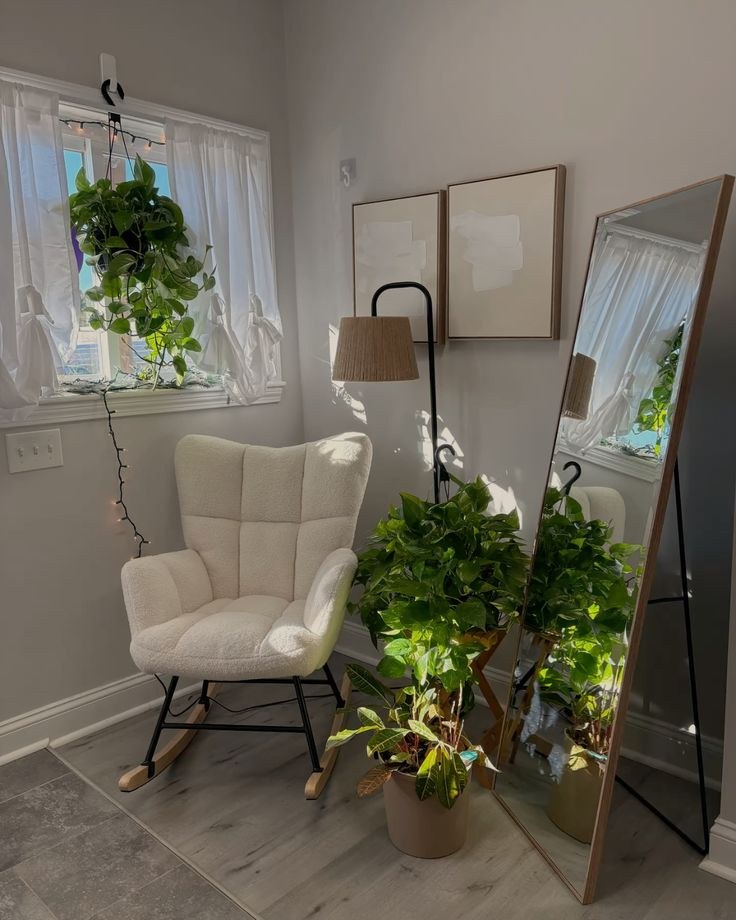
Corner shelving can read like a built-in when you select pieces that fit the angle and finish. Use open shelving to keep the space feeling airy, alternating books, baskets and decorative objects to balance storage with style. When installing taller units, prioritize wall anchoring and even weight distribution for safety.
What You’ll Need
- Corner bookcase or floating shelves designed for corner installation
- Baskets or boxes for concealed storage
- Mix of books, framed photos and decorative objects
- Stud finder, appropriate wall anchors and screws
- Felt pads to protect surfaces
How to Put It Together
- Measure the nook carefully—height, depth and the angle of the walls—to choose a unit that sits flush without crowding adjacent furniture.
- Locate studs with a stud finder and mark mounting points; when studs aren’t available use high-quality wall anchors rated for the load.
- Install shelves starting from the bottom up, checking level as you go and ensuring each shelf is securely fastened.
- Arrange heavier items on lower shelves and lighter decorative pieces higher up to maintain stability.
- Use baskets or lidded boxes on lower shelves to hide remotes, chargers and small clutter; leave some open space to avoid a crowded look.
- Protect finished surfaces with felt pads under objects that might scratch and periodically check shelf fixings for tightness.
4. Compact Home Office That Fits a Corner
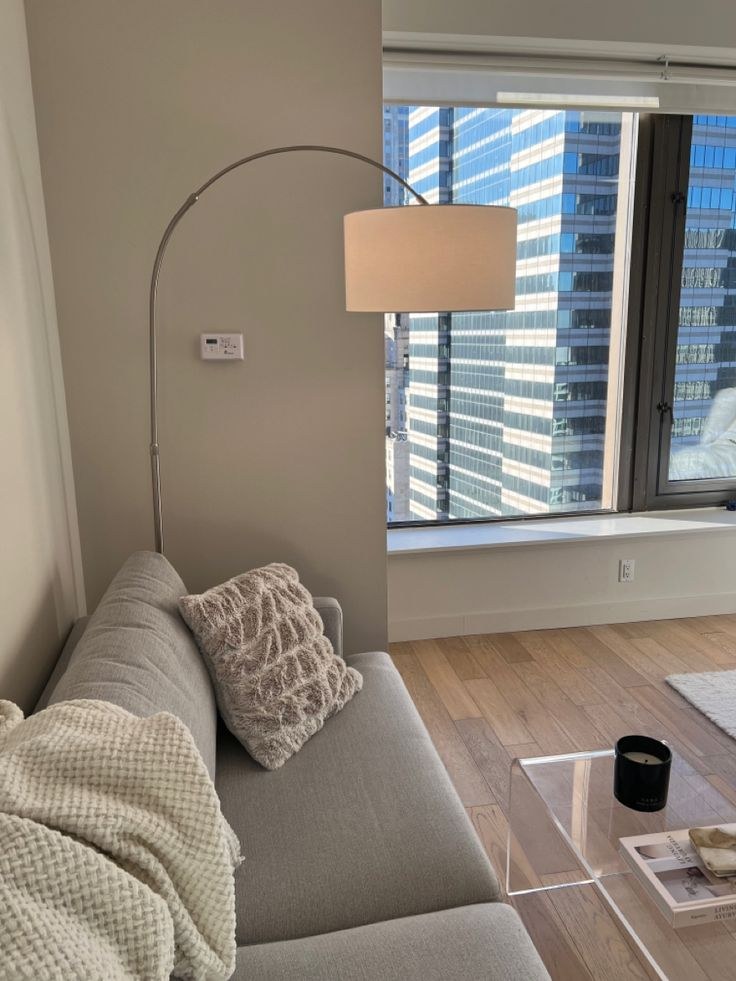
A corner can become a highly functional micro-office with a slim desk or wall-mounted drop leaf, clever vertical storage and intentional lighting. Keep the palette restrained and maintain ergonomic basics: a comfortable chair, monitor at eye level and task light. Thoughtful cable management keeps the spot from feeling messy.
What You’ll Need
- Slim desk, wall-mounted drop-leaf desk, or floating shelf desk
- Comfortable chair sized for your work and room scale
- Task lamp or adjustable wall sconce
- Cable clips, power strip with surge protection, and small storage bins
- Vertical organizer or pegboard for supplies
How to Put It Together
- Position the desk so you can sit with feet flat and the screen at eye level; use a monitor riser or laptop stand if needed.
- Choose a chair that offers lumbar support but is proportionate to the corner so it can slide under the desk when not in use.
- Mount a lamp on the wall or use a clamp lamp to save tabletop space and reduce shadows on your work surface.
- Run cables neatly with adhesive cable clips and use a single surge-protected power strip tucked behind the desk.
- Install vertical storage—shelves, pegboard or narrow cabinets—to keep supplies off the desktop and within reach.
- Keep a small basket or drawer for daily essentials and clear the desktop at the end of each day to preserve the living-room feel.
5. Music, Media and Mini-Entertainment Nook
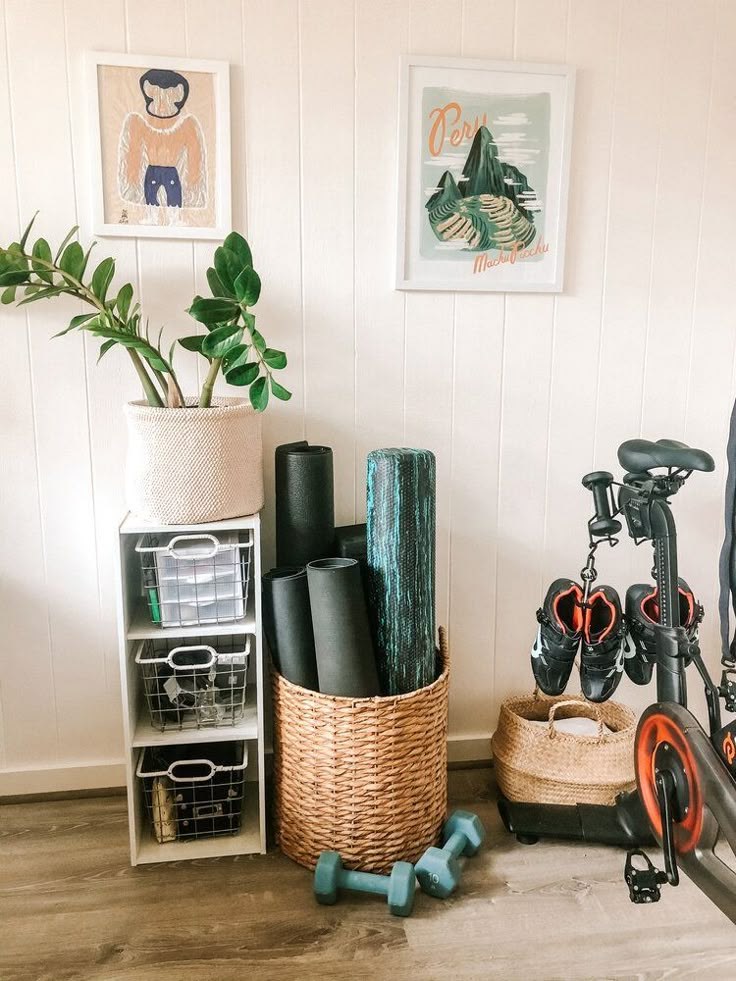
Design a corner that houses a record player, compact speaker system or a small TV without overpowering the room. Choose low-profile furniture and floating shelves for records, remotes and decor. Pay attention to acoustics—soft surfaces help reduce echo—and provide adequate ventilation around electronic gear.
What You’ll Need
- Low media console or compact cabinet sized for the corner
- Record player or compact speaker system, or small-screen TV if appropriate
- Floating shelves or crates for albums and accessories
- Cable management supplies and surge protection
- Soft rug or fabric panel to improve acoustics
How to Put It Together
- Select a console that fits the corner’s angle and provides enough ventilation space behind electronic devices.
- Place speakers or the record player on stands or the console at ear height when seated; use isolation pads to reduce vibration transfer.
- Install floating shelves nearby for albums, remotes and small decor, keeping heavier items lower for stability.
- Route cables through a cable channel or behind the console and plug electronics into a surge-protected outlet.
- Add a rug or a fabric wall hanging to help absorb sound and create a more comfortable listening environment.
- Maintain clearance for airflow around any electronics and dust devices regularly to ensure longevity.
6. Light, Mirrors and Sculptural Lighting to Expand Space
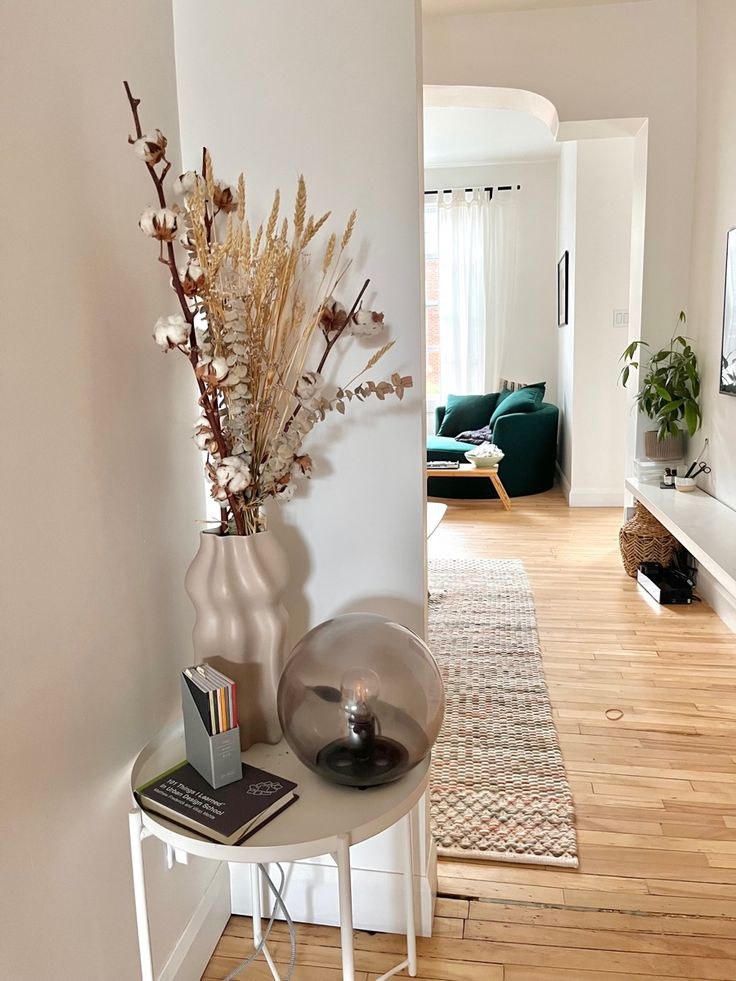
Using reflective surfaces and sculptural lamps can make a tight corner feel larger and more intentional. Mirrors bounce light and visually double the space, while wall-mounted or arc lamps free up floor area. Coordinate metal finishes and bulb warmth to keep the corner cohesive with the rest of the room.
What You’ll Need
- Wall mirror sized for the corner (leaning or mounted)
- Wall-mounted sconce, arc floor lamp, or sculptural table lamp
- Small console table or narrow pedestal (optional)
- Non-slip mounting hardware or anti-tip kit for leaning mirrors
- Soft white bulbs (2700–3000 K) for a welcoming glow
How to Put It Together
- Choose a mirror scale that reflects a portion of the room for depth without creating a fragmented view; secure it with appropriate hardware or use anti-tip protection if leaning.
- Install a wall sconce or place an arc lamp so light washes the mirror—this increases reflected light and brightens the whole room.
- Use a narrow console or pedestal to give the corner a place for a vase or sculptural object; keep the surface clutter-free for maximum impact.
- Match the bulb temperature of new fixtures to existing lighting to avoid competing color casts in the space.
- Check for glare by viewing the mirror from common seating positions and adjust lamp angle or shade to avoid direct reflections into eyes.
- Maintain safe clearances: keep lamps away from curtains, secure cords with cable clips, and follow manufacturer guidelines for installation and bulb wattage.
Final Thoughts
Well-styled corners are an opportunity, not a problem. With attention to scale, layered lighting and a clear purpose—whether for reading, plants, storage, work or music—you can turn unused nooks into assets that improve the flow and feel of your living room.
Start small, prioritize safety (secure tall pieces, follow electrical guidelines, and respect weight limits), and let one corner reflect your daily habits and personality. Little interventions can transform the whole room.