Green Christmas Manicure: A Practical Guide to Picking Shade, Style, and Care
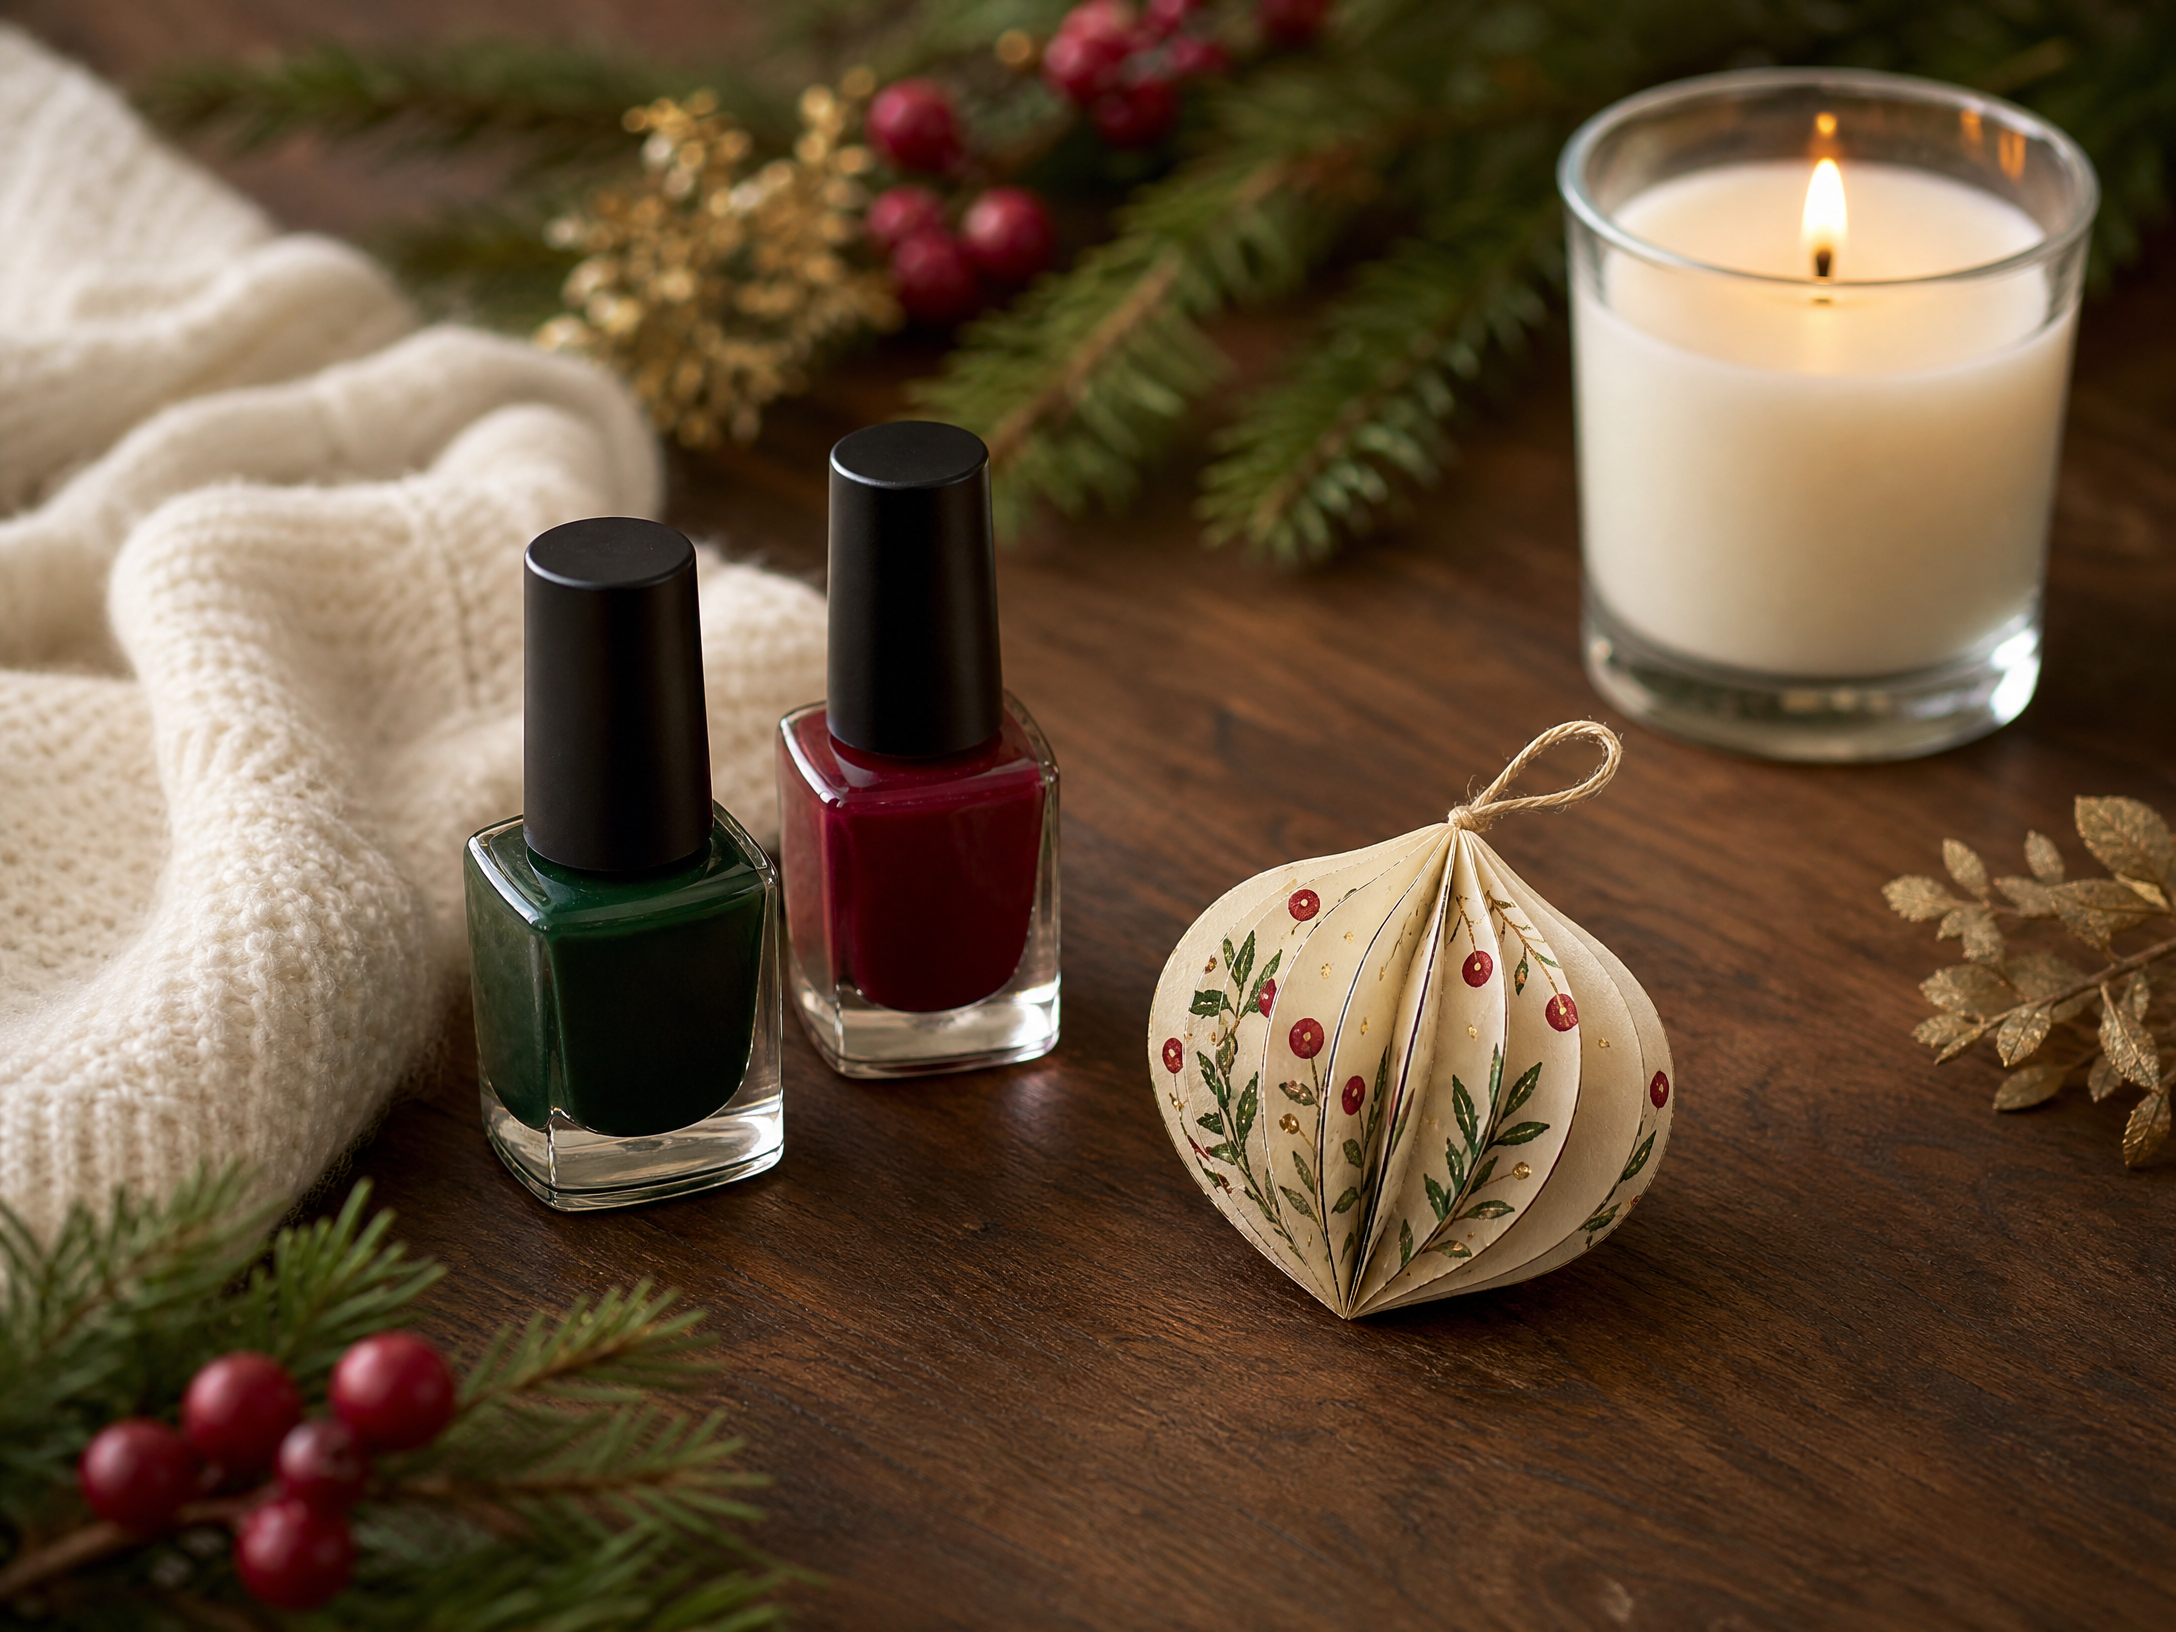
Green is the season’s most versatile color: it reads festive without feeling literal, and it pairs beautifully with classic winter neutrals. Planning a green Christmas manicure starts with choosing the right hue for you, then layering finishes, accents, and shapes that work with your lifestyle and wardrobe. This guide breaks the process into simple decisions so you can create a cohesive look that suits your skin tone, outfit choices, and skill level.
Whether you’re booking a salon visit or doing the work at home, the key is a clear framework. We cover selecting a green family that flatters your undertones and complements your clothes, deciding between creams, shimmers, velvet-effect and metallics, using negative space smartly, picking an accent-nail strategy, scaling holiday motifs, choosing length and shape, planning your appointment or DIY session, and finishing with gentle aftercare to keep the look fresh through the holidays.
1. Pick a Green Family that Flatters Undertone and Wardrobe
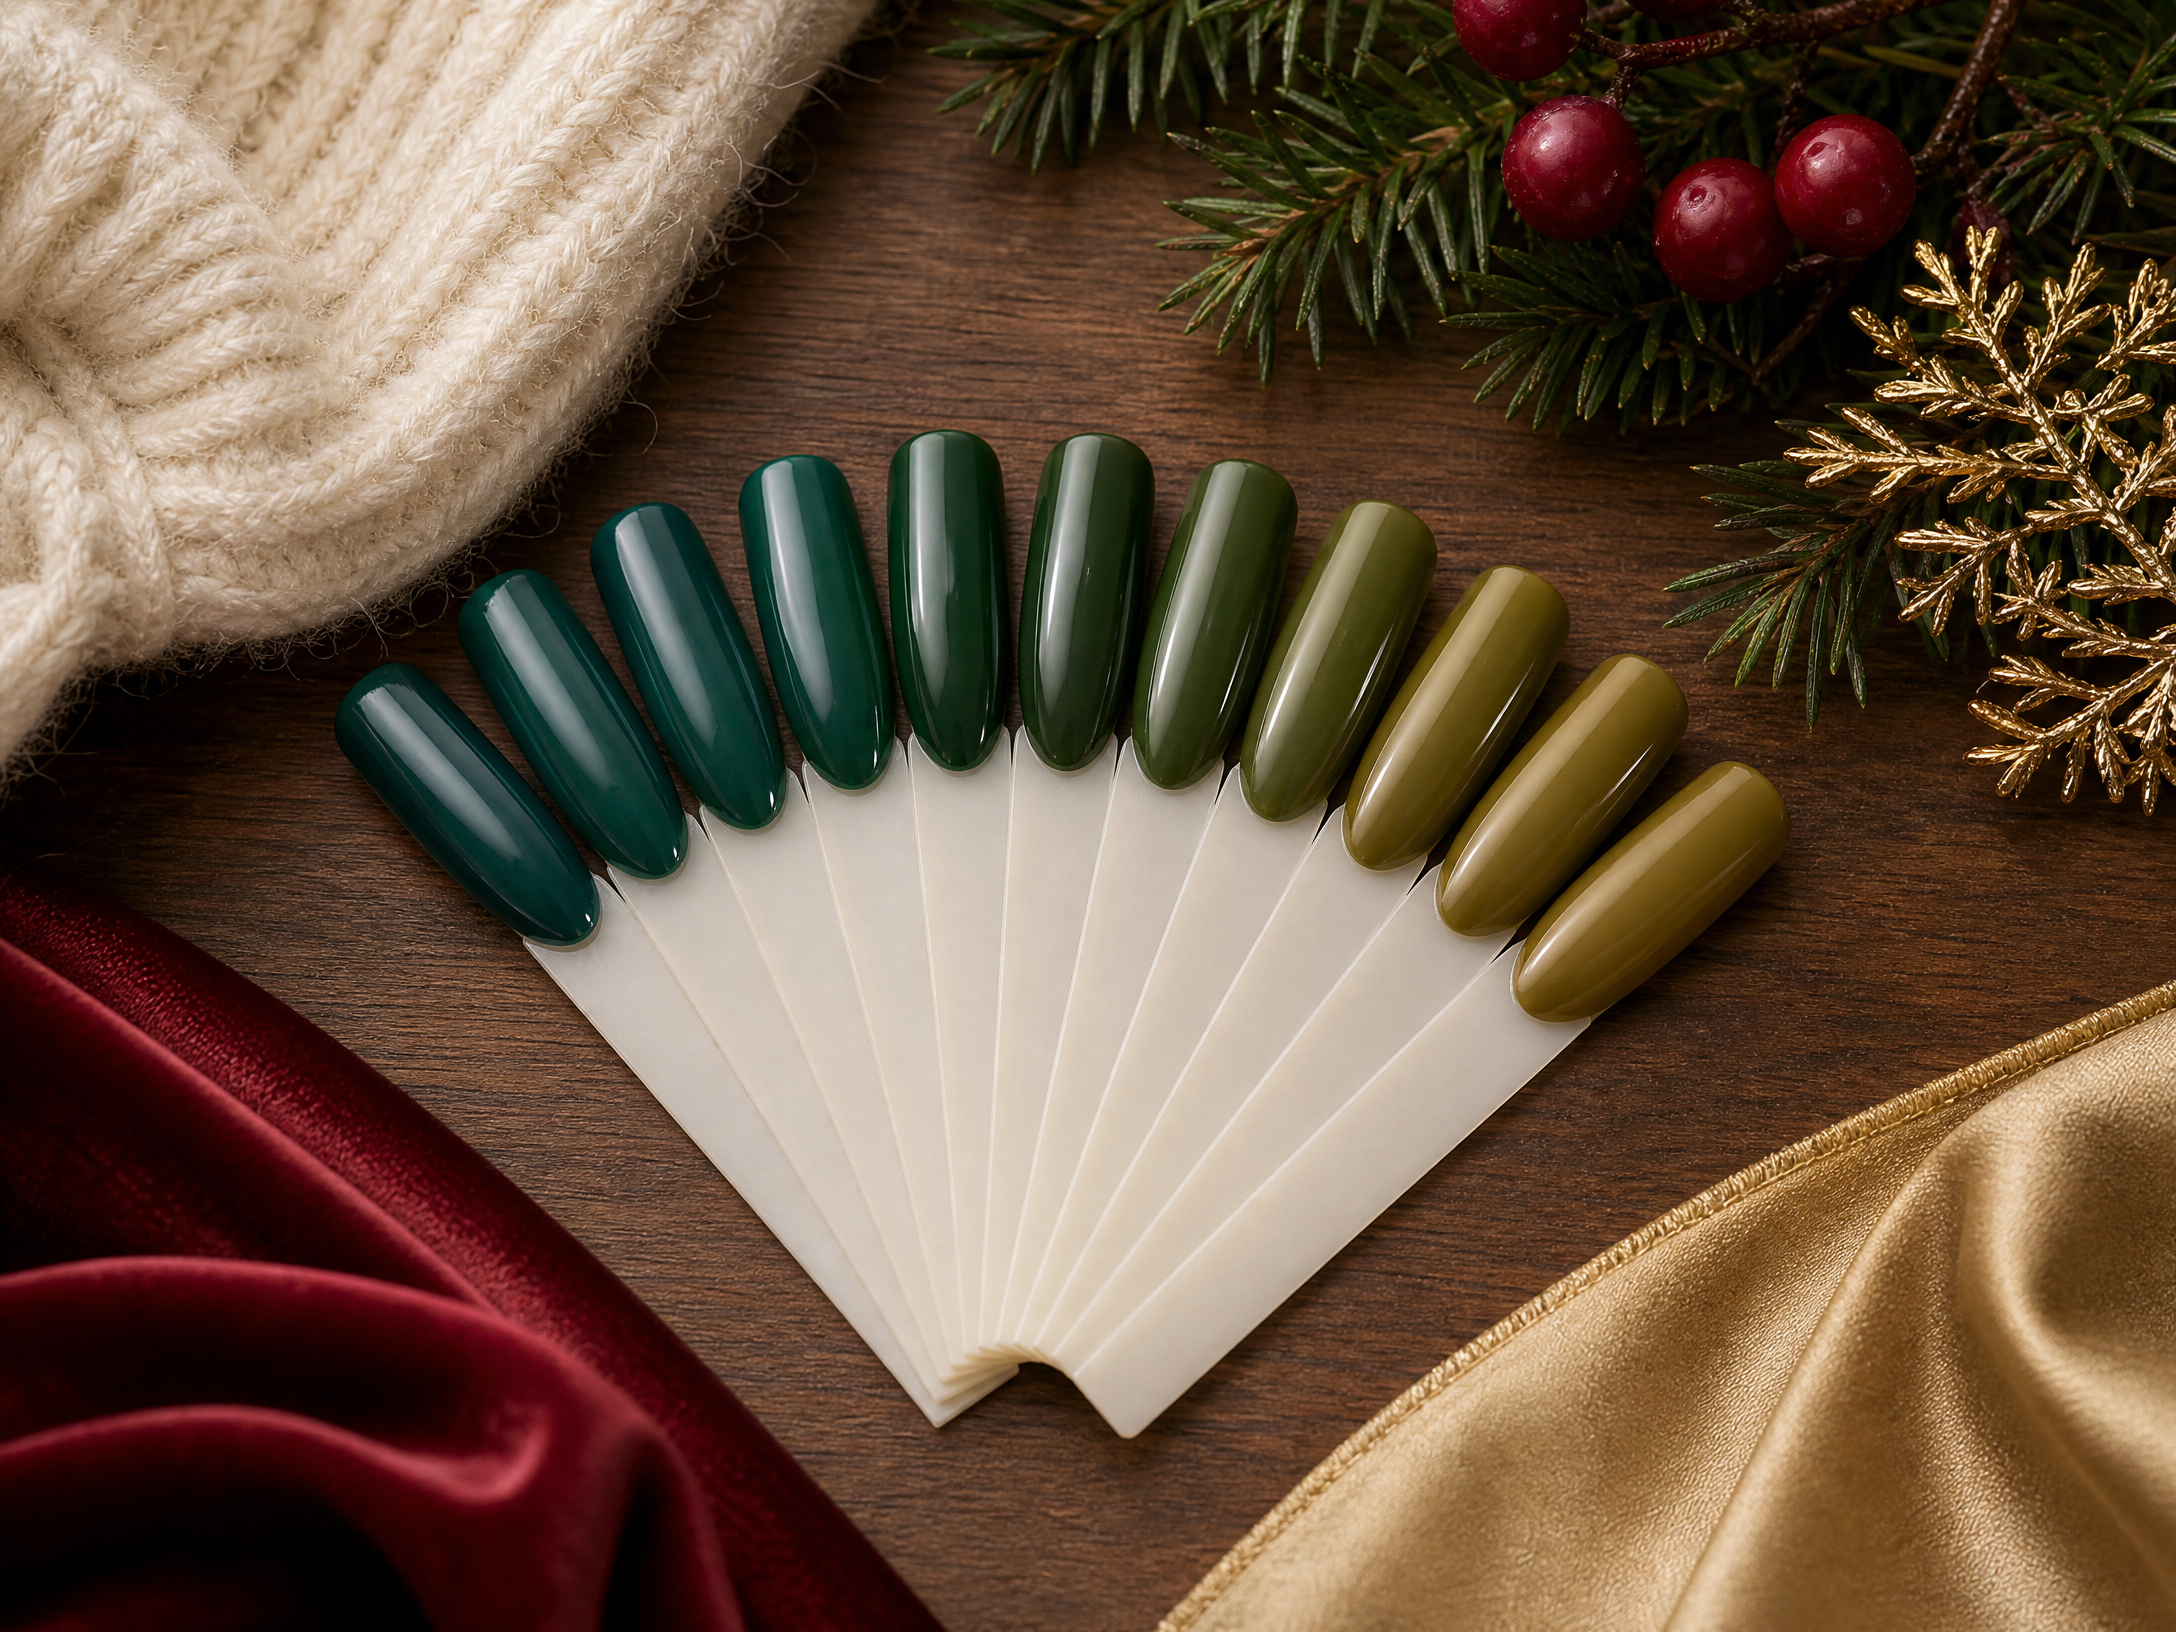
Start by identifying the undertones of your skin and the dominant colors in your holiday outfits. If your skin has cool undertones — think pink or blue veins and jewelry that looks best in silver — lean toward jewelier, blue-leaning greens like emerald and teal. Warmer undertones with greenish veins and gold-friendly jewelry pair beautifully with olive, moss, or warmer forest tones. Those with neutral undertones can experiment liberally across the spectrum.
Also consider your wardrobe. If you’ll be wearing rich reds, creams, or metallics, choose a green that either harmonizes (muted, earthy greens) or contrasts (clear, saturated greens) without clashing. For a capsule approach, test a swatch or two against key garments to see which shade reads best under different lights: indoor, evening, and daylight.
2. Choose a Finish: Cream, Shimmer, Velvet-Effect, or Metallic
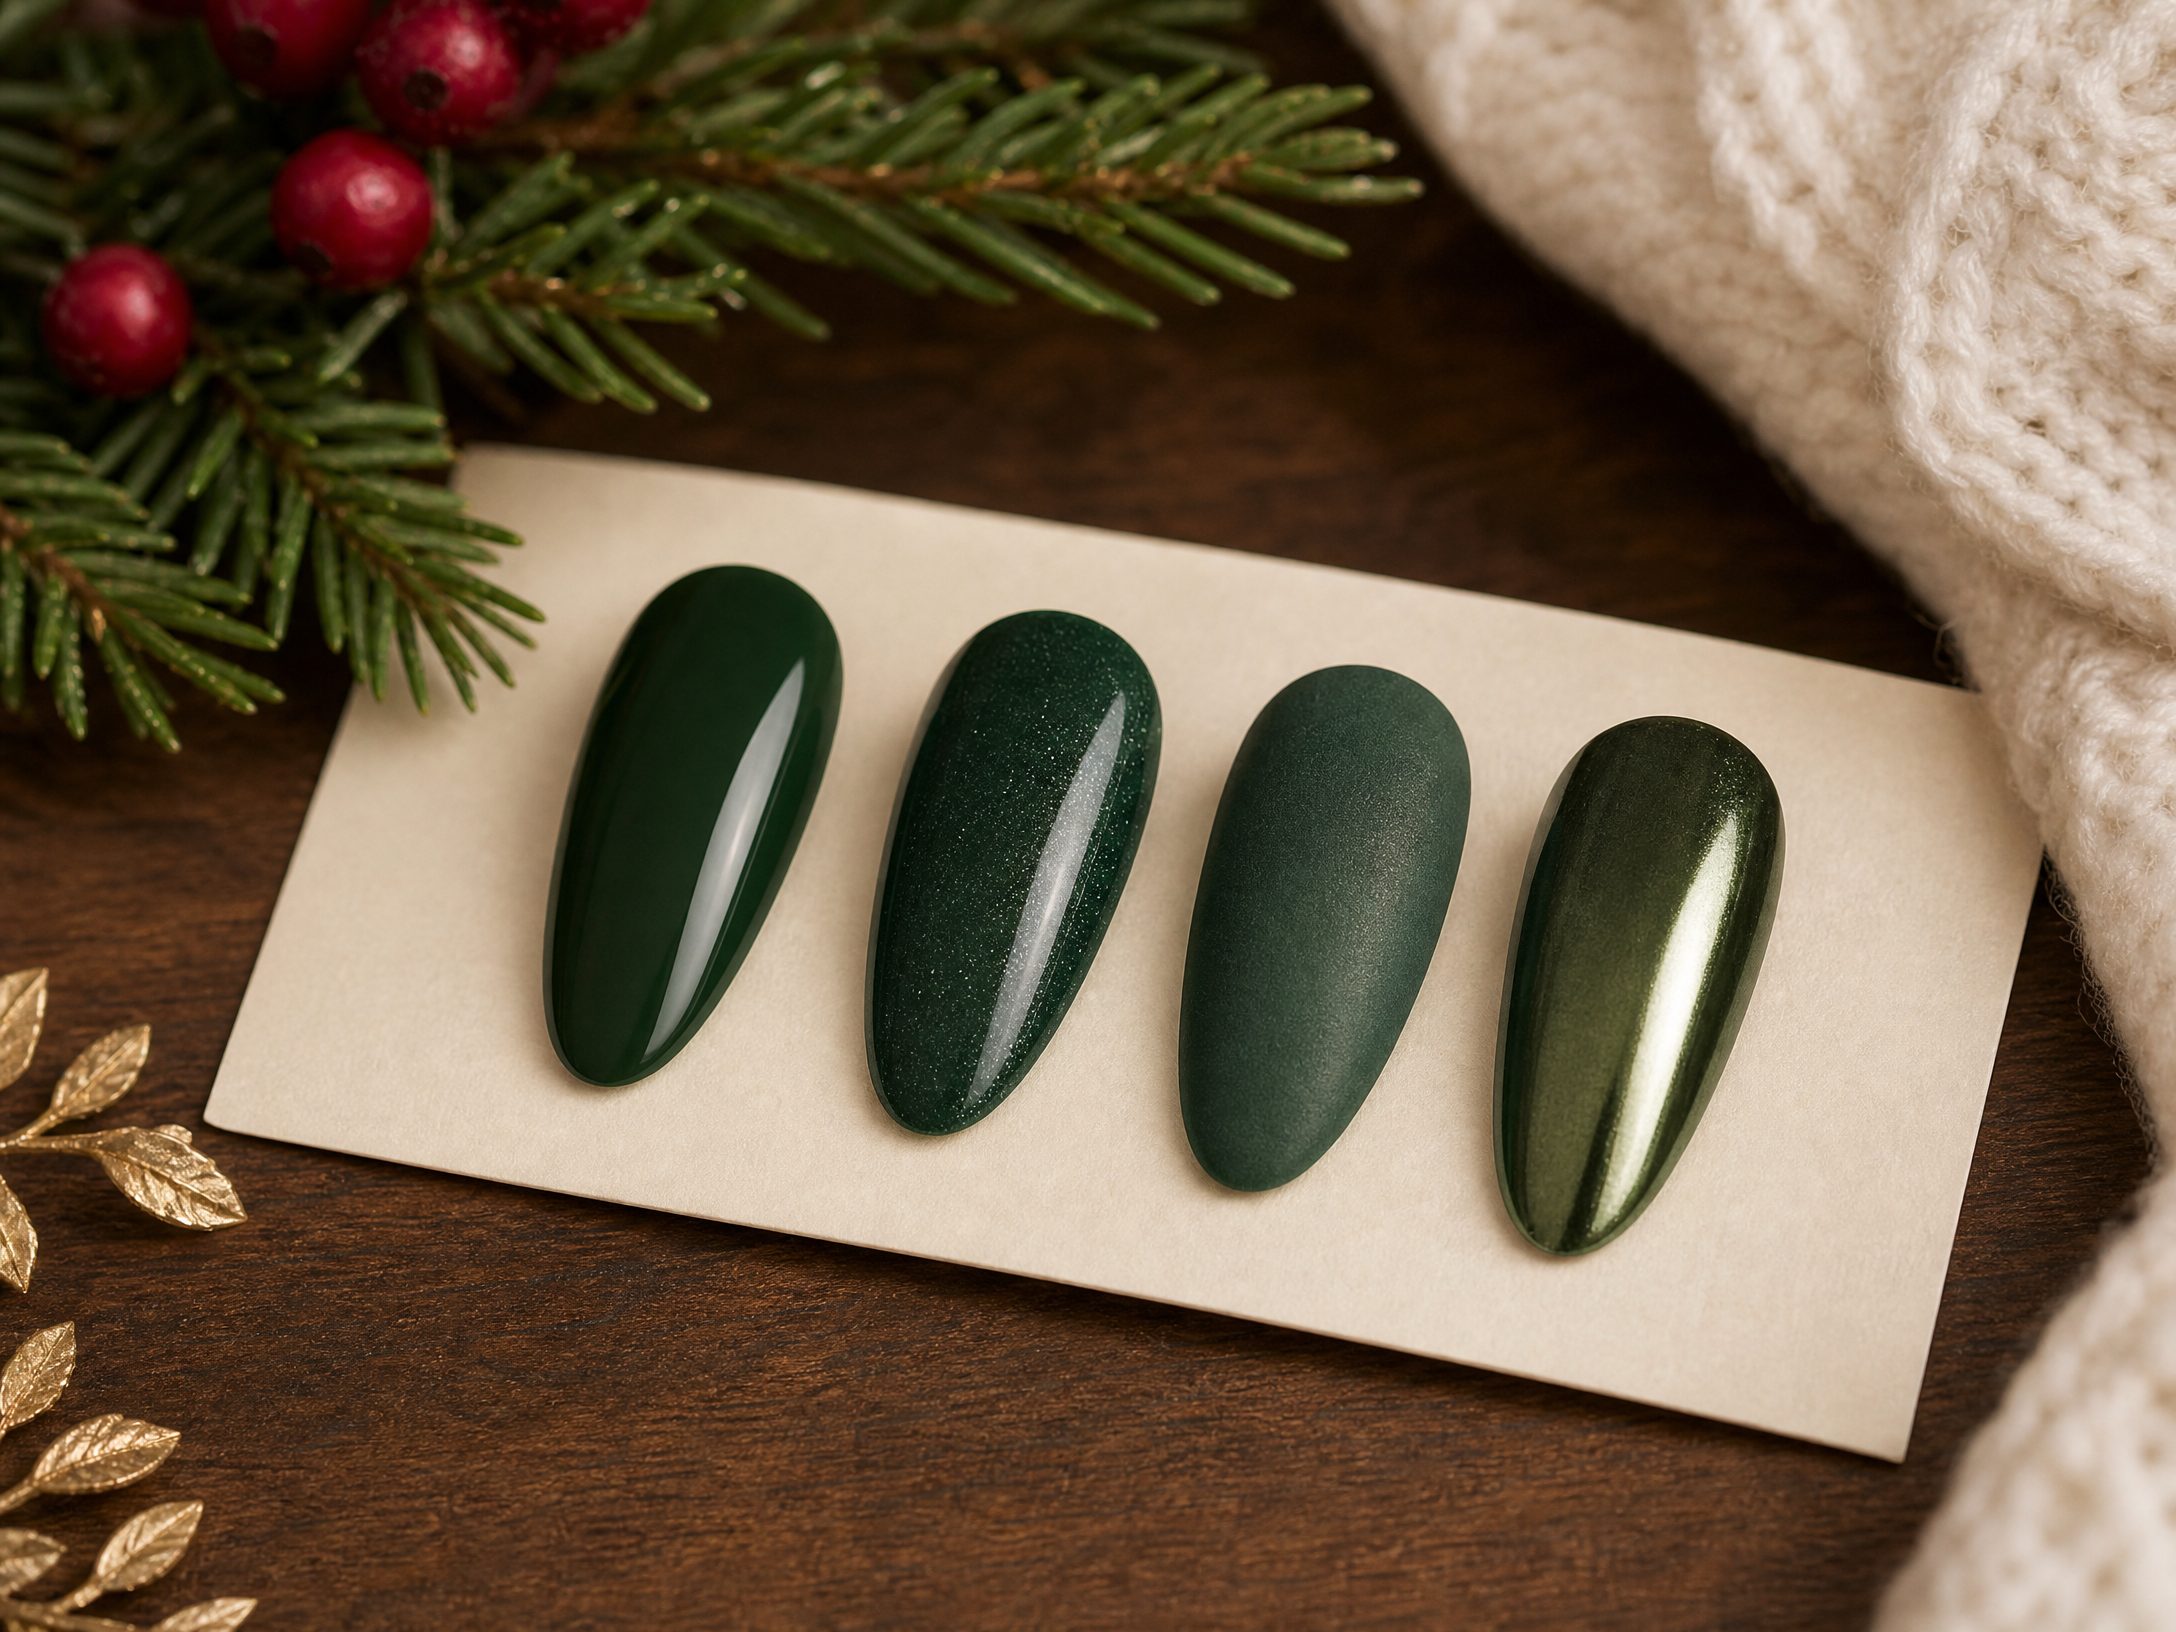
Finish changes the personality of the same green considerably. A cream (opaque, glossy) finish reads modern and clean, offering a sleek canvas that works with every length and shape. Shimmer or microglitter adds a festive gleam without overt sparkle—ideal for low-key holiday gatherings—while metallics bring a chic, reflective quality that glows under lights. Velvet-effect or matte-with-soft-diffused-sheen finishes feel luxe and slightly retro, toning down brightness for a more sophisticated look.
Think about how the finish aligns with your plans and accessories. Metallics and shimmer stand out during evening events and photo moments; creams and velvet-effect finishes are versatile for daytime commitments and work-safe settings. If you can’t decide, combine finishes across nails: for example, two creams, two shimmers, and a metallic accent can read intentional without being over the top.
3. Use Negative Space to Keep Designs Modern
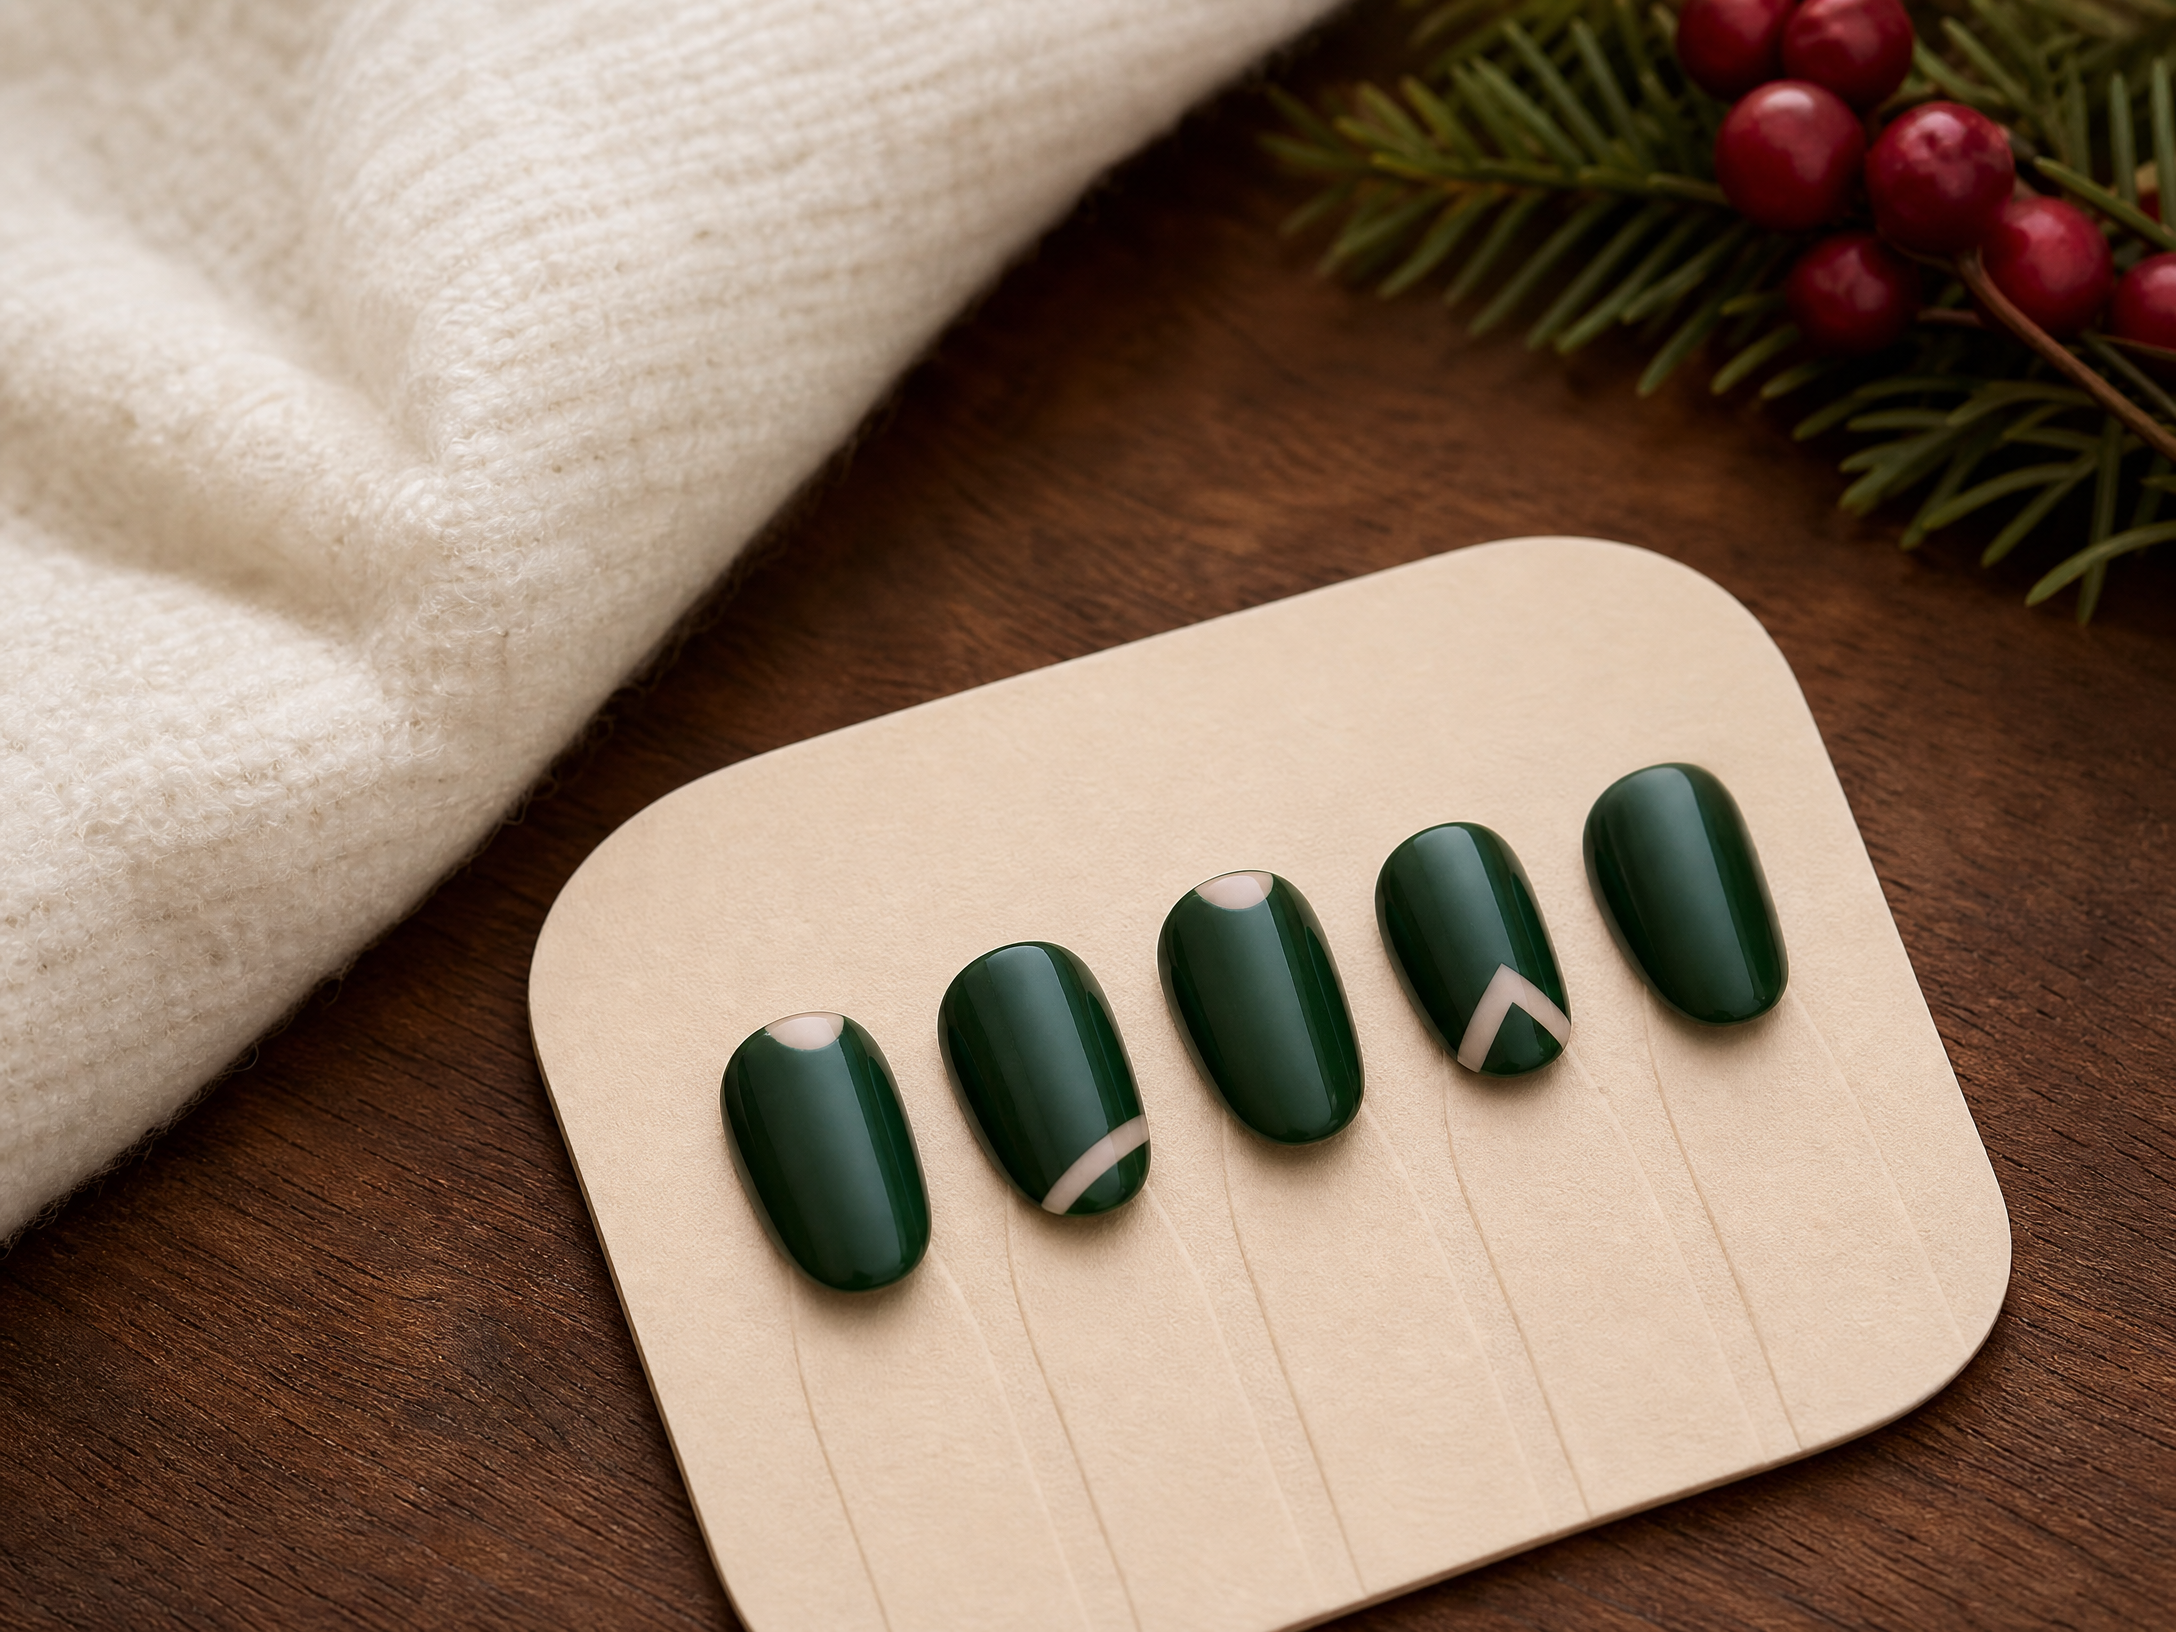
Negative space—intentional unpainted areas—can make a design feel airy and contemporary, especially when working with strong greens. It prevents a heavy, overly festive look and gives a nod to minimalism while still being decorative. Think crescent-shaped bare cuticle lines, diagonal windows of bare nail, or geometric strips that let the natural nail tone become part of the composition.
Checklist for negative-space design:
- Choose 1–2 nails for negative space to maintain cohesion.
- Keep lines crisp: use tape or a steady hand for clean edges.
- Pair negative space with a matte finish or a contrasting sheen for subtle drama.
- Test the size of the unpainted area—too large can read unfinished; too small may be invisible in photos.
4. One Accent Nail Strategy—Make It Count
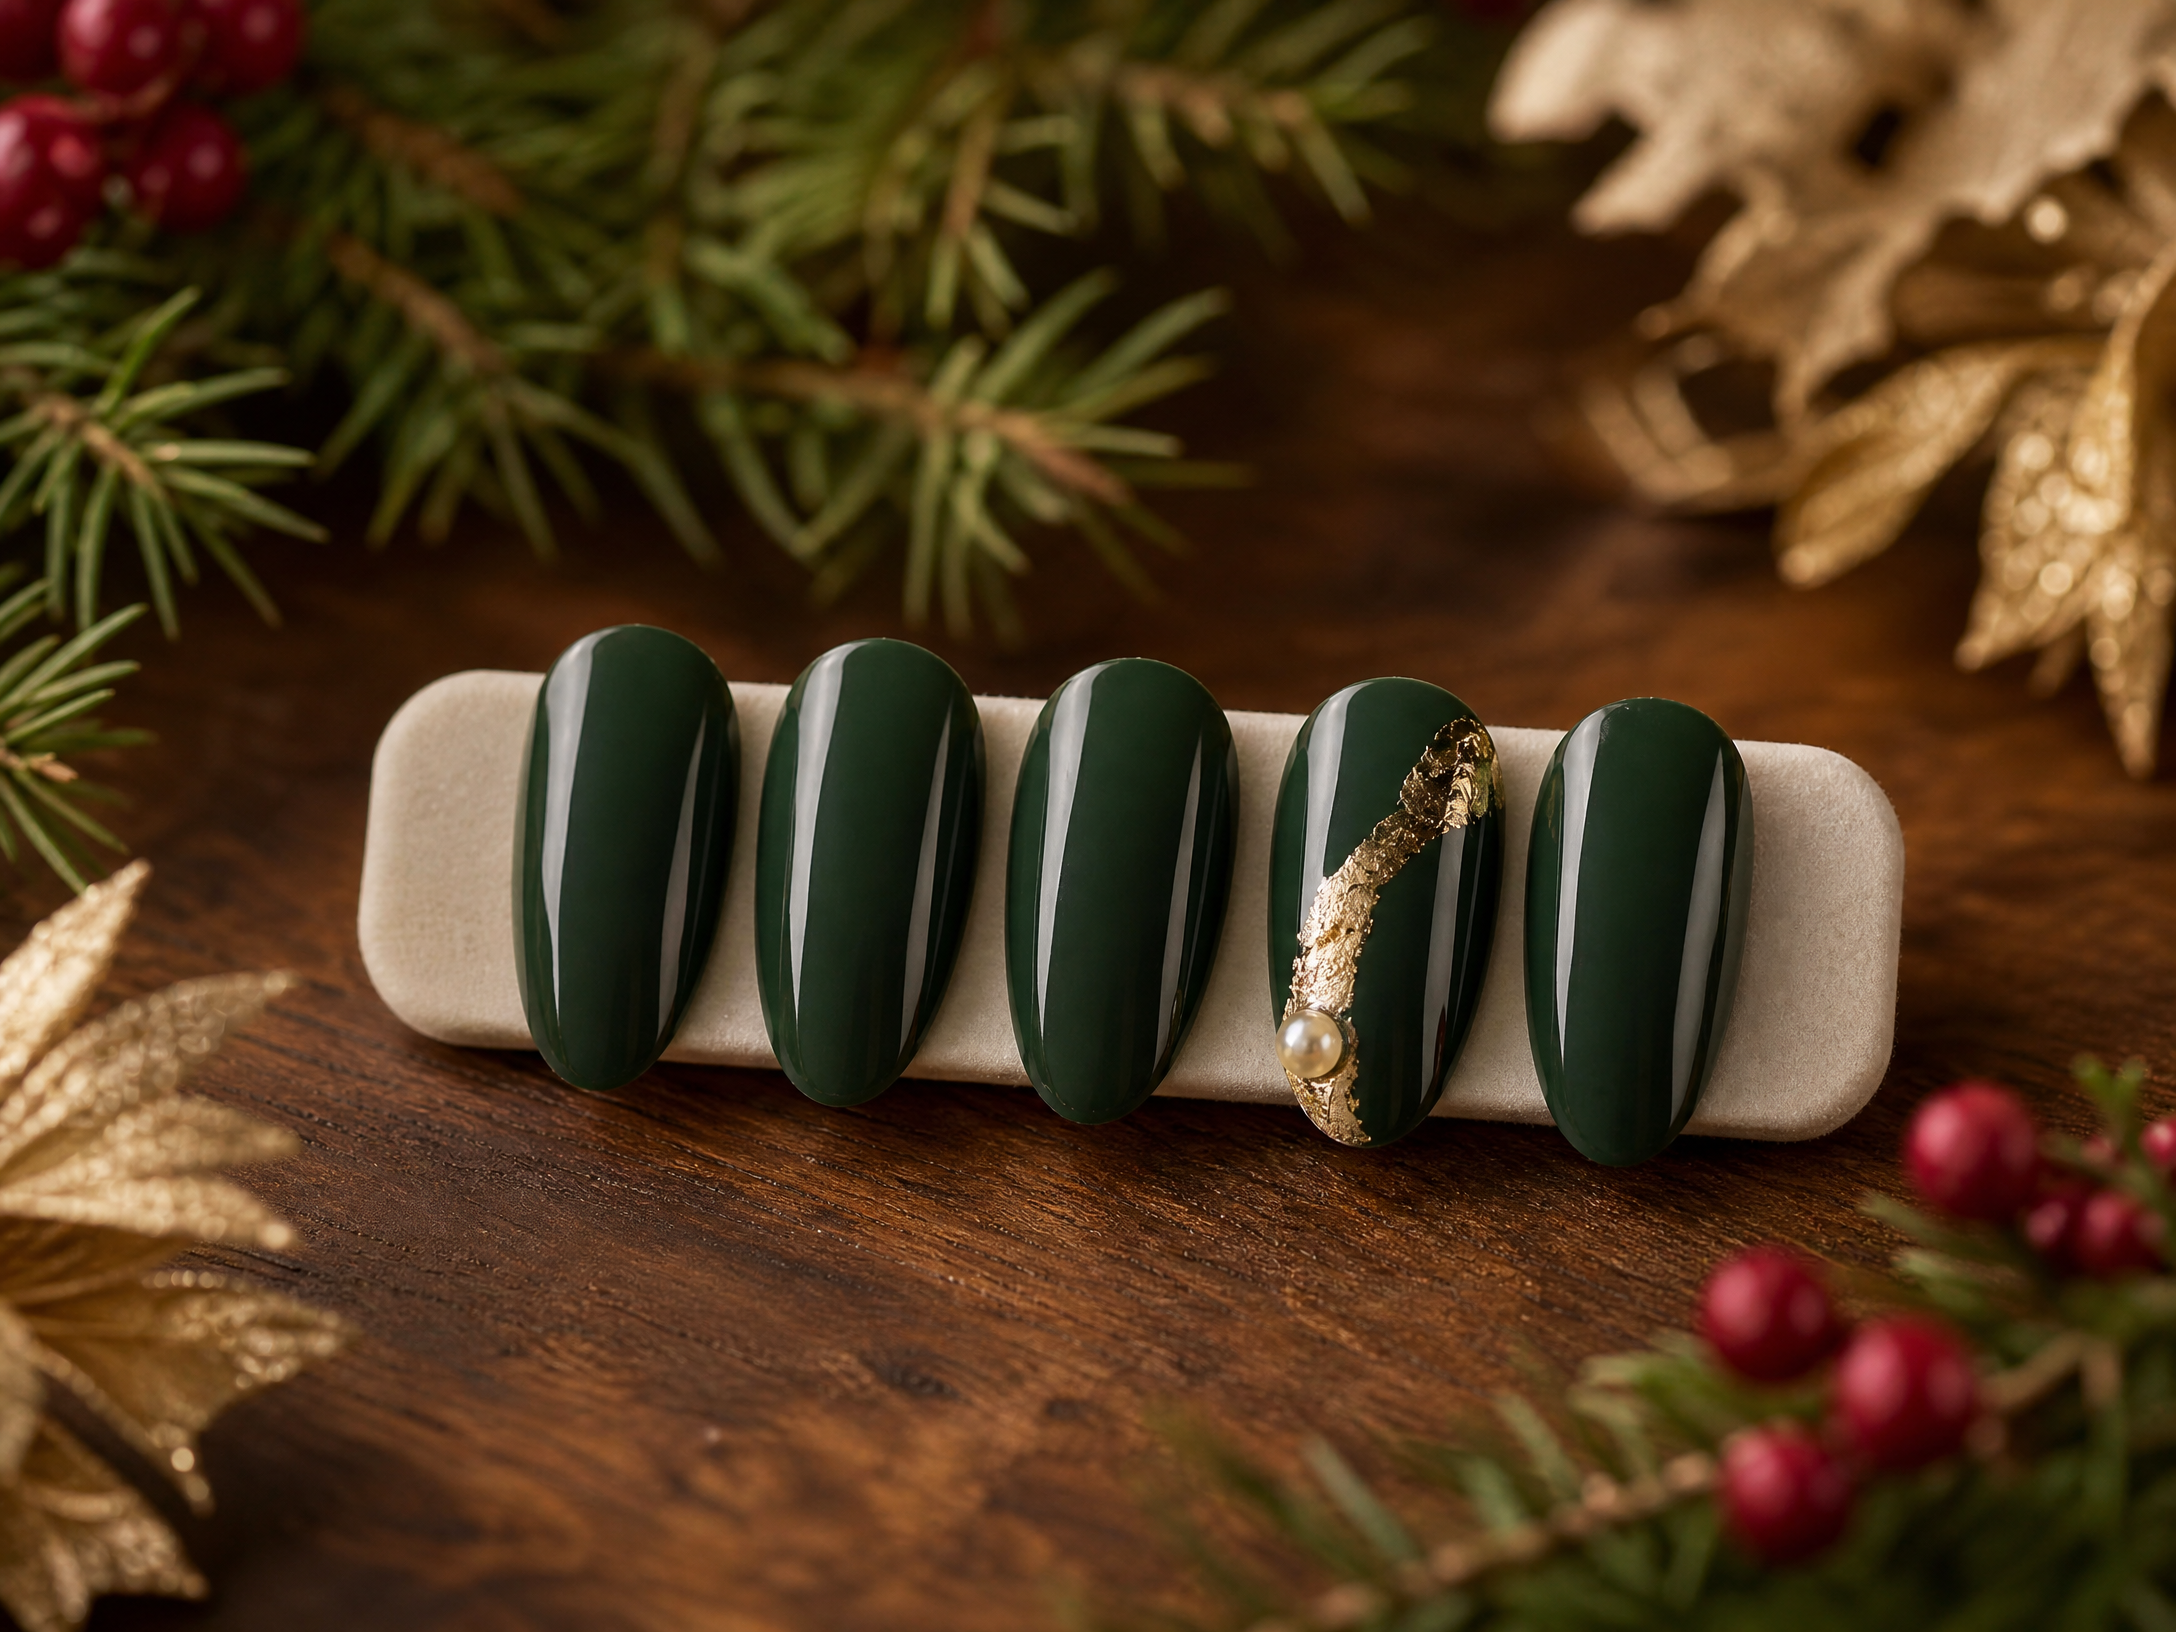
An accent nail lets you introduce texture, pattern, or a statement finish without overwhelming the entire set. Choose a single nail—commonly the ring finger or thumb—for a complementary but distinct treatment: a metallic overlay, a small cluster of micro-pearls, or a miniature motif. Keep the accent within the same color family so it reads cohesive rather than disjointed.
Placement and scale matter. On shorter nails, a tiny accent or single motif works best; longer nails can carry more elaborate accents. If your base green is bold, opt for a subtle spark or metallic wash on the accent nail; if the base is muted, the accent can be brighter or higher contrast to add interest.
5. Scale Holiday Motifs to Nail Size
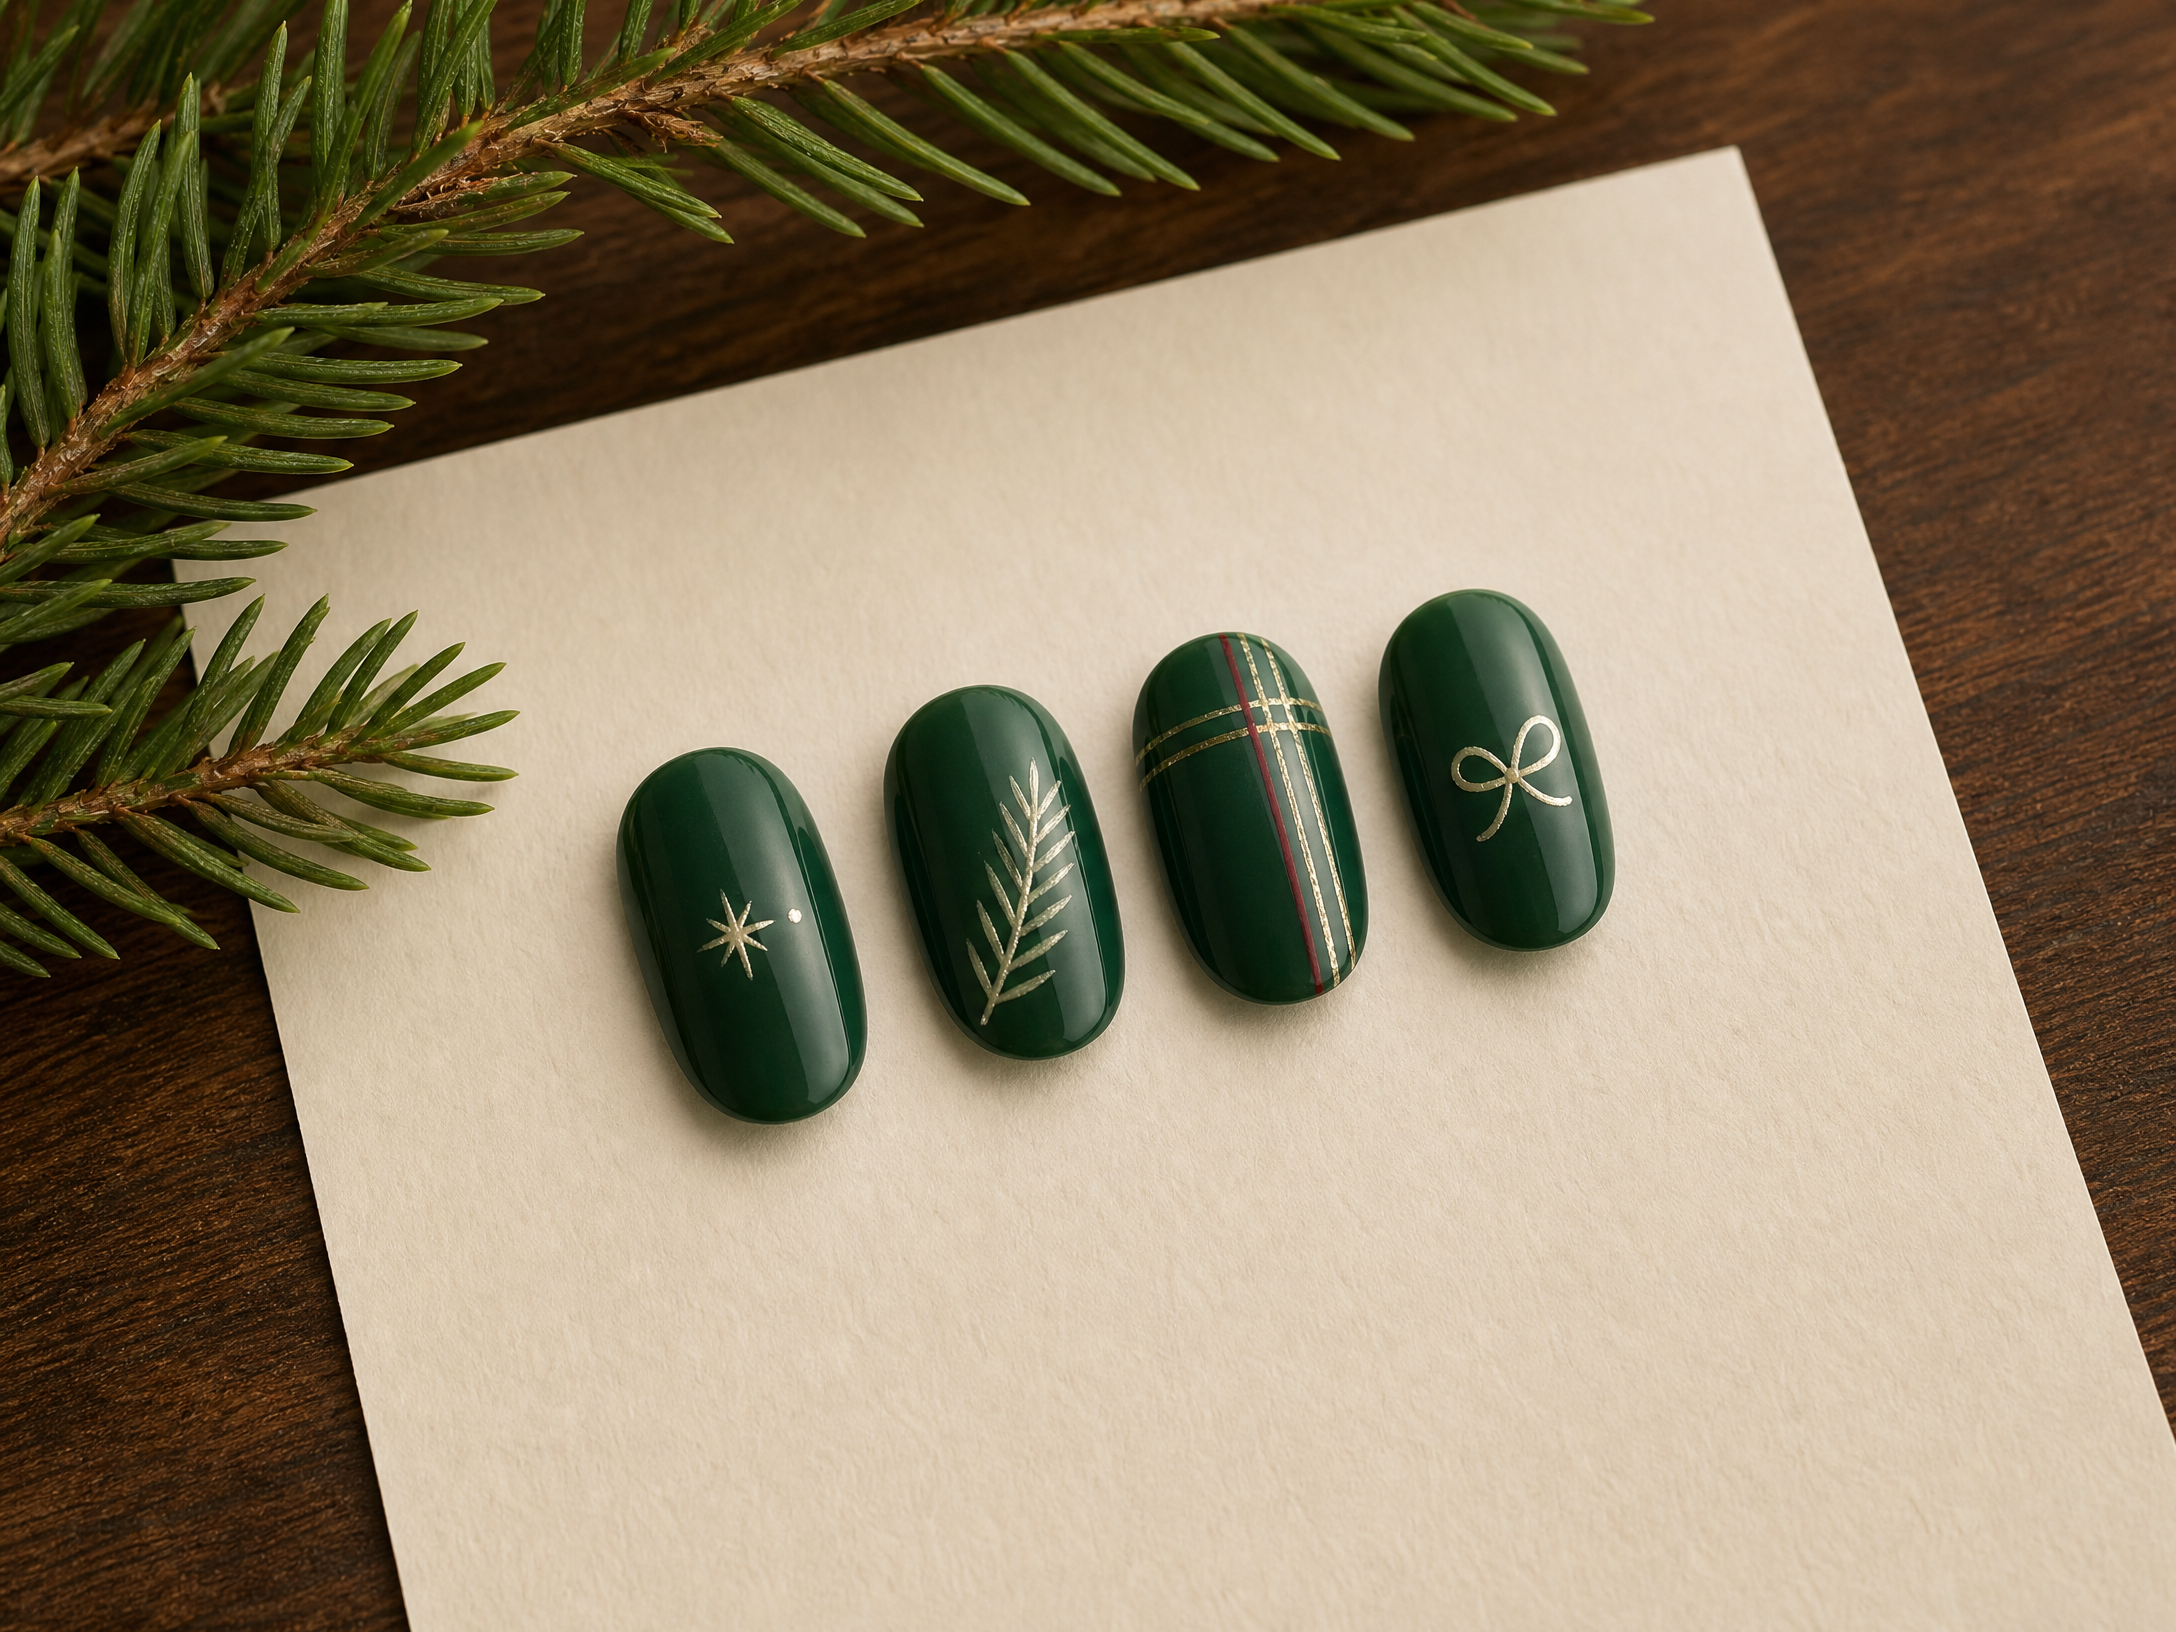
Holiday motifs—branches, stars, plaid, snow, ribbons—are timeless, but the charm depends on how they’re scaled to the nail. On small canvases (short nails), simplify motifs to one or two elements: a single tiny star, a short diagonal branch, or a delicate ribbon loop. On longer nails you can layer patterns, create diagonal plaids, or render a small scene across two nails. Maintain contrast between the motif color and the base so the design remains legible from arm’s length.
When incorporating pattern across multiple nails, decide whether to repeat a single simplified motif for rhythm or to create a progression—small stars building into a branch, or a plaid that aligns across adjacent nails. Keep the number of colors limited (two or three maximum) to avoid visual clutter and to preserve a polished finish.
6. Length and Shape: Match Function with Fashion
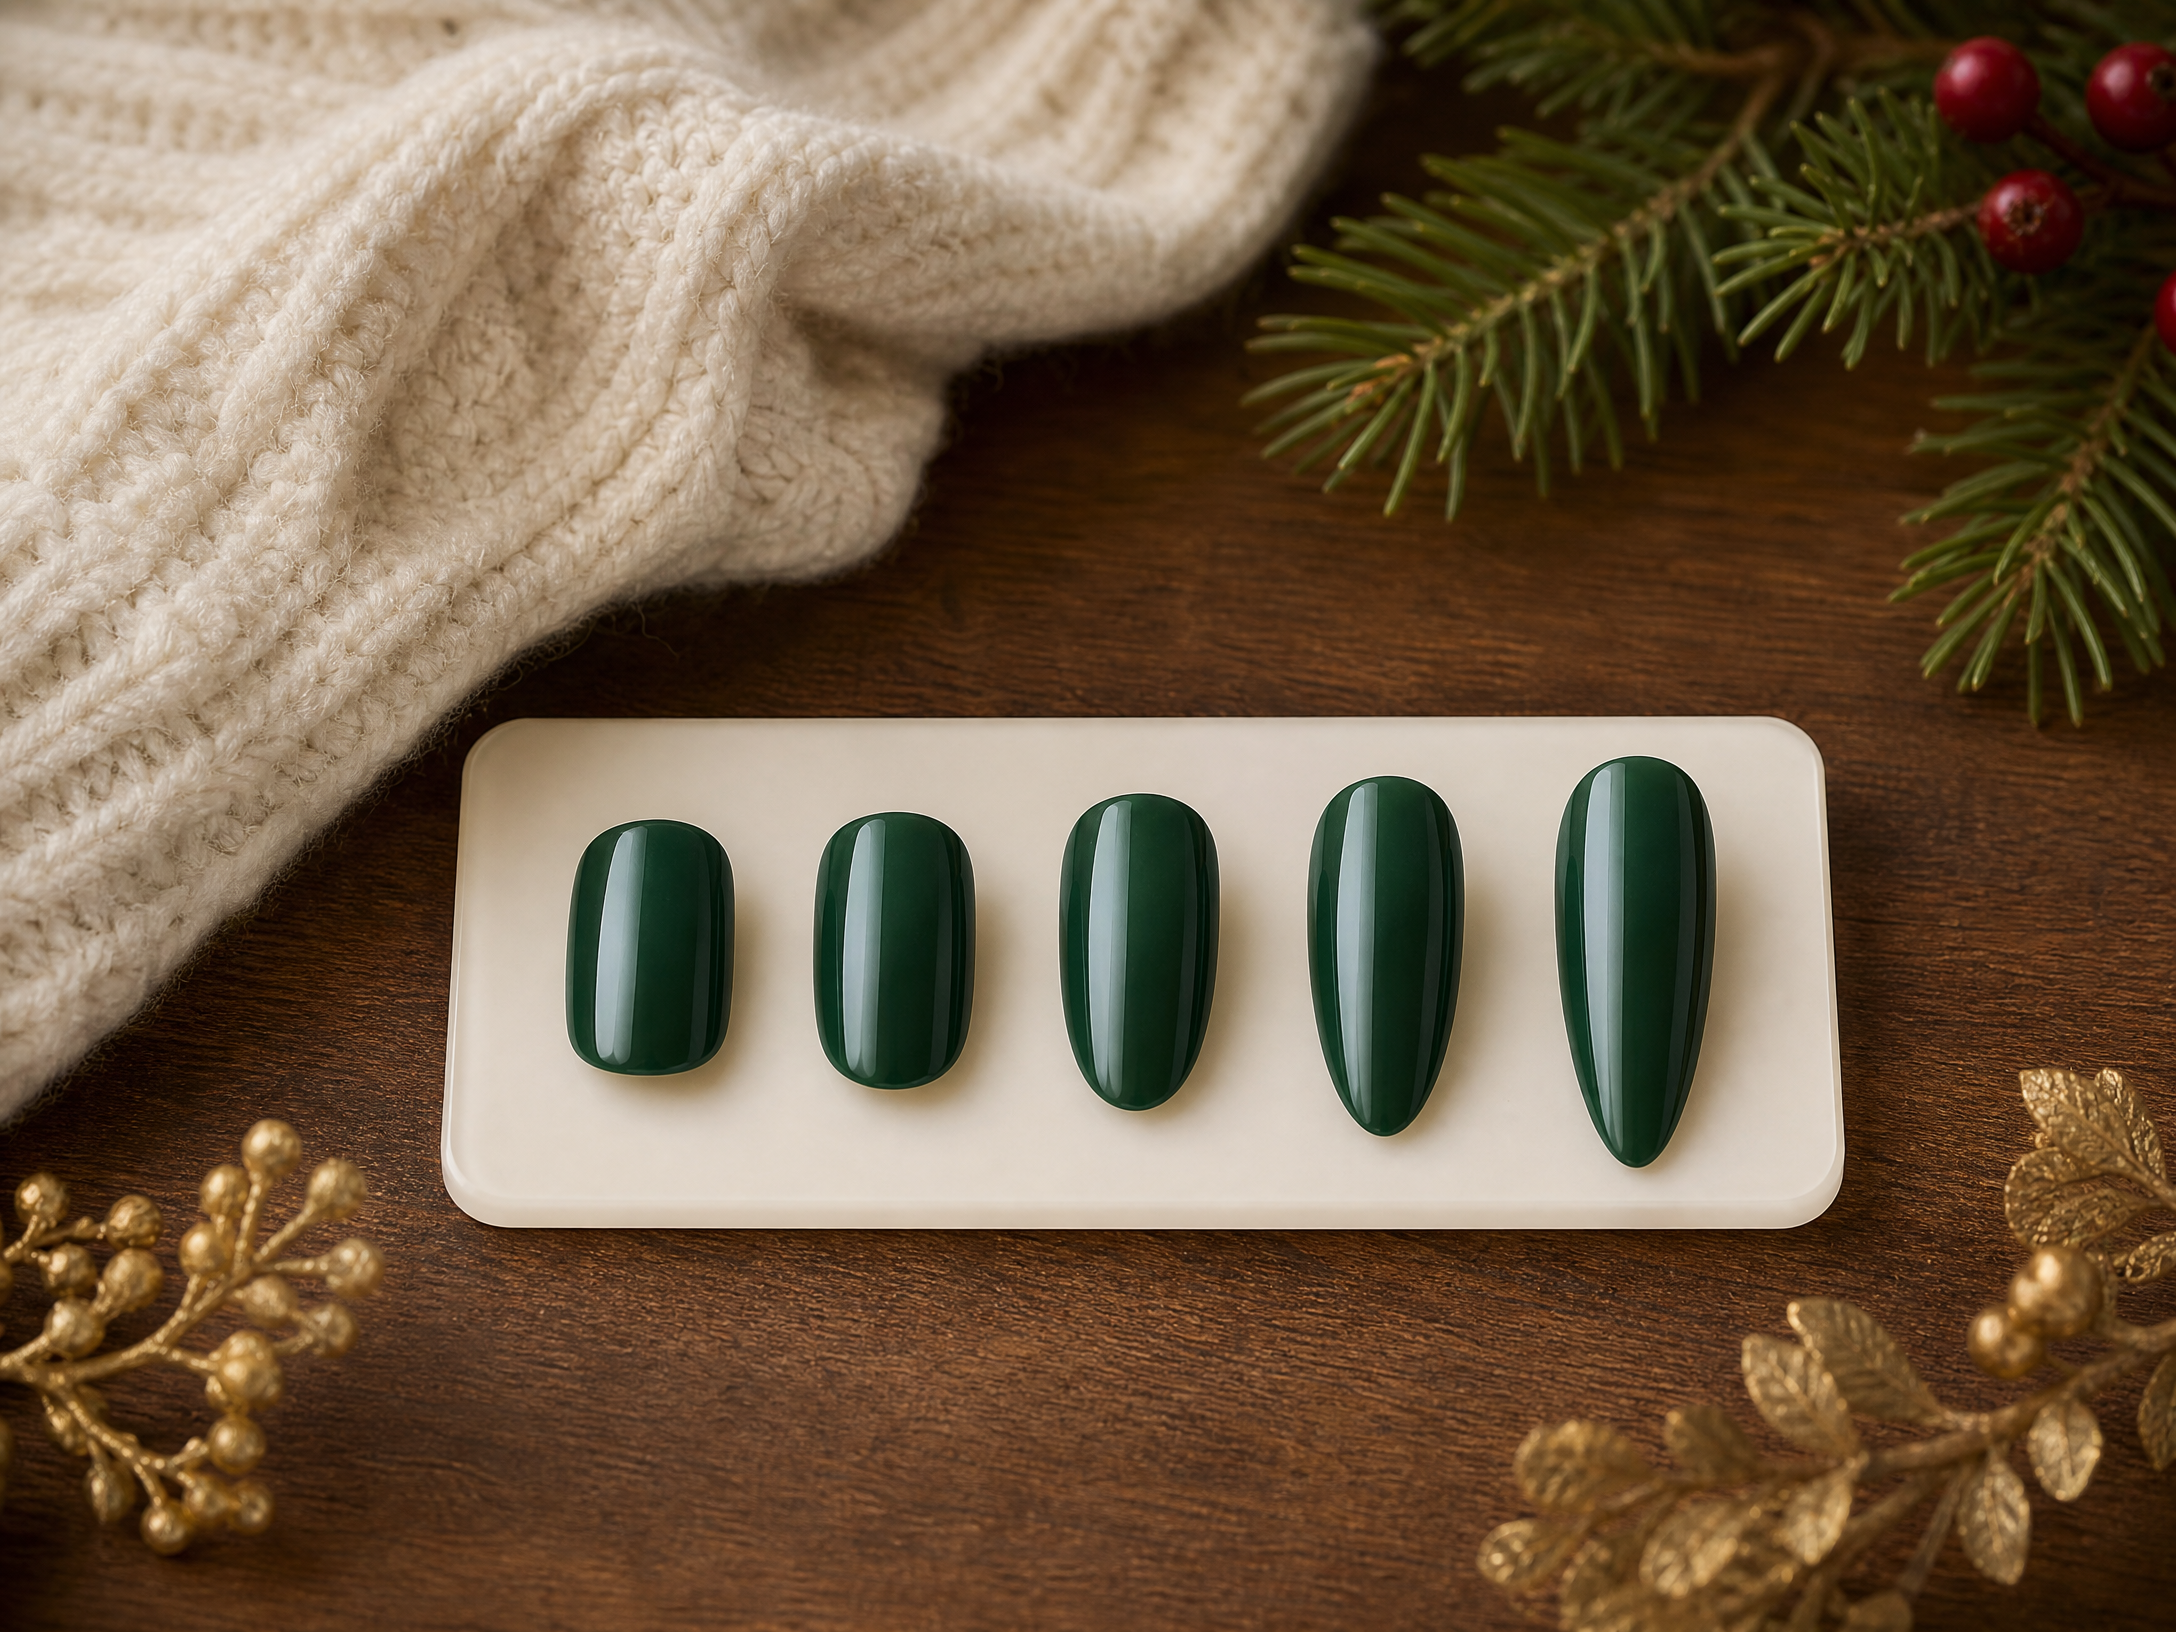
Your daily activities should inform how long and dramatic your nails are. Short, rounded or squoval shapes are low-maintenance and less likely to snag on winter layers; they’re perfect for people who type, cook, or wrap gifts frequently. Almond and oval shapes elongate the fingers and work beautifully with elegant, understated finishes, while squared or stiletto shapes provide a bold runway feel that suits statement finishes and long-throw metallics.
Consider how designs read on different shapes: vertical or tapered patterns visually lengthen rounded nails, while full-coverage finishes and broad motifs work better on squarer shapes. If you’re trying a new length for the holidays, try a slightly longer but conservative shape first to test comfort before committing to very long extensions.
7. Plan Your Appointment or DIY Session
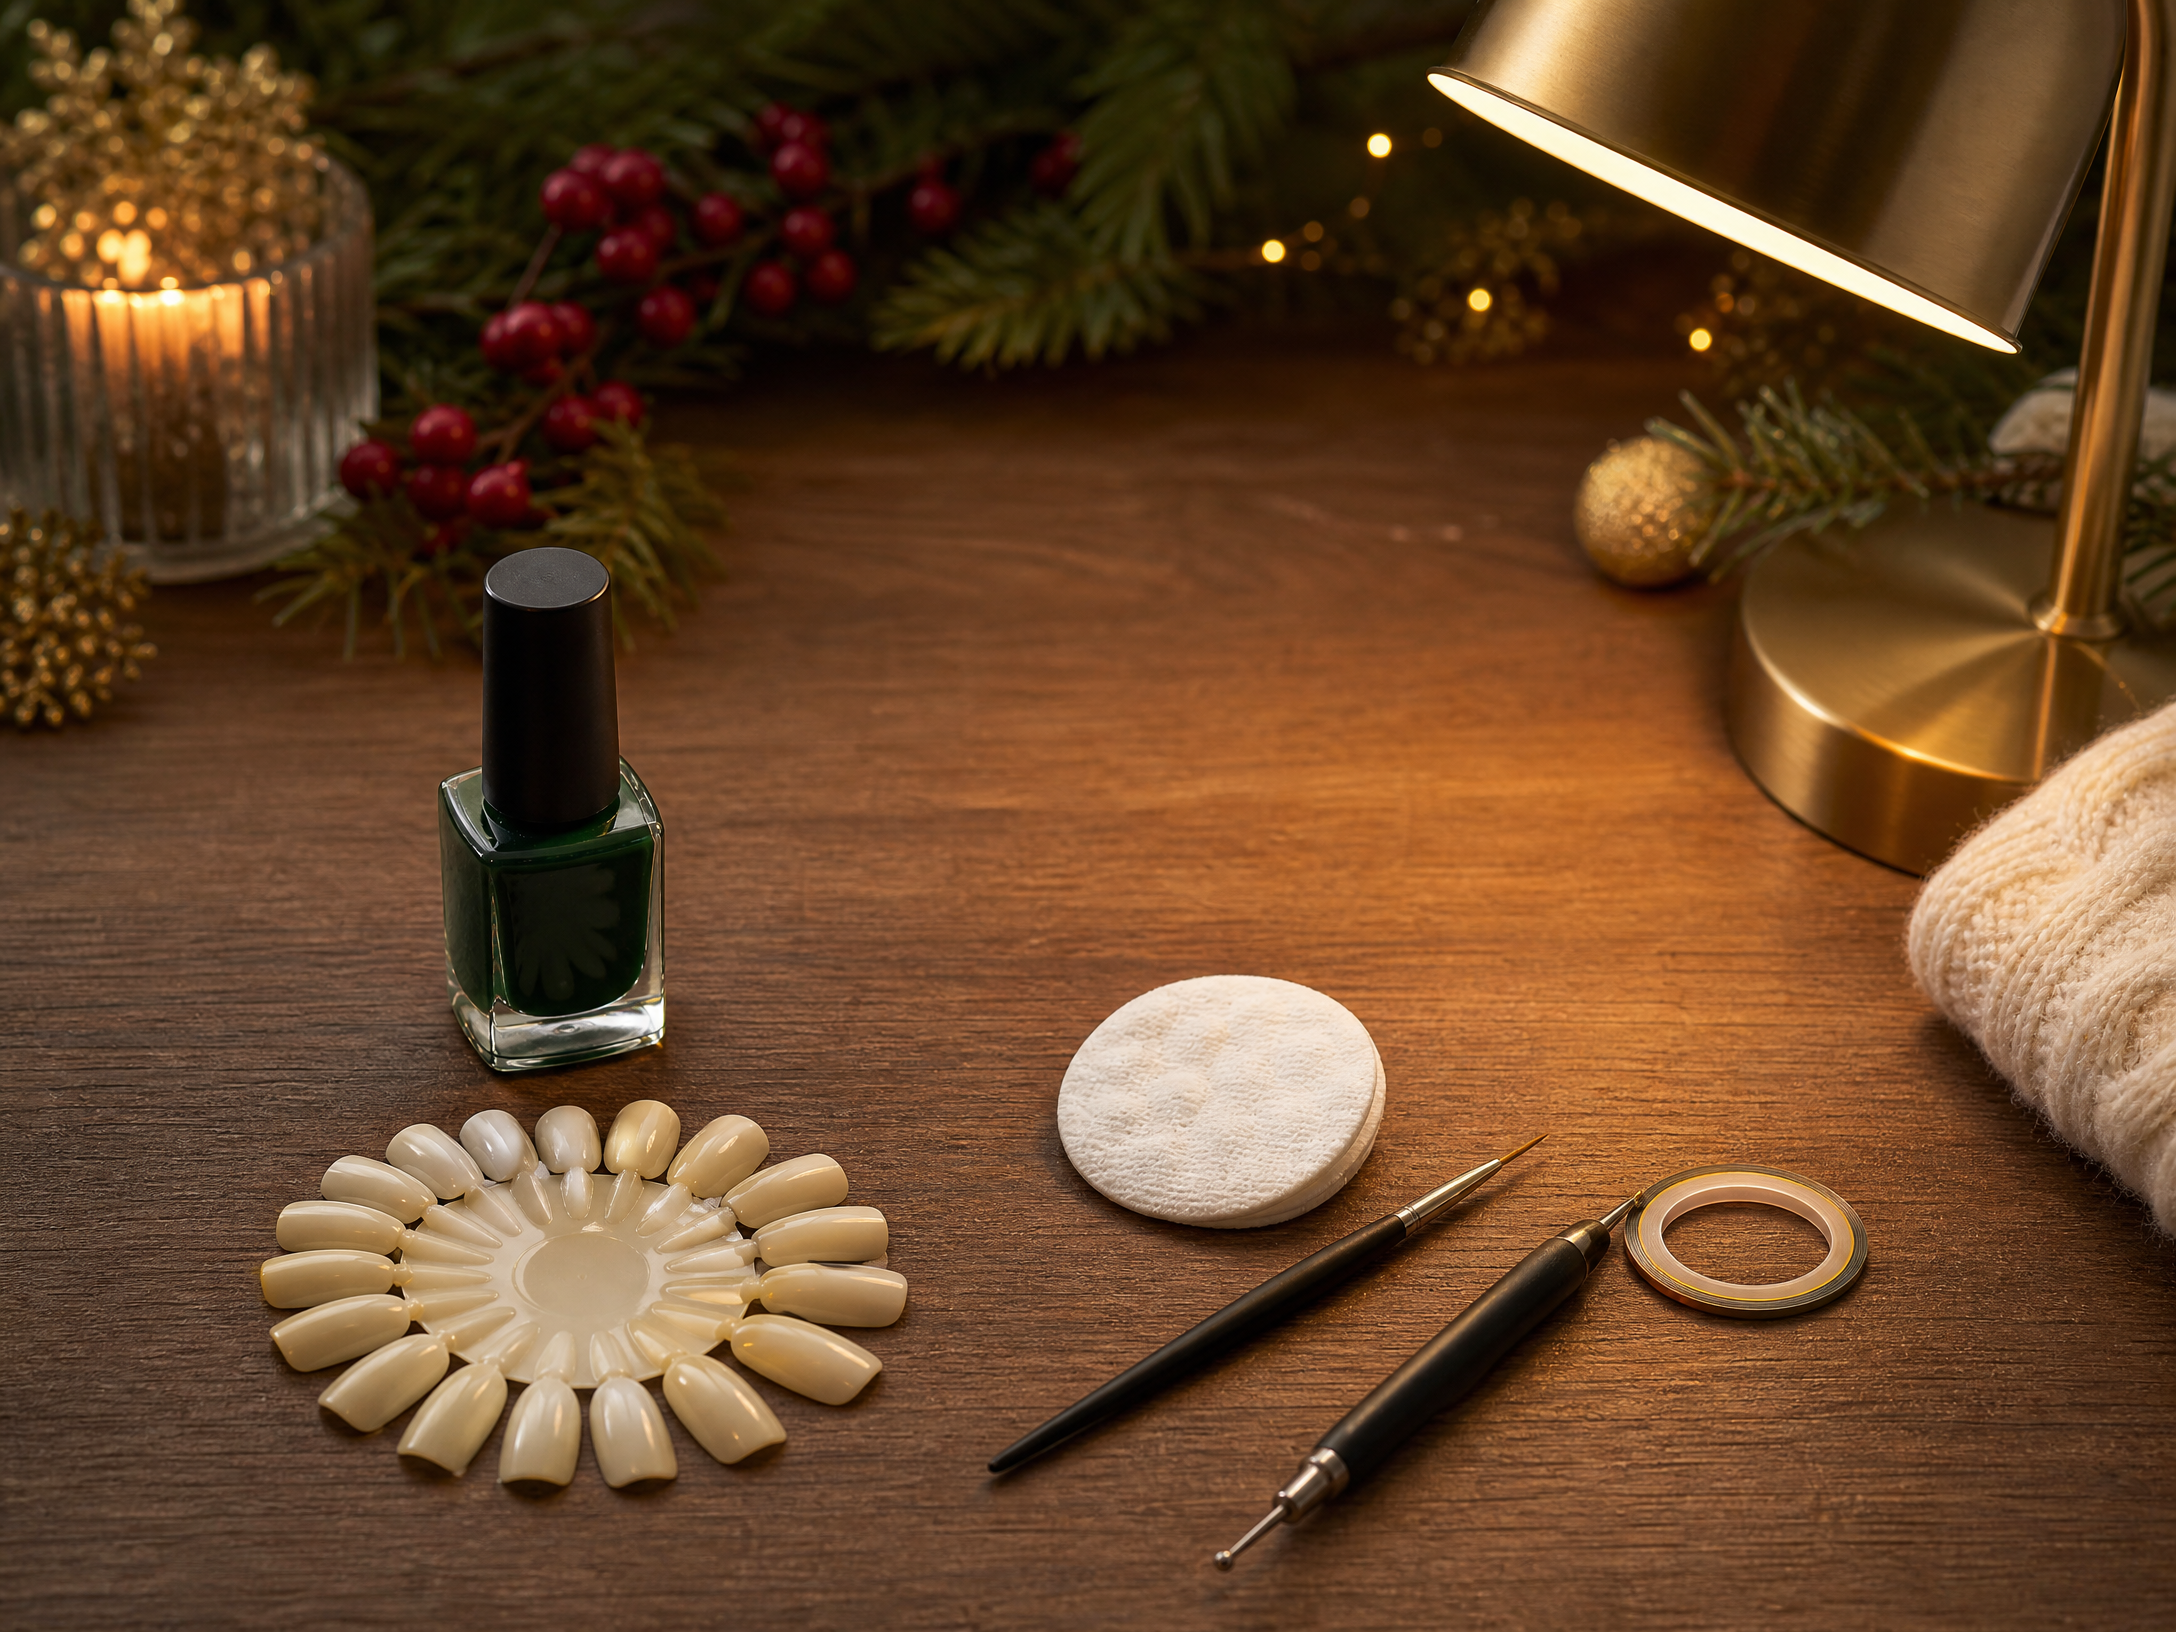
Decide whether you’ll visit a technician or do the manicure at home based on the complexity of the design and your confidence with tools. Salon appointments are best for intricate metallic work, layered textures, and precise motifs; technicians can also advise on complementary tones for your skin and outfits. If you’re doing it yourself, prepare a quiet workspace, good lighting, and the right tools—fine brushes, tape, a dotting tool, and topcoats in various sheens to finish the look.
DIY planning checklist:
- Gather base, accent, and topcoat finishes before starting.
- Practice any freehand motifs on a plastic sheet or a nail wheel first.
- Allow extra drying time between layers; use a fast-drying topcoat for protection.
- Have a clean-up brush and remover ready for crisp edges.
8. Gentle Aftercare to Keep Green Looking Fresh
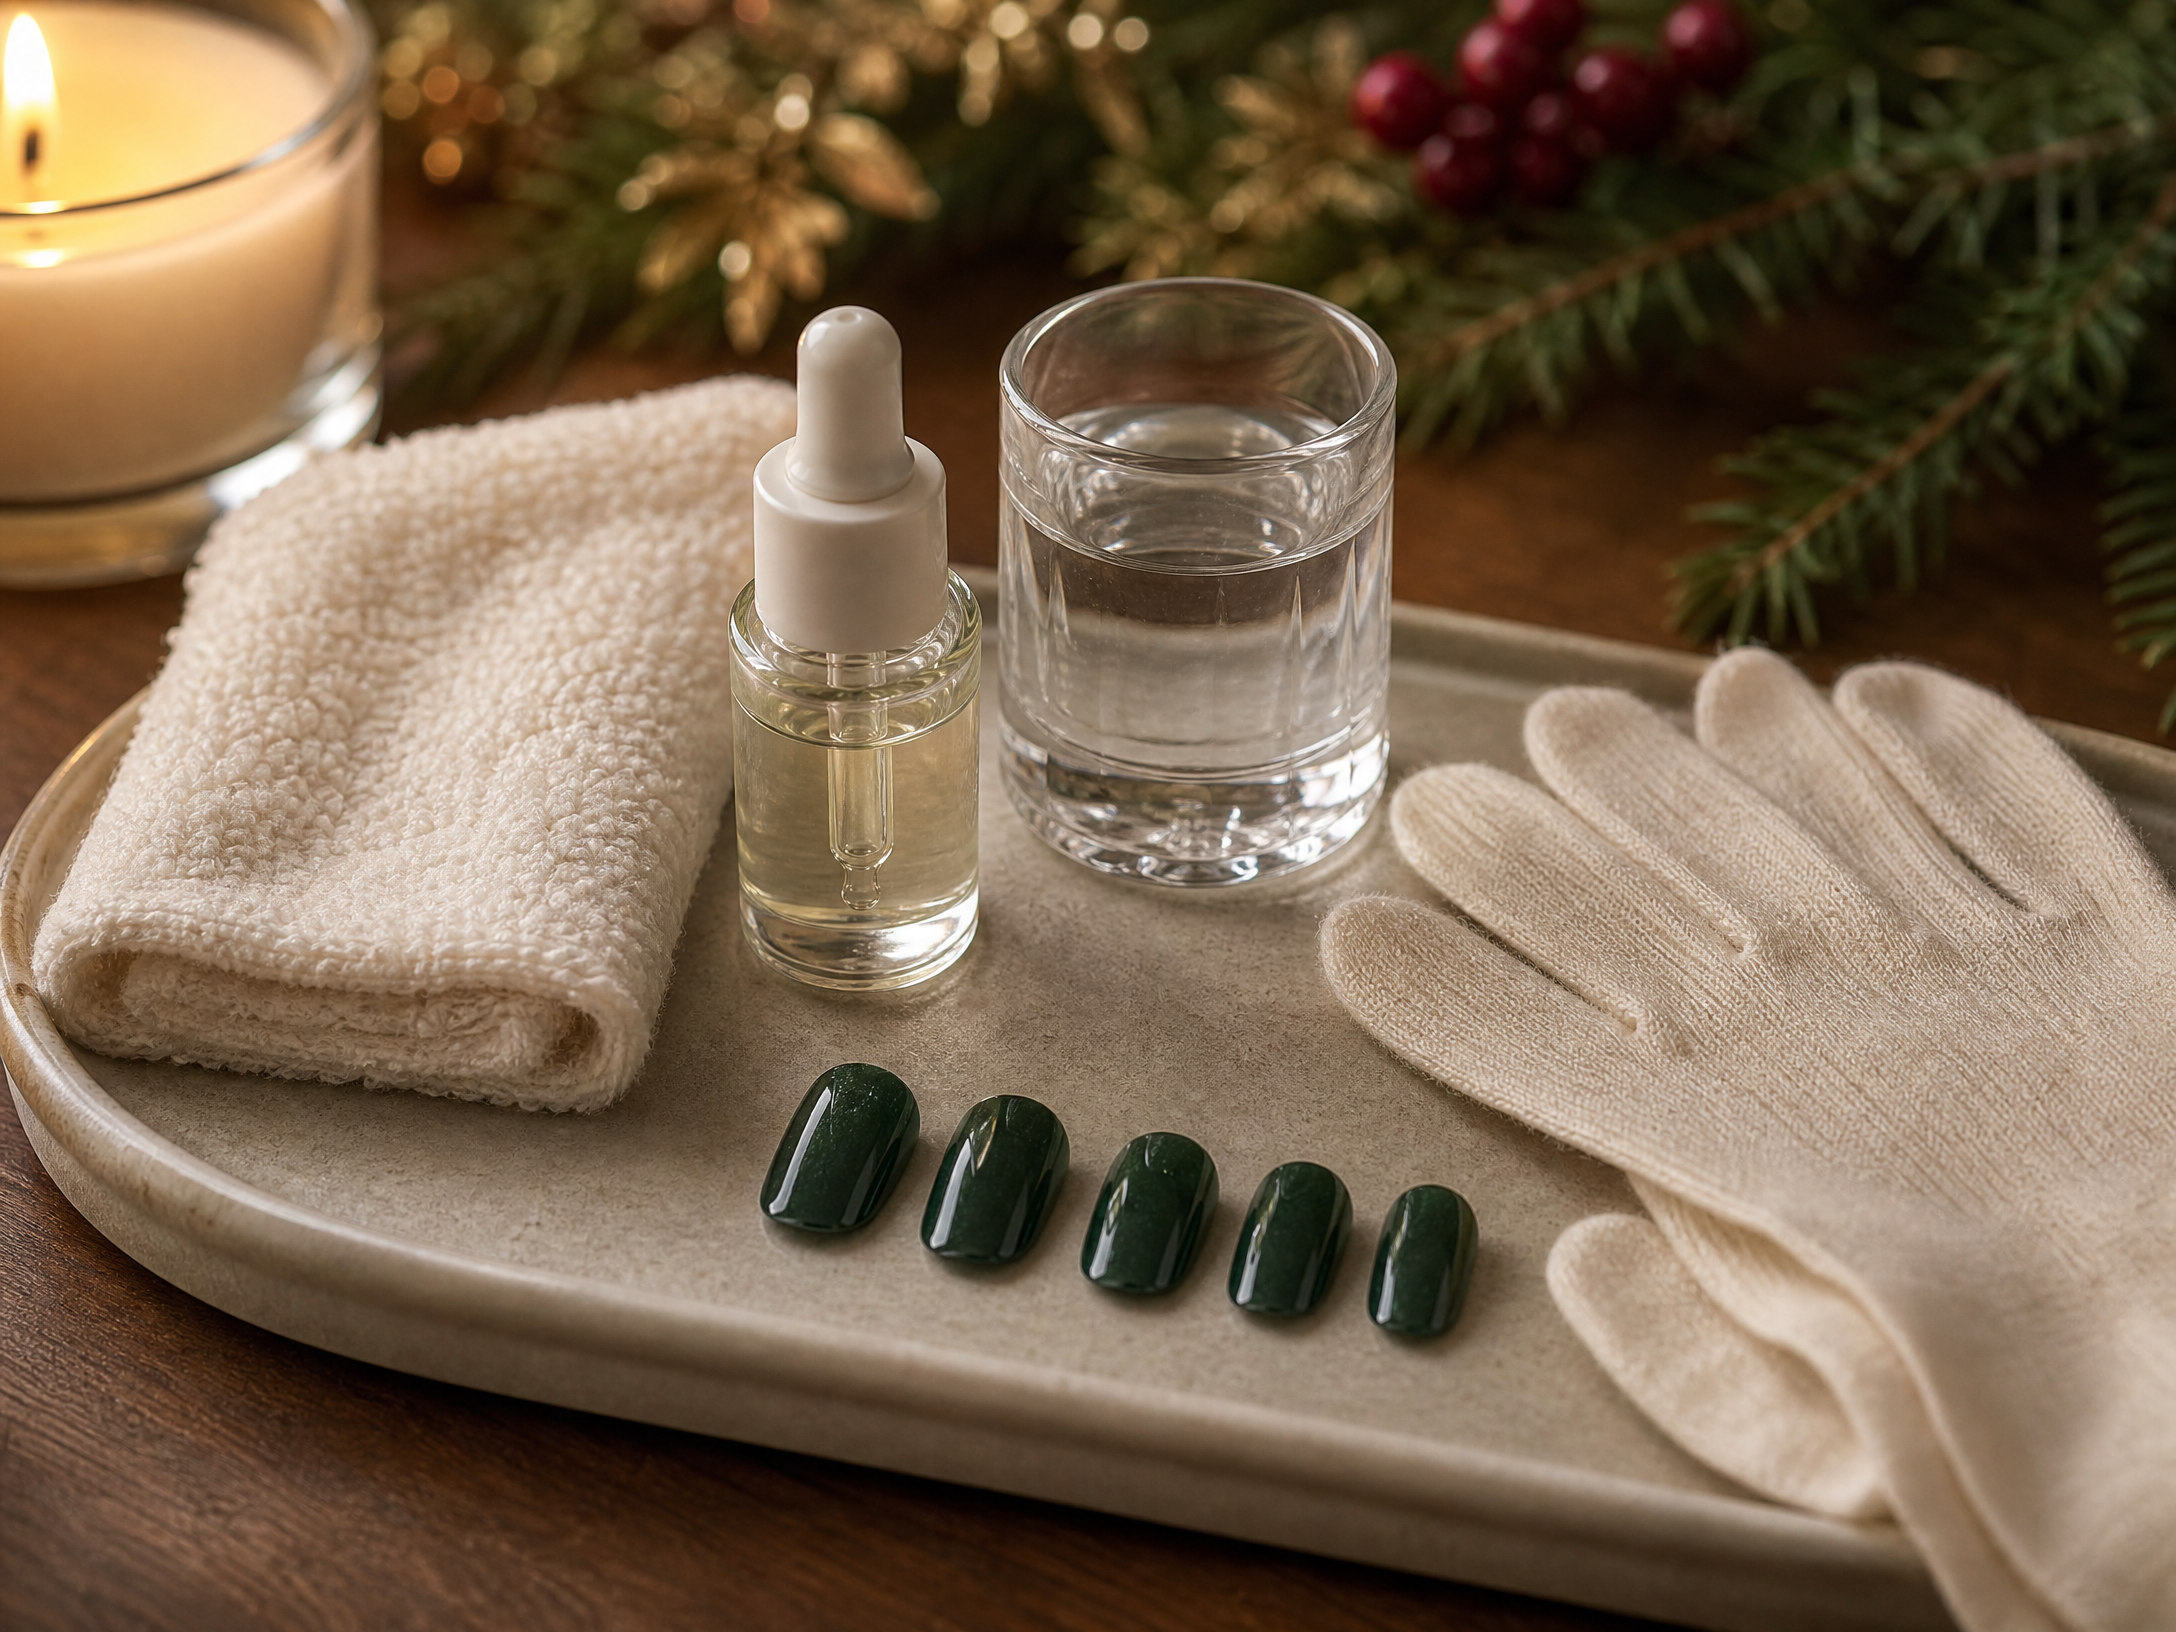
Aftercare preserves color and finish throughout the season. Keep nails dry for a short while after application to avoid dents, and reapply a thin layer of topcoat every few days to renew shine and protect against chipping. Wear gloves when handling cold-weather tasks—washing dishes, shoveling, or long periods outside—to limit exposure to moisture and rough surfaces that erode polish.
Also attend to the surrounding skin: massage cuticle oil into the nail beds nightly to maintain suppleness and prevent hangnails, and use a non-abrasive hand cream after washing hands. If you notice lifting or chipping, address it promptly—file smooth, clean the surface, and apply a small touch-up finish—so the manicure looks intentional rather than worn.
Final Thoughts
A green Christmas manicure can be tailored to any personal style by making a few intentional choices: select a shade that flatters your undertone and wardrobe, pick finishes that match the occasion, use negative space and a single accent to keep designs modern, scale motifs to your nail size, and match length and shape to your daily needs. Plan realistically for a salon visit or a DIY session, and follow gentle aftercare to extend wear through holiday festivities. With this framework you can create a seasonal manicure that feels festive, wearable, and distinctly yours.