Understated Holiday Red: How to Build a Polished Christmas Manicure
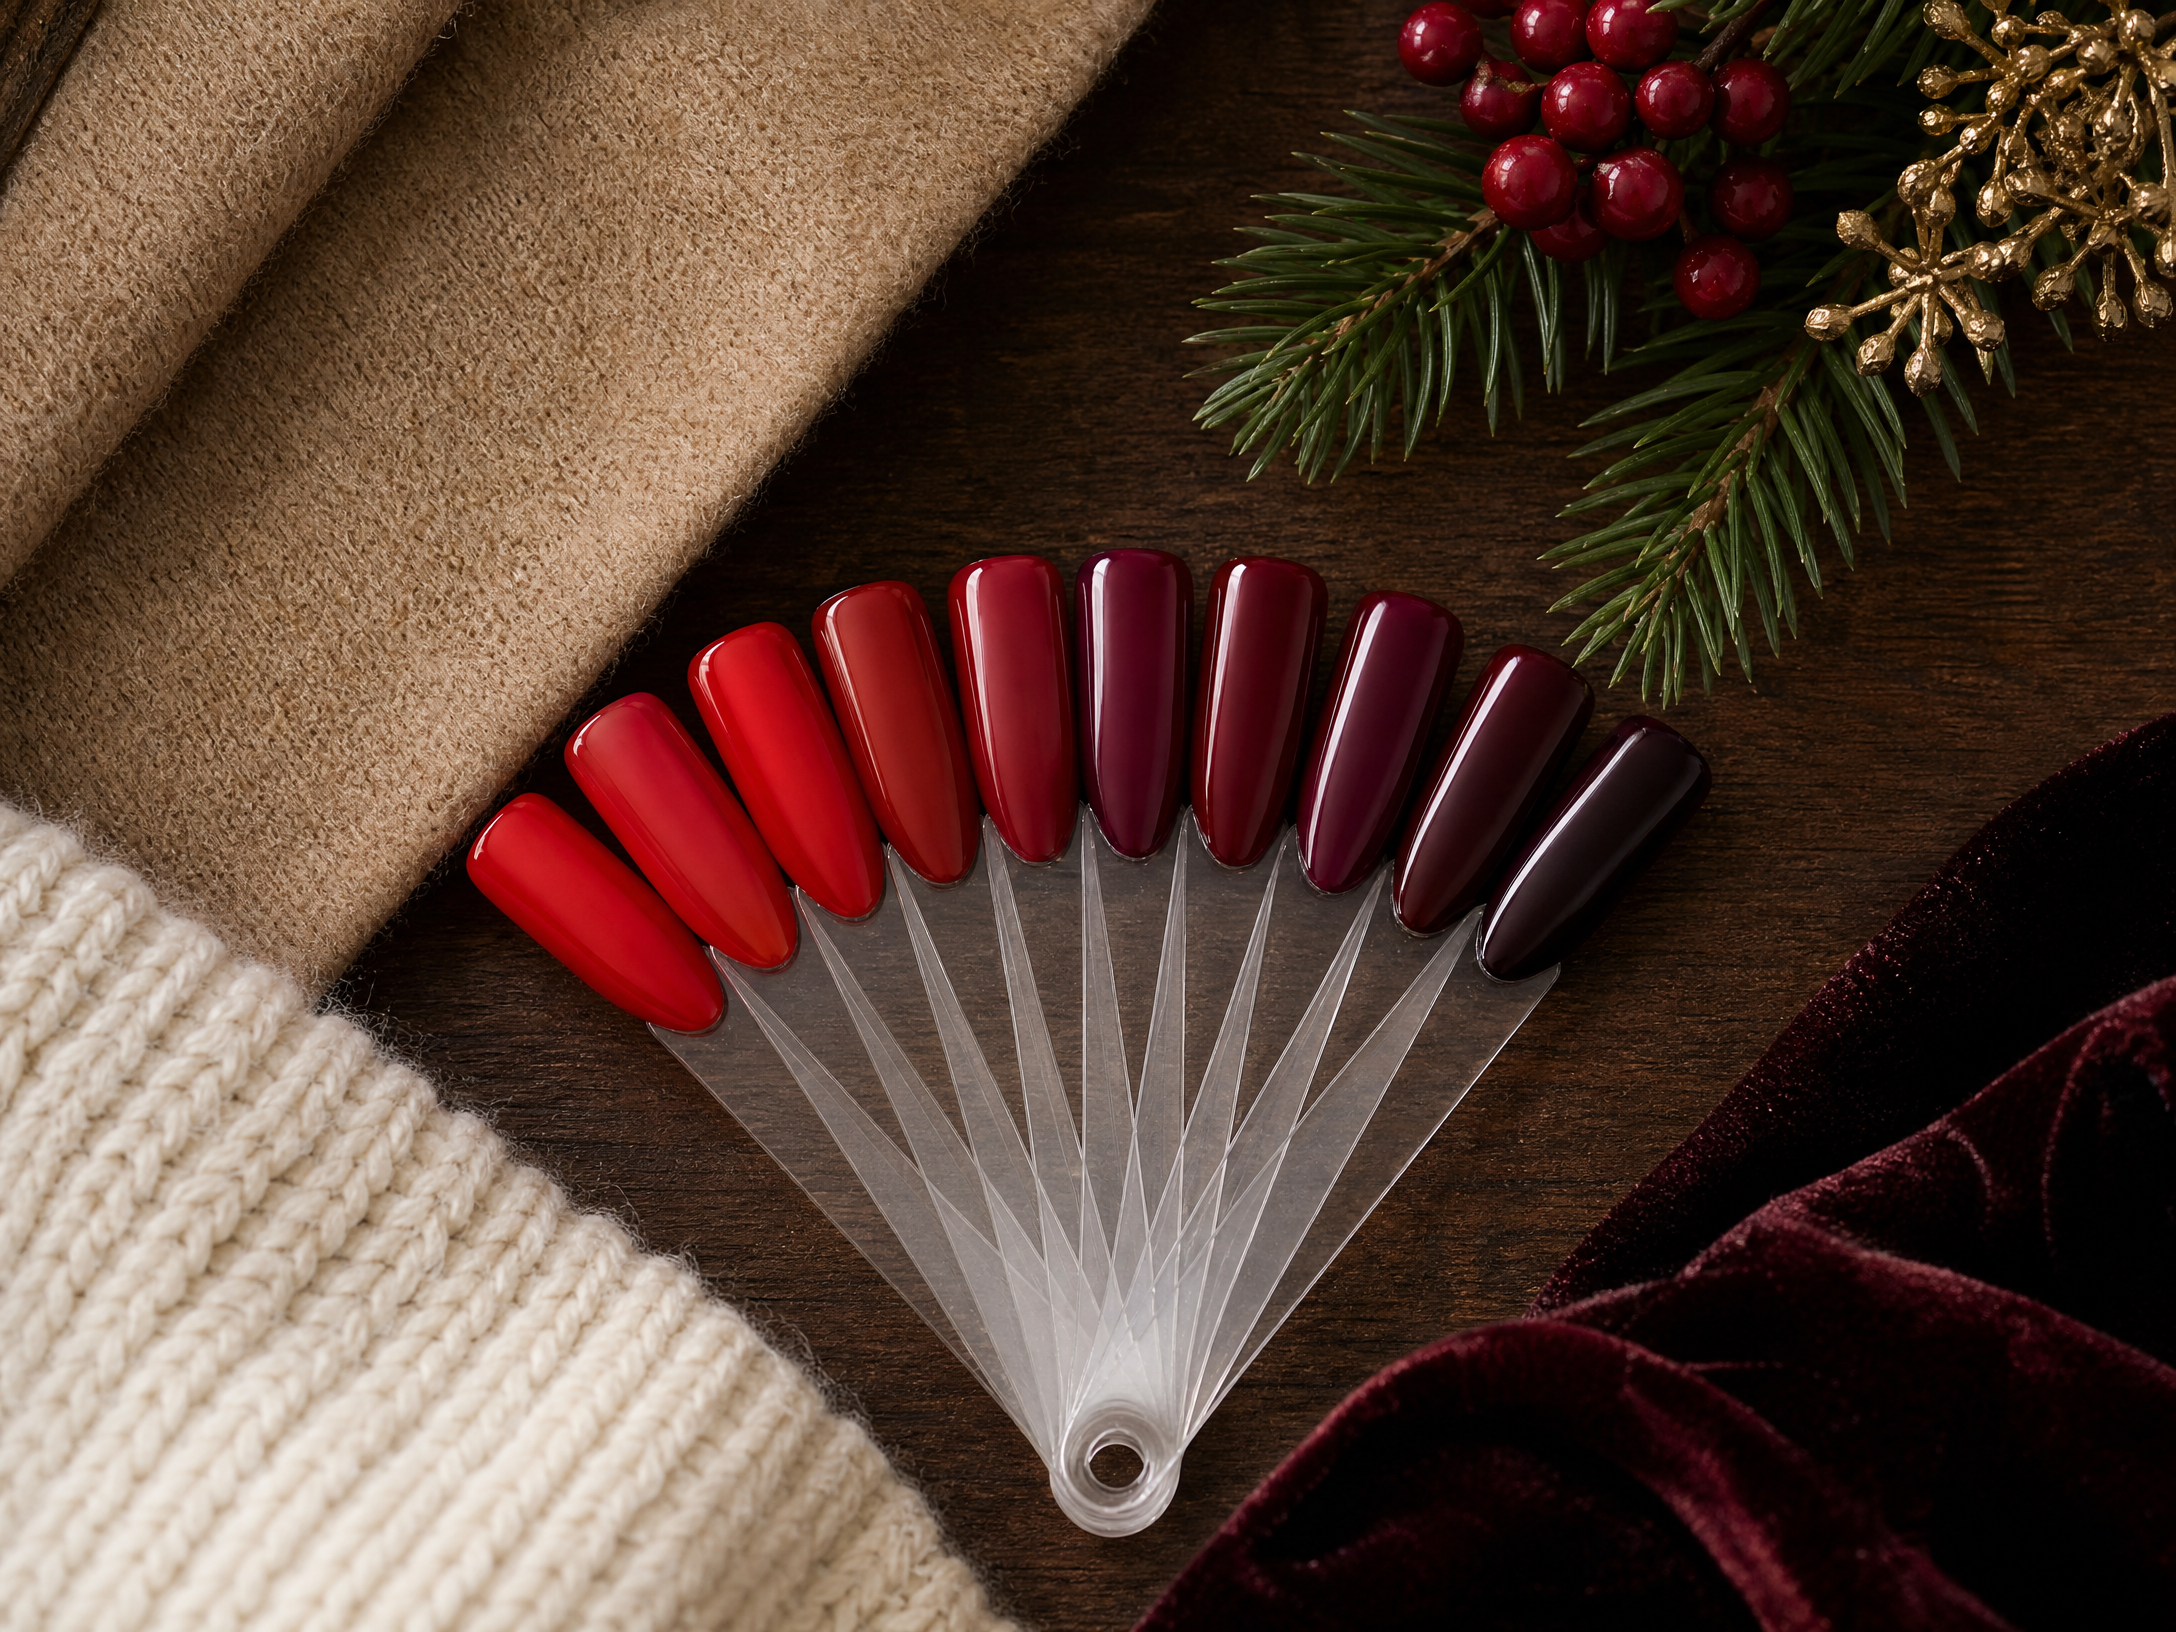
Red nails are a classic holiday statement, but there’s a big difference between elegant and overdone. This guide shows how to shape a refined red Christmas manicure by thinking like a stylist: pick the right shade and finish, limit decoration, and plan timing so your polish looks fresh for every event.
You don’t need glitter-heavy designs to feel festive. Small, intentional choices—one accent nail, a narrow tip, or a hint of metallic—can read seasonal without shouting. The sections that follow walk through shade selection, finishes, modern French concepts, subtle texture, singular art motifs, neutral balance, longevity planning, and gentle removal and aftercare so your nails stay polished from first pour of mulled wine to the last holiday photo.
1. Choose a Red Depth that Complements Your Wardrobe
Start by choosing a red that flatters both your skin tone and the outfits you’ll wear. Cool undertones pair well with cherry and cranberry reds that have a blue base; warmer undertones look natural with tomato or brick reds that carry an orange hint. For an evening event, a deeper wine or oxblood reads luxe, while a bright signal red feels fresh for daytime gatherings.
Think about the clothes you’ll coordinate with the manicure. A muted burgundy will slip seamlessly under a velvet dress or wool coat; a vivid scarlet pops against neutrals like camel and cream. If you plan patterned outfits, pick a red that acts as an accent rather than competing with prints—this keeps your hands polished, not distracting.
2. Match the Finish to the Occasion
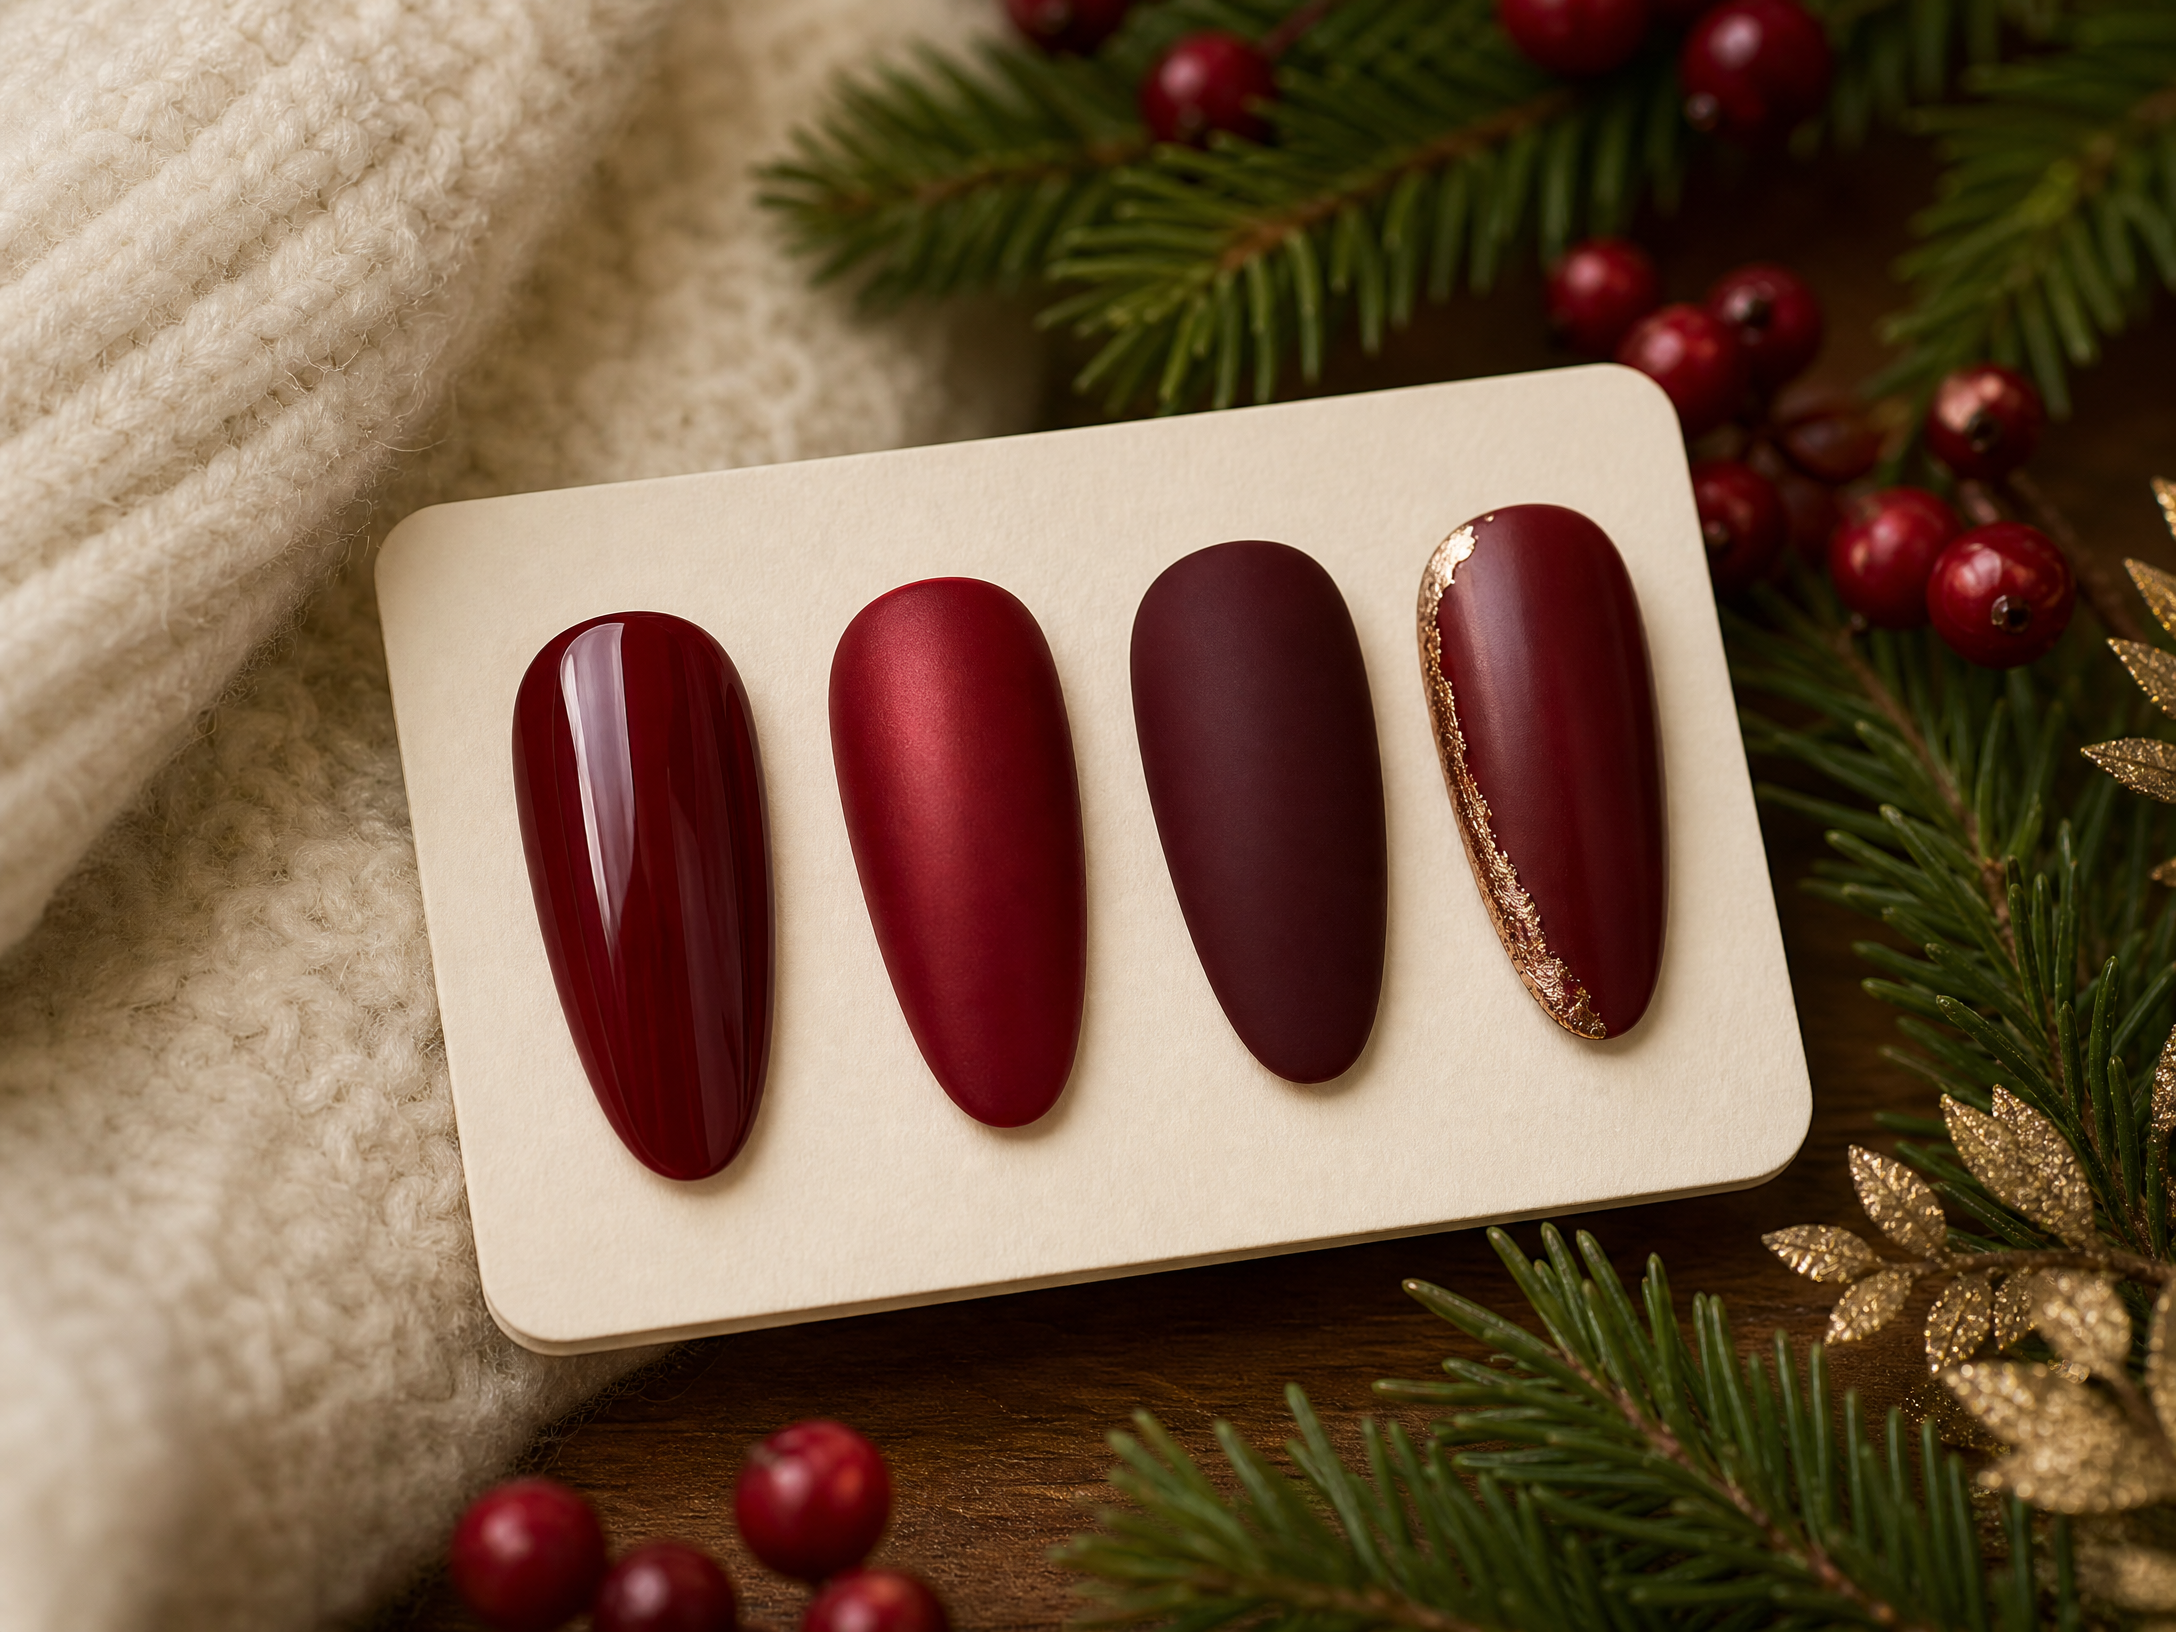
The finish of your red—high-gloss, satin, matte, or metallic—sets the tone. High-gloss silhouettes are classic and reflect light in photos, making them versatile for most holiday events. Satin or semi-matte finishes feel modern and slightly more sophisticated without drawing as much attention as a mirror shine.
Reserve metallic or subtle foil accents for moments you want to feel dressed up, such as a party night or a formal dinner. Matte finishes can be chic but tend to show wear faster, so use them for shorter occasions or as accents. When in doubt, a glossy top layer over your chosen formula keeps the manicure looking well cared-for and photo-ready.
3. Modern Red French Variations for a Refined Twist
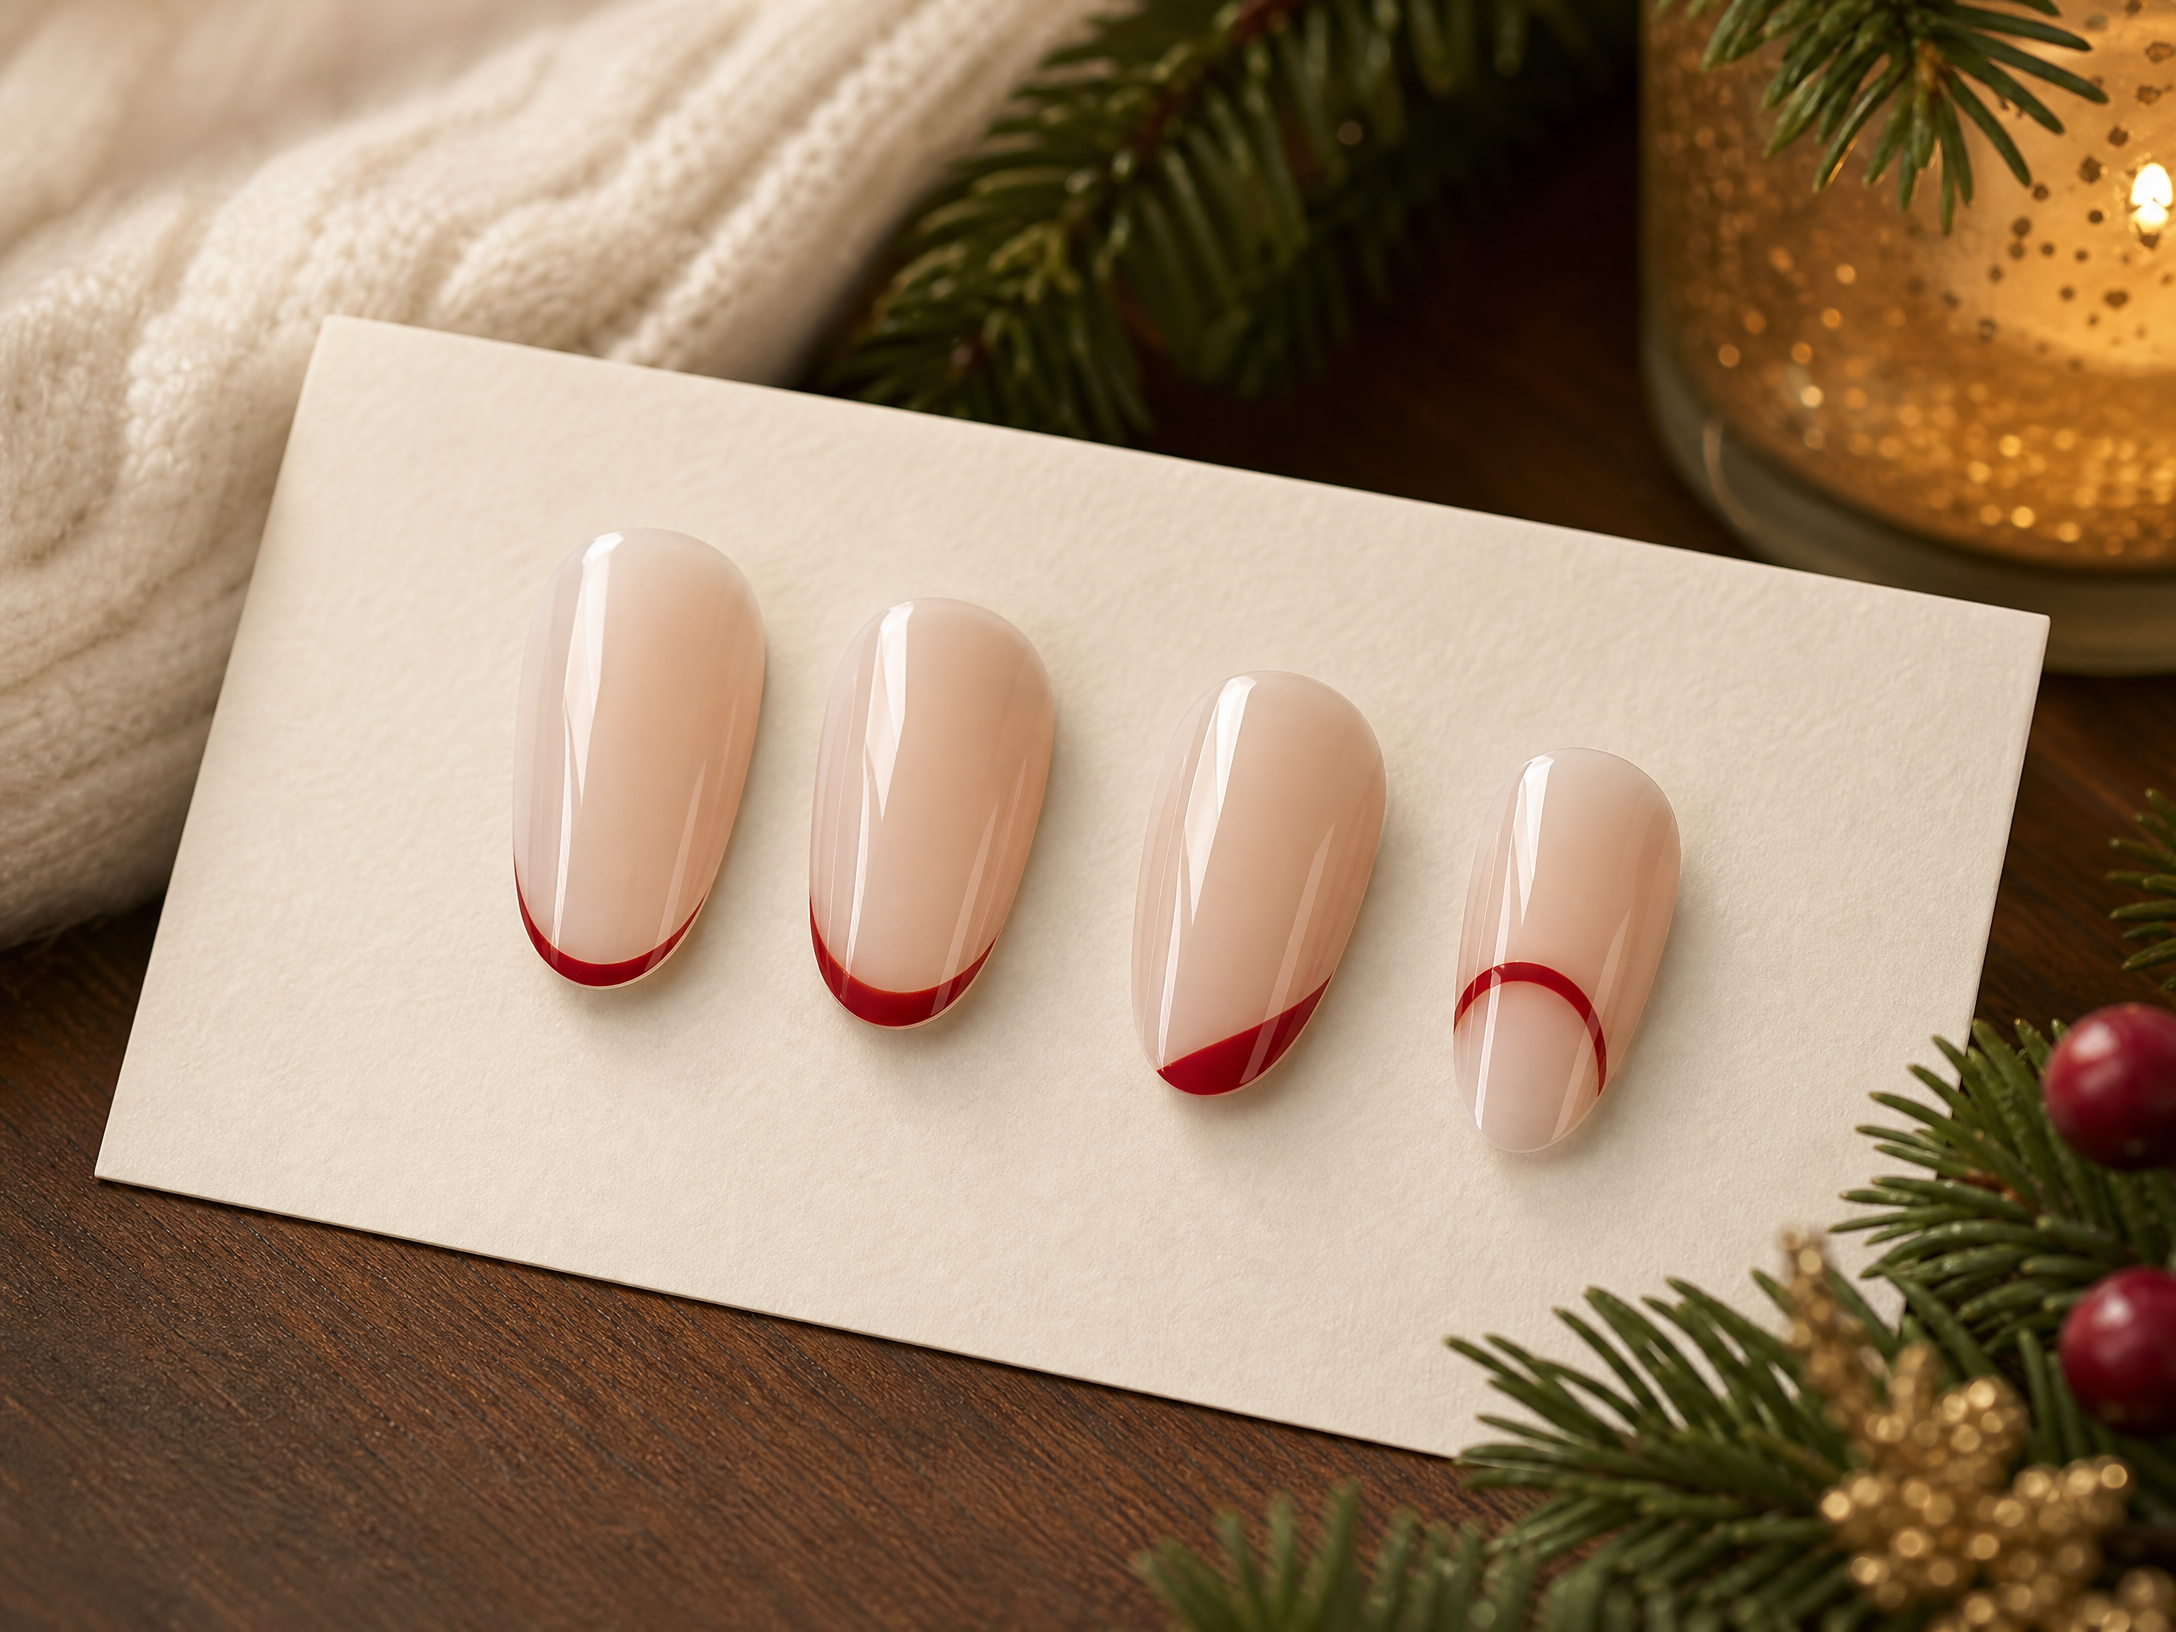
French manicures don’t have to be pale pink with a thick white tip—use red to reinvent the look subtly. Try a thin scarlet line at the free edge instead of a broader band, or reverse the placement with a small crescent of red at the base of the nail. Both options keep the geometry of a French but soften its formality.
For a more contemporary take, combine a translucent nude base with a narrow diagonal red tip on just one or two nails, or use a negative-space arc where the red sits against exposed natural nail. Keeping the red lines fine and consistent ensures the design reads intentional and modern rather than loud.
4. Add Textural Contrast for Interest
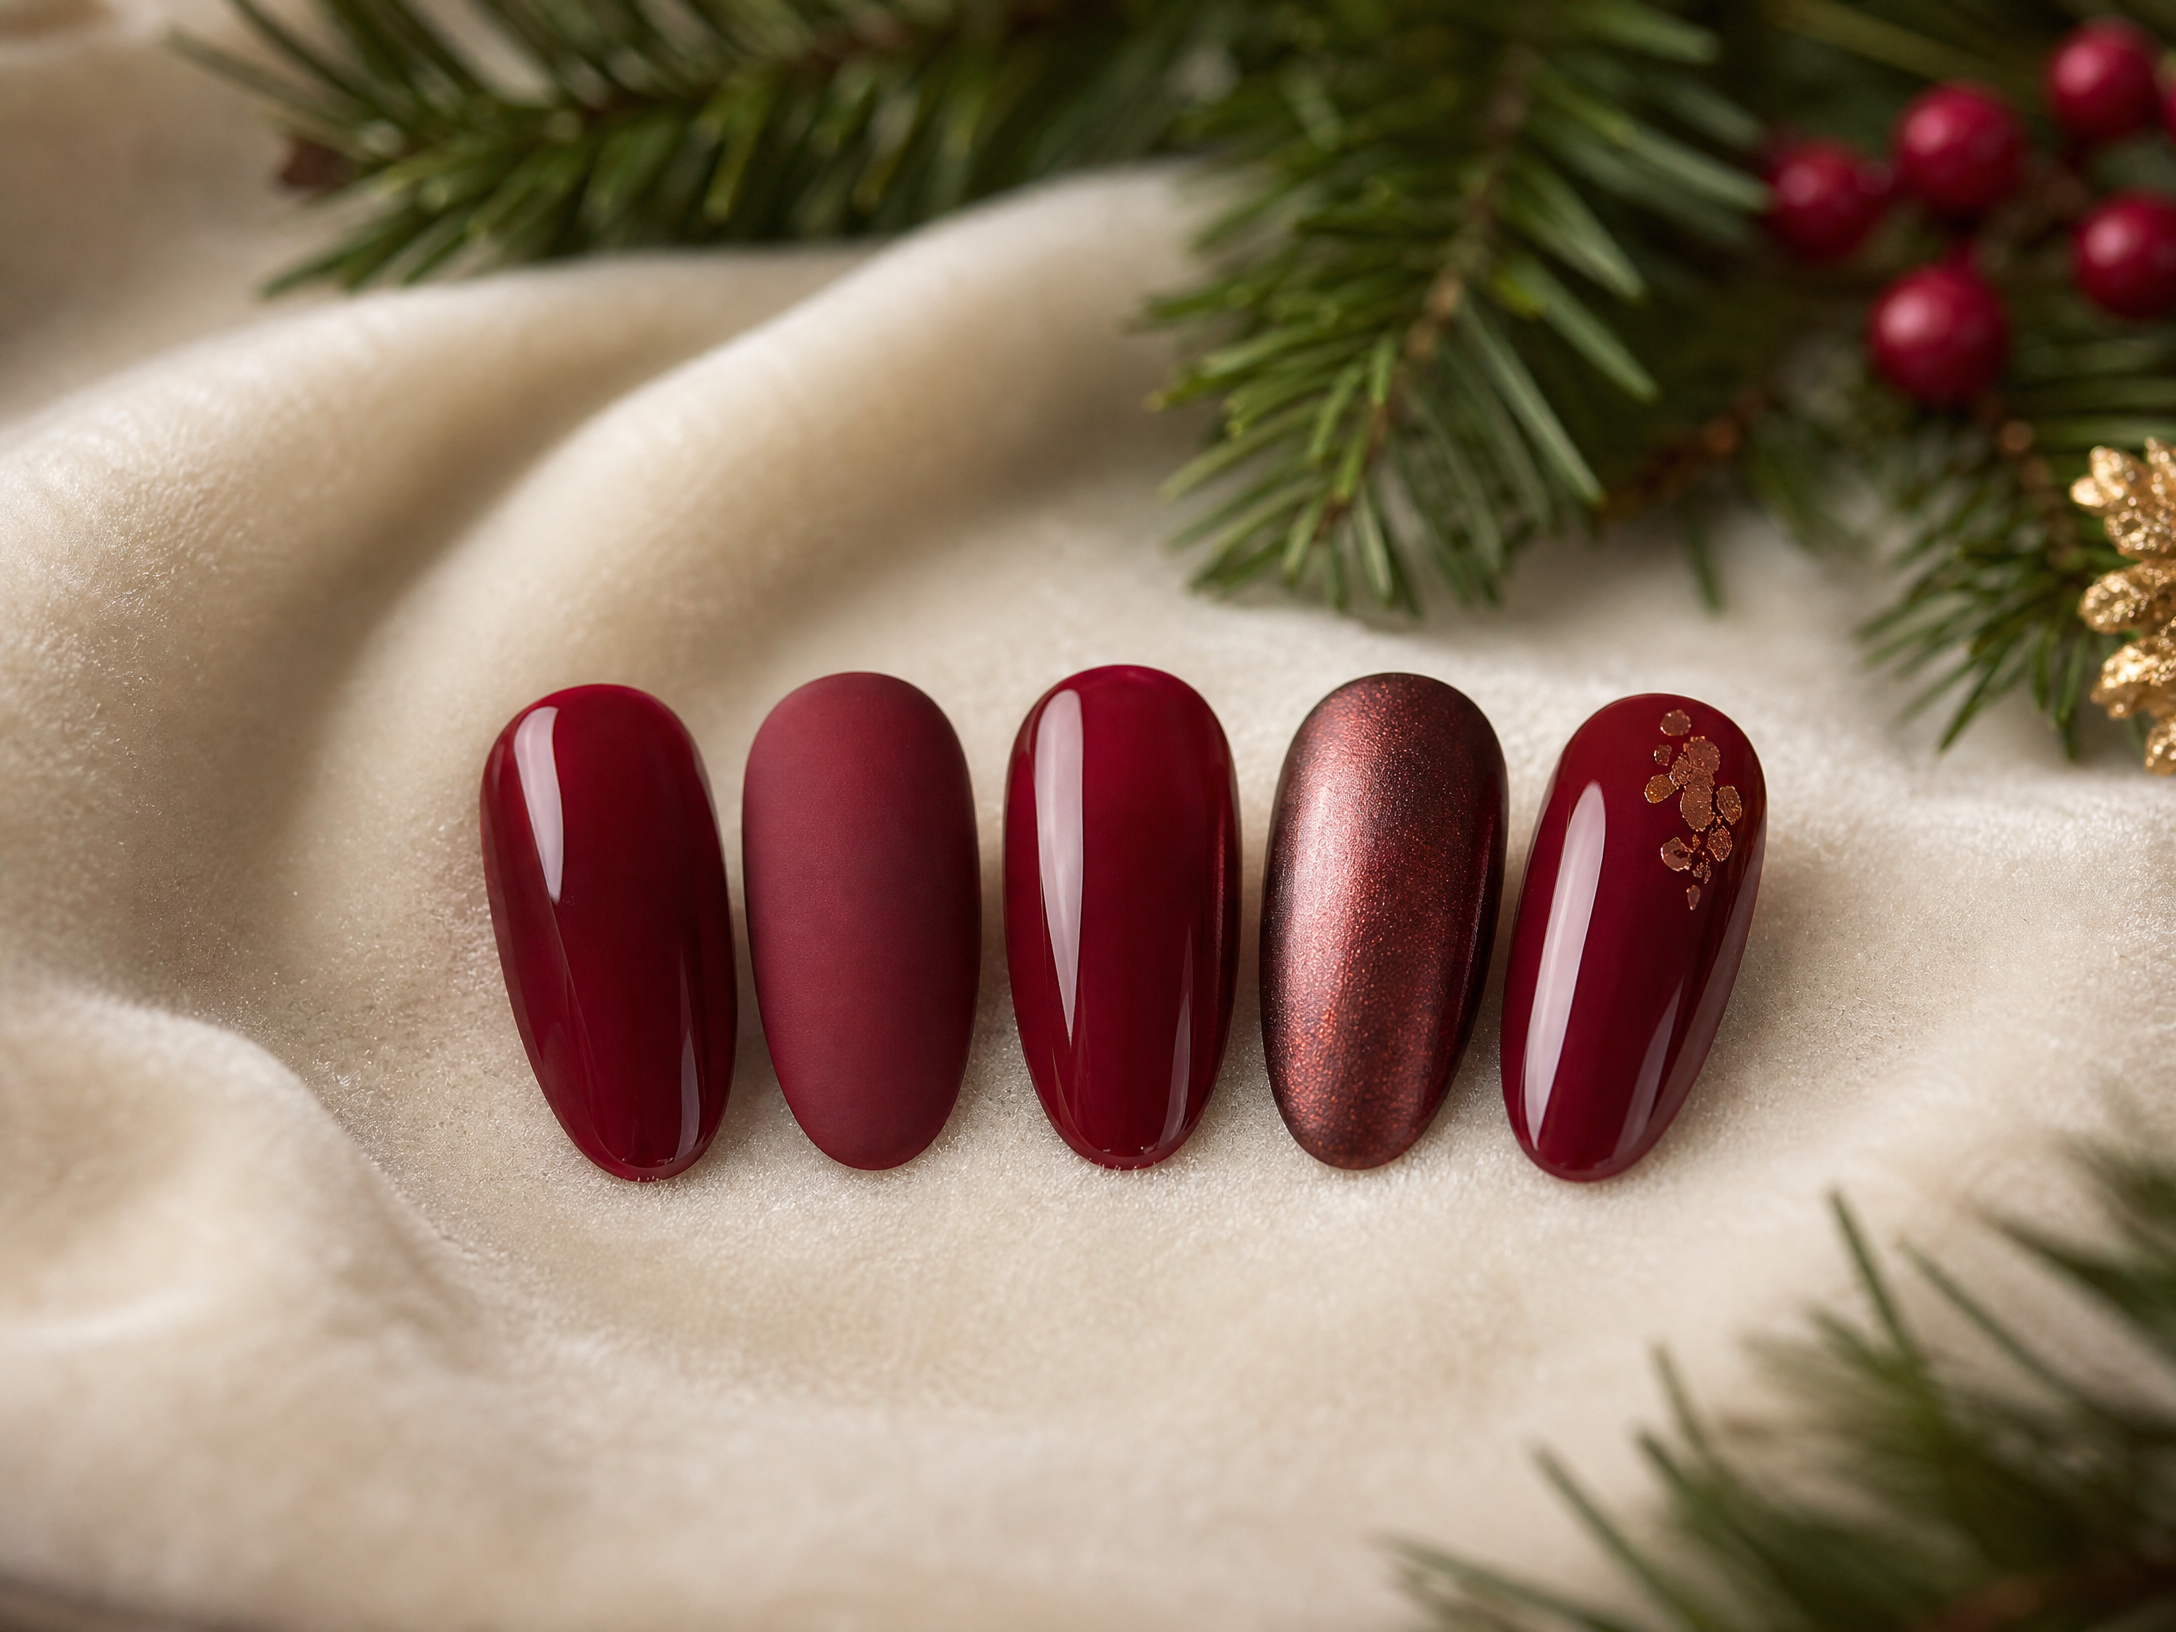
Introduce textural contrast to your red manicure to create depth without extra ornament. Pair a glossy red base with a single matte accent, or add a velvet-like finish to one nail for a tactile moment. These contrasts draw the eye without relying on busy patterns.
Checklist:
- Glossy base + matte accent nail
- Opaque red with a sheer, glossy overlay on alternating fingers
- One micro-foil speck or metallic sheen on an accent nail
- Subtle micro-sand texture limited to a single nail to avoid heaviness
5. Pick a Single Art Motif — and Keep It Small
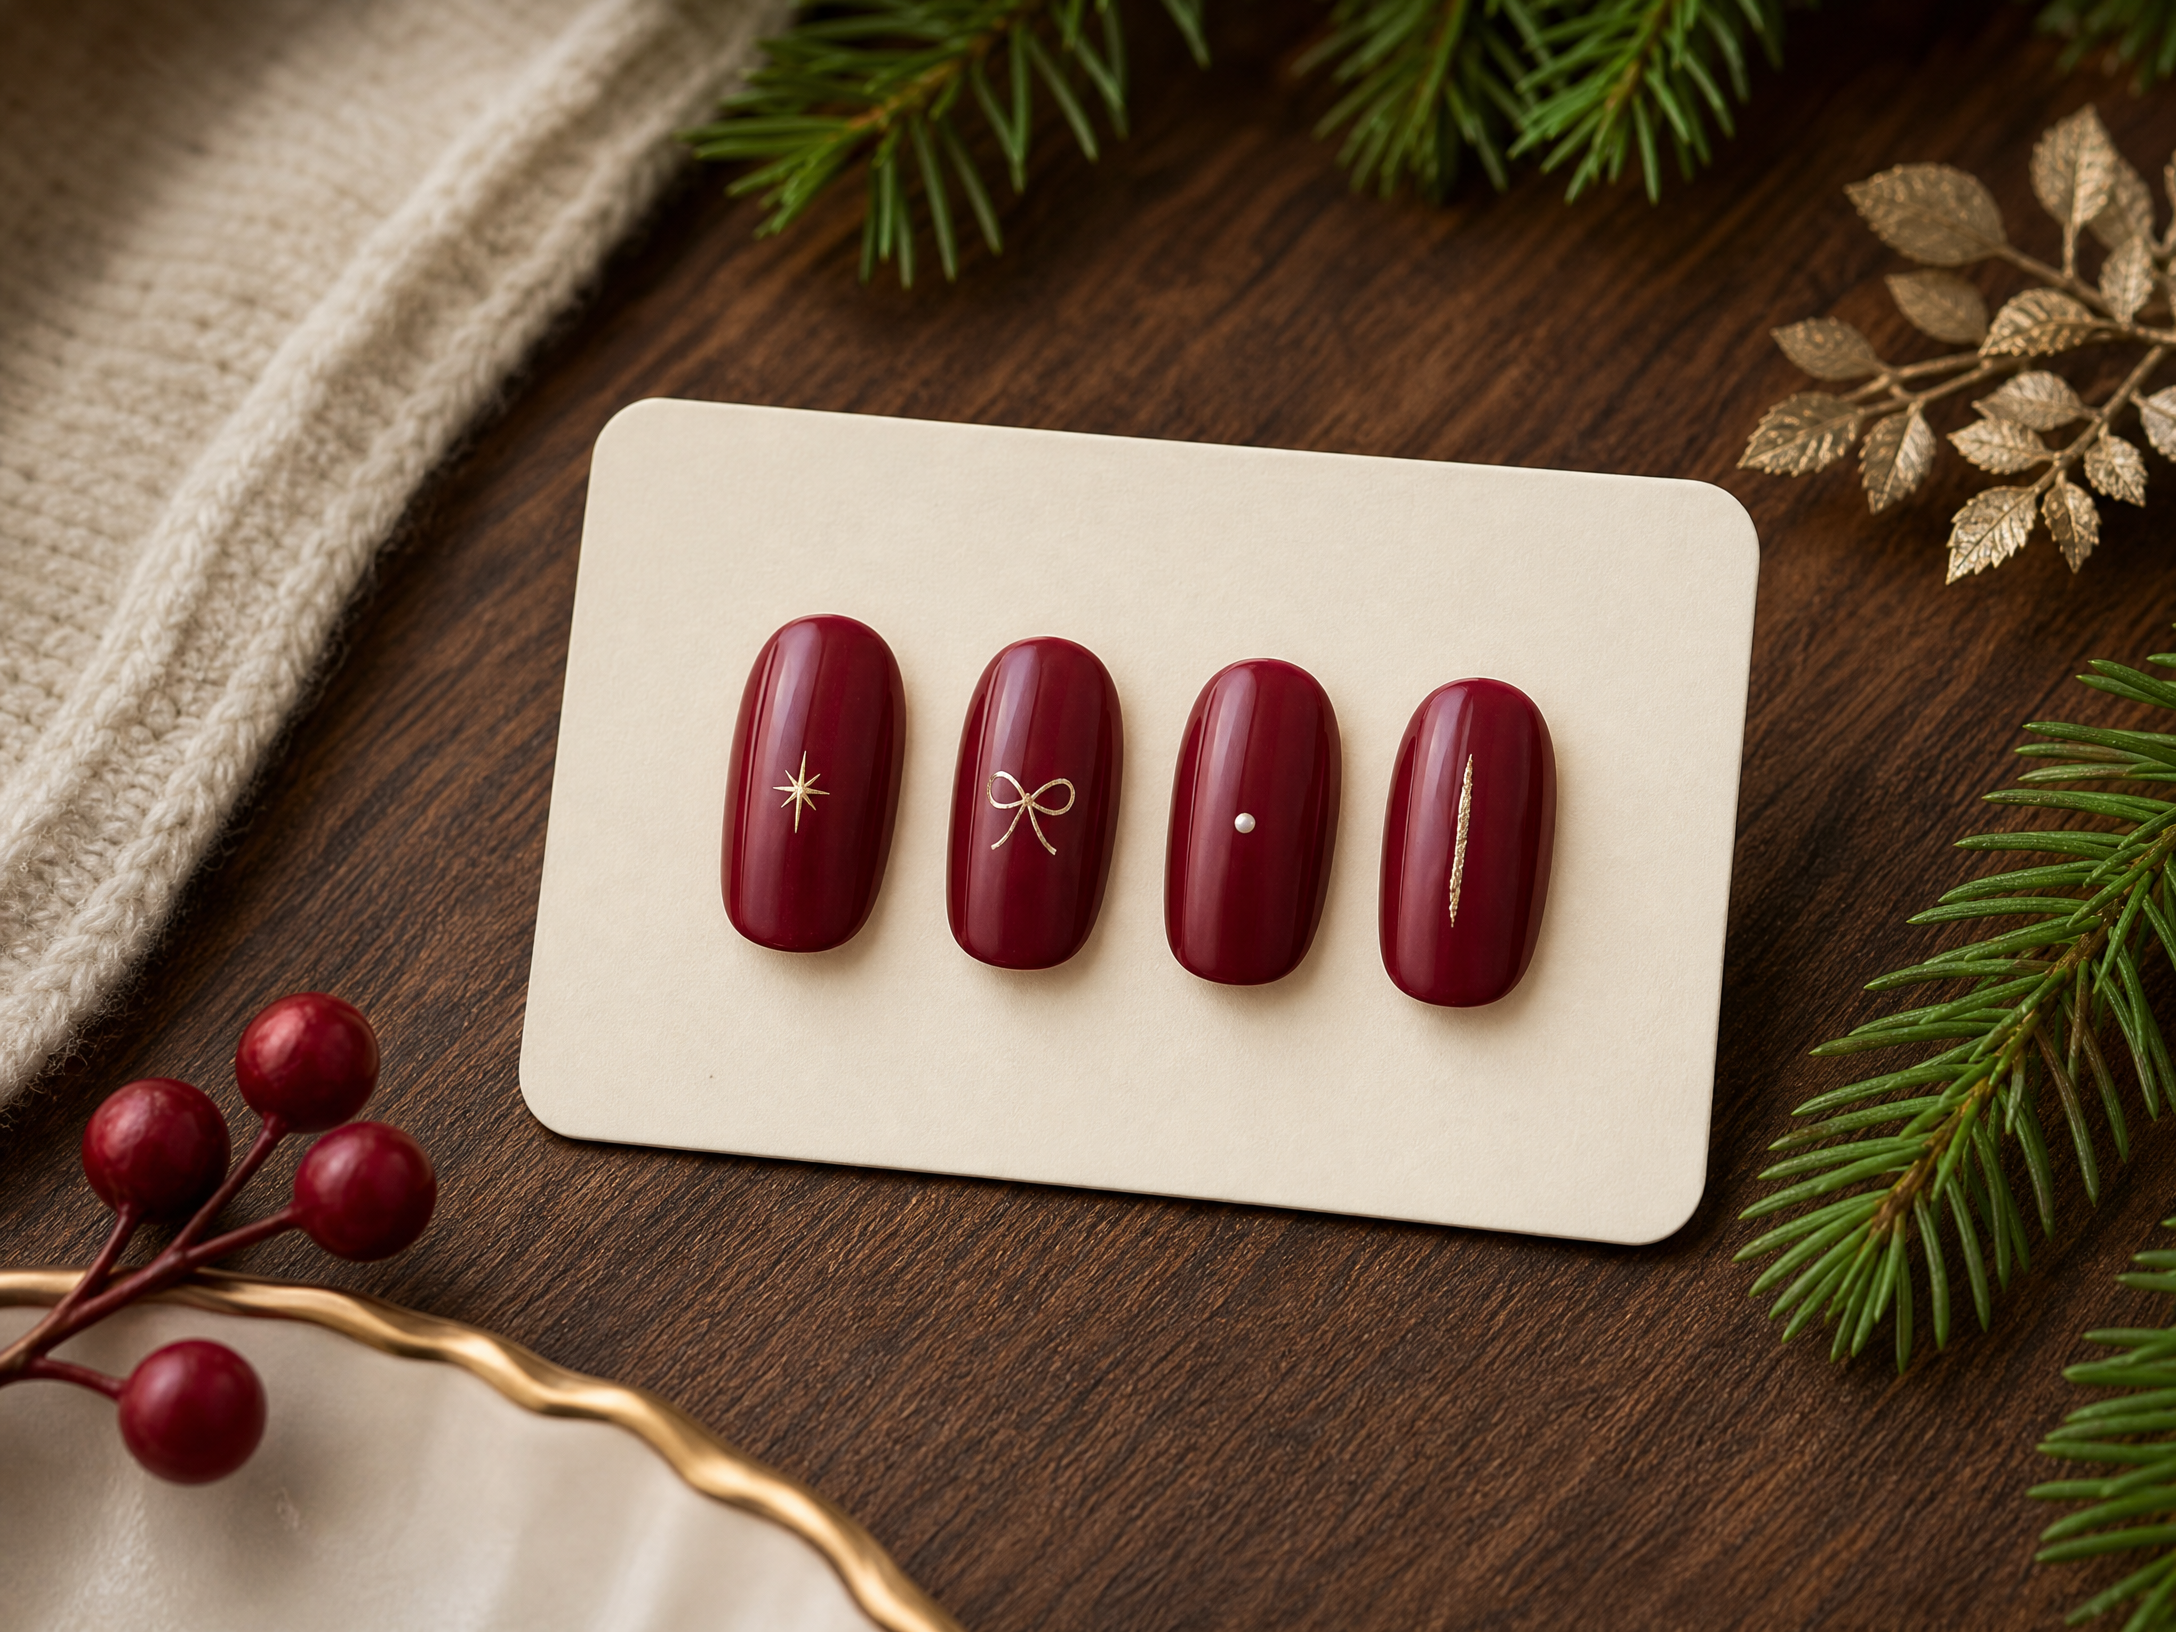
If you want a seasonal nod, choose one small motif and use it sparingly: a tiny star near the cuticle, a minimalist bow on an accent finger, or a single snow-dot on a neutral nail. Tiny motifs read chic when they’re scaled correctly; oversized icons can feel costume-like. Limit placement to one or two nails so the red remains the main story.
Execute your motif with fine lines and restrained color choices—metallics, white, or a slightly brighter red for contrast. The goal is a whisper of holiday spirit: think subtle stripes, tiny stars, or a slim foil stroke rather than an all-over pattern.
6. Balance Red with Neutral Nails
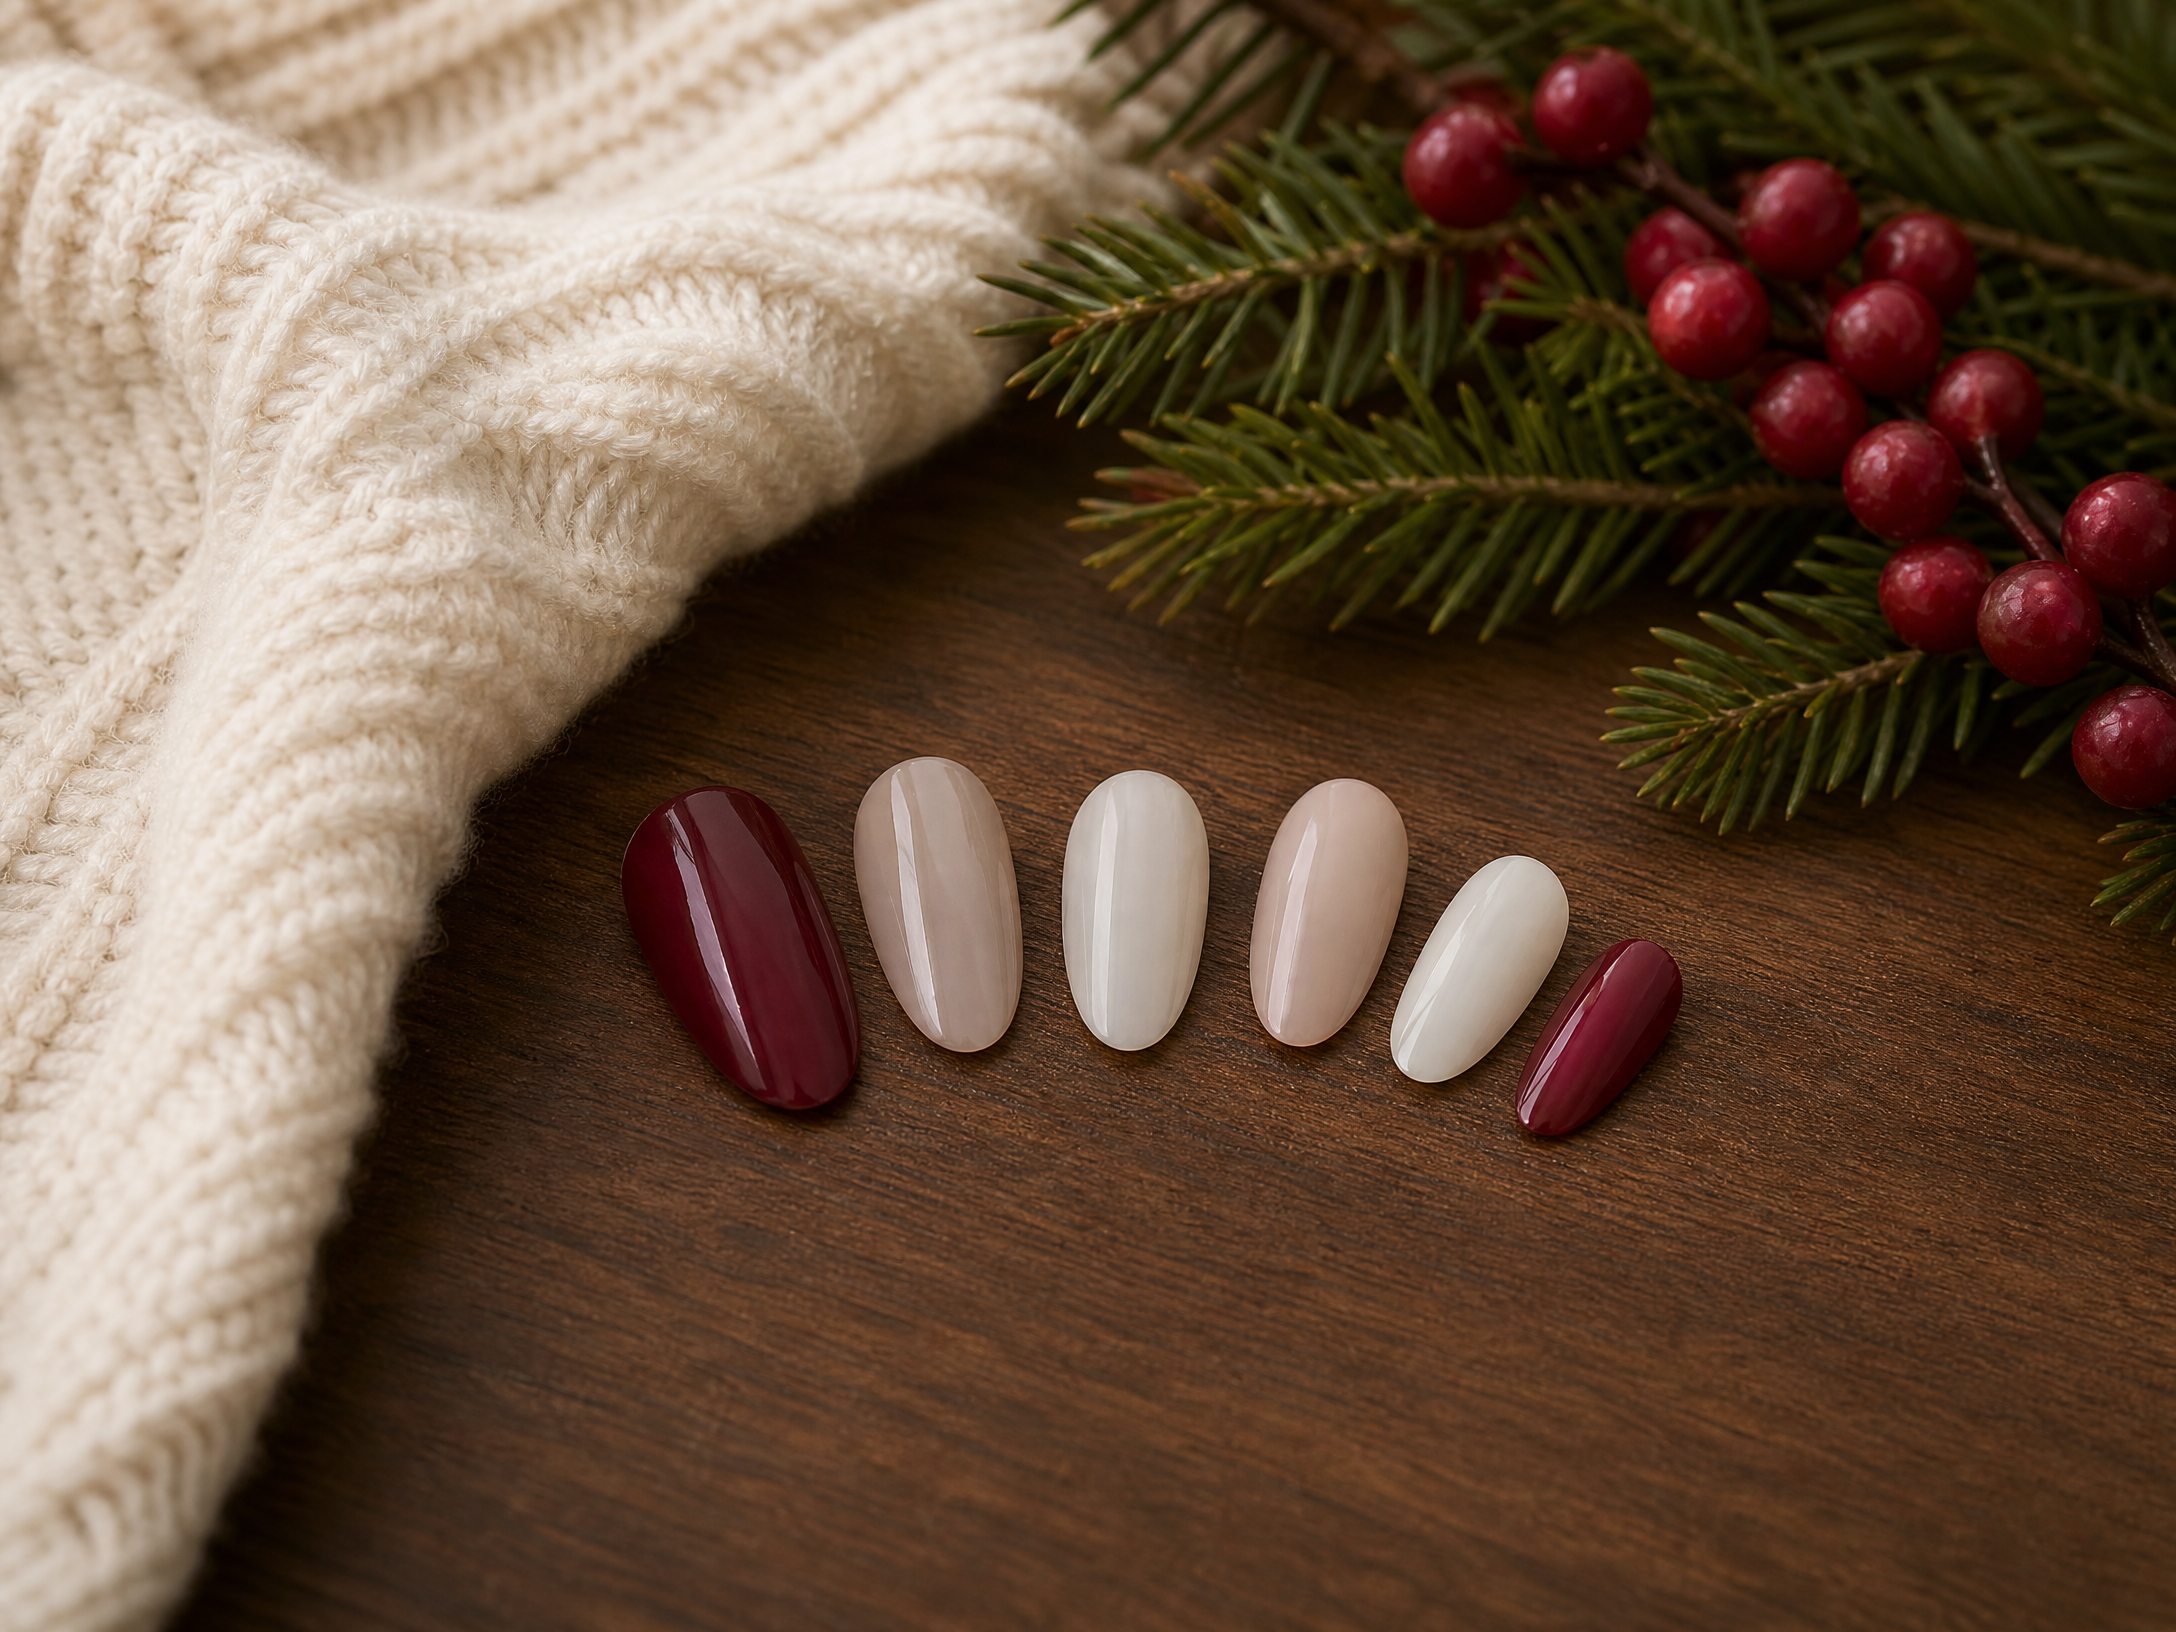
Neutral nails act as a quieting counterpoint to bold red. Alternate red and nude fingers, or reserve red for the thumbs and ring fingers while keeping the rest in a soft beige or sheer pink. This approach extends wearability across different looks and prevents your manicure from clashing with patterned outfits.
Consider nail shape and length when balancing colors: shorter, rounded nails carry more vivid reds without feeling overpowering, while longer almond shapes can handle deeper, dramatic tones. Keeping the number of red nails limited and thoughtfully placed preserves polish sophistication.
7. Schedule Smartly for Longevity
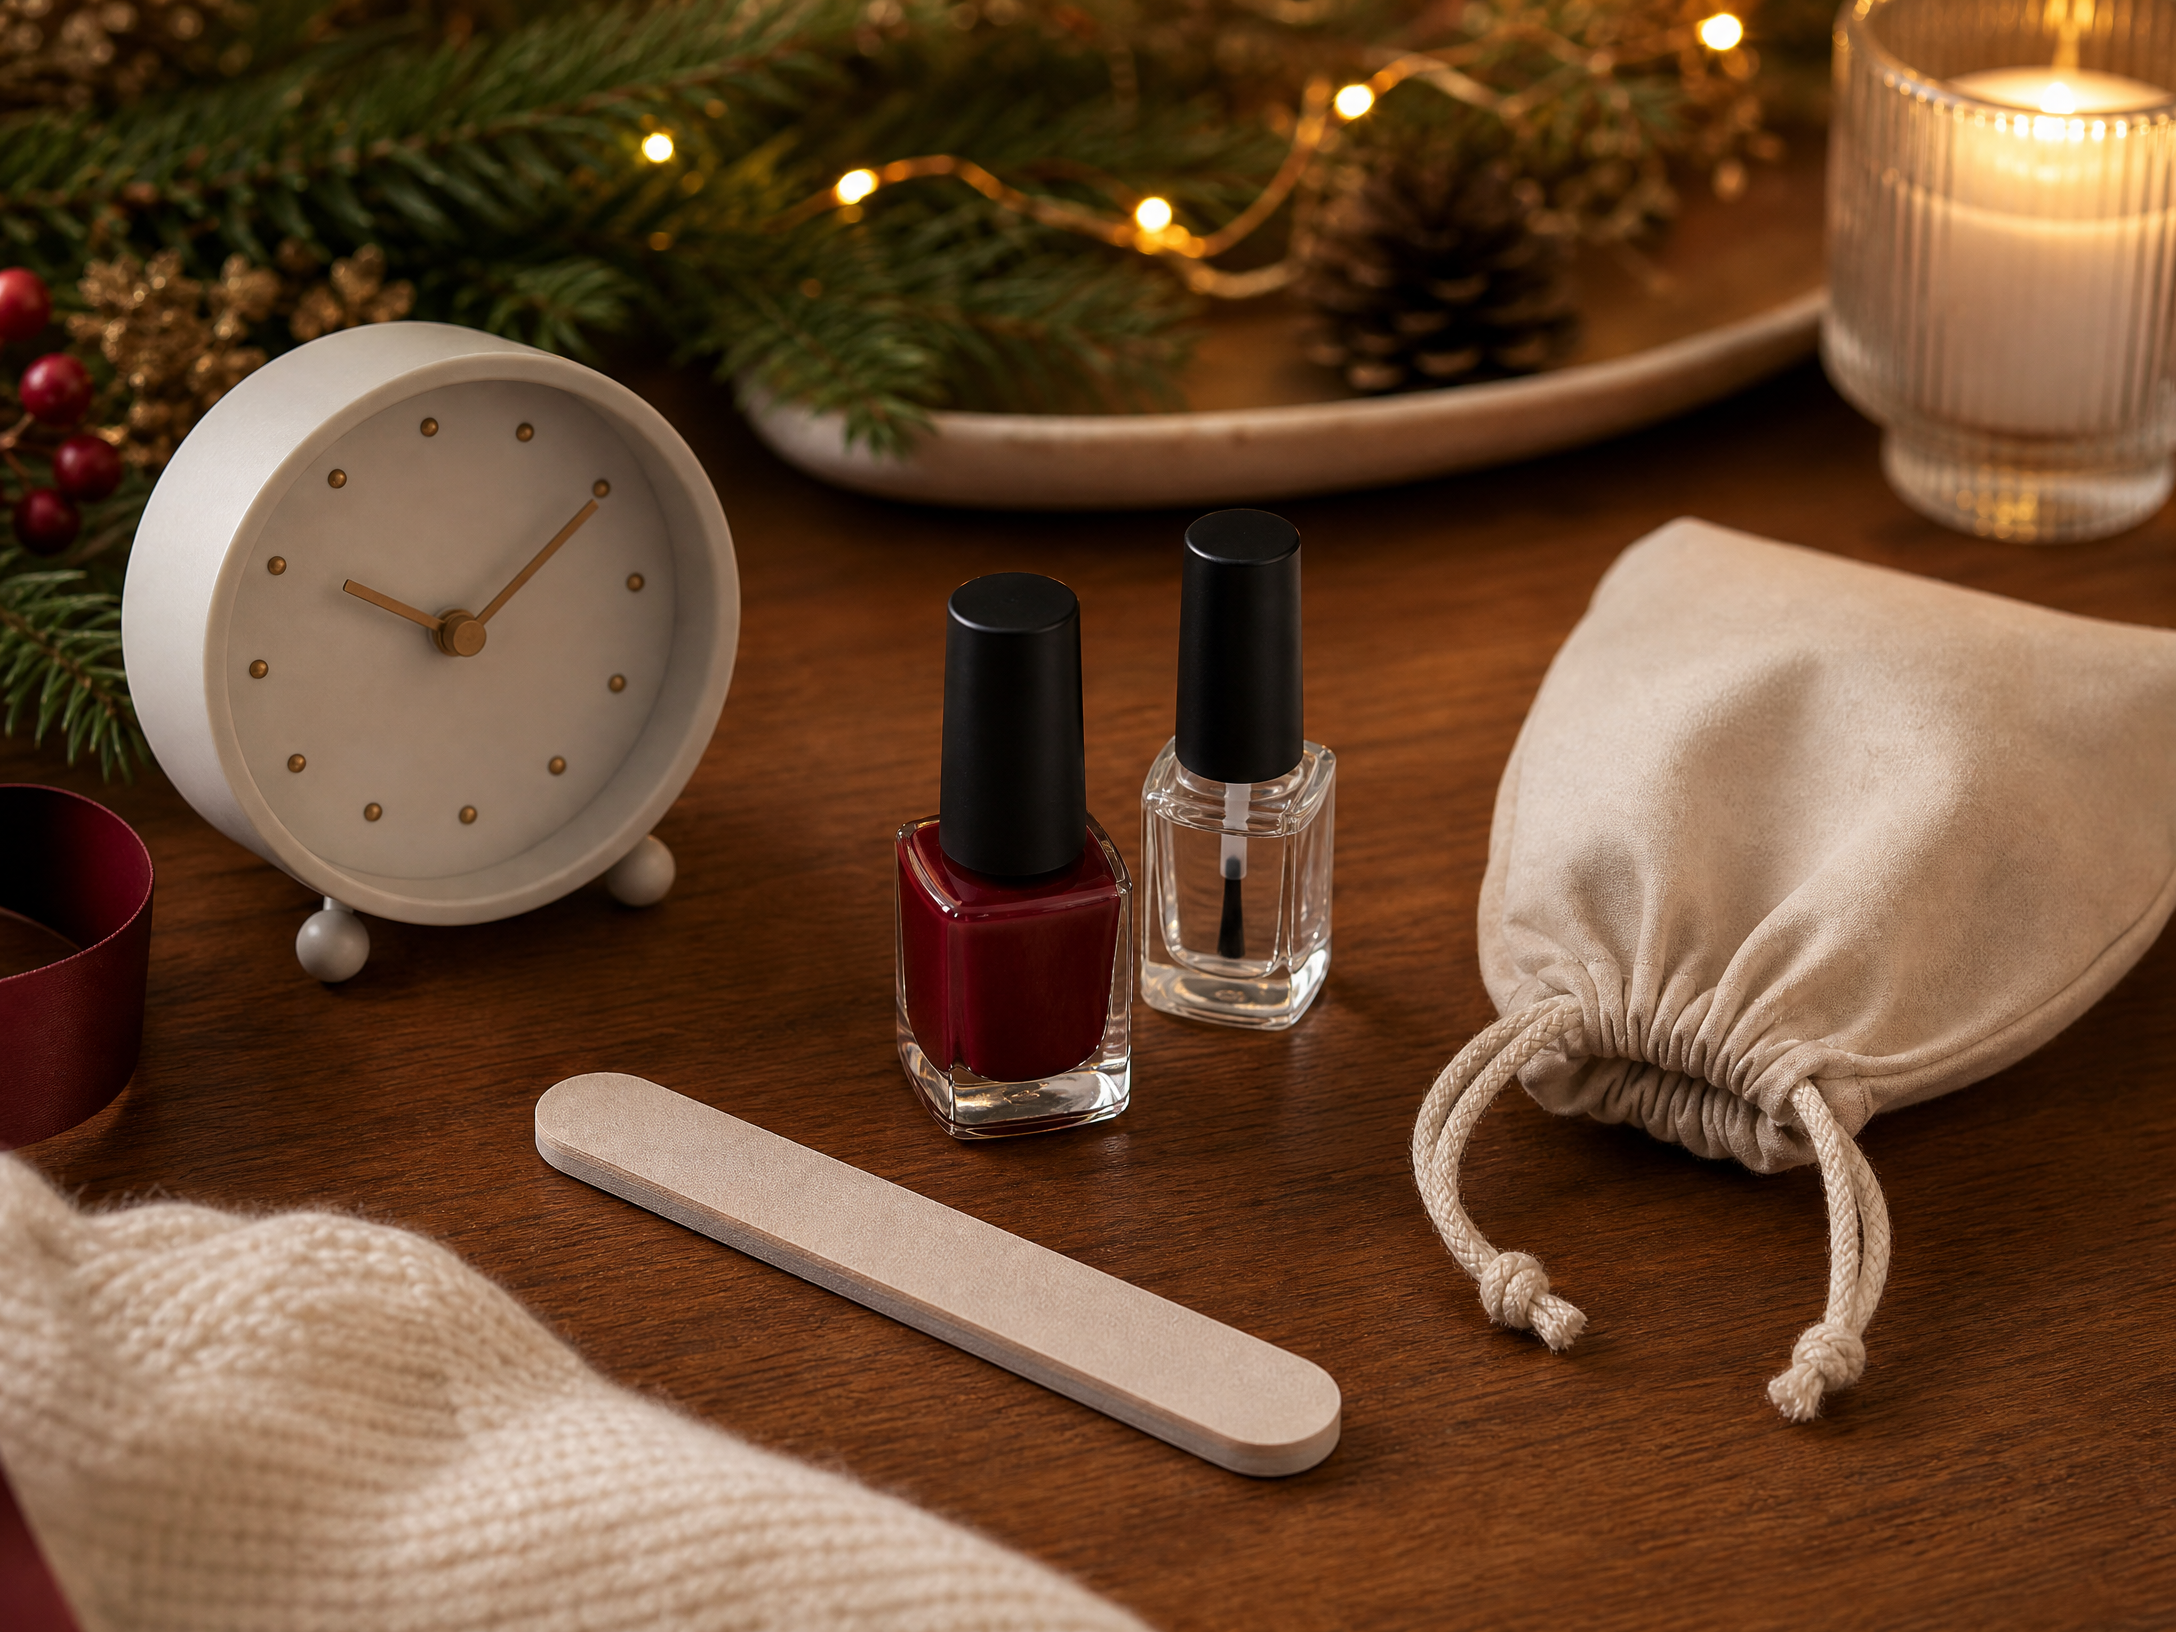
Timing your manicure ensures it looks fresh for celebrations. Aim to have your nails done one day before a major event so the polish has settled but won’t chip during travel or dressing. If you’re getting extensions or gel, factor in curing and drying time to avoid smudges.
Checklist:
- Schedule the manicure 24 hours before your main event
- Bring a small bottle of topcoat or quick-dry drops for touch-ups
- Pack a thin nail file and a pre-cutting kit to fix snags quickly
- Avoid heavy cleaning or dishwork for a day or two after your manicure
8. Gentle Removal and Aftercare
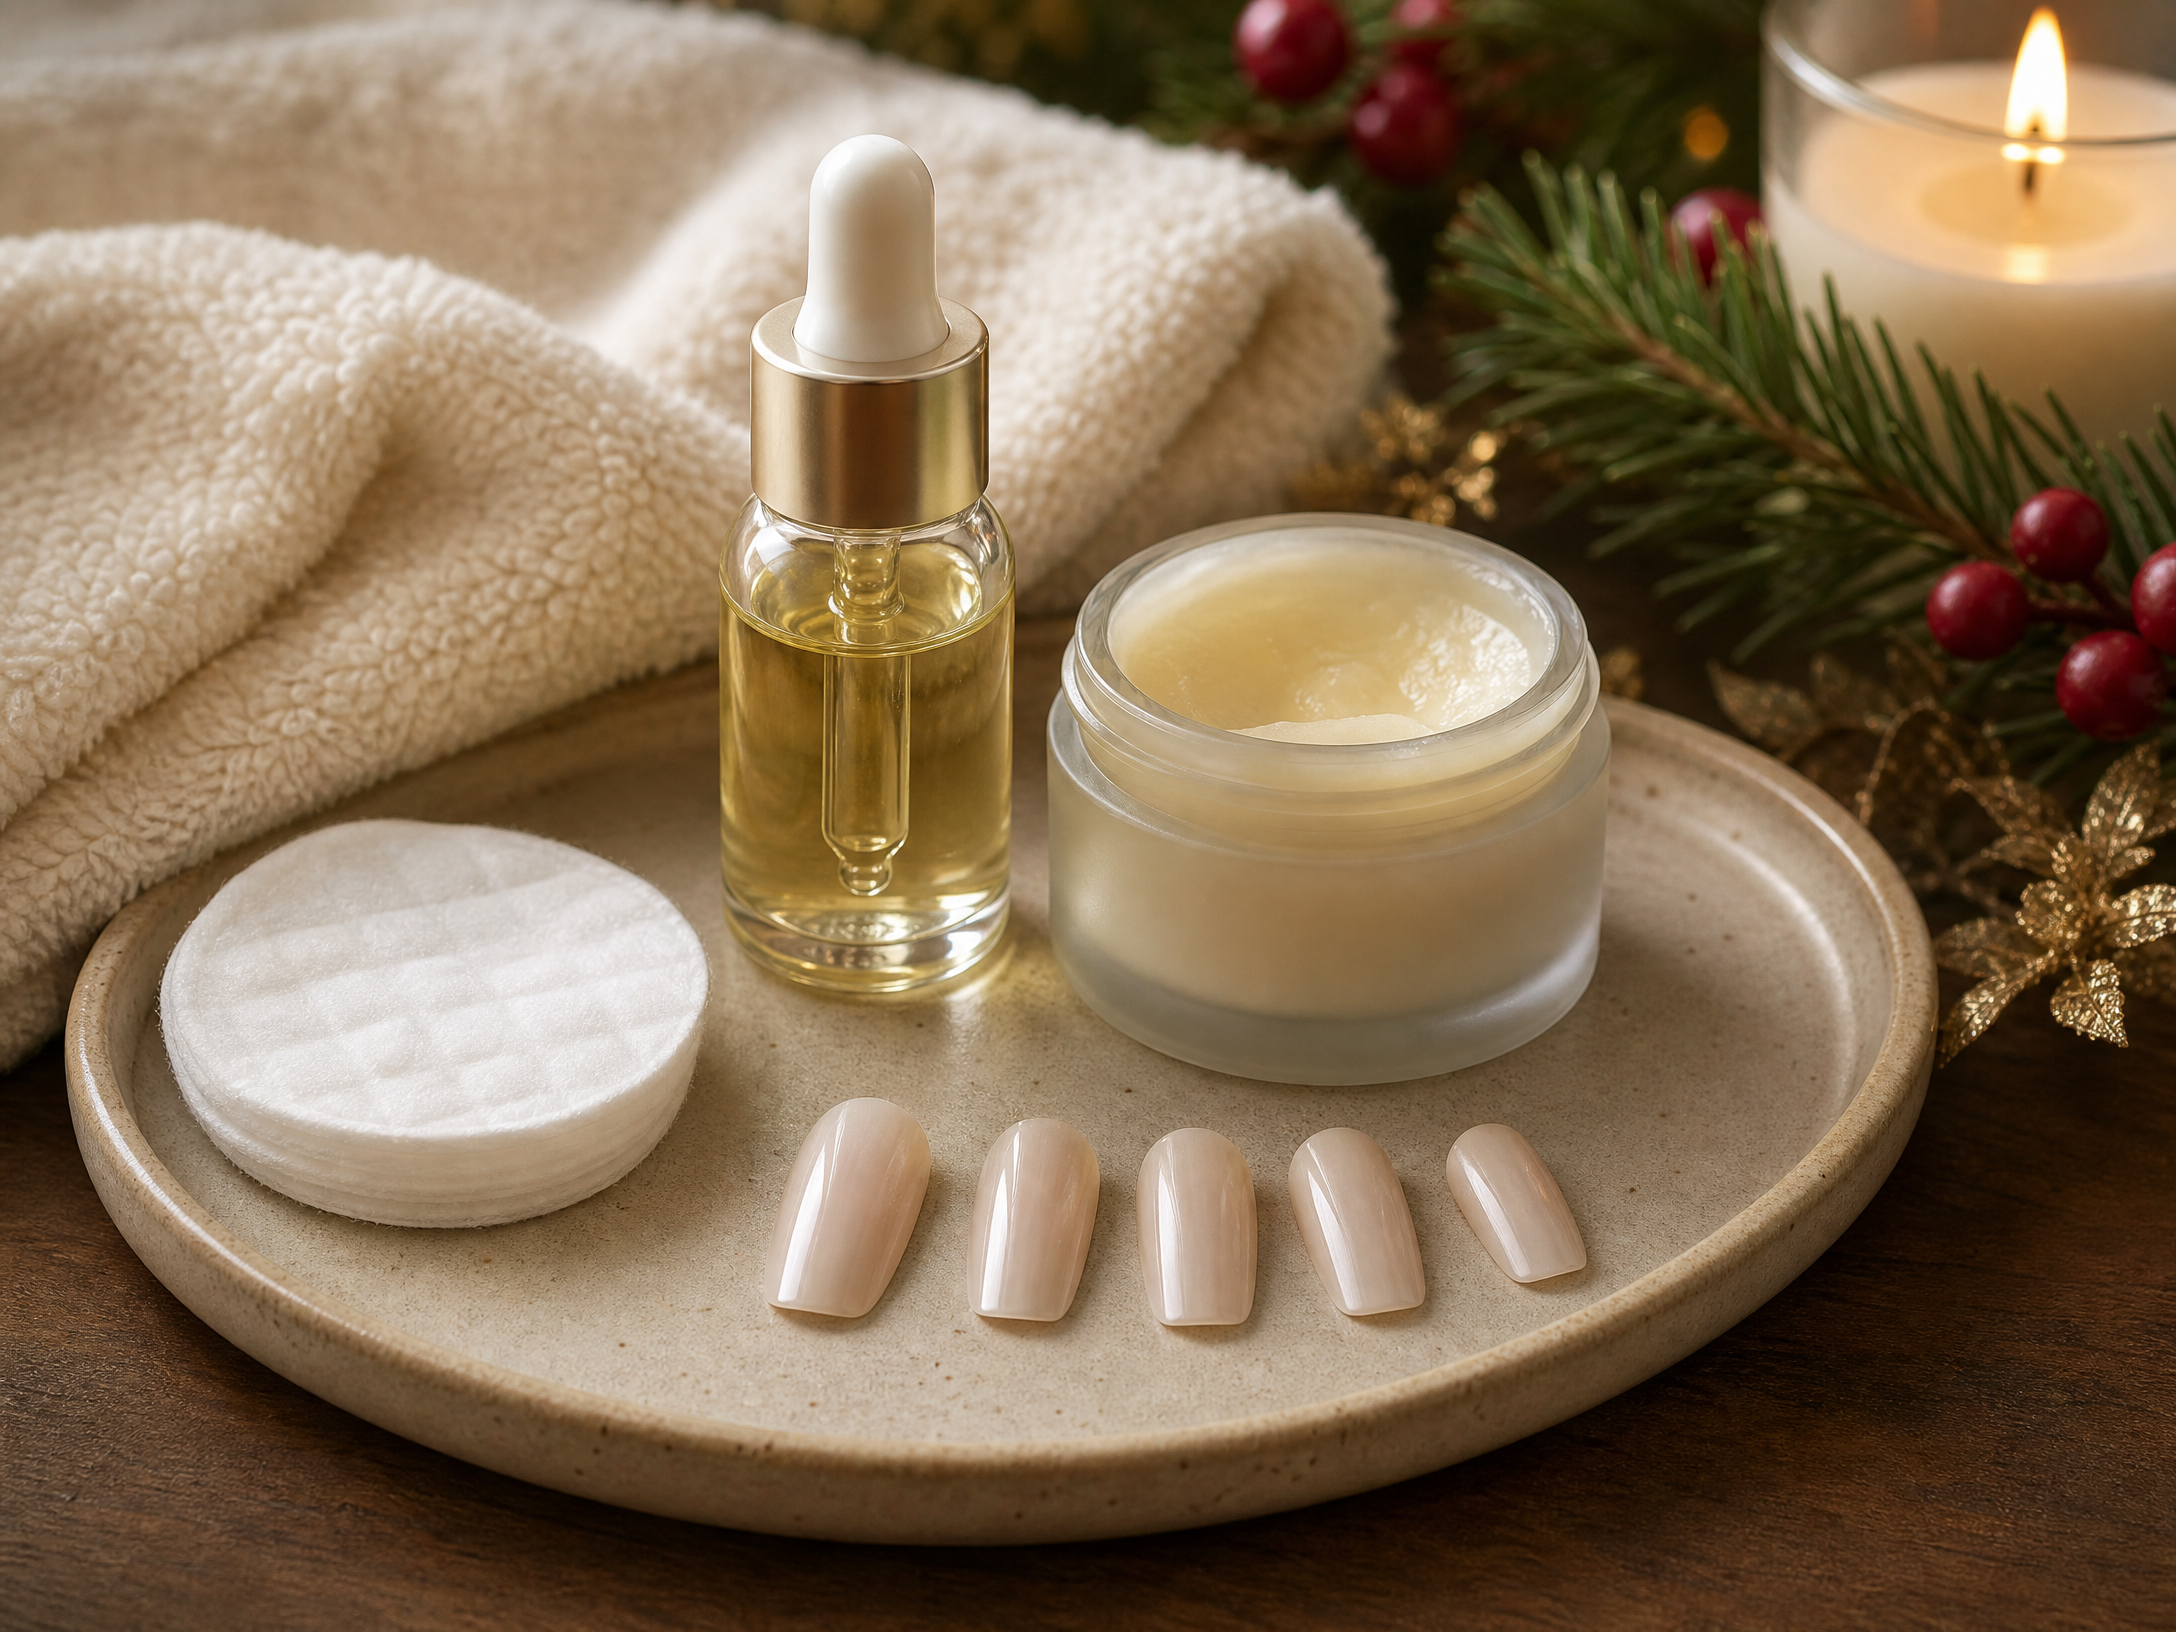
End-of-season care is as important as application. Remove polish gently to avoid peeling or weakening the nail surface—soak-off techniques for long-wear formulas or careful non-abrasive removal for regular lacquers work best. Once the color is gone, give nails a short break: a week of no polish lets them recover and prevents discoloration.
After removal, hydrate the nail plate and surrounding skin with a lightweight oil or cream and keep nails trimmed and lightly buffed to maintain a smooth surface. Regular moisturizing, plus a weekly treatment such as a strengthening balm or a short course of cuticle care, helps preserve healthy nails into the new year.
Final Thoughts
A polished red Christmas manicure is about restraint: choose a flattering shade, pick a finish that matches the mood, and add just one restrained detail. With considered timing, small-scale art, and gentle aftercare, your nails will feel festive and sophisticated rather than overdone.