Festive-Ready Nails: An Easy, Polished Manicure System Using Two Colors and Minimal Tools
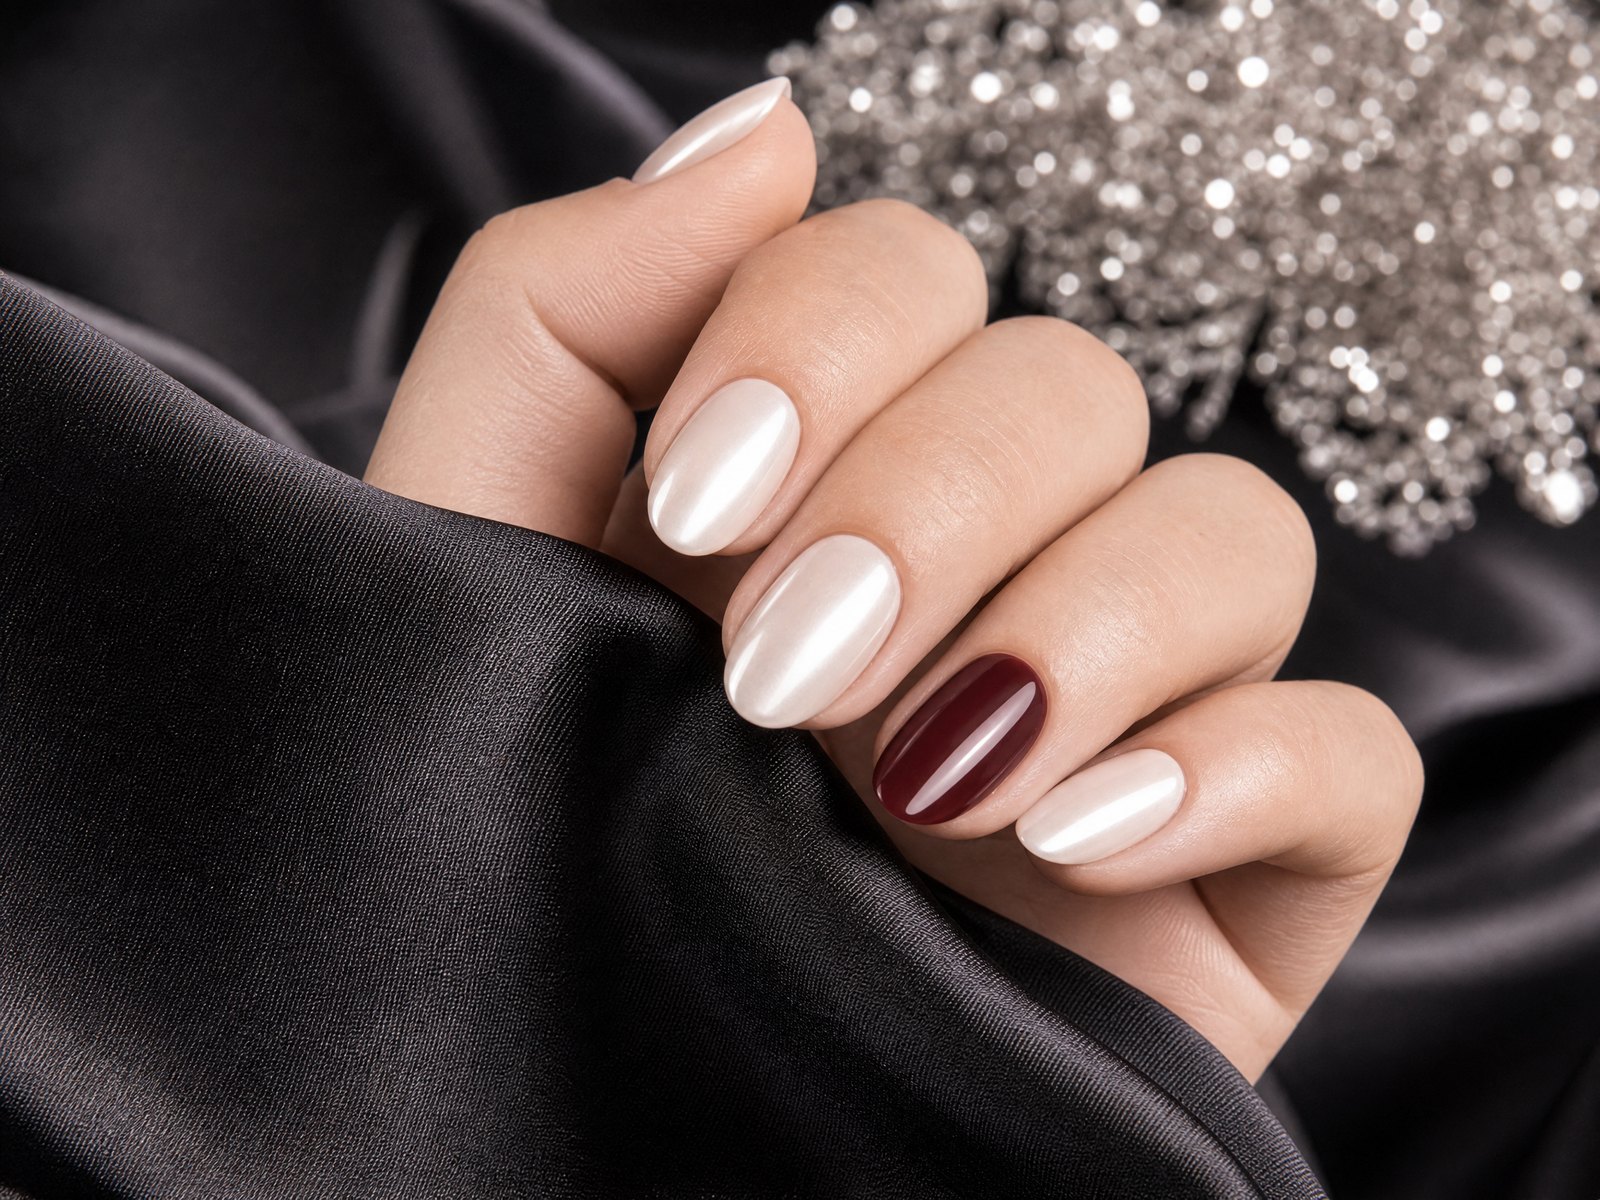
A festive manicure can look sophisticated without being complicated. By focusing on surface preparation, a restrained two-color palette, one tidy accent nail and a couple of tiny, geometric details, you’ll achieve a salon-worthy finish you can repeat at home. The goal is clean lines, controlled paint, and a patient drying routine — not fussy ornamentation.
This guide breaks the process into eight practical steps. Each section gives concrete techniques you can use with a minimal toolkit so your manicure stays crisp and lasts longer. Read through the sequence before you start, then work methodically from prep to removal for the best results.
1. Surface preparation: the foundation of a tidy manicure
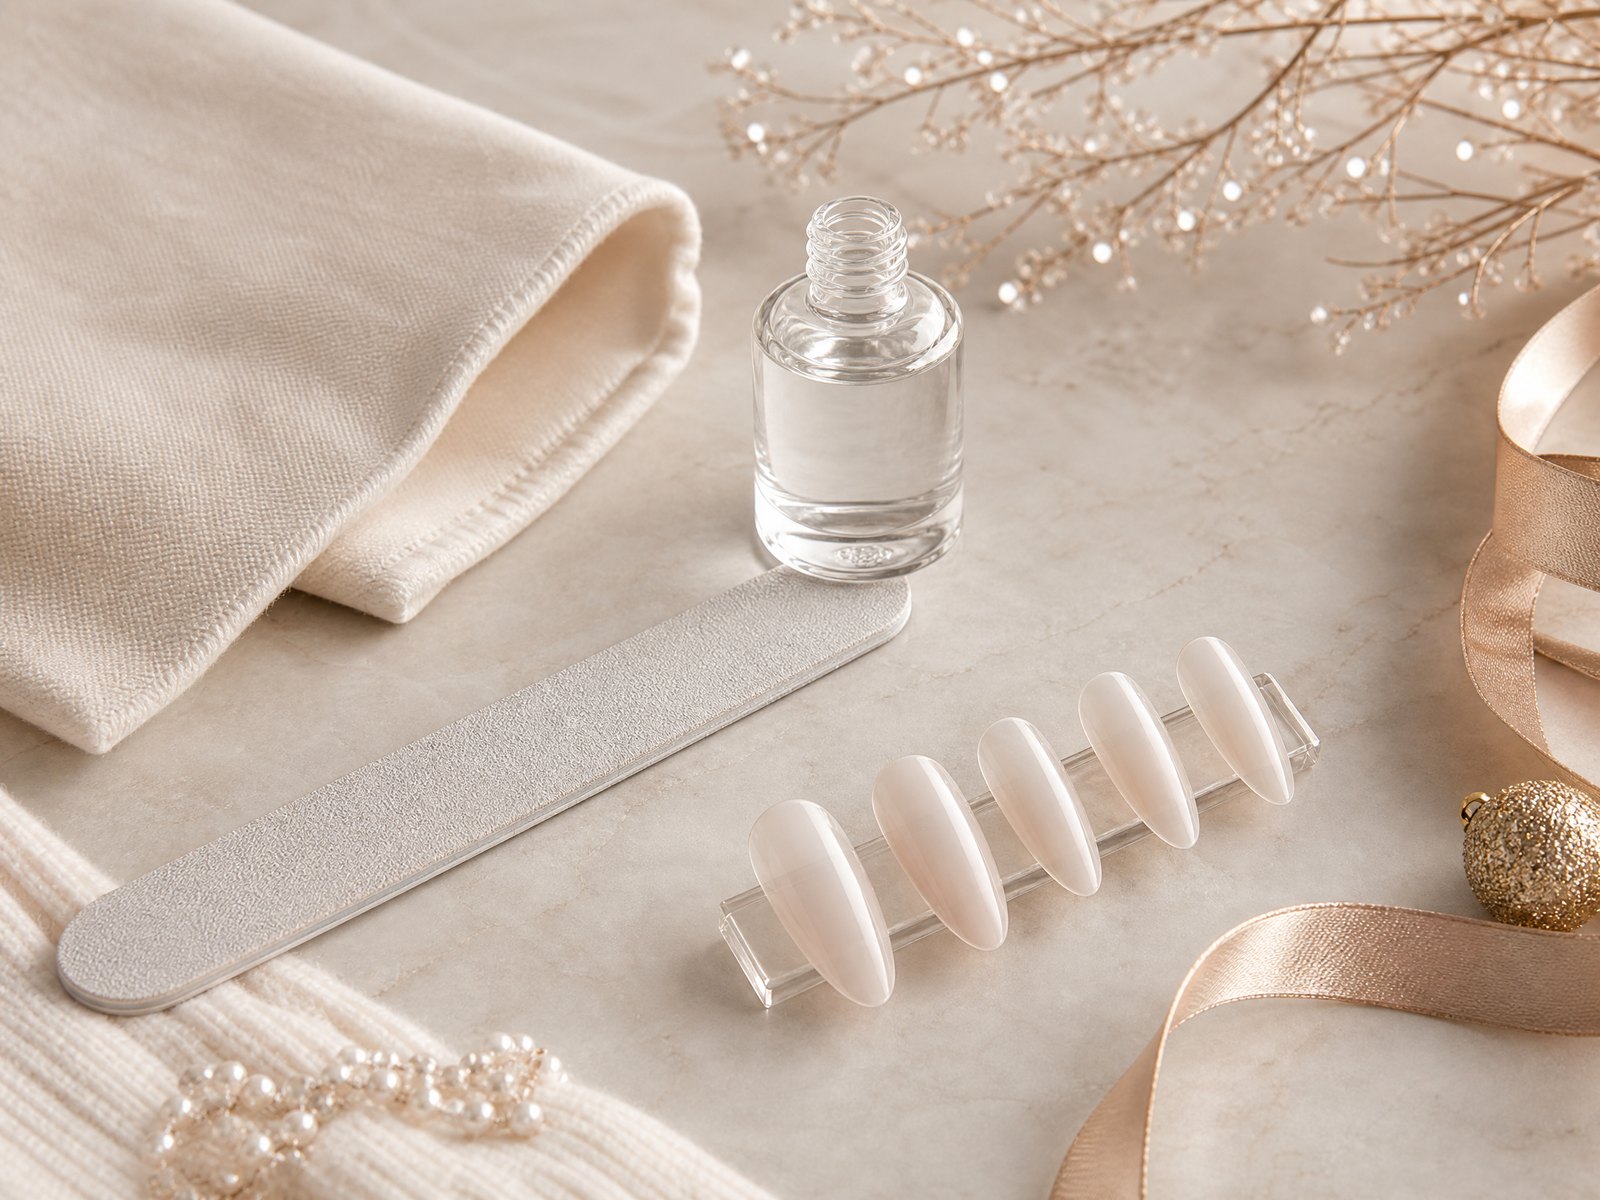
Start with nails free of polish and oils. Remove any old polish completely, then wash and dry your hands. Gently push back cuticles after a warm soak or shower when the skin is softer; avoid aggressive cutting if you’re not experienced. Use a fine file to shape each nail with steady, single-direction strokes to prevent splits and micro-tears.
Finish prep by buffing lightly to even the plate and removing dust with a soft brush or lint-free wipe. Wiping nails with a non-oily remover or alcohol pad removes residual oils that can cause polish to lift. A clean, smooth surface helps thin layers of polish lay down evenly, which is essential for a polished, professional look.
2. Choosing a restrained two-color palette
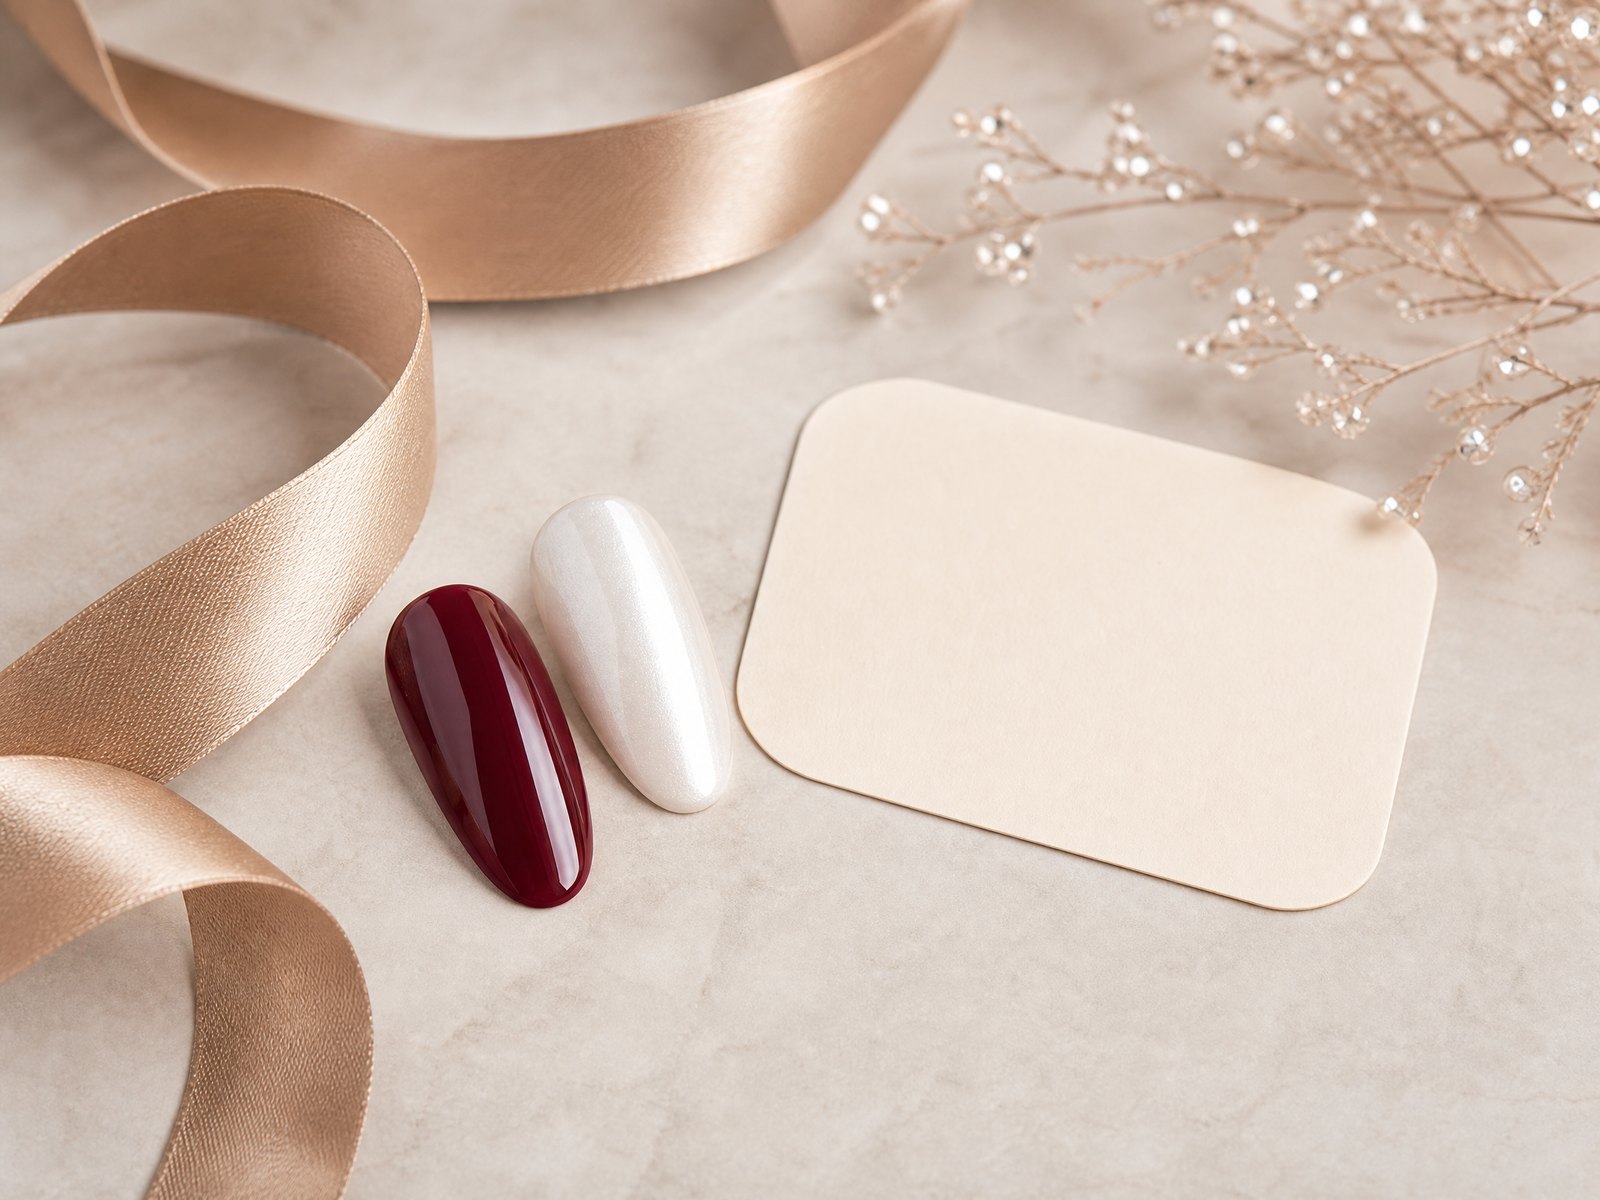
Limit your scheme to one base color and one coordinating accent to keep the overall look polished rather than busy. Pick one neutral (nude, pale pink, cream, or soft gray) and pair it with a richer tone (deep berry, muted gold, or inky blue) for contrast. Consider finish: pairing a glossy base with a matte accent or a metallic accent with a satin base adds interest without extra patterns.
Think about contrast and context: higher-contrast pairs read as bolder, while closer tones feel understated and elegant. Test a swatch on a single nail or a spare tip to check how the colors interact next to your skin and outfit lighting before committing to the whole manicure.
3. Executing one clean accent nail
Choose a single nail on each hand to carry the accent—often the ring finger or thumb—and give it slightly more emphasis while keeping the rest uniform. Apply the chosen base color to all nails, letting each thin coat dry fully before adding another. For the accent nail, apply the accent hue in the same thin layers so the finish matches the rest of the hand in gloss and opacity.
Checklist:
- Decide which finger will be your accent before painting.
- Apply two thin coats of base color across all nails, drying between coats.
- On the selected accent nail, apply two thin coats of the accent color.
- Topcoat across all nails for a unified shine and protection.
4. Simple line placement for understated elegance
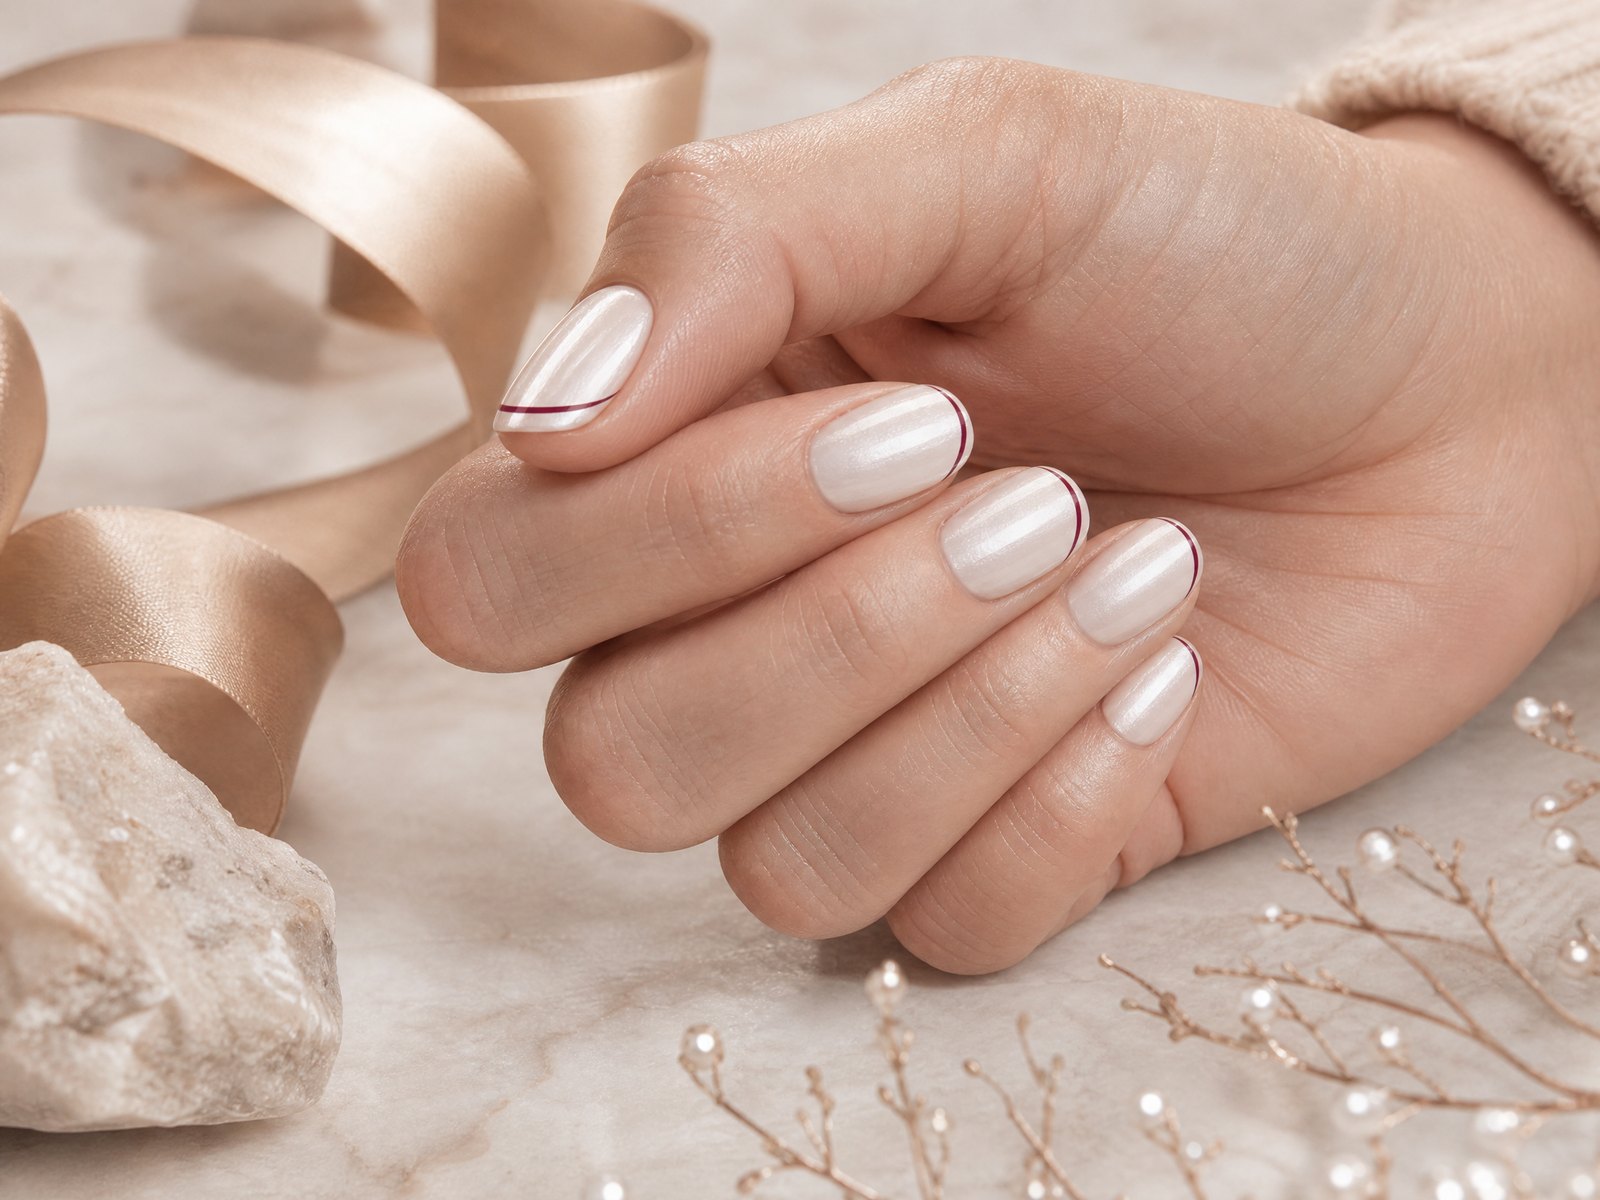
A single crisp line can transform a plain nail into a refined statement. Decide between vertical, diagonal or a short horizontal line near the free edge or cuticle; placement changes the mood—vertical or center lines elongate, diagonals add motion, and short accents keep things subtle. Use a very thin brush, a clean striping brush, or a toothpick for fine control.
Work steady and slow: rest your painting hand on the table, place a small dot of polish on the nail where the line should start, and pull the brush in a single smooth stroke. If you want a perfectly straight edge, place a thin strip of low-tack tape as a guide, paint along it, and remove the tape before the polish sets to avoid lifting.
5. Adding a tiny geometric mark
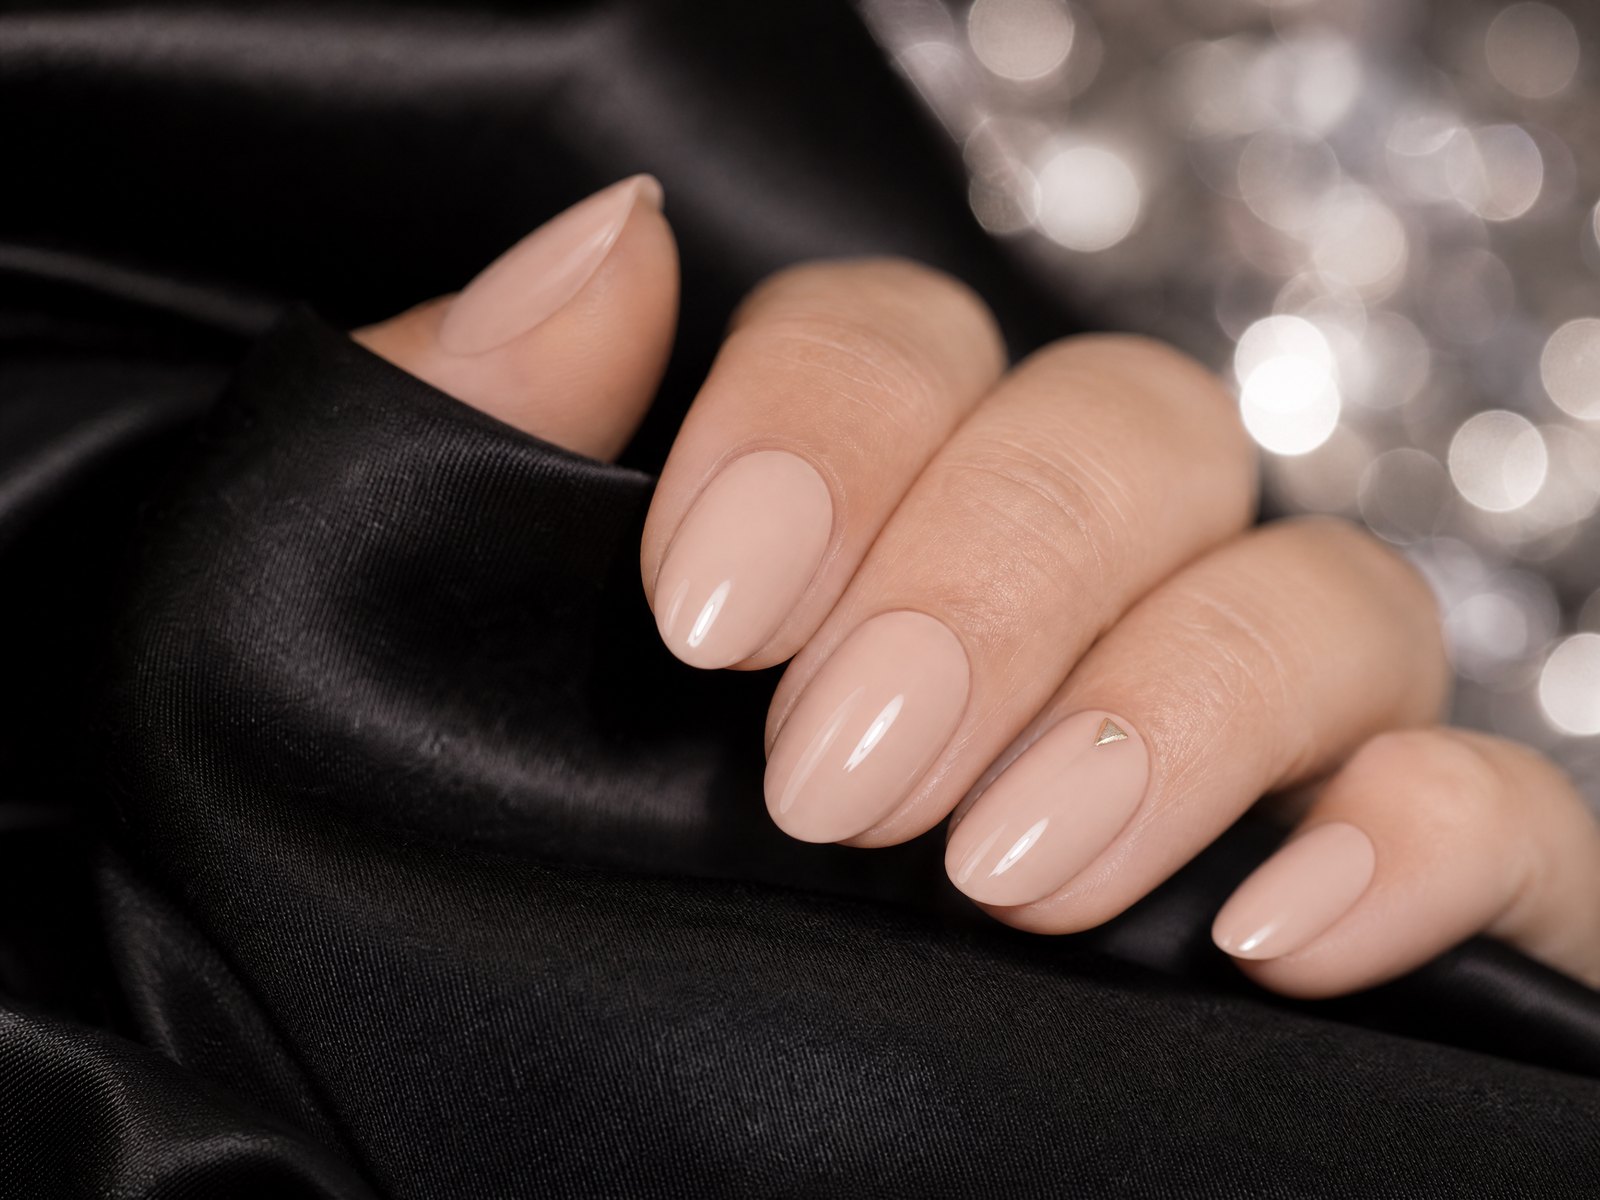
A tiny geometric mark — a dot, micro-triangle or small chevron — adds a modern, festive touch without overwhelming the design. Place the mark near the cuticle for a refined look or off to one side for a more playful effect. Keep the scale small so the mark reads crisp and intentional rather than cluttered.
Checklist:
- Choose a contrasting color for the mark so it reads at a small scale.
- Use a dotting tool, the tip of a bobby pin, or a toothpick for precision.
- Make a practice dot on paper first to test pressure and size.
- Seal with a topcoat once the mark is dry to preserve the crisp edge.
6. Working with minimal tools
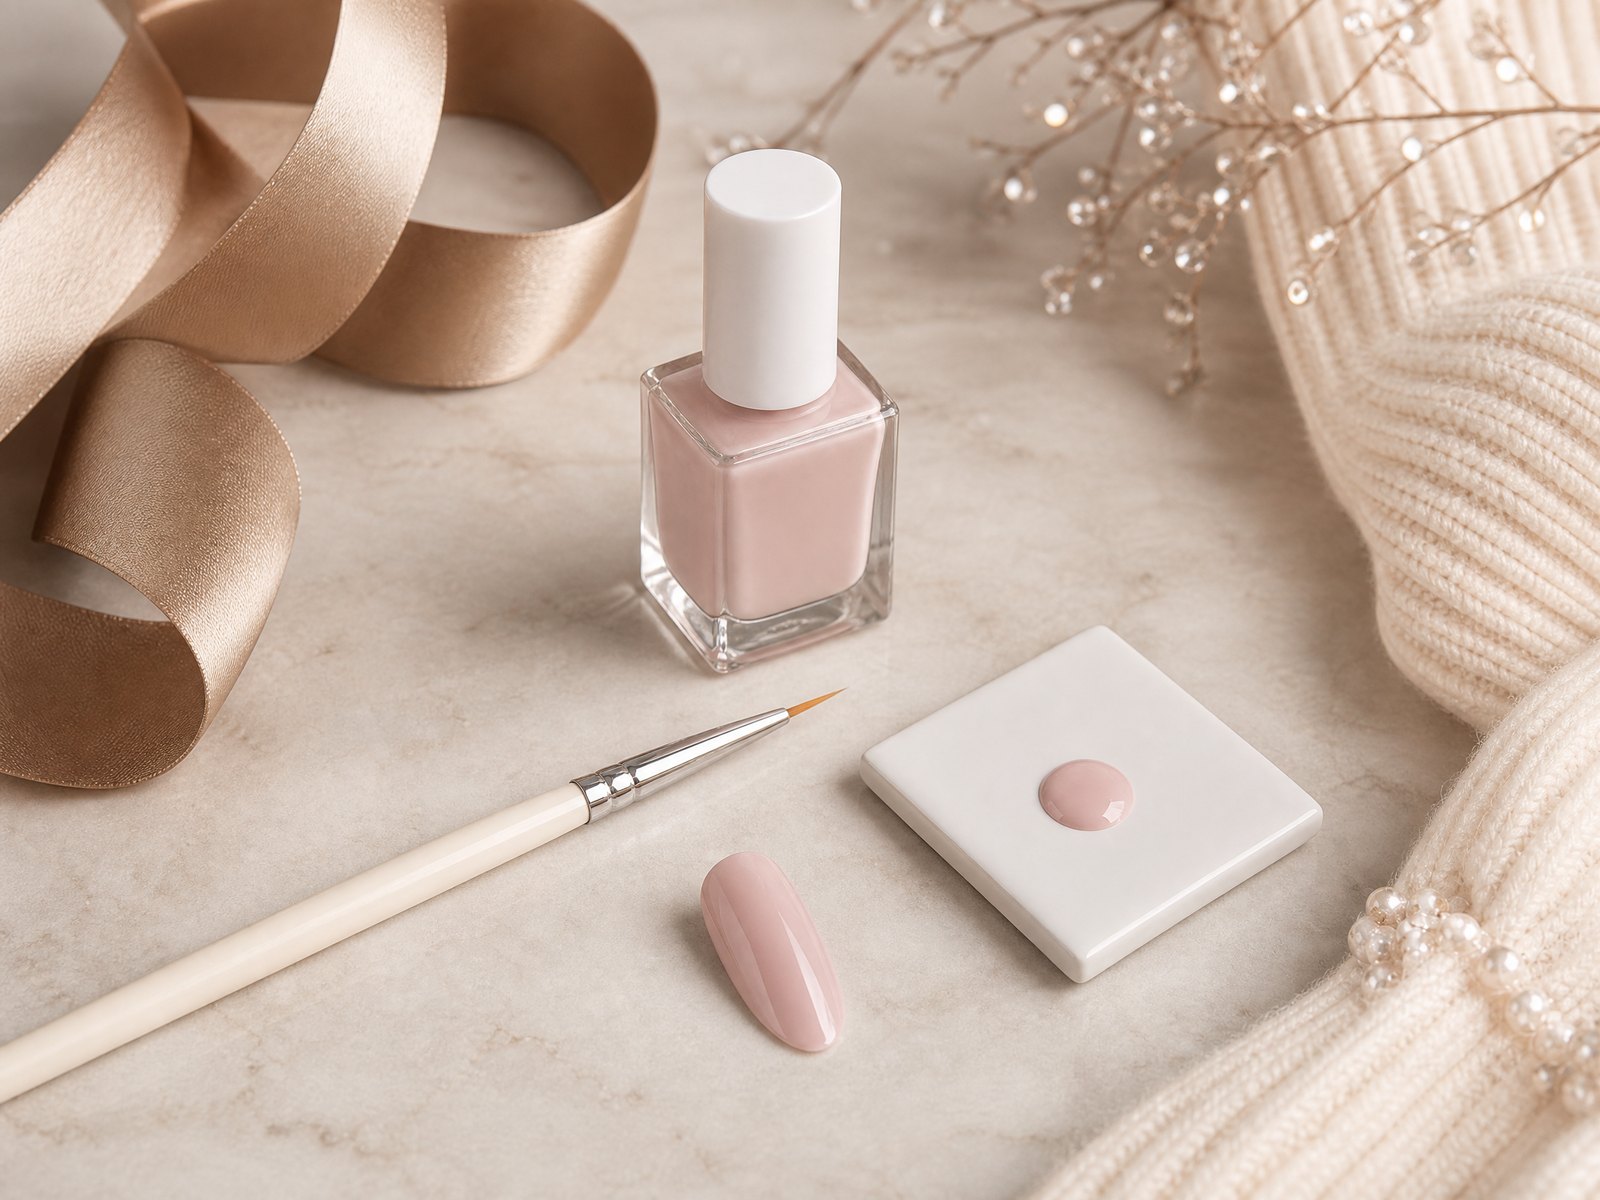
You don’t need a drawer full of specialty items to get clean results. Essentials are two nail colors, a reliable topcoat, a base layer if you choose, a thin brush or toothpick for detail, a small file, and cotton wipes. Improvised tools work well: a bobby pin makes an effective dotter, and a straightened paperclip or sewing needle can serve for ultra-fine lines.
Store a small kit with these basics so you can paint without hunting for items. Keep extras like a pot of warm water and a towel nearby to soften cuticles quickly, and a small bowl of polish remover for tidy corrections. Minimal tools encourage practice on technique rather than relying on accessories to mask sloppy lines.
7. Controlling paint thickness for smooth layers
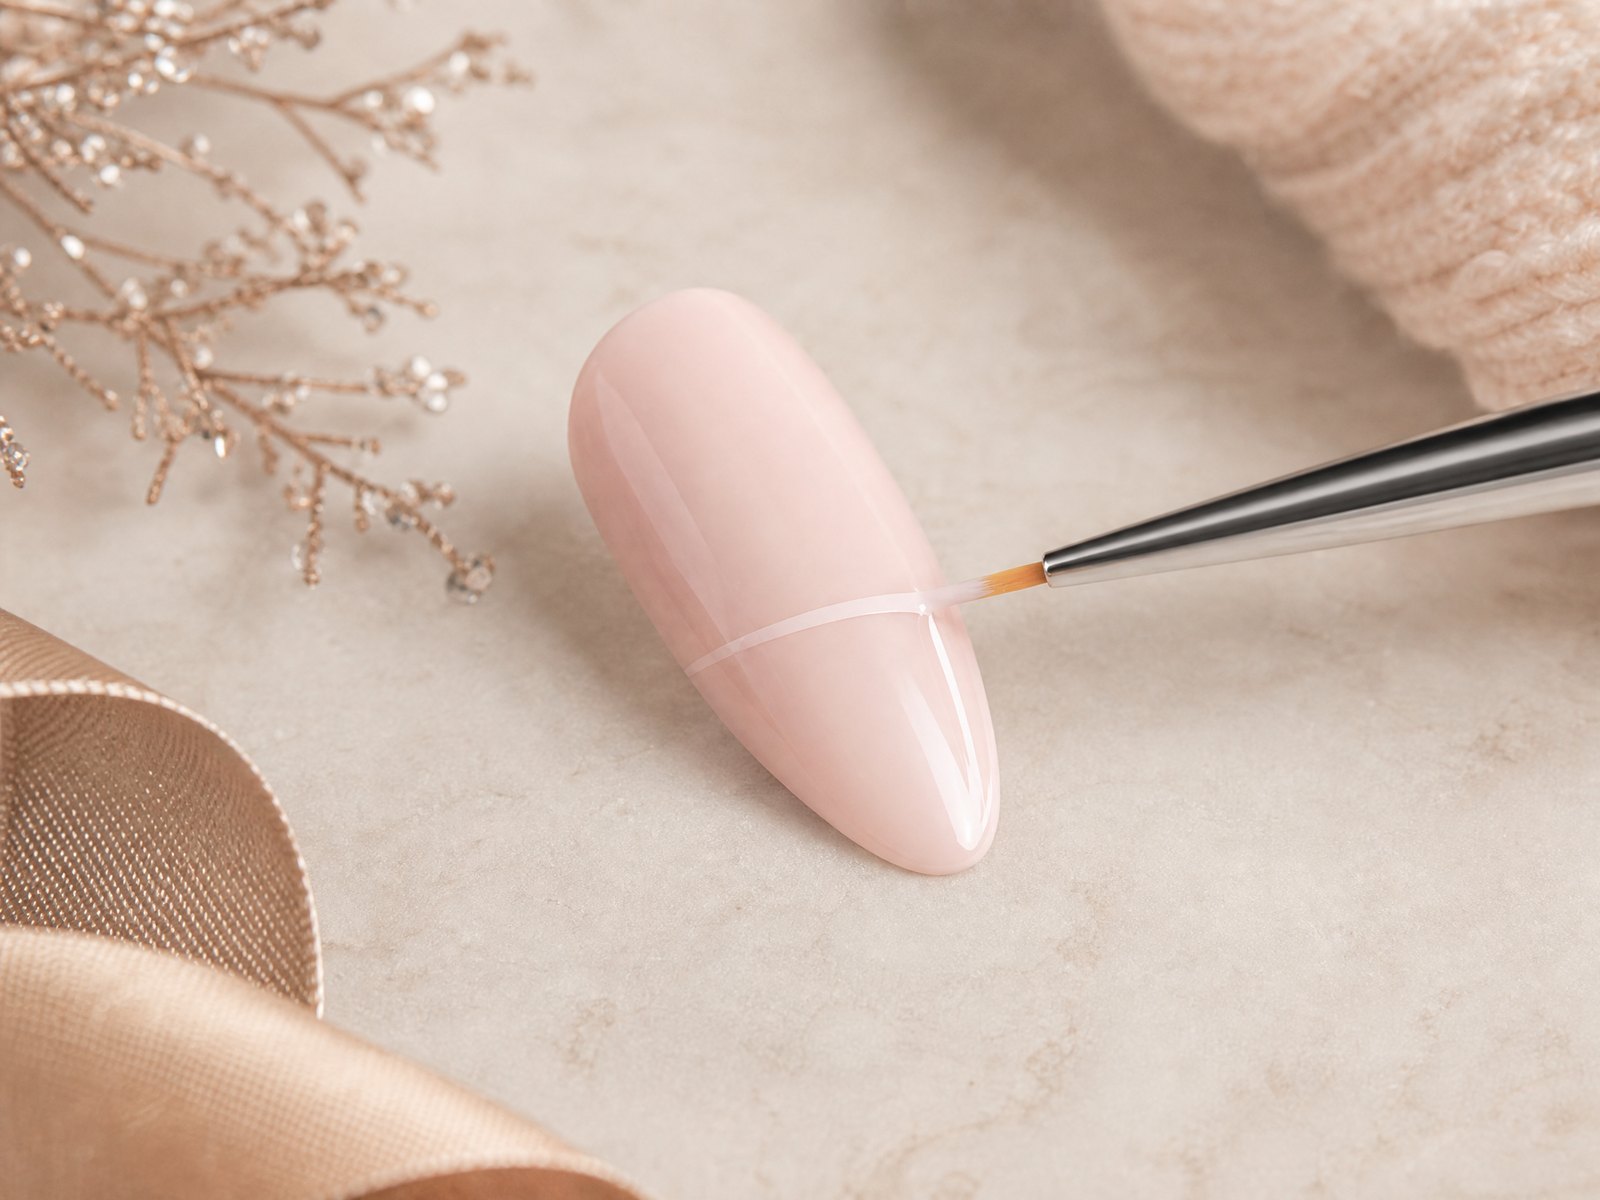
Thin, even coats are the secret to a streak-free, long-lasting manicure. Load the brush sparingly: wipe one side of the brush against the bottle neck, then begin with a light swipe down the center of the nail and finish with a single stroke on each side. Thick applications pool and wrinkle; if polish feels gloopy, remove excess on a tissue before painting the next nail.
To avoid bubbles and clumping, warm the polish gently by rolling the closed bottle between your palms instead of shaking it vigorously. If you notice uneven texture, lightly brush across with the edge of the topcoat while it’s still tacky to smooth the surface, and allow ample drying time between layers to prevent dragging color beneath subsequent coats.
8. Scheduling drying time and gentle removal
Plan your manicure when you have uninterrupted time: allow at least five to ten minutes between thin coats and longer for thicker cream or glitter finishes. Keep hands still while each layer sets; place them in cool air rather than warm to minimize tackiness and avoid smudges. A final topcoat seals and evens out small imperfections, but give it a full 20–30 minutes of careful drying before heavy use.
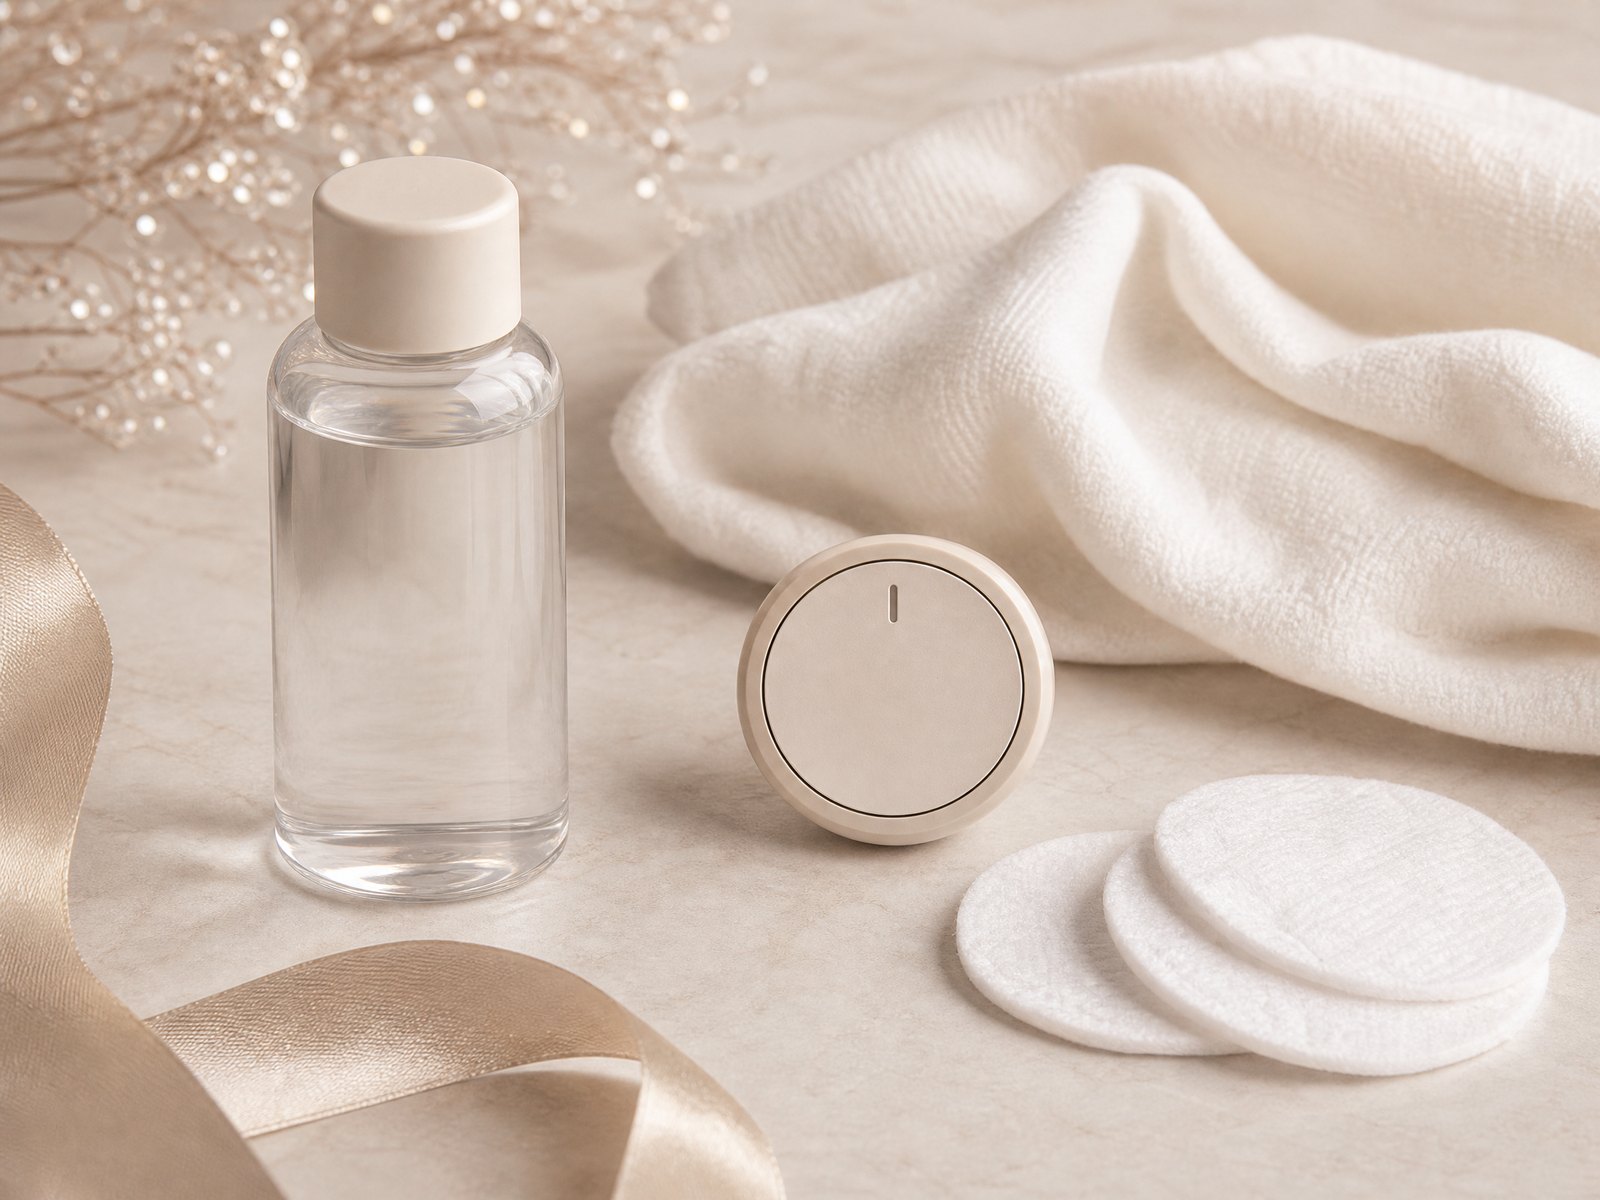
When it’s time to remove polish, soak cotton in your chosen remover and hold it against the nail for a few seconds to let the formula dissolve the finish, then wipe gently instead of scraping. For stubborn glitter or layered effects, wrap the soaked cotton and hold for a bit longer rather than using force. After removal, moisturize your hands and cuticles to restore softness — this helps future manicures adhere more evenly.
Final Thoughts
A refined festive manicure is within reach by following a simple, repeatable routine: prepare the nail surface, limit your palette, and work patiently with thin coats and precise accents. With minimal tools and a methodical sequence you’ll get consistently clean results that look intentional and lasting.