The Christmas Tree Refresh: 11 Ways to Make Your Holiday Décor Feel Personal
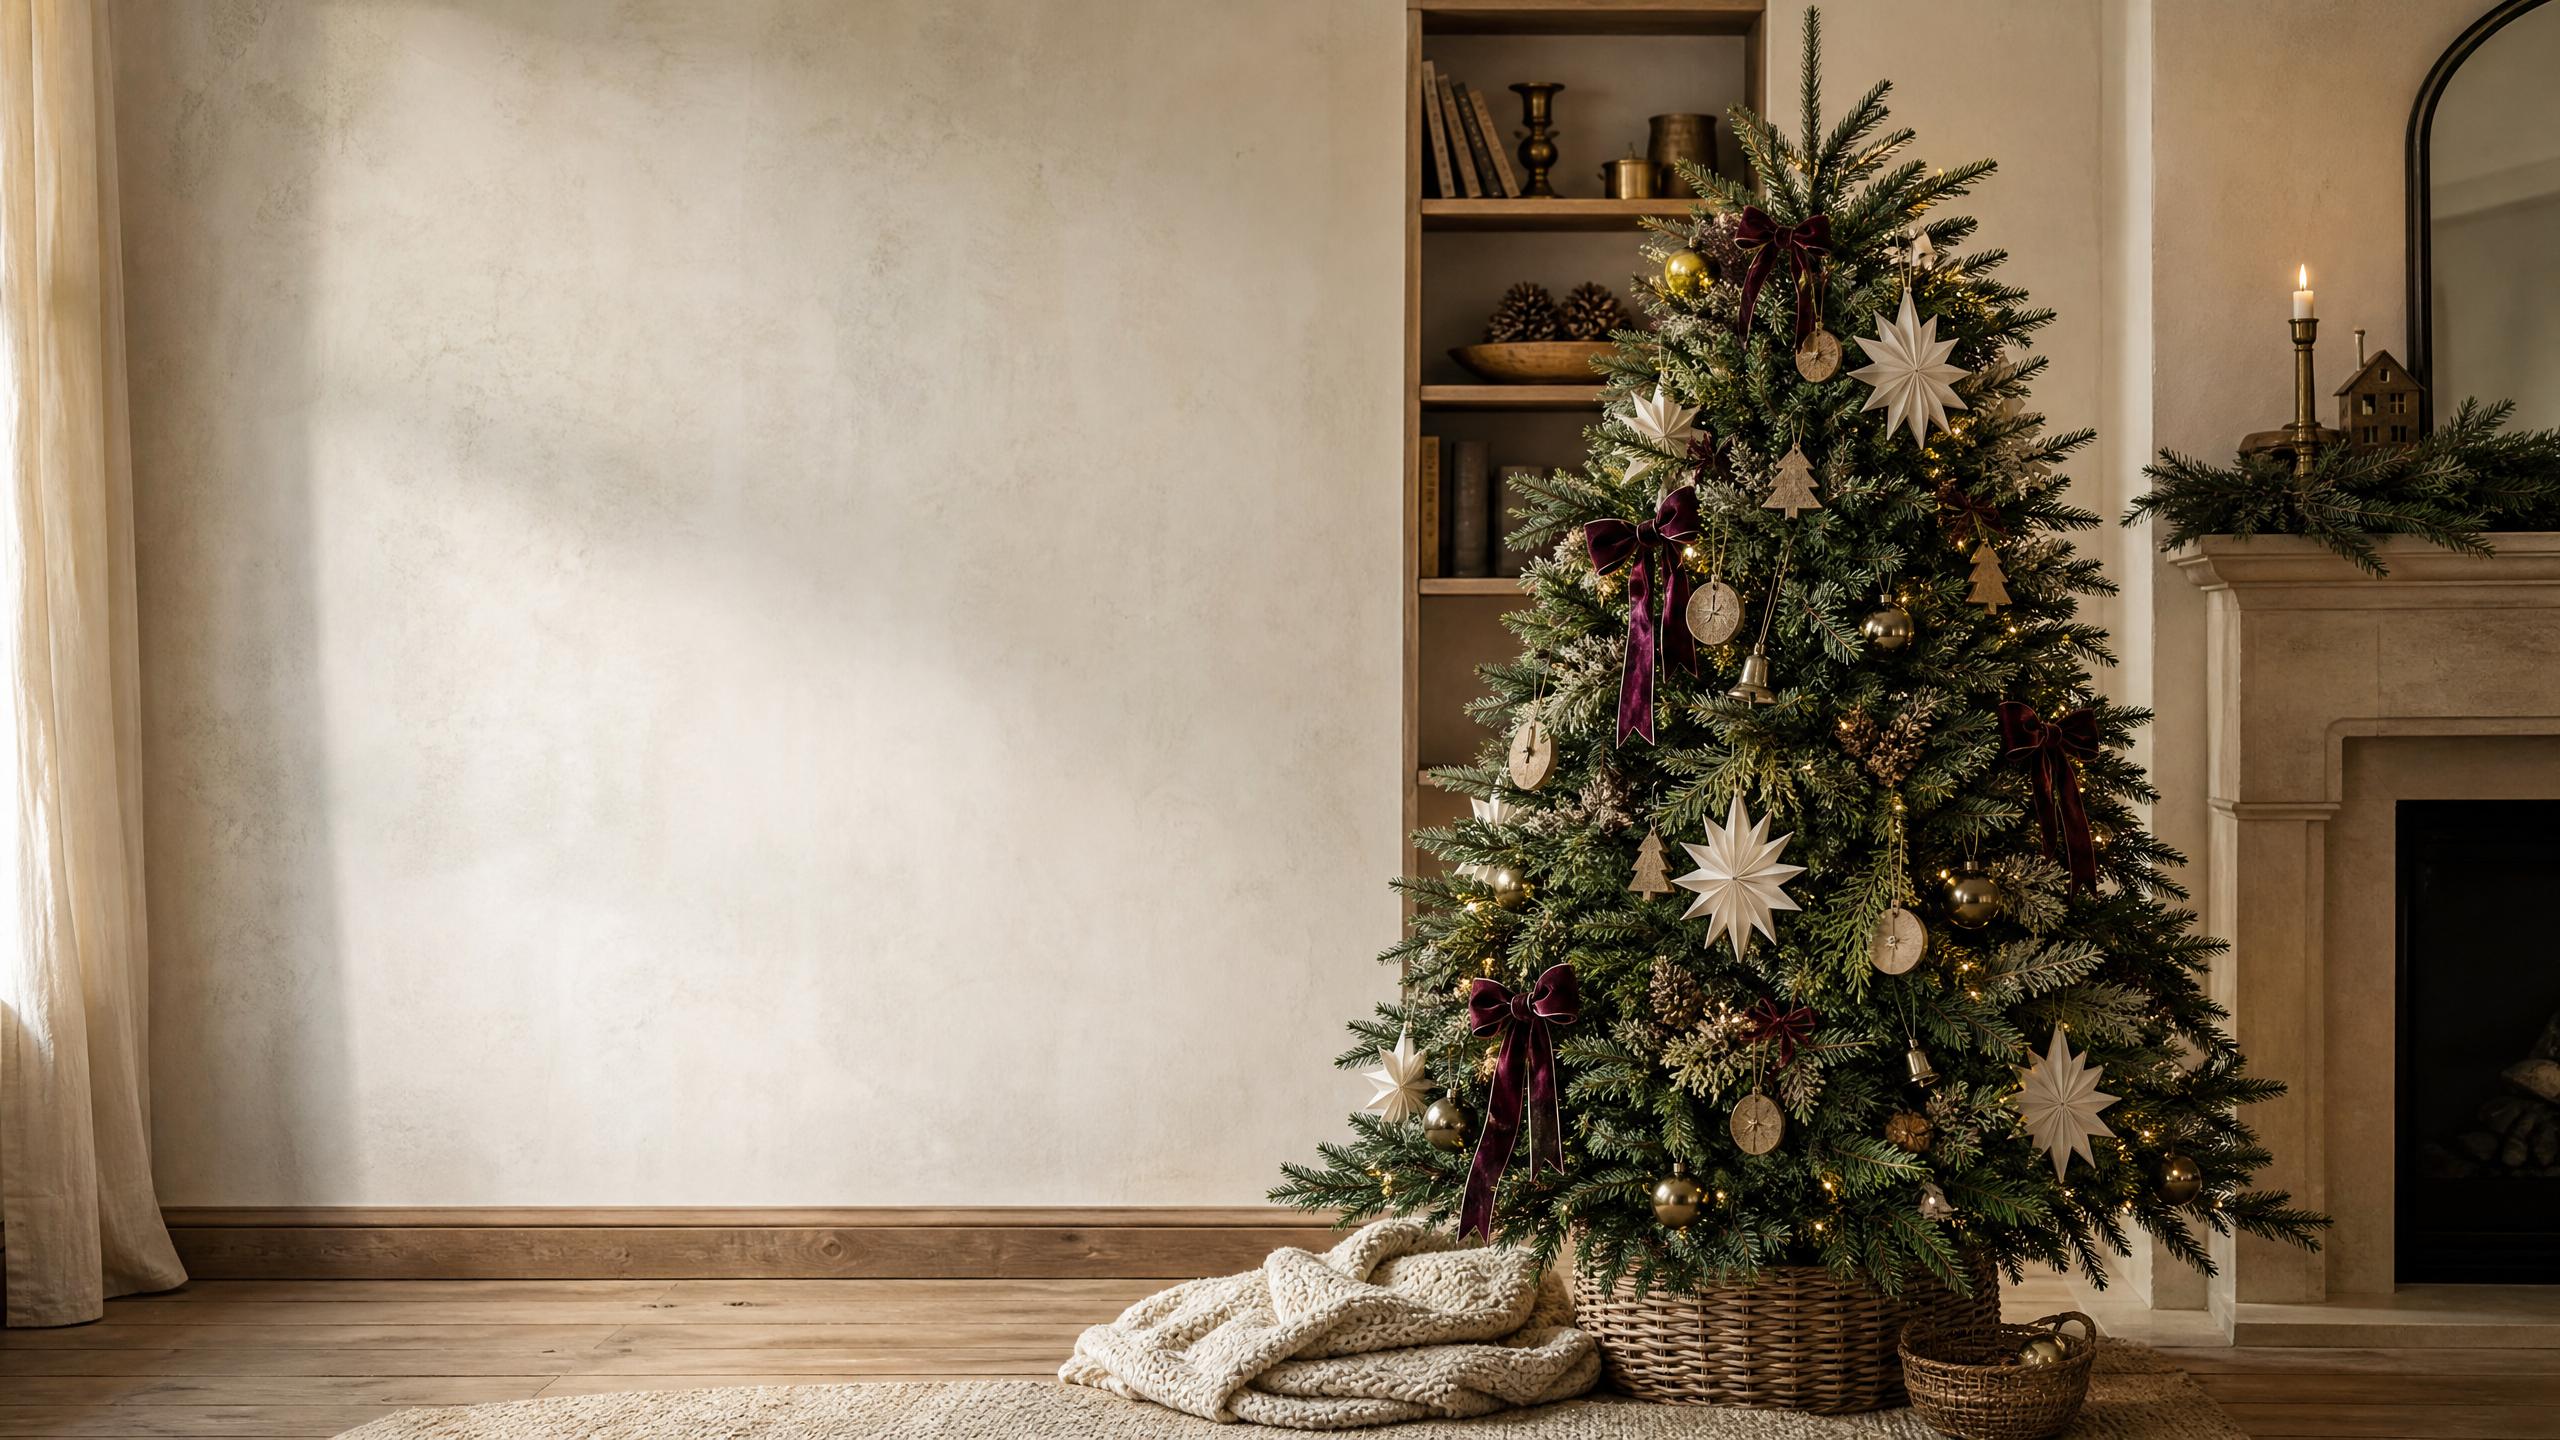
A Christmas tree does not need to match a showroom—or look exactly like last year’s—to feel special. The most memorable trees usually begin with something more personal: a favorite color, a family tradition, a collection gathered over time, or a small decorating challenge that makes an ordinary living room feel newly festive.
If your ornaments are a charming mix of inherited pieces, handmade keepsakes, and a few decorations you simply could not resist, you already have the ingredients for a beautiful tree. The trick is to give those pieces a little direction. Choose one visual idea, repeat it in a few places, and let the tree’s personality develop from there.
These 11 approaches are designed to be flexible rather than prescriptive. You can use one as a complete theme or borrow a single technique—such as grouping ornaments by color or adding a surprising topper—to give your current collection a fresh look.
Start with a simple decorating plan
Before opening every storage bin, stand back and decide what you want the tree to communicate. “Warm and nostalgic” calls for a different arrangement than “bright and playful,” even if both use the same basic ornaments.
A useful way to narrow the options is to choose three elements:
| Element | Questions to ask yourself |
|---|---|
| Mood | Should the tree feel cozy, elegant, cheerful, natural, or imaginative? |
| Color story | Which two or three colors can repeat from the lights to the ornaments and topper? |
| Focal point | What should catch the eye first: the topper, a ribbon, a cluster of ornaments, or the glow of the lights? |
Once you have those decisions, put on the lights first, then add the largest decorations, followed by medium ornaments and small finishing pieces. Working from broad shapes to details makes the tree easier to balance and prevents the prettiest ornaments from disappearing in one crowded patch.
1. Build a memory-tree with intentional clusters
A sentimental tree can still look composed. Instead of spreading every meaningful ornament evenly across the branches, create small stories. Place travel keepsakes together, group handmade ornaments near the family room side, or make a little section for decorations associated with children’s milestones.
Use a restrained background—warm lights and a simple ribbon, for example—so the personal pieces remain the stars. If some ornaments are too delicate for low branches, display them higher and keep sturdier decorations within easy reach. The result feels collected rather than cluttered because each area has a reason to exist.
2. Try a woodland workshop theme
For a natural, welcoming look, combine deep green, muted red, wood tones, and soft cream. Look for visual textures such as pinecones, felt shapes, paper stars, fabric bows, and ornaments with a handmade appearance. You do not need to buy a matching set; repetition in texture can create cohesion even when the individual pieces differ.
Wrap the trunk area with a wide, loosely tucked fabric ribbon or a strand of simple greenery. Finish with a topper made from layered branches, a fabric bow, or a rustic star. This approach works especially well in rooms with baskets, wood furniture, woven accents, or other natural materials.
3. Make a jewel-toned tree for evening glow
Deep ruby, plum, emerald, and sapphire can give a tree a rich, candlelit feeling without requiring an entirely new collection. Choose one dominant shade—such as burgundy—and use the others as occasional accents. Mixing glossy, matte, and translucent surfaces keeps dark colors from appearing flat.
The lights matter here. A steady, gentle glow lets the colors do the work, while a metallic accent adds small flashes between the darker ornaments. Place the richest colors toward the center and lower middle of the tree, then repeat them near the top so the eye travels through the arrangement instead of stopping at one heavy section.
4. Use a pale palette with one unexpected color
Neutral décor becomes more interesting when it is not completely predictable. Begin with ivory, oatmeal, soft gray, or champagne-colored ornaments, then introduce one confident accent such as tomato red, lavender, teal, or moss green.
Keep the accent relatively selective. A few ornaments, a narrow ribbon, and a coordinating topper may be enough. The pale foundation will make that color feel deliberate, while the repeated accent gives the tree a polished rhythm. This is a practical option if you want to refresh a traditional tree without abandoning ornaments you already own.
5. Turn ribbon into the main design feature
Ribbon can change the shape and energy of a tree faster than adding dozens of new ornaments. Instead of wrapping it tightly in a spiral, cut several manageable lengths and tuck them vertically through the branches. Let each piece fold, loop, or cascade naturally.
Choose a ribbon with enough body to hold a bend, and secure it deep inside the tree rather than at the very tips of the branches. Begin at the top and work downward, stepping back often to check whether the lines are balanced. A wide ribbon can serve as the tree’s visual backbone; smaller ornaments can then fill the gaps without competing for attention.
6. Create a snowy, glass-like winter scene
For a cooler, quieter tree, combine white, silver, pale blue, and clear ornaments. Vary the surfaces: frosted finishes suggest softness, mirrored pieces catch the lights, and clear shapes create a sense of air between the branches.
Keep the lower half slightly fuller so the tree feels grounded, then use smaller and more translucent decorations as you move upward. A simple white or silver topper completes the scene. If the palette begins to feel too cold, add a few natural wood pieces or warm-toned lights to bring the room back into balance.
7. Add oversized ornaments sparingly
Large decorations are an effective way to give a modest collection more presence. The key is placement. Rather than lining them around the outside edge, tuck them into the tree at different depths. This makes the arrangement look layered and helps oversized pieces support the tree’s shape.
Choose three to five areas for the largest ornaments, depending on the tree’s size, and repeat their colors elsewhere. A giant bow, paper lantern, large star, or oversized bauble can act as a focal point. Leave breathing room around each one so the feature reads clearly instead of becoming part of a visual traffic jam.
8. Give a small tree a tabletop identity
A tabletop tree deserves a complete idea of its own, not a scaled-down version of a full-size tree. Use a limited palette and a strong topper, then repeat one motif—bells, paper shapes, tiny houses, or woodland animals—from top to bottom.
Because the tree is viewed at close range, texture becomes especially important. Felt, folded paper, velvet, and unfinished wood are easy to appreciate on a smaller display. Place it in a basket, crock, or simple container that complements the room, and leave enough space around the base for the silhouette to remain visible.
9. Make a playful candy-colored corner
A cheerful tree can use color without looking chaotic. Select two bright shades and one light neutral, such as coral and turquoise with white, or cherry red and pink with cream. Repeat those colors in different shapes rather than using one ornament style exclusively.
Add visual humor with paper chains, felt sweets, tiny gift boxes, or unusual toppers. Keep the playful elements concentrated in one room or one corner if the rest of your décor is more subdued. A defined color boundary helps the tree feel joyful and intentional rather than like a collection of unrelated novelty items.
10. Design a modern black-and-metallic look
A contemporary tree can feel festive without relying on traditional red and green. Pair black, charcoal, or ink-colored accents with one metallic finish—brass, silver, or copper—and use plenty of open space between ornaments.
Choose shapes with clean silhouettes, such as geometric stars, simple discs, slim ribbon, or streamlined bells. Matte black pieces absorb light and metallic ornaments reflect it, creating contrast without needing many colors. To keep the result from feeling severe, add warm lighting and one tactile element, such as a velvet bow or soft fabric ornament.
11. Finish with a rotating mini-gallery
If you have more treasured ornaments than one tree can hold, make the display change throughout the season. Establish a calm base with lights, a garland, and a few sturdy ornaments. Then reserve a visible area for a small rotating collection: family photographs in lightweight frames, children’s crafts, a favorite color group, or ornaments connected to the current year.
Change only that featured section every week or two. The tree will feel refreshed without requiring a complete redecoration, and delicate or especially meaningful pieces can spend less time exposed. Photograph each arrangement if you want to remember which combinations worked best.
A practical order for decorating
Once you choose a direction, use this sequence to make the process less frustrating:
- Prepare the tree. Shape the branches, hide the stand, and make sure the tree is stable before adding anything delicate.
- Add lights. Distribute them from the trunk outward so the glow reaches into the branches instead of sitting only on the surface.
- Place the anchor element. Add ribbon, garland, or any repeated vertical feature before the ornaments.
- Set the large pieces. Work around the tree, changing heights and depths as you go.
- Fill with medium ornaments. Repeat your selected colors and textures across the full silhouette.
- Use small pieces as punctuation. Save tiny ornaments for gaps, branch tips, and areas that need a final touch of color.
- Step away before deciding it is finished. View the tree from the doorway, from a seated position, and from the side most guests will see.
Safety and practicality should guide the final pass. Keep breakable ornaments away from busy walkways and low branches, secure the tree so it cannot tip easily, and avoid placing anything that could snag nearby curtains or be reached by pets and young children. A beautiful arrangement is more enjoyable when the room remains comfortable to use.
Let the tree reflect the people who live with it
The strongest Christmas tree design is not necessarily the most expensive, symmetrical, or trend-driven. It is the one that makes sense in your home. A polished color palette can highlight old keepsakes; a playful topper can soften a formal room; a few handmade details can make a minimalist tree feel welcoming.
Choose one idea that genuinely appeals to you, then repeat it with restraint. When the lights are glowing and the room begins to feel like the holidays, the details that matter most will not be whether every ornament matched. They will be the memories, conversations, and small rituals that gathered around the tree.