Coastal Holiday Tree: Ocean-Inspired Ornaments, Color Ideas, and Care Tips
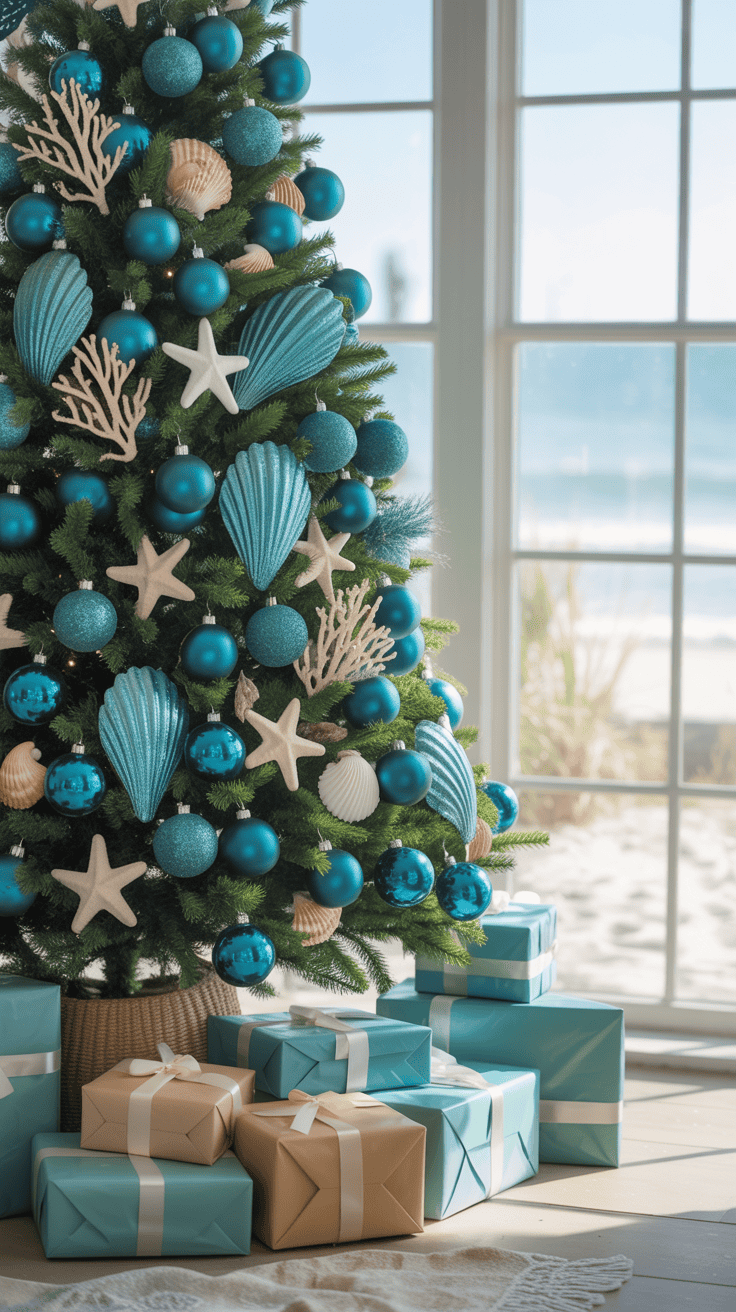
If you’re drawn to the calm colors and natural textures of the shore, an ocean-inspired holiday tree brings a fresh, relaxed spirit to your festivities. From hand-tied rope bows and glass “float” ornaments to clusters of shells, starfish, and seaglass, a coastal-themed tree blends tactile elements and soothing hues for a look that feels both seasonal and timeless. This guide introduces a full set of ideas: must-have ornaments, complementary color schemes, practical decorating tips, caring and storage advice, family-friendly traditions, and why this theme can renew your holiday joy.
Whether you live near the water or want to recall beachside memories in a cozy living room, you’ll find easy ways to balance natural pieces with classic holiday sparkle. Learn which ornaments anchor the design, how to combine turquoise, sand, and driftwood tones for depth, and simple tricks to secure delicate items so they hang safely. You’ll also get sensible cleaning and packing suggestions to keep ornaments beautiful year after year, plus family-activity ideas—like ornament-making nights or memory tags—that make the tree uniquely yours. Embrace the gentle palette and textures of the ocean to create a centerpiece that feels restorative, personal, and perfectly suited to your holiday rhythm.
1. Ocean-Inspired Ornaments Every Tree Needs
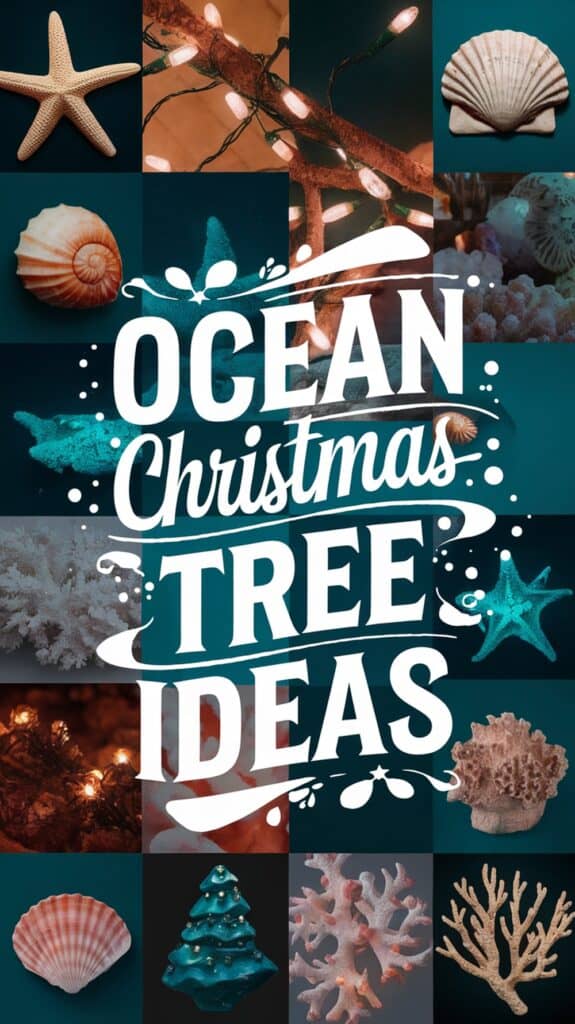
An ocean-themed tree comes to life through a mix of texture, color, and little stories hung branch to branch. A handful of DIY pieces—simple enough for kids, durable enough to last—paired with a few ready-made ornaments will give your tree personality without feeling fragile. Think natural shells, soft felt sea stars, and a couple of shatterproof accent pieces for sparkle and balance.
Keep the focus on contrast: lightweight, soft ornaments for the lower branches where little hands reach, and glossier, sturdier pieces higher up for shine and longevity. Involve the whole family: the kids can paint and add stickers, while adults handle hot glue or oven baking. When you mix one warm handmade item with one polished store-bought accent, the tree reads both personal and put-together.
Materials
- – Clean seashells (or lightweight faux shells)
- – Salt, all-purpose flour, warm water (for dough)
- – Acrylic paints and small paintbrushes
- – Clear craft sealant or matte Mod Podge
- – Twine, thin ribbon, or ornament hooks
- – Hot glue gun (adult use) and craft glue
- – Bottle caps or small plastic lids
- – Googly eyes, beads, sequins, and small charms
- – Scissors, straw or skewer (to make hanging holes)
- – Cookie cutters in sea shapes (optional)
- – Cardstock or thin craft foam for fins and tails
- – Small storage box or sheet of tissue paper for packing
Steps
- 1. Seashell Loop Ornaments: Wash and dry shells. For shells with natural holes, thread twine and knot. For solid shells, glue a small loop of twine or ribbon to the back with hot glue (adults only). Finish with a thin coat of sealant to protect paint or embellishments.
- 2. Salt-Dough Sea Shapes: Mix 2 cups flour, 1 cup salt, and about 1 cup warm water until you get a smooth dough. Roll to 1/4-inch thickness, cut shapes with cookie cutters, and poke a hole for hanging with a straw. Bake on a lined sheet at low heat until hard (check often), then cool, paint, and seal.
- 3. Bottle-Cap Jellyfish: Paint bottle caps in ocean hues. Glue on googly eyes and attach several thin ribbon or yarn strips under the cap for tentacles. Add a loop of twine to the back for hanging.
- 4. Upcycled Fish and Seagrass Tags: Cut fish shapes from cardstock or foam, decorate with paint, sequins, or beads, and punch a hole for ribbon. Use short lengths of twine braided into tiny “seagrass” bundles to cluster ornaments together.
- 5. Mix & Display: Arrange handmade ornaments lower on the tree and place shatterproof glass-like orbs and metallic accents higher for light reflection. Store delicate handmade pieces between layers of tissue in a small box to keep them safe year to year.
2. Color Schemes and Practical Tips for a Beach-Inspired Tree

Choosing the right colors sets the mood for an ocean-themed tree—think about how you want the room to feel: breezy and light, dramatic and nautical, or playful and bright. Start with one dominant tone (aqua, navy, or sandy beige), add a complementary neutral to ground the look, and include one pop color—coral, turquoise, or metallic gold—to create visual interest. Keeping your palette limited to three or four hues makes it easier to place accents and avoids a cluttered appearance.
Balance and safety go hand in hand when you add driftwood, netting, and faux coral. Place lighter, more delicate pieces higher and reserve heavier, sturdier accents for the middle and lower sections of the tree to keep the tree stable and attractive. If little hands or pets are in the home, substitute soft versions of coastal elements (felt shells, fabric sea creatures) near the bottom and use wire or sturdy hooks to secure anything that could fall or poke.
Materials
- – Prelit or unlit Christmas tree
- – Fishing netting or lightweight fabric net (soft option for low branches)
- – Small driftwood sticks or craft driftwood
- – Faux coral sprays or plastic coral picks
- – Nautical ribbons (wide and narrow in coordinating colors)
- – Assorted ornaments: shells, anchors, starfish, glass baubles in chosen palette
- – Florist wire, ornament hooks, or clear fishing line
- – Sandpaper (for smoothing real driftwood)
- – Scissors and wire cutters
- – Hot glue gun (optional) and low-temp glue sticks
- – Clear ornament clips or zip ties for extra security
Steps
- 1. Pick a palette: choose one dominant color, one neutral, and one accent. Lay out a few sample ornaments to make sure the mix feels cohesive.
- 2. Lights first: wrap tree lights evenly, working top to bottom so glow peeks through all layers.
- 3. Add netting: loosely drape netting in tiers, tucking and bunching to create texture. Use more at the base and center, less near the top for an airy look.
- 4. Place ribbon: weave wide ribbon in a gentle spiral; add narrower ribbon for wavy lines that mimic seaweed. Secure ends with florist wire.
- 5. Anchor with driftwood: sand any rough edges, then tuck driftwood horizontally into middle-to-lower branches to add structure and a natural touch. Fasten with wire if needed.
- 6. Tuck in faux coral and shells: cluster small coral sprays and shells near branch tips for pops of white or color—keep fragile or pokey pieces out of reach.
- 7. Hang ornaments and special pieces: distribute weight evenly; heavier ornaments should sit lower to stabilize the tree.
- 8. Childproof and finalize: double-check attachments, replace sharp items with soft alternatives on lower branches, and add a weighted tree skirt or anchoring system for extra safety.
These steps create an inviting, seaside atmosphere while keeping the tree beautiful and secure for everyone to enjoy.
3. Caring for and Storing Ocean-Themed Ornaments
A little attention when the season ends keeps your ocean decorations bright, untangled and ready for another year of holiday fun. A quick clean and thoughtful packing routine prevents faded colors, broken pieces and the disappointment of missing favorites the next December.
Treat each ornament like a small keepsake: shells, glittered creatures, glass baubles and fabric fish all need slightly different care, but the same gentle approach. Spend an afternoon sorting, photographing and packing — the small effort now saves time and heartache later and keeps your collection looking like new.
Materials
- – Soft microfiber cloths or lint-free towels
- – Small soft-bristle brush or dry toothbrush
- – Cotton swabs and mild dish soap
- – Tissue paper or acid-free wrapping paper
- – Bubble wrap and small pouches or zip-top bags
- – Divided ornament boxes or egg cartons
- – Sealable plastic bins with lids and silica gel packets
- – Labels and a permanent marker or sticky notes
- – Camera or phone for quick photos
Steps
- 1. Sort first: make piles by material (glass/resin, fabric, natural shells, glittered/beaded). This helps you choose the right cleaning and packing method.
- 2. Dust gently: use a soft brush or microfiber cloth to remove surface dust from all items. For textured shells and crevices, a dry toothbrush works best.
- 3. Spot-clean carefully: dampen a cloth or cotton swab with a little mild soap and water to remove sticky spots from glass, plastic or wood. Avoid soaking any piece — moisture can loosen glues or warp felt.
- 4. Refresh natural pieces: if shells or driftwood are damp or have tiny dark spots, let them air-dry in the sun for a few hours before packing. Do not use harsh cleaners on natural materials.
- 5. Protect fragile and glittered items: wrap glass or delicate ornaments in tissue or bubble wrap. For glittered pieces, tuck them into individual pouches or wrap loosely so glitter doesn’t rub off onto neighboring items.
- 6. Use divided storage for small items: egg cartons or ornament trays keep tiny sea creatures and glass balls separated and upright.
- 7. Layer larger pieces: place heavier, flat items (driftwood, faux coral) at the bottom of the bin and lighter fabric ornaments on top to avoid crushing.
- 8. Keep ribbons and garlands neat: coil and secure with a soft tie, then store in a separate zip bag to prevent tangles.
- 9. Add moisture control: tuck a few silica gel packets into each bin to reduce humidity and protect wood, shells and paper-based wraps.
- 10. Label and inventory: attach a clear label and add a quick photo inside the bin lid so you can find favorite sets fast next season.
- 11. Store wisely: keep bins off the floor, away from damp basements and extreme attic temperatures. A cool, dry closet is ideal.
- 12. Unpack with care next year: open each bin gently and check items before rehanging, so any needed repairs or replacements can be handled calmly.
4. Family Traditions for an Ocean-Inspired Holiday Tree
An ocean-themed Christmas tree can be more than a pretty centerpiece — it’s a living scrapbook you and your family build together. Turn decorating into a ritual where each ornament tells a story: a seashell from a summer beach day, a painted wooden fish made by a child, or a tiny photo of a family picnic on the shore. These small, hands-on activities invite everyone to contribute, spark conversation about past adventures, and create a sense of continuity as the tree fills with memories year after year.
Keep the focus on connection rather than perfection. Set aside one afternoon for a low-pressure ornament workshop with music and simple snacks, or establish a nightly moment of storytelling beneath the tree when a new ornament is added. Rotate responsibilities so each family member chooses the annual theme or the “memory of the year” to commemorate. Over time those ornaments become prompts for laughter, shared recollection, and even gentle lessons about the natural world.
Materials
- – Collected shells, small pieces of driftwood, smooth beach stones
- – Acrylic paints and paint pens
- – Salt, all-purpose flour, water (for salt-dough ornaments)
- – Clear photo sleeves or small printed photos
- – Ribbon, twine, and small eye hooks
- – Craft glue, hot glue gun (adult use), and sealer spray or Mod Podge
- – Googly eyes, fabric scraps, felt, and sequins for embellishment
- – Disposable plates, paintbrushes, cookie cutters (starfish, circle)
Steps
- 1. Choose a theme for the year (sea turtles, tidepools, lighthouse memories) to guide color palettes and ornament shapes.
- 2. Set up a workstation with all materials in reach and divide age-appropriate tasks: younger kids paint, older kids attach photos and write dates.
- 3. For salt-dough ornaments: mix 1 cup flour + 1/2 cup salt + 1/2 cup water; knead until smooth, roll to 1/4 inch, cut shapes with cutters, press initials or a small handprint, and make a hanging hole. Bake 2–3 hours at low temperature (around 200°F/95°C) until hardened, then cool.
- 4. Decorate shells and driftwood by writing the location and year with a fine paint pen; add ribbon or twine and seal to protect finishes.
- 5. Make photo ornaments by trimming photos to fit a paper or felt fish shape, glue into place, and decorate the border with paint or sequins.
- 6. Let everything dry fully, spray with a clear sealer, then attach eye hooks or tie loops for hanging.
- 7. Create the ritual: each time a new ornament is added, have the maker share a short memory about it. Store finished ornaments in a labeled box to bring out and relive each December.
These simple steps build both a beautiful tree and a growing archive of family stories that deepen with every holiday season.
5. Why an Ocean-Inspired Tree Brings Fresh Joy to Your Holidays
Imagine a Christmas tree that feels like a shoreline memory: soft blues, sandy neutrals, and a mix of textures that invite kids and grown-ups to pause and smile. An ocean-inspired tree swaps the usual red-and-green routine for sea glass, rope, and shells—elements that make the tree feel both playful and calm. It’s a theme that encourages storytelling: each ornament can remind you of a beach day, a family trip, or a tiny craft session made together.
The best part is how forgiving this look is. You don’t need matching sets or perfect symmetry—weathered driftwood, imperfect shells, and hand-painted pieces add character. That relaxed vibe means less stress when kids want to help; sturdy, colorful decorations are easy to handle and durable enough for little hands. Use summer keepsakes to shorten your to-do list and make the tree uniquely yours.
Materials
- – Artificial or real tree (size of your choice)
- – Warm white string lights (battery or plug-in)
- – Fishing net or mesh garland
- – Assorted shells and sand dollars (real or resin)
- – Faux starfish and seahorse ornaments
- – Small pieces of driftwood or wood slices
- – Clear glass or plastic baubles (for filling)
- – Twine, rope, or jute ribbon
- – Blue, teal, and sandy neutral ornaments
- – Hot glue gun and glue sticks
- – Scissors and craft paint (optional)
- – Mini clothespins or ornament hooks
- – Small framed photos or token mementos (optional)
Steps
- 1. Choose a color story: pick two dominant hues (e.g., teal and sandy beige) and one accent (silver or pearly white) to keep the look cohesive.
- 2. String lights first, working from the trunk outward so branches catch the glow; warm white keeps the scene cozy and beachy.
- 3. Add texture next: loosely drape fishing net, jute ribbon, or twisted rope through the tree for a seaside foundation.
- 4. Cluster heavier items (driftwood pieces, wood slices) closer to the trunk so the branches support the weight.
- 5. Fill clear baubles with tiny shells, sand, or small beach finds for mini keepsake ornaments—secure the caps before hanging.
- 6. Use hot glue to attach shells or starfish to plain baubles and wooden shapes to create bespoke ornaments.
- 7. Balance color by distributing blue and neutral ornaments around the tree so no one area feels too heavy.
- 8. Let kids add simple crafts—paper fish, painted shells, or photos clipped with mini clothespins—to make decorating participatory.
- 9. Top the tree with a focal piece: a large starfish, a driftwood topper, or a lighted lighthouse ornament.
- 10. When the season ends, store delicate handmade pieces wrapped in tissue and label a box so your seaside tree returns quickly next year.
This approach keeps decorating playful, personal, and pleasantly low-pressure—perfect for creating new holiday traditions that feel like a breath of ocean air.
Final Thoughts
A coastal holiday tree updates seasonal decorating with texture, soft color, and meaningful details. By mixing glass orbs, natural shells, woven elements, and a few metallic accents, you can design a tree that feels like a curated seaside vignette rather than a literal beach replica. Practical measures—anchoring heavier pieces, using branch-friendly clips, and storing fragile items in cushioned containers—keep ornaments safe so the display can return each year without fuss.
Beyond aesthetics, an ocean-inspired tree invites new family traditions: collecting or crafting ornaments together, assigning sections of the tree to different memories, or incorporating a yearly keepsake. Those small rituals, paired with the calming visual palette, help the season feel lighter and more intentional. Whether you’re aiming for subtle coastal hints or a fully nautical holiday, these ideas will help you build a tree that’s beautiful, personal, and refreshingly serene.