How to Design a Memorable Outdoor Halloween Display: A Practical Guide
A standout outdoor Halloween display starts with simple choices that add up: a clear mood, a strong focal point, and details that read well both in daylight and after dark. This guide walks you through the core design decisions and hands-on techniques so your yard or porch looks intentional and polished rather than cluttered or random.
You don’t need expensive props to make an impact. With a few basic tools, weather-aware materials, and a little planning around sightlines and safety, you can create a display that delights trick-or-treaters, welcomes party guests, and gives you something festive to enjoy through the season.
1. Choose a Mood and Stick to It
Decide the emotional tone you want before you buy or build anything. Pick one central idea — eerie and atmospheric, whimsical and family-friendly, rustic harvest, or gothic and theatrical — and use that as a filter for props, colors, and materials. Limiting the palette and props helps the overall display read clearly from a distance and prevents competing elements from diluting the effect.
Once the mood is set, create a short checklist of do-not-mix items (for example: no glittery kid-friendly characters in an otherwise macabre scene). This will keep additions consistent as you add pumpkins, fabrics, signage, or figurines. Small, repeated motifs—like a single accent color, a repeated silhouette, or a signature prop—help tie the look together across steps, porch, and yard.
2. Plan Sightlines and Focal Points
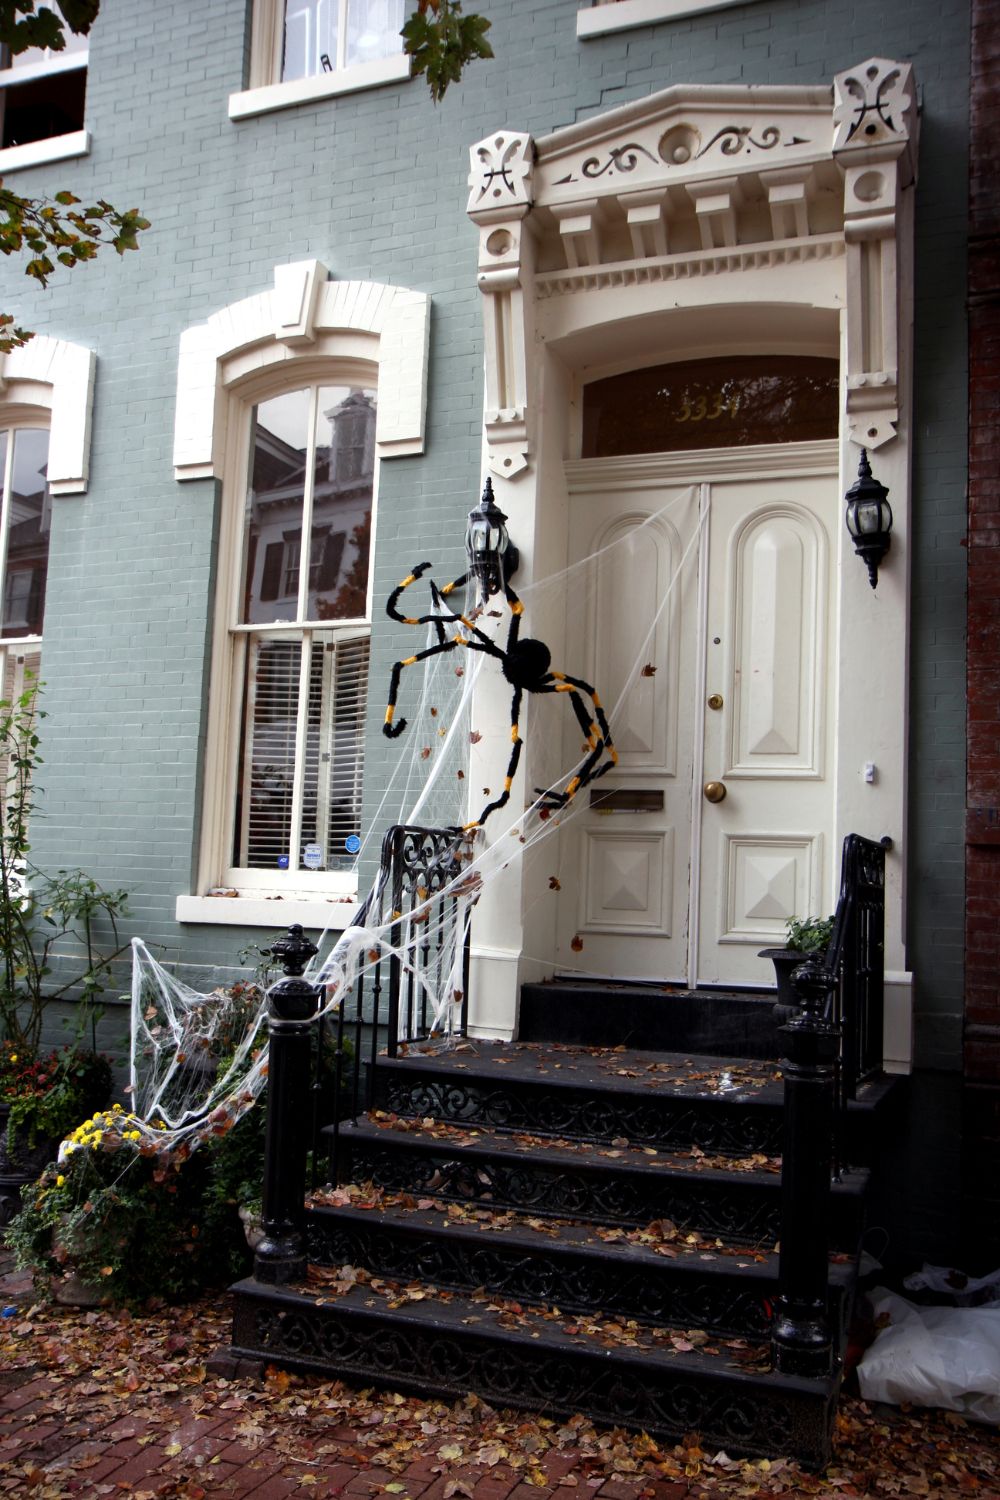
Walk your property as if you’re seeing it for the first time: from the sidewalk, the driveway, the street corners that people approach from, and at adult and child eye level. Note where your eye naturally stops — those are natural focal points. Arrange your strongest pieces there so they read clearly from distance; smaller props can live in peripheral zones.
Think in layers: primary focal point (large, simple shapes), secondary details (textures, smaller props), and background elements (lighting, silhouettes, planted or sculpted shapes). Make sure each layer has contrast so elements don’t blend into each other when viewed from common approaches. Test by standing at least 20–30 feet away and squinting; shapes and silhouettes should be immediately recognizable.
3. Design for Daylight and for Night
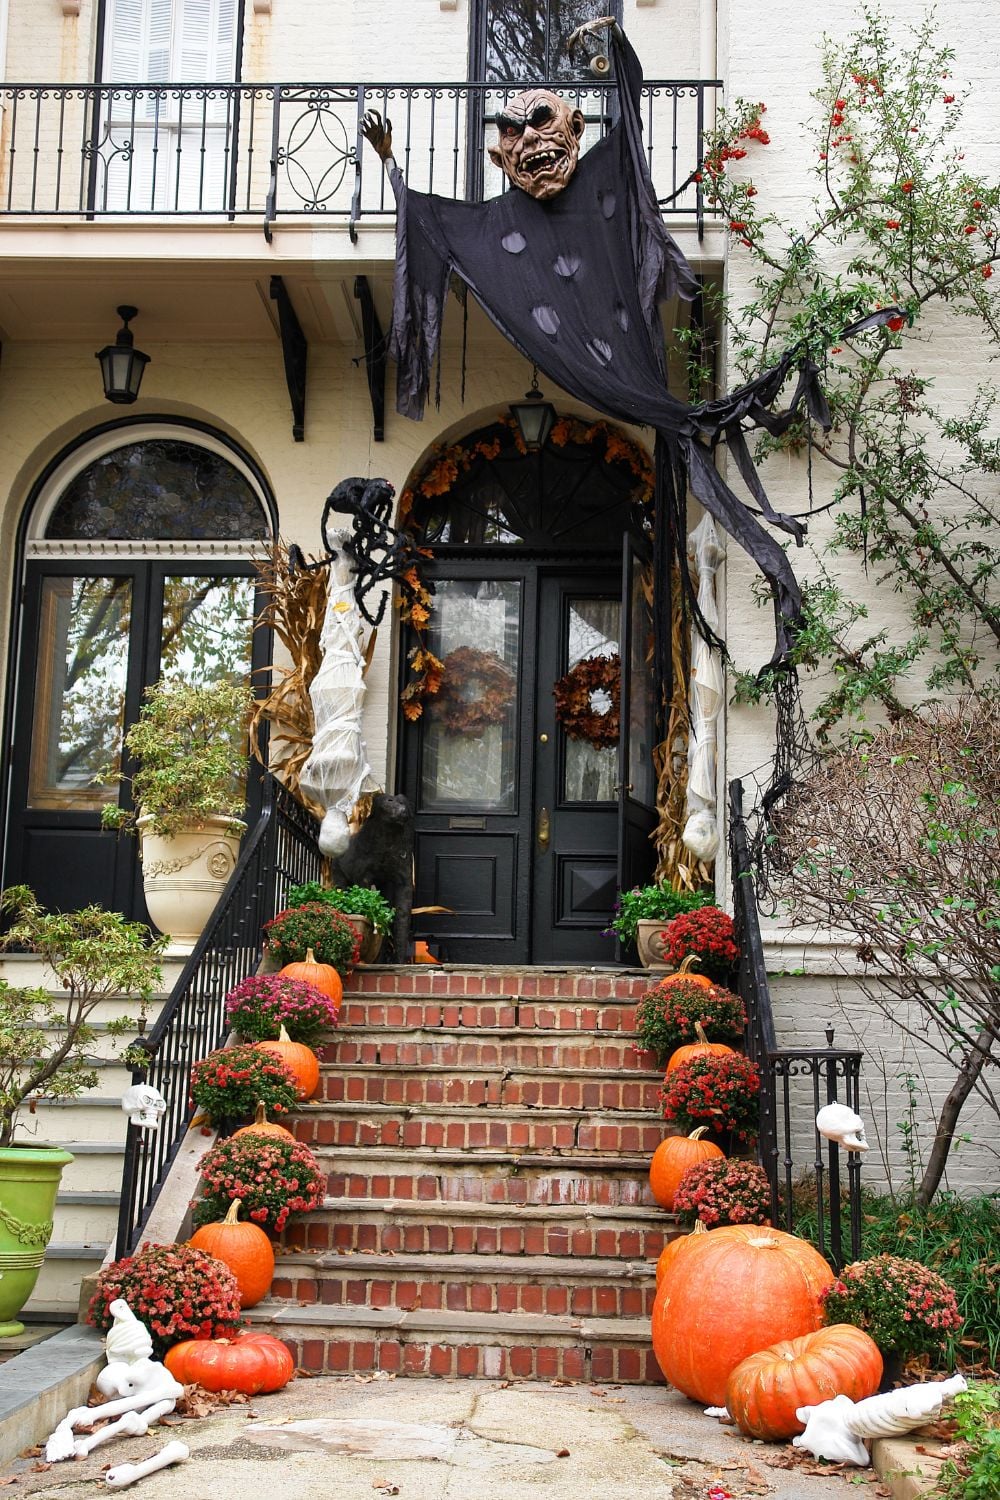
A great display works in both daylight and after dark, but the priorities change. During the day, texture, color contrast, and three-dimensional form are most legible: crisp silhouettes, bold color accents, and shadow-casting props read best. Use painted plywood cutouts, painted pumpkins, and fabric draping that moves in the breeze to give daytime interest.
At night, lighting becomes the primary design tool. Plan light sources that reveal shapes and add drama without overwhelming fine details. Think about where shadows will fall and how backlighting can create spooky silhouettes. Test your display at dusk to refine lamp angles and decide which pieces should be lit, dimmed, or left in shadow for maximum effect.
4. Choose Safe, Effective Lighting
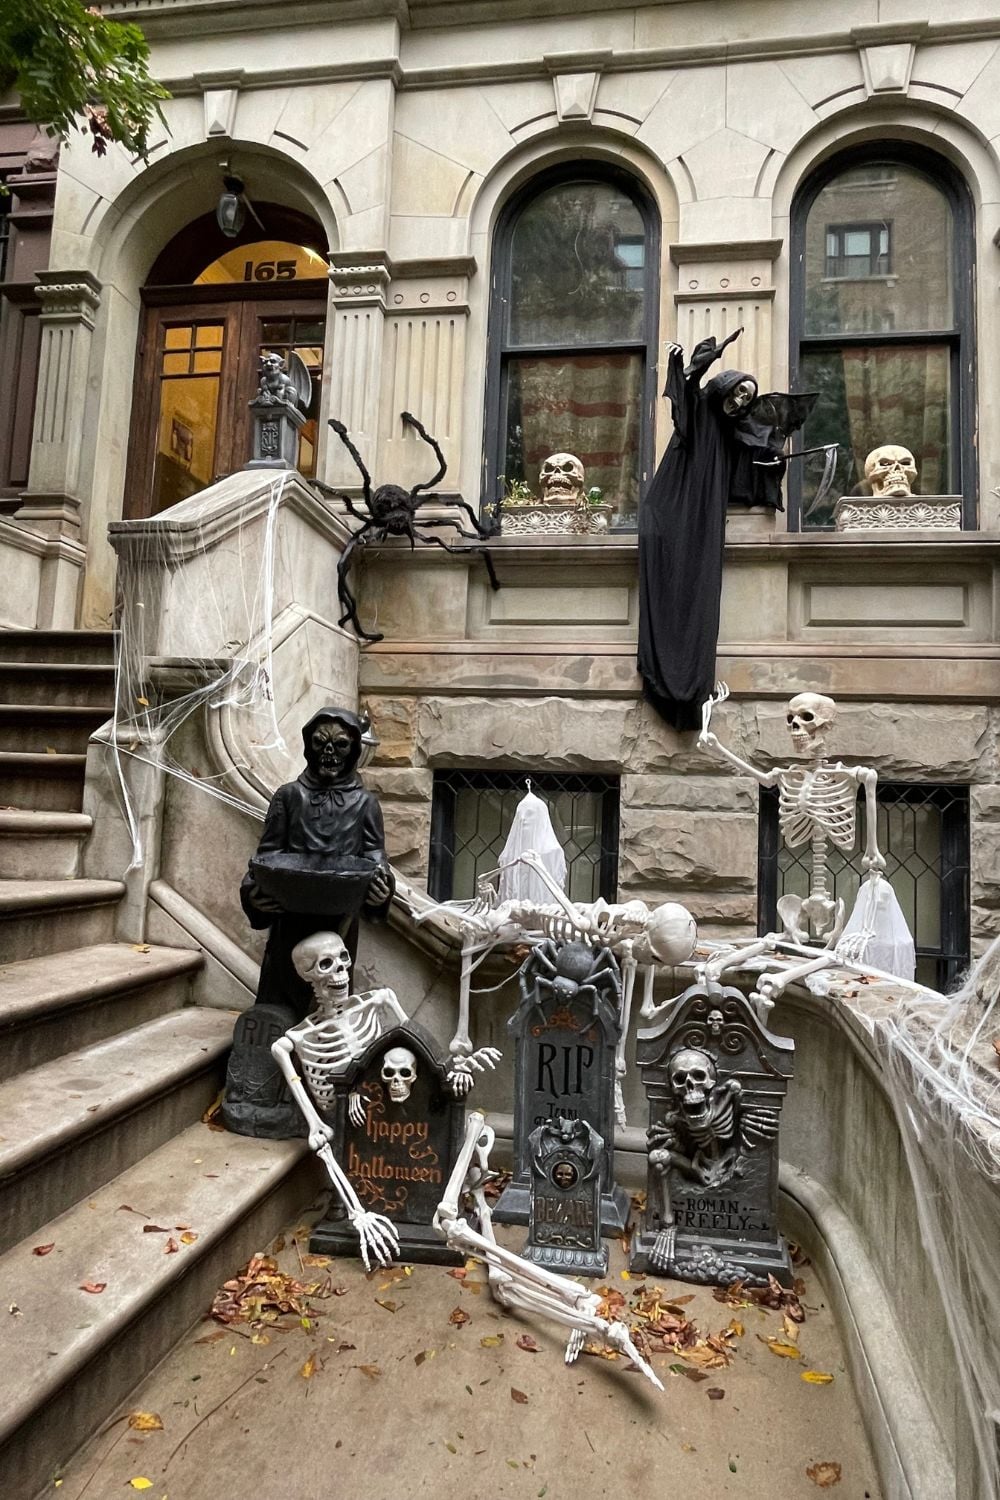
Prioritize safety and visibility when you pick lights. Use low-voltage or battery-powered LED fixtures for pathways, steps, and any areas where people walk to avoid tripping hazards and reduce electrical risk. Solar lights are useful for pathways and accenting plantings if you have reliable sun exposure during the day, but test their runtime after sundown to be sure they last through the evening.
Position lights to reduce glare into neighbors’ windows and to avoid creating blinding spots for visitors. Use spot and wash lighting to sculpt large props and string or fairy lights to add texture. If using extension cords or temporary wiring, route them out of walkways, secure them with outdoor-rated tape or cable covers, and use weatherproof outdoor-rated plugs and GFCI-protected outlets.
5. Make the Front Door Your Primary Stage
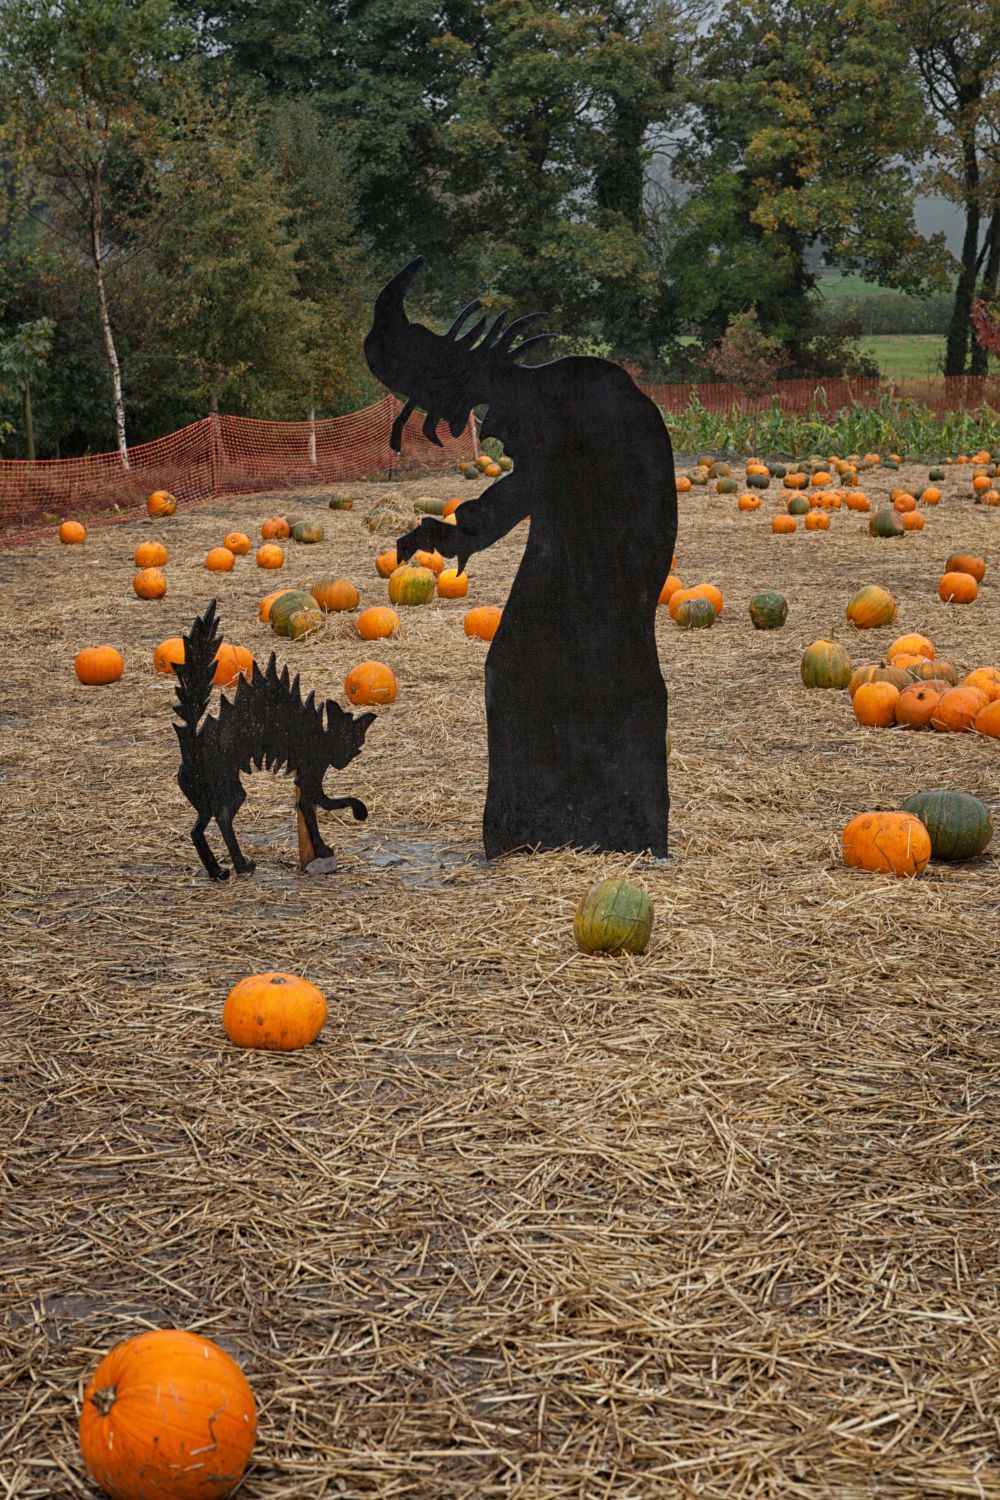
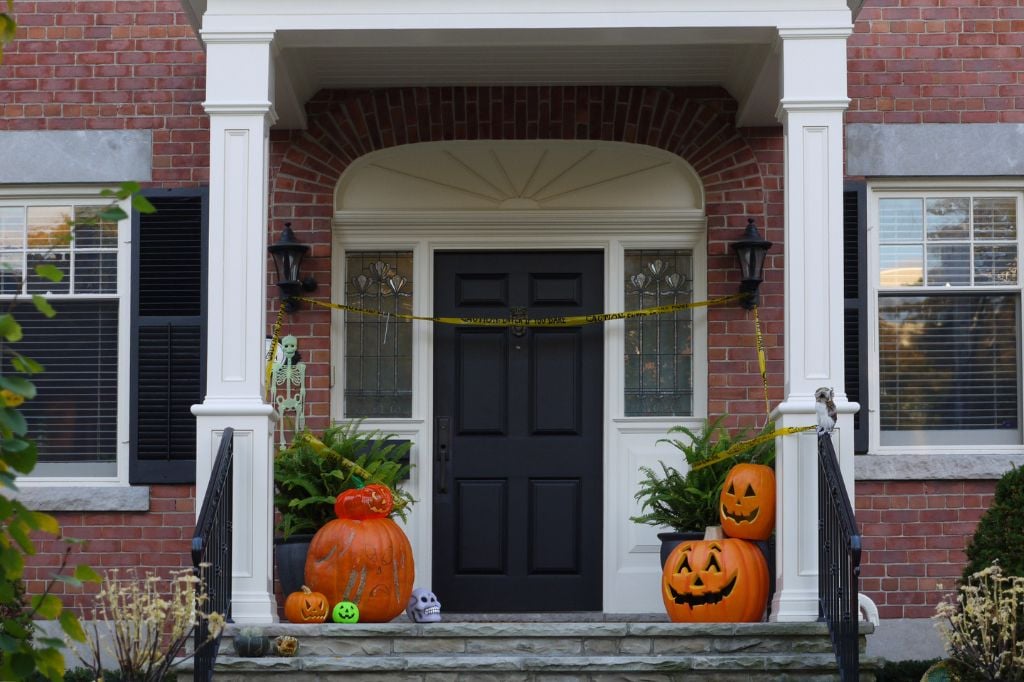
Treat the front door as the main narrative moment — the place where guests pause and form an impression. Build a tight composition around the entry: a group of pumpkins or gourds arranged at different heights, a pair of symmetrical lanterns, or a single striking figure framed by seasonal greenery. Keep the approach clear so visitors can see the composition as they arrive.
Avoid blocking the door or creating hazards: step placement should leave clear footing, and decorations should not obstruct locks or door handles. If you want to include an interactive element like a sound effect or motion-triggered prop, test it from the sidewalk to ensure it won’t startle or confuse people using the entrance. Consider an inviting element — a warm lantern or a friendly sign — if you prefer a welcoming rather than purely frightening tone.
6. Layer Texture and Scale for Visual Interest
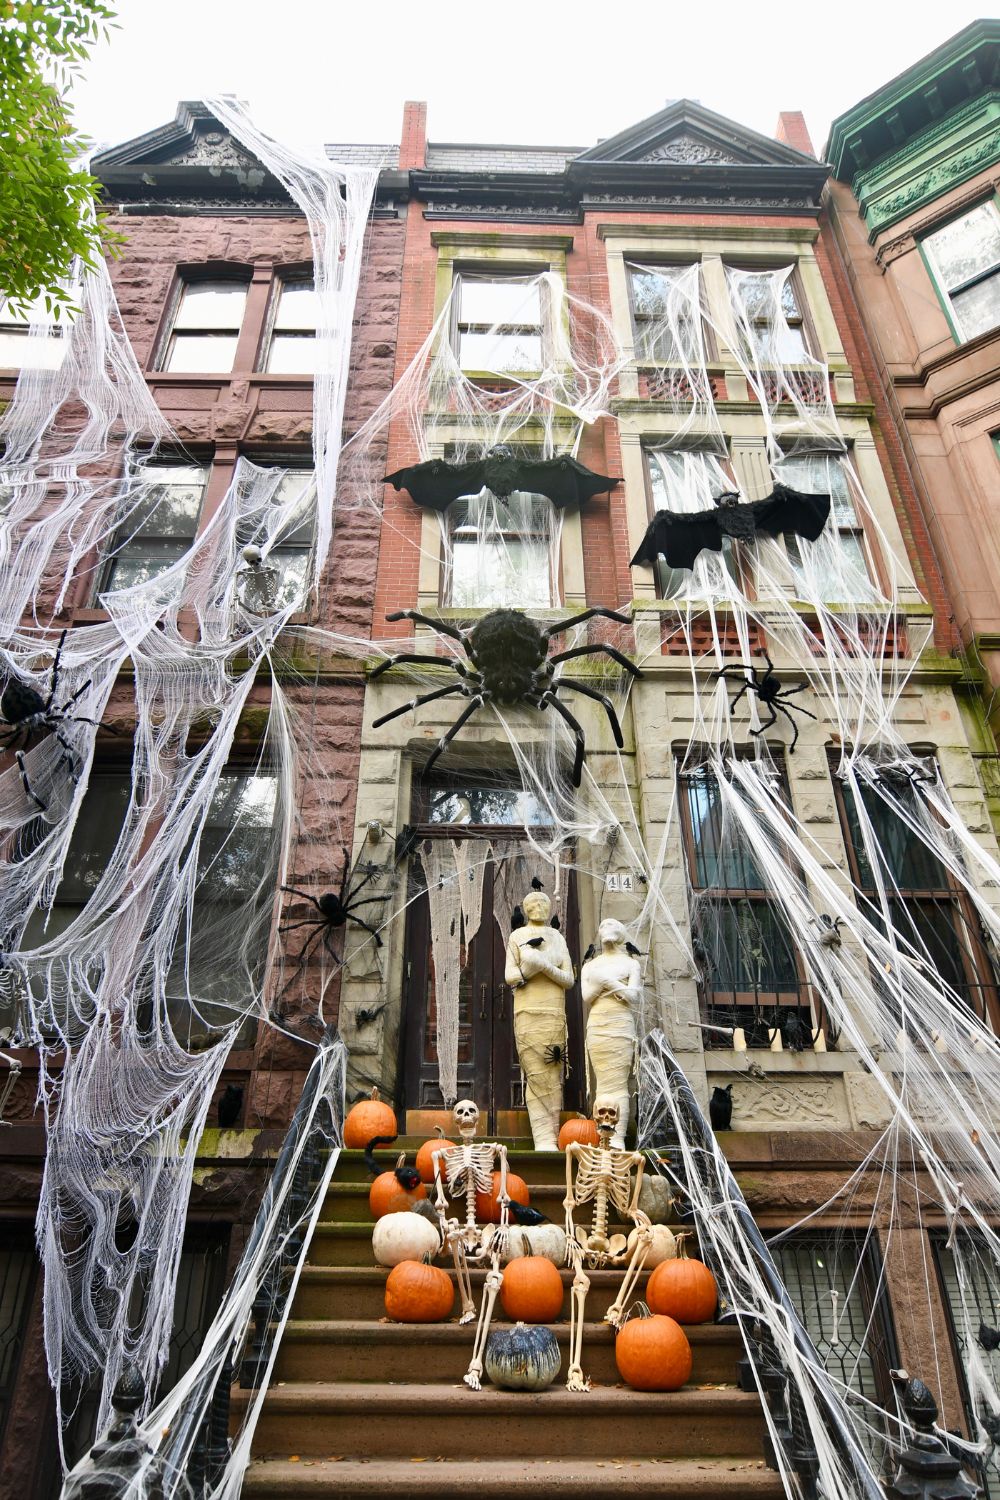
Create depth by combining items of varying scale and texture: rough burlap, glossy pumpkins, matte painted plywood cutouts, smooth metal lanterns, and soft fabric drapes. Place large, bold shapes in back or at eye-catching spots and fill forward areas with smaller, tactile pieces. Movement—like gauze or ribbons that flutter in the wind—adds life to static displays and catches attention after dark when lit obliquely.
Use repetition to unify the composition: repeat a material or motif in small doses across the yard (three lanterns, five small pumpkins, repeated crow silhouettes). Contrast is equally important; pair organic elements (real or faux branches, hay bales) with manufactured props (scaled tombstones, plastic skulls) to keep the scene visually engaging from several distances.
7. Choose Weather-Resistant Elements
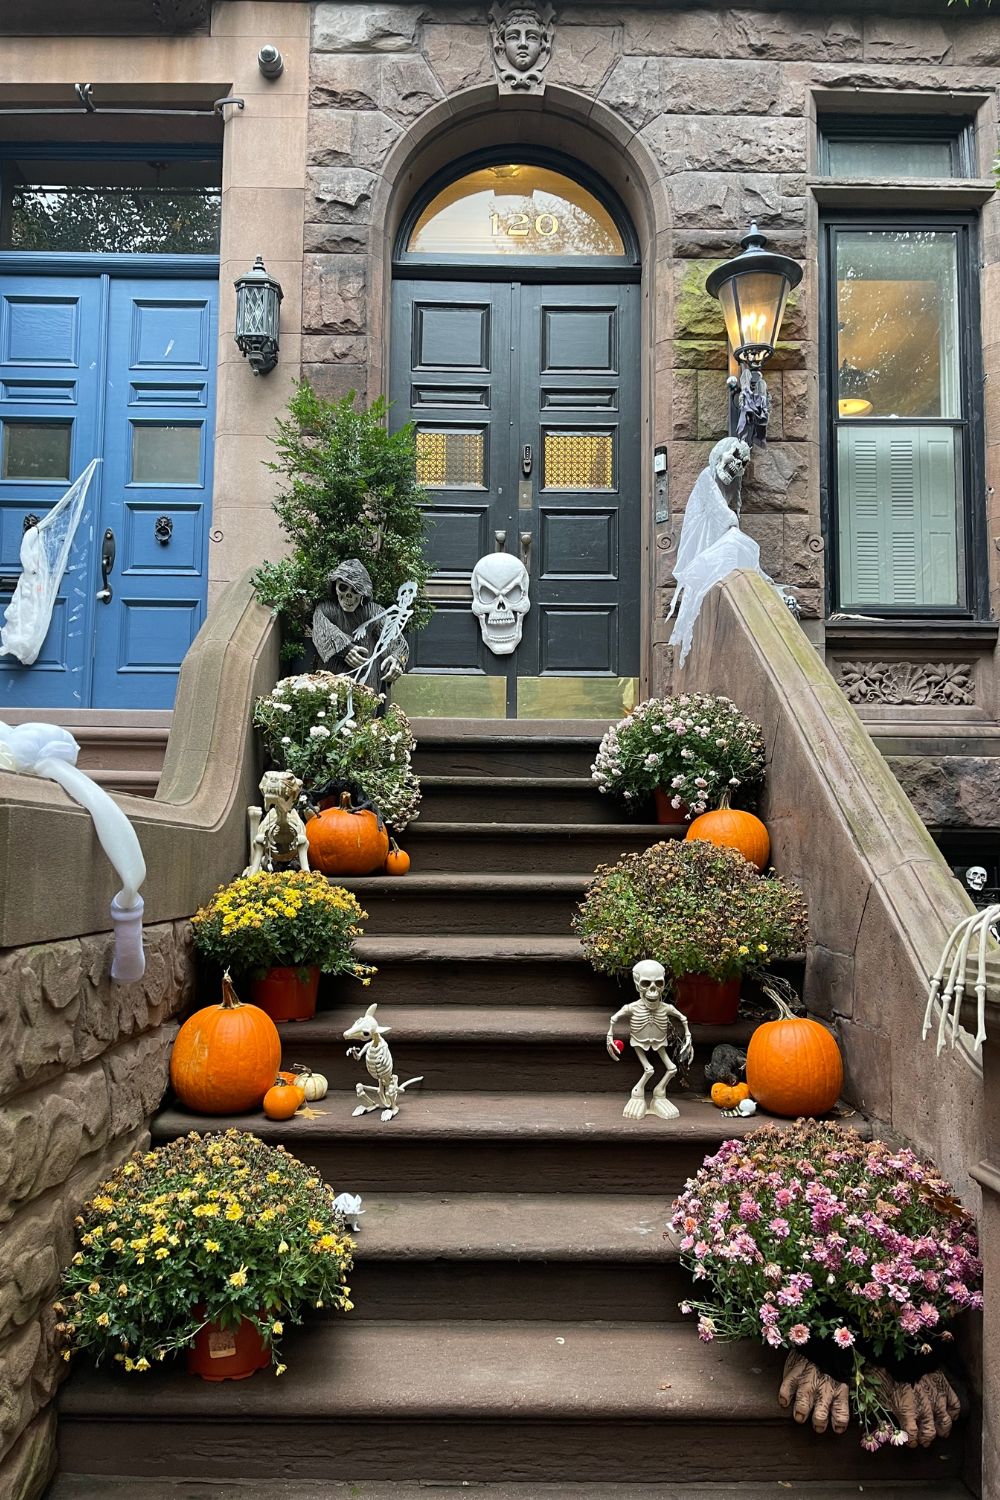
Expect wind, rain, and temperature changes. Use exterior-grade materials where possible: exterior paint, marine plywood, outdoor fabrics, and rust-resistant fasteners. Seal carved pumpkins with a thin coat of clear spray if you want them to last longer, or substitute faux pumpkins for displays that must endure damp conditions. Weigh lighter props down with stakes, sandbags, or zip-tied anchors so they don’t become projectiles in gusts.
If you craft DIY pieces, select adhesives and tapes rated for outdoor use and consider creating simple removable covers to protect delicate or electrical elements during storms. Store fragile items indoors overnight or when poor weather is forecast. Label and keep a small repair kit (zip ties, duct tape, cable ties, weatherproof glue) nearby to make quick fixes before visitors arrive.
8. Make Installation and Removal Easy
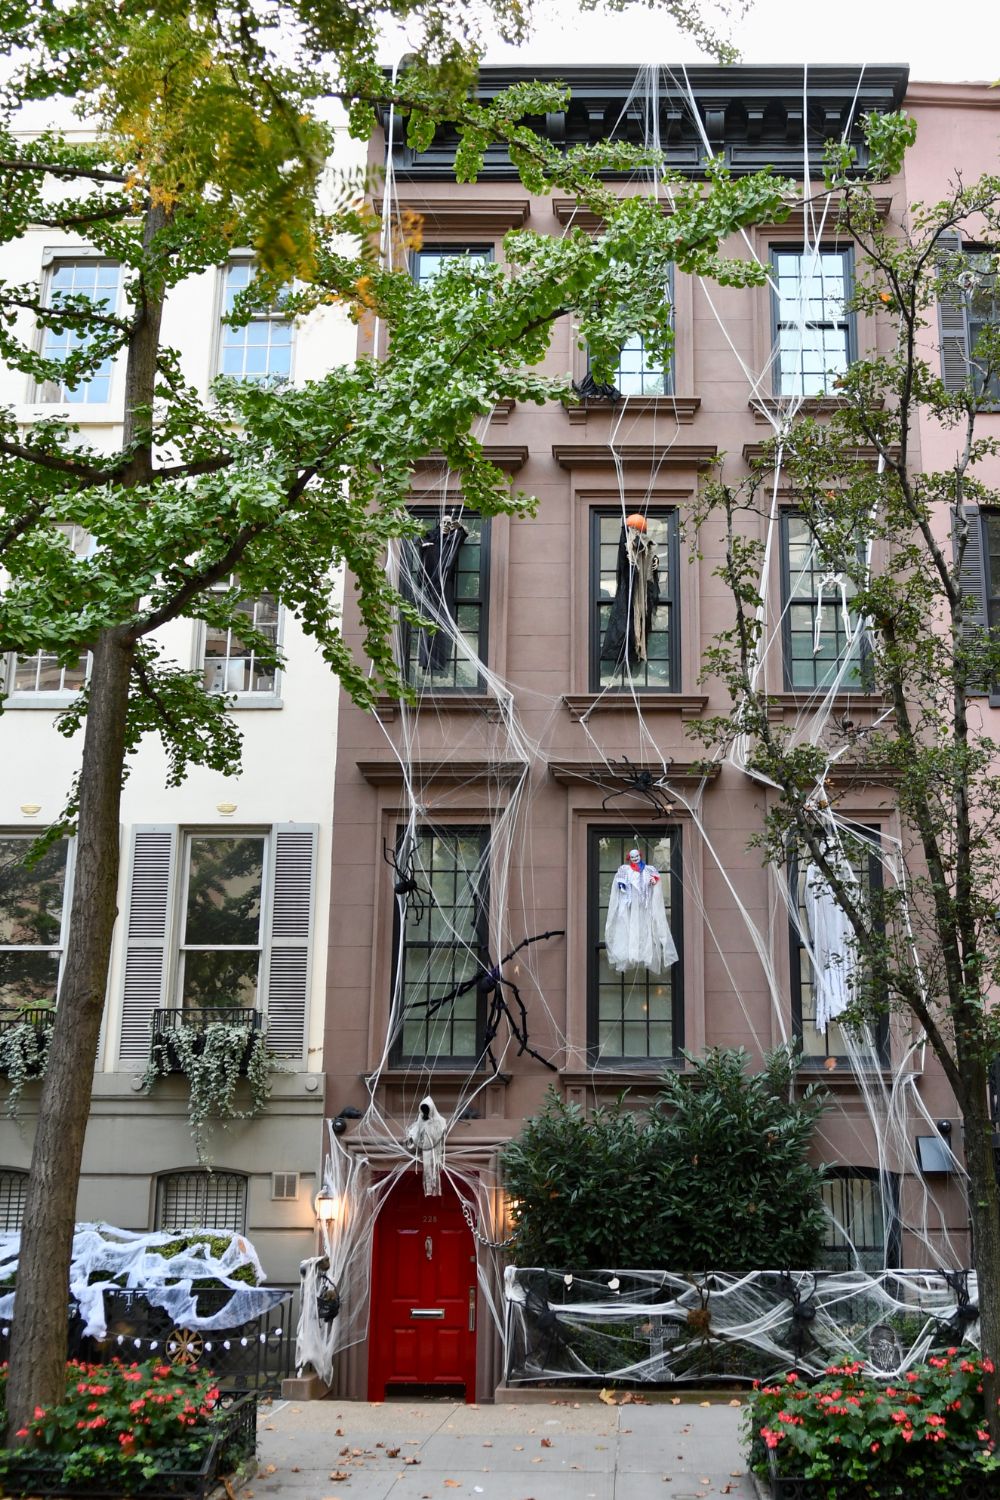
Plan the season like a project: create a short inventory and staging plan so you know where everything goes before you start. Assemble and test big elements at ground level first, checking lighting, motion triggers, and stability, then move them into final position. Take photos of the finished arrangement to help with removal and reassembly in future years.
For removal, use simple, repeatable attachment methods: stakes, removable hooks, zip ties, and labeled bins. Keep small parts (spikes, screws, batteries) in clearly labeled containers so nothing gets tossed inadvertently. Clean and dry reusable items before storing to protect materials and make next year’s setup faster and neater.
Final Thoughts
A memorable outdoor Halloween display is the result of a few thoughtful choices: a clear mood, well-placed focal points, lighting that works for both day and night, and materials suited to the weather. With modest tools and a bit of planning you can build an outdoor scene that’s safe, striking, and enjoyable for everyone. Start small, test as you go, and refine your setup each season to make it easier and more impressive every year.