Make Coastal Keepsakes: Simple Sea Glass Ornaments for Every Season
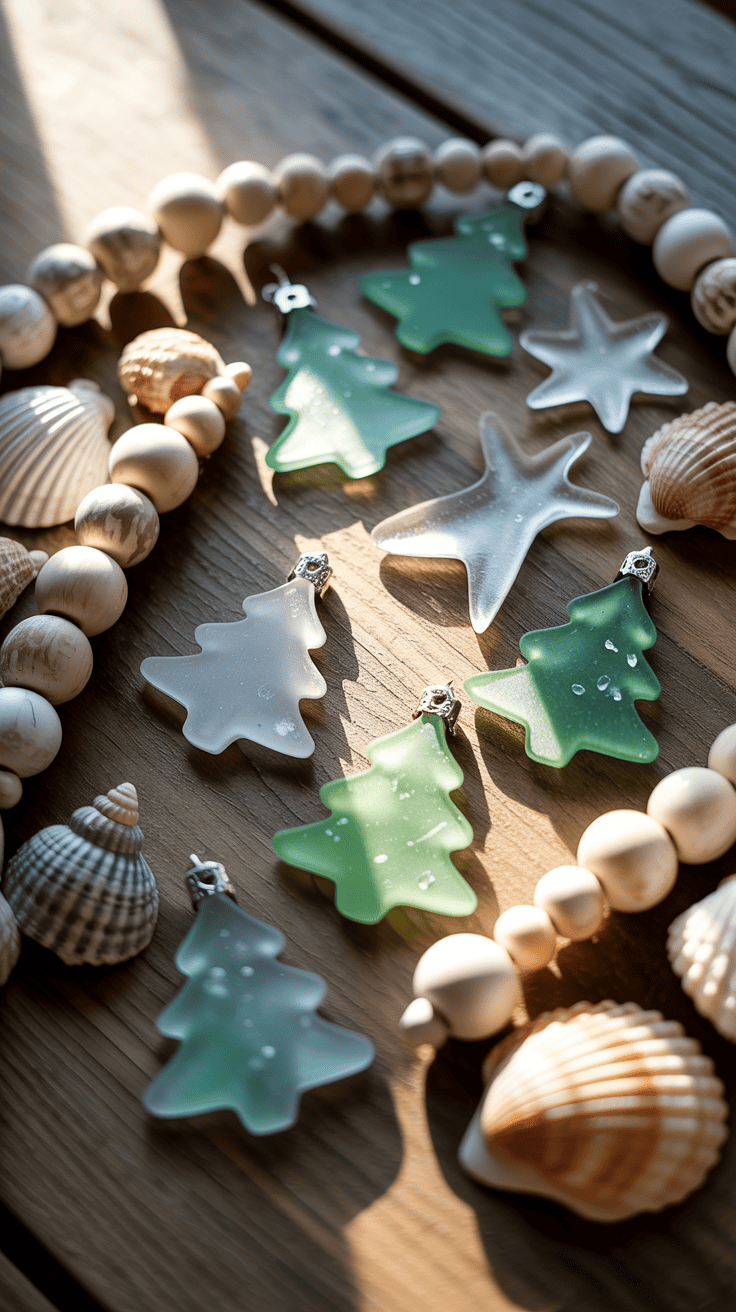
Sea glass captures a soft, weathered beauty that makes it ideal for handmade ornaments. Smooth, muted pieces in shades of aqua, green, and white bring a calming, seaside sensibility to holiday trees, year-round décor, or gift-giving occasions. With a few basic supplies and creativity, sea glass can be turned into delicate hanging charms, sun-catching mobiles, or rustic table decorations that feel both personal and naturally elegant.
This article walks you through easy, family-friendly sea glass projects and the practical steps for sourcing and preparing your pieces. You’ll find clear ideas for quick ornaments the whole family can make, guidance on cleaning and stabilizing found glass, ways to showcase or gift your finished pieces with coastal charm, and simple displays and crafts perfect for kids. Along the way we’ll also touch on what makes sea glass such a naturally appealing accent—its texture, color palette, and the sense of place it evokes—so you can design decorations that feel intentional and meaningful, whether you’re crafting with little ones or assembling a handcrafted collection to share.
1. Easy Sea Glass Ornament Projects for the Whole Family
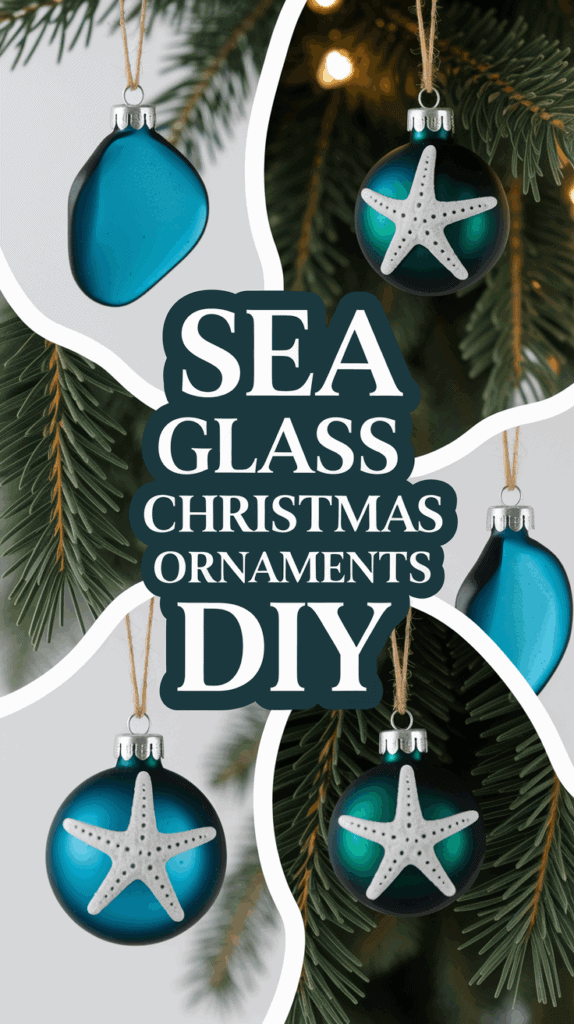
Sea glass makes simple, beautiful holiday ornaments—no advanced crafting skills required. These projects are great for turning a handful of beach finds into keepsakes: clear fillable globes that glow on the tree, flat shapes covered in frosty shards, and driftwood hangings that bring a seaside vibe to your decorations. The best part is how personal they become—kids’ color choices, tiny notes tucked inside, or a dated tag transform each piece into a memory.
Before you start, give collected sea glass a quick rinse and let it dry completely to avoid salt damage to glue or metal. Use child-safe materials for littlest hands and reserve sharp tools and hot glue for grown-ups. Keep a clear workspace and spread down paper or fabric to contain any extra sand or glitter.
Materials
- – Assorted sea glass (various sizes and colors)
- – Clear fillable ball ornaments (plastic or glass)
- – Plain wooden, ceramic, or heavy cardstock ornament blanks (stars, trees, circles)
- – Small driftwood pieces or smooth sticks
- – Strong craft glue and a hot glue gun (adult use only)
- – Natural twine, ribbon, or thin wire for hanging
- – Small shells, clean dry sand, beads, or tiny bells (optional)
- – Paint pens or acrylic paint for names/dates
- – Scissors and a small funnel or paper cone for filling clear ornaments
Steps
- 1. Clear Ball Fillers (quick, minimal mess)
– Use a small funnel or rolled paper to pour sea glass into the fillable ornament until you get a pleasing mix. – For layered looks, add one color at a time and gently tap the ornament to settle the pieces. – Slip in a tiny paper tag with a date or name if desired, replace the cap, and tie a ribbon loop for hanging.
- 2. Glued Sea Glass Shapes (great for tabletop work)
– Arrange sea glass on a blank ornament to try different compositions before attaching. – Apply strong craft glue to each piece and press firmly; use hot glue for heavier pieces only when an adult is handling it. – Once dry, outline edges with a paint pen, add glitter sparingly, and attach hanging twine or ribbon.
- 3. Driftwood and Glass Charms (rustic and tactile)
– Choose driftwood pieces about 3–6 inches long and make a small loop of twine to form a hanger. – Tie or wrap individual pieces of sea glass to the driftwood with twine or secure them with a dab of glue. – Add beads or a tiny bell for movement, finish with a hanging loop, and trim any excess twine.
These simple projects let everyone from preschoolers to grandparents customize ornaments in minutes. Display them on the tree, group several on a garland, or tuck a few into holiday gift packages for thoughtful, handmade presents.
2. Where to Find and Prepare Sea Glass for Ornaments
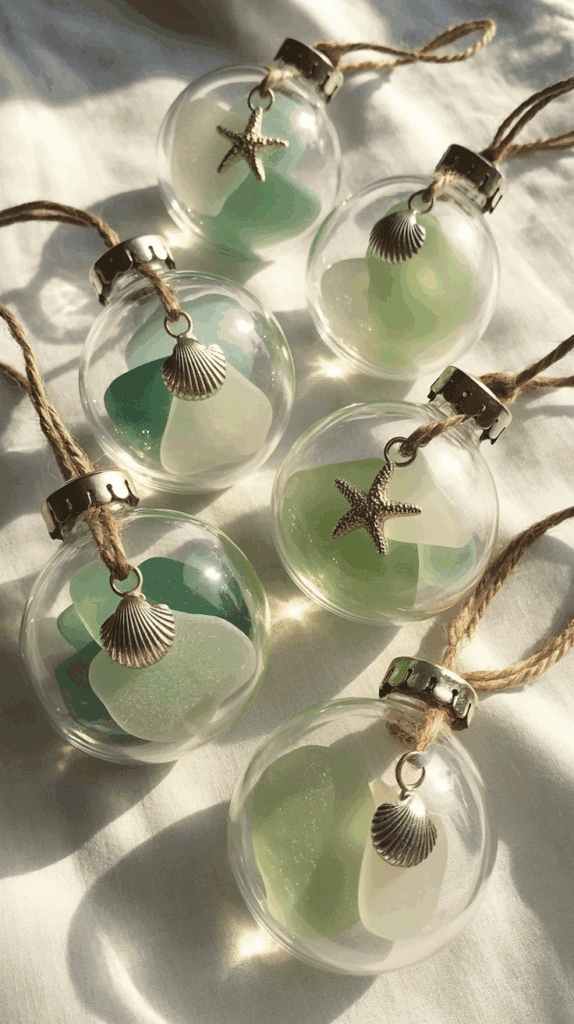
Collecting sea glass for ornaments turns ordinary walks into tiny treasure hunts and gives your holiday decor a coastal backstory. Start by making beachcombing part of a relaxed routine—go at low tide, bring a small group (kids love helping), and focus on rocky edges, river mouths, and areas where the surf tumbles objects against stones. Remember that real sea glass has a matte, frosted surface from long exposure to sand and waves; if a piece looks too glossy or uniformly shaped, it’s probably machine-tumbled craft glass rather than ocean-worn treasure.
If you don’t live near the shore, or you want to build a specific color palette quickly, buying is a practical option. Look for sellers who clearly state pieces are genuine and describe size and texture; ask for close-up photos if you can. Wherever you source your pieces, prioritize safety and ethics: wear sturdy shoes while collecting, never remove living creatures or protected items, and observe local rules about taking materials from the beach.
Materials
- – Small bucket or beach bag
- – Sturdy, closed-toe shoes and gloves
- – Small hand shovel or sand scoop
- – Mesh sieve or kitchen sifter (optional)
- – Soft toothbrush and mild dish soap
- – White vinegar (for stubborn salt/alkaline build-up)
- – Clean towels or paper towels
- – Small containers or jars for sorting and storing
Steps
- 1. Plan your visit: Aim for low tide and check local beach regulations. Storm aftermaths and rocky pockets tend to yield more glass than flat, sandy stretches.
- 2. Look carefully and move slowly: Scan areas with pebbles, seaweed lines, and between rocks. Sea glass often nestles under shells or in crevices; don’t rush scans.
- 3. Prioritize safety: Wear shoes and gloves, avoid breaking waves, and keep an eye on children. Collect a reasonable amount—leave the rest for others and for the shoreline ecosystem.
- 4. Rinse on-site if possible: A quick rinse in seawater removes surface grit so pieces don’t scratch one another. Use a bucket not a plastic bag to avoid harming wildlife.
- 5. Clean at home: Soak pieces briefly in warm water with a little dish soap, scrub gently with a toothbrush, then rinse. For stubborn mineral or salt deposits, soak 10–20 minutes in a 1:1 solution of white vinegar and water, then rinse thoroughly.
- 6. Dry and sort: Lay pieces on a towel to dry, then sort by size, color, and flatness. Quarter-sized or larger, flatter pieces are easiest to turn into ornaments.
- 7. Store thoughtfully: Keep sorted pieces in jars or small compartments to protect edges and make creating ornaments faster when the holidays arrive.
With a few simple tools and a little patience, you’ll build a beautiful sea glass stash ready to become shimmer-filled ornaments with coastal charm.
3. Showcase and Gift Sea Glass Ornaments with Coastal Charm
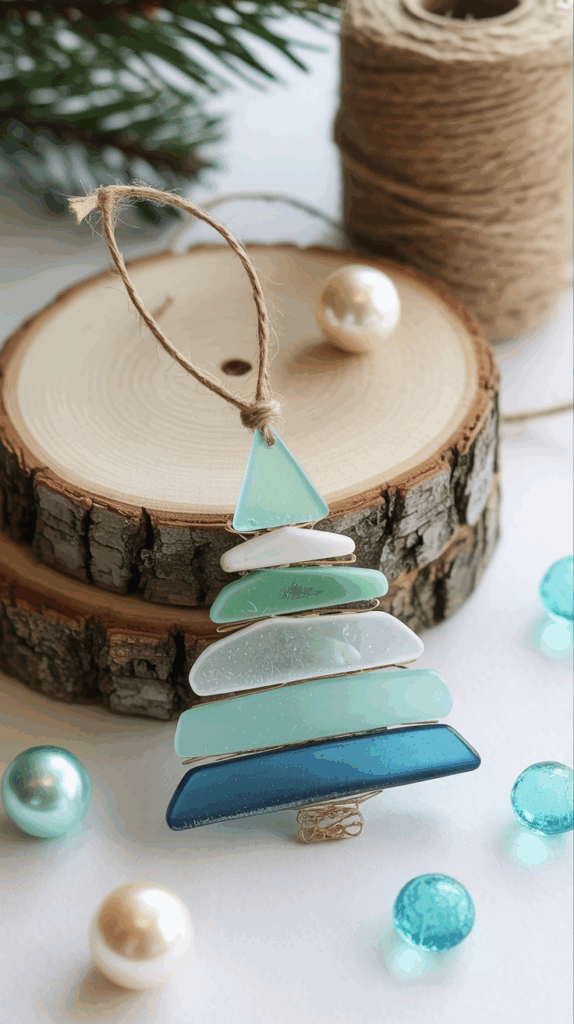
Sea glass ornaments are tiny reminders of time spent by the water—each piece holds a memory and a little bit of light. Instead of tucking them away on the tree and forgetting them until next year, give them spots around the house where they can catch sun and spark conversation.
When you gift a sea glass ornament, the wrapping can become part of the story. A simple card that names the beach or the year, a jar with a pinch of sand, or a handmade tag from a child turns a pretty bauble into a treasured keepsake that people will hang up and remember.
Materials
- – Assorted sea glass ornaments (varied shapes and colors)
- – Clear ribbon, natural twine, and thin fishing line
- – Suction cup hooks and small ornament hooks or eye pins
- – Small piece of driftwood or a wooden dowel
- – Clear glass bowl or shallow tray
- – Faux snow, clean sand, or decorative pebbles
- – Mason jars, small gift boxes, or cellophane bags
- – Tissue paper, gift tags, and a fine-tip pen
- – Hot glue gun or strong craft glue (optional)
- – Scissors and a needle (for threading)
Steps
- 1. Window hangers: Attach suction cup hooks to a clean window. Tie a short length of ribbon or fishing line to each ornament and adjust lengths so pieces hang at staggered heights. Space them evenly for a sun-catching display.
- 2. Simple garland: Thread fishing line or twine through eye pins or knot around ornament tops. Slide on wooden beads between ornaments for spacing, then drape across a mantel or banister and secure the ends with clear tape or small nails.
- 3. Centerpiece bowl: Fill a clear bowl or tray with faux snow, sand, or pebbles. Nestle ornaments among the filler and add a pillar candle or battery-operated lights in the center for a soft, coastal glow.
- 4. Driftwood mobile: Tie varying lengths of twine to a piece of driftwood, attaching ornaments at the ends. Balance the driftwood by finding its midpoint and hang with a loop of twine—place over a reading nook or porch.
- 5. Mason jar gift: Add a teaspoon of sand and a tiny shell to the jar, place the ornament inside, then screw on the lid and tie a tag to the rim with a short note about where it was found.
- 6. Keepsake box: Line a small box with tissue or shredded paper, nestle the ornament inside, and include a handwritten card with the date and location. Seal with ribbon.
- 7. Gift toppers and place settings: Tie an ornament to a wrapped gift instead of a bow, or loop a ribbon through an ornament and lay it on a napkin with a name tag for each guest.
- 8. Start a tradition: Label a tag with the year and a sentence about that season’s beach trip. Give or hang one ornament each year to build a family collection that tells your story over time.
4. Kid-Friendly Coastal Christmas: Simple Sea Glass Ornaments and Displays
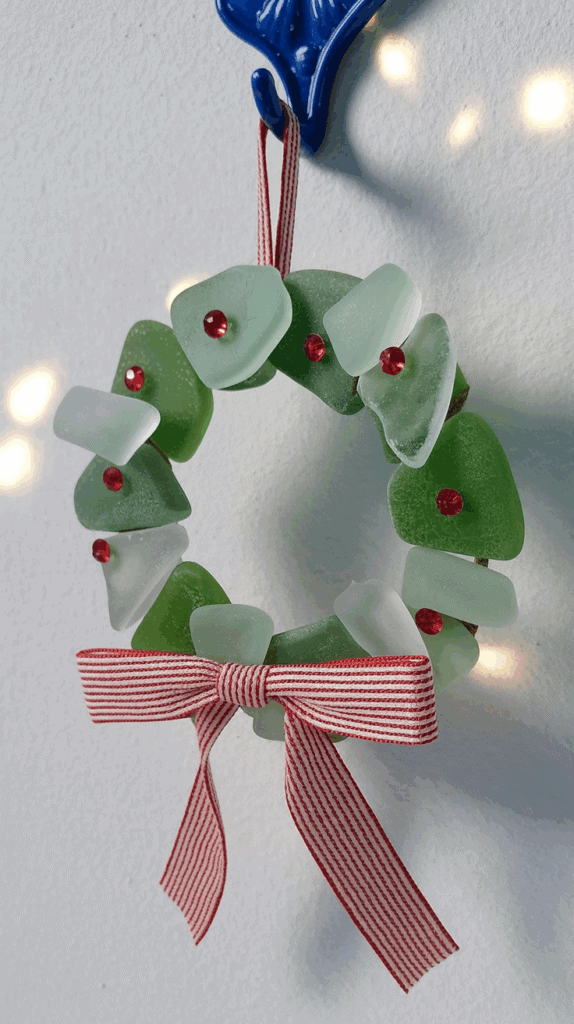
Bring a little shoreline magic indoors with projects that are easy, safe, and fun for children. A coastal holiday is less about perfection and more about playful touches—glittering bits of sea glass, shells, and soft blues tucked into everyday decorations. These small, hands-on activities help kids feel involved and give them keepsakes to treasure or gift to relatives.
Keep the pace relaxed: set up one station at a time, protect surfaces, and let children choose colors and textures. Supervise any sharp tools or hot glue, and offer alternatives (like school glue or double-sided tape) for younger hands. The goal is to make memories, not a pristine Pinterest photo—expect a little mess and a lot of giggles.
Materials
- – Clear, fillable plastic or glass ornament bulbs or small mason jars with lids
- – Clean beach glass or polished craft glass pieces (or colored beads for inland versions)
- – Small shells, tiny pebbles, and fine craft sand
- – Narrow ribbon, twine, or ornament hooks
- – Small gift tags or kraft cardstock and a marker
- – White glue or clear-drying craft glue; optional: hot glue (adult use only)
- – Funnel or folded paper to help fill ornaments/jars
- – Damp wipes or a small tray to contain spillover
- – Scissors (adult supervised for younger children)
Steps
- 1. Prep your area: lay down newspaper or a washable tablecloth and place wipes nearby. Sort materials into small bowls so kids can pick easily.
- 2. For fillable ornaments: remove the top cap and, using a funnel or folded paper, let children drop a base layer of sand or tiny pebbles into the bulb.
- 3. Add sea glass and shells in layers; encourage kids to tell a short story about each piece as they place it (where it might have come from or who it’s for).
- 4. Replace the top cap and secure with a dab of hot glue if needed (adult applies); wipe any fingerprints with a soft cloth.
- 5. Thread ribbon or twine through the ornament loop and tie a bow. Attach a small tag with the child’s name and the year.
- 6. For mini beach jars: fill jars in the same layered way, then seal the lid. Decorate the lid with twine and a glued-on shell or tag.
- 7. To make a simple garland: tie ornaments and jars at even intervals along a length of twine and hang across a mantel, window, or stair rail—out of reach of very small children.
- 8. Clean up together: make tidy-up part of the activity so kids learn responsibility and you’ll be ready for the next cozy, coastal moment.
5. Why Sea Glass Is a Naturally Charming Holiday Accent
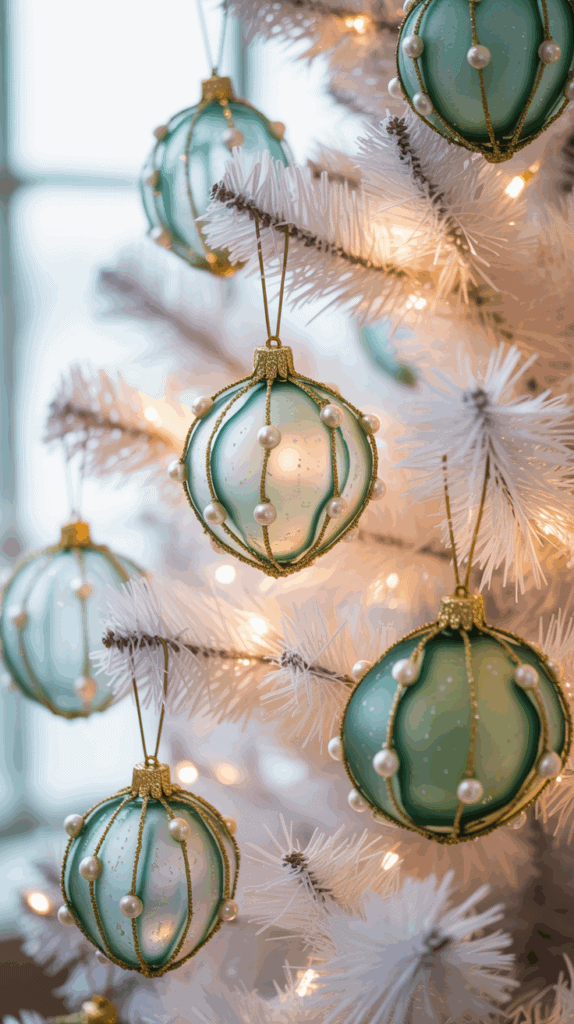
Sea glass brings a quiet kind of sparkle to holiday decor that feels both timeless and effortless. Each frosted shard has been softened by the sea and time, so when light hits it on a tree or mantel it glows with a muted, coastal radiance you don’t get from mass-produced ornaments. That subtle shimmer makes a room feel breezy and calm while still festive.
Beyond looks, sea glass is incredibly versatile and family-friendly. Mix colors to echo traditional holiday hues or keep a serene palette of blues and whites for a winter-by-the-sea vibe. Pieces are sturdy enough to handle everyday handling and can be repurposed year after year—each one carries a memory of a beach walk, a tide pool, or a family outing, which makes them meaningful additions as much as they are decorative ones.
Materials
- – Assorted sea glass (various sizes and colors)
- – Clear fillable glass or plastic ornaments (or small clear jars)
- – Small funnel or paper cone
- – Thin twine, ribbon, or ornament hooks
- – Small charms (seashells, starfish, metal tags) or hot-glueable embellishments
- – Clear craft glue or a low-temperature hot glue gun
- – Fine sand or small beads (optional, for layering)
- – Mini battery-powered LED lights (optional)
Steps
- 1. Sort your sea glass by color and size so you can design a balanced look before filling any ornament.
- 2. If using a funnel, place it into the ornament opening (or make a paper cone) to avoid spills.
- 3. Add a thin layer of fine sand or small beads if you want a beachy base—this helps hold glass pieces in place.
- 4. Use the funnel to fill the ornament about two-thirds full with sea glass, alternating colors for a layered effect.
- 5. Tuck a tiny charm or seashell among the pieces before sealing for a personal touch.
- 6. Secure the ornament top; if needed, add a dab of clear craft glue to keep it closed.
- 7. Thread twine or ribbon through the hanger loop and tie a neat bow or knot; trim ends to the desired length.
- 8. For illuminated ornaments, insert a tiny battery LED light into the top so it sits above the glass and casts a soft glow.
- 9. Hang on the tree, in a window, or attach several to a simple driftwood branch for a coastal garland.
- 10. Store in tissue or a divided box between seasons; wipe glass clean with a damp cloth rather than soaking to preserve the frosted finish.
Simple, durable, and full of personality, sea glass ornaments bring both coastal calm and holiday charm to your home.
Final Thoughts
Sea glass ornaments are an easy, adaptable craft that blend low-cost materials with high sentimental value. They invite collaborative making, let you celebrate a coastal aesthetic without fuss, and produce keepsakes that can be displayed or gifted in thoughtful ways. Whether you make a string of tiny glass charms, a driftwood-and-glass mobile, or a set of kid-painted sea glass stars, the results are always personal and pleasing.
Start small—collect and sort pieces, try one simple technique, and build from there. With a little practice you’ll have an assortment of charming coastal decorations that bring texture, color, and a gentle seaside mood to your home and celebrations.