Intentional Tree Styling: A Practical Framework for a Thoughtful Christmas Tree
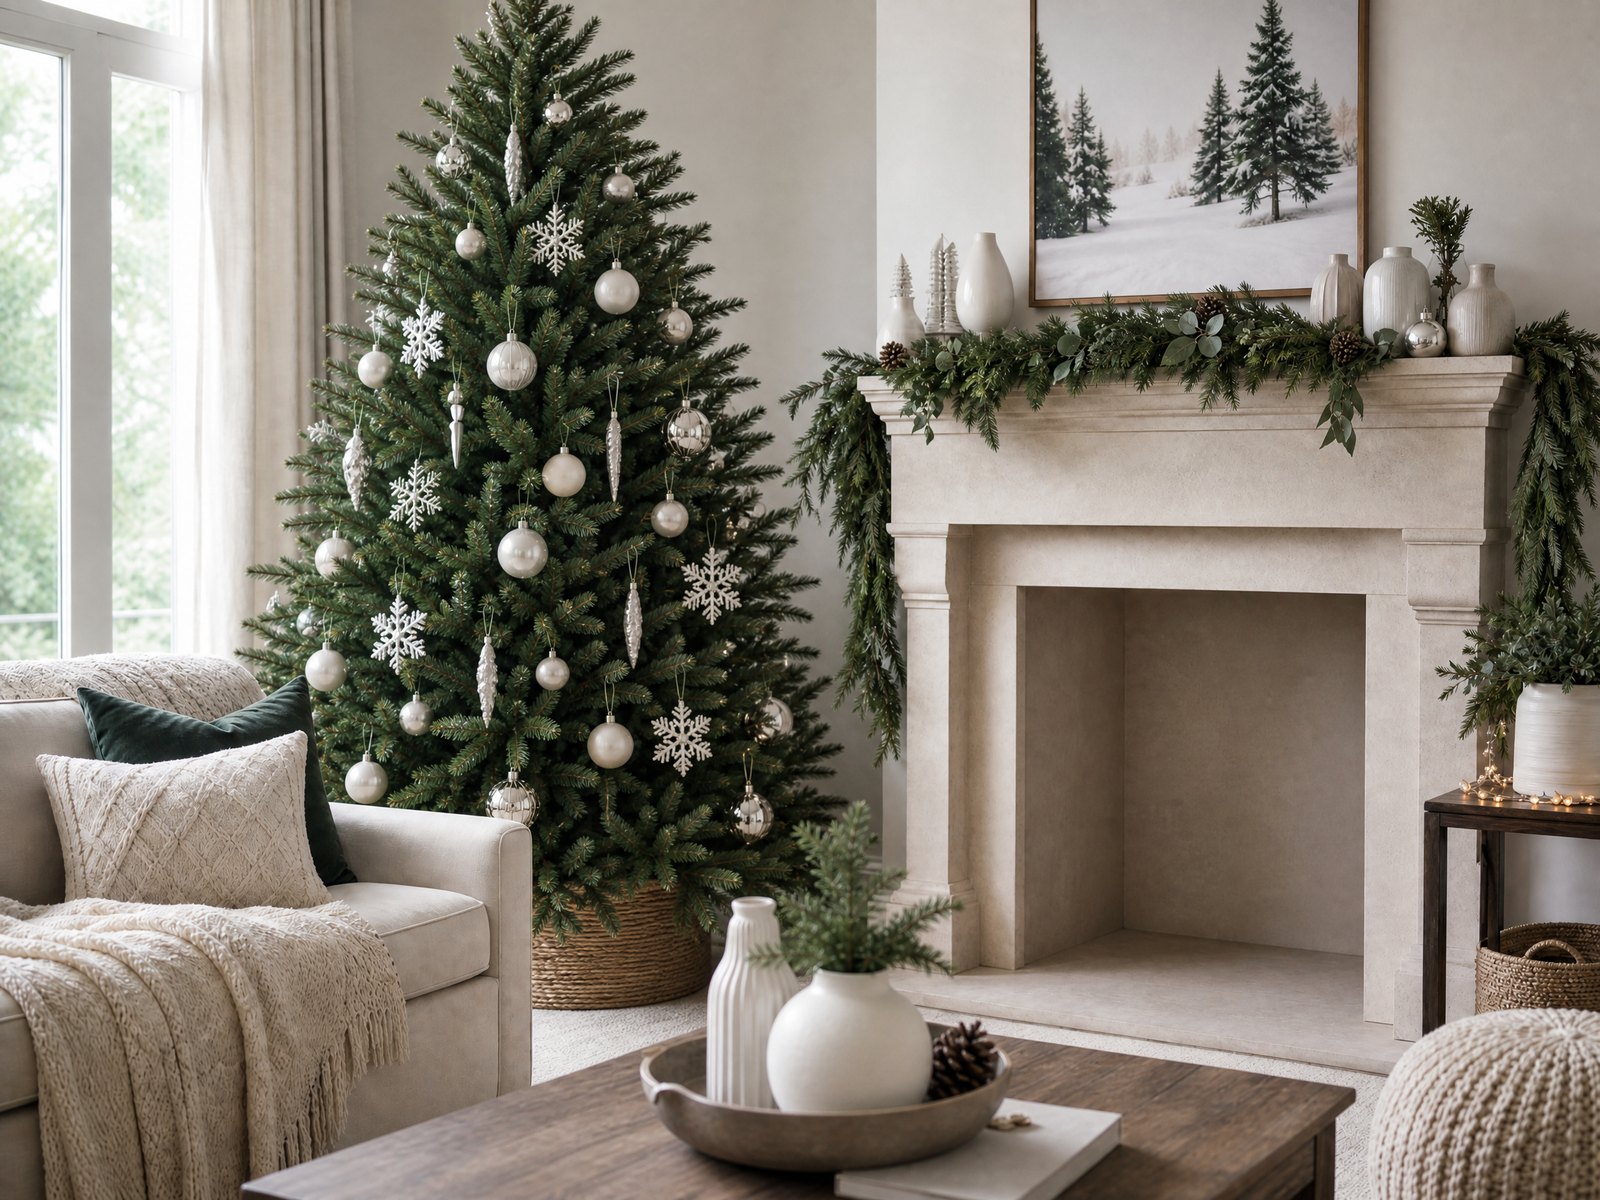
A holiday tree should feel like a deliberate choice rather than a last-minute scramble. Approaching your tree with intention—deciding on a visual direction, arranging ornaments with purpose, and planning for both installation and takedown—creates a calmer decorating experience and a more cohesive look that lasts through the season.
This guide breaks the process into eight manageable steps. Each section gives practical techniques you can apply to any tree size or style so the end result looks balanced, meaningful, and effortless rather than cluttered or chaotic.
1. Choose a clear visual direction
Start by choosing a single overarching idea that will guide every decision: a mood, a color story, or a texture focus. Think of this as the tree’s personality—cozy and rustic, crisp and modern, or warm and layered. Limiting yourself to one clear direction prevents the tree from feeling like a collection of leftovers and helps every addition feel intentional.
Once you have that direction, translate it into a few simple rules: a palette of two to three core colors, two dominant textures (for example, matte and metallic), and a maximum of one playful accent. Keep these rules visible—on a note in your phone or a small checklist—so you can refer back to them as you shop, arrange, and tweak the tree.
2. Create an ornament hierarchy

Establish three tiers of ornaments so the tree has visual depth: large anchors, medium fills, and small details. Large ornaments act as focal points and carry the eye; medium pieces knit the composition together; small items add sparkle and personality. This hierarchy keeps your placement purposeful rather than random.
Checklist:
- Large anchors: 8–12 per medium tree, placed evenly around the tree and at different depths.
- Medium fillers: twice as many as large anchors to weave continuity.
- Small details: a scattering for texture and finishing touches. Add them last to fill gaps and create visual micro-interest.
3. Balance scale and finish

Match ornament size and surface finish to your tree’s scale. A tall, full tree can handle oversized pieces; a slim tree benefits from more modest-sized ornaments clustered in groups to create impact. Varying sizes within your hierarchy avoids a monotonous look and helps produce a sculptural silhouette.
Finish matters as much as size. Mix reflective and matte surfaces to catch light without becoming overwhelming. A typical balance is roughly one reflective piece for every two matte or textured ones; reflective finishes provide sparkle while mattes offer visual rest.
4. Place lights first for a luminous foundation

Always string your lights before adding ornaments. Start at the trunk and wrap lights inward and outward on each major branch tier so the glow comes from within the tree rather than just the surface. For a layered effect, weave lights deeper into the boughs and also along the tips for dimension.
Checklist:
- Use multiple shorter strands rather than one long one to control brightness in sections.
- Aim for even coverage by stepping back and adjusting as you go.
- Test lights turned on as you place them to reveal dark spots that need more attention.
5. Control ribbon and garland with intention

Treat ribbon or garland as an architectural element, not an afterthought. Decide whether it will zigzag across the tree, spiral in a single direction, or form vertical cascades; consistency matters. Keep the width proportional to the tree—narrow ribbon for slim trees, broader fabric for wider trees—and use fewer, longer runs rather than many small pieces to maintain a clean rhythm.
Checklist:
- Choose one style of placement (spiral, drop, or weave) and stick with it.
- Use three to five major runs on a medium-sized tree rather than dozens of short pieces.
- Tuck the ribbon into the branches to anchor it and avoid it floating on the surface.
6. Add a single meaningful accent

Select one standout item—an heirloom ornament, a handcrafted piece, or a bespoke topper—that carries personal significance and use it sparingly so it truly reads as special. Place it where it will be seen from common sightlines but not hidden among many objects; let it breathe visually. The restraint around its placement elevates the piece and the whole tree.
Keep the accent as the tree’s narrative note. Use the ornament hierarchy and color rules you set earlier to ensure the meaningful piece complements rather than clashes with the rest of the decorations.
7. Make the base feel intentional
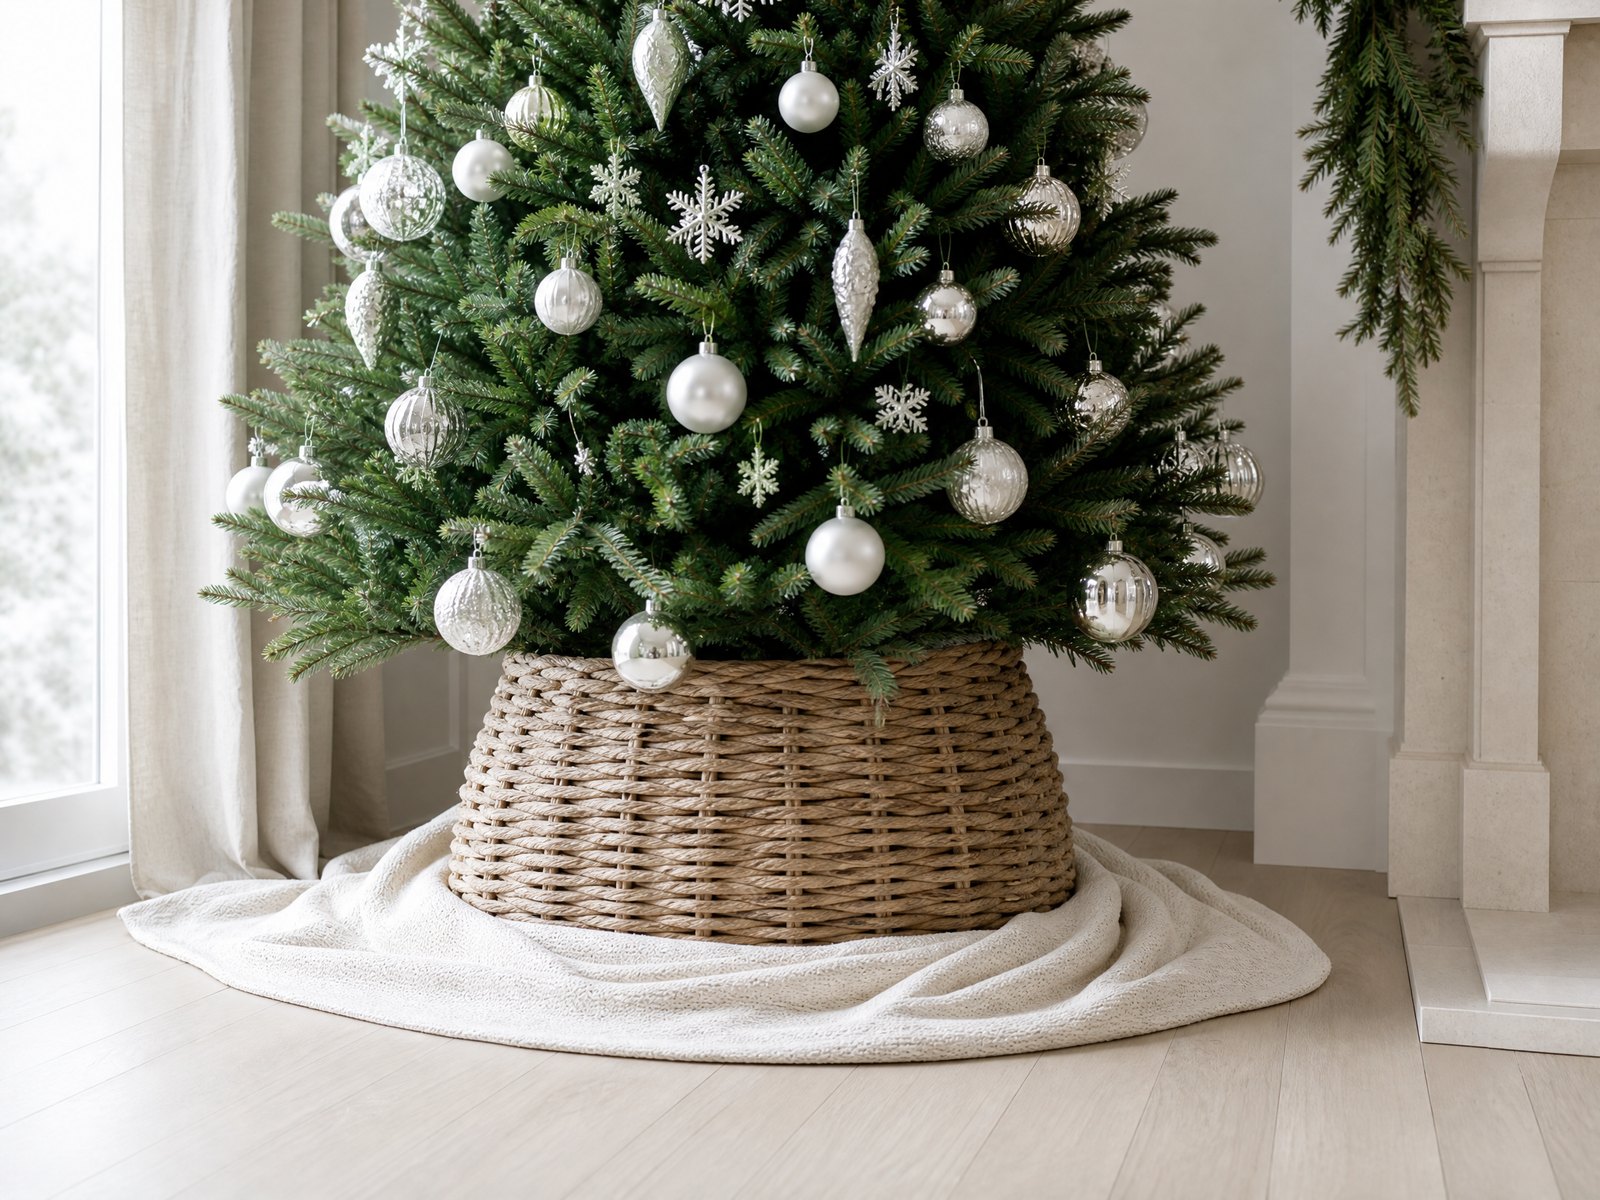
The tree’s base often reveals how carefully the rest was considered. Conceal the stand with a simple fabric wrap, a tailored basket, or a low-profile collar that matches your visual direction. Avoid piling unrelated items around the trunk; instead, create a neat vignette with one or two coordinated elements, such as a textured skirt plus a small decorative box that complements the palette.
Checklist:
- Keep base decor to two complementary pieces maximum.
- Choose materials that echo the tree’s textures (woven, metallic, or soft fabric).
- Ensure easy access to cords and switches when hiding plug points so safety isn’t compromised.
8. Plan an organized pack-down
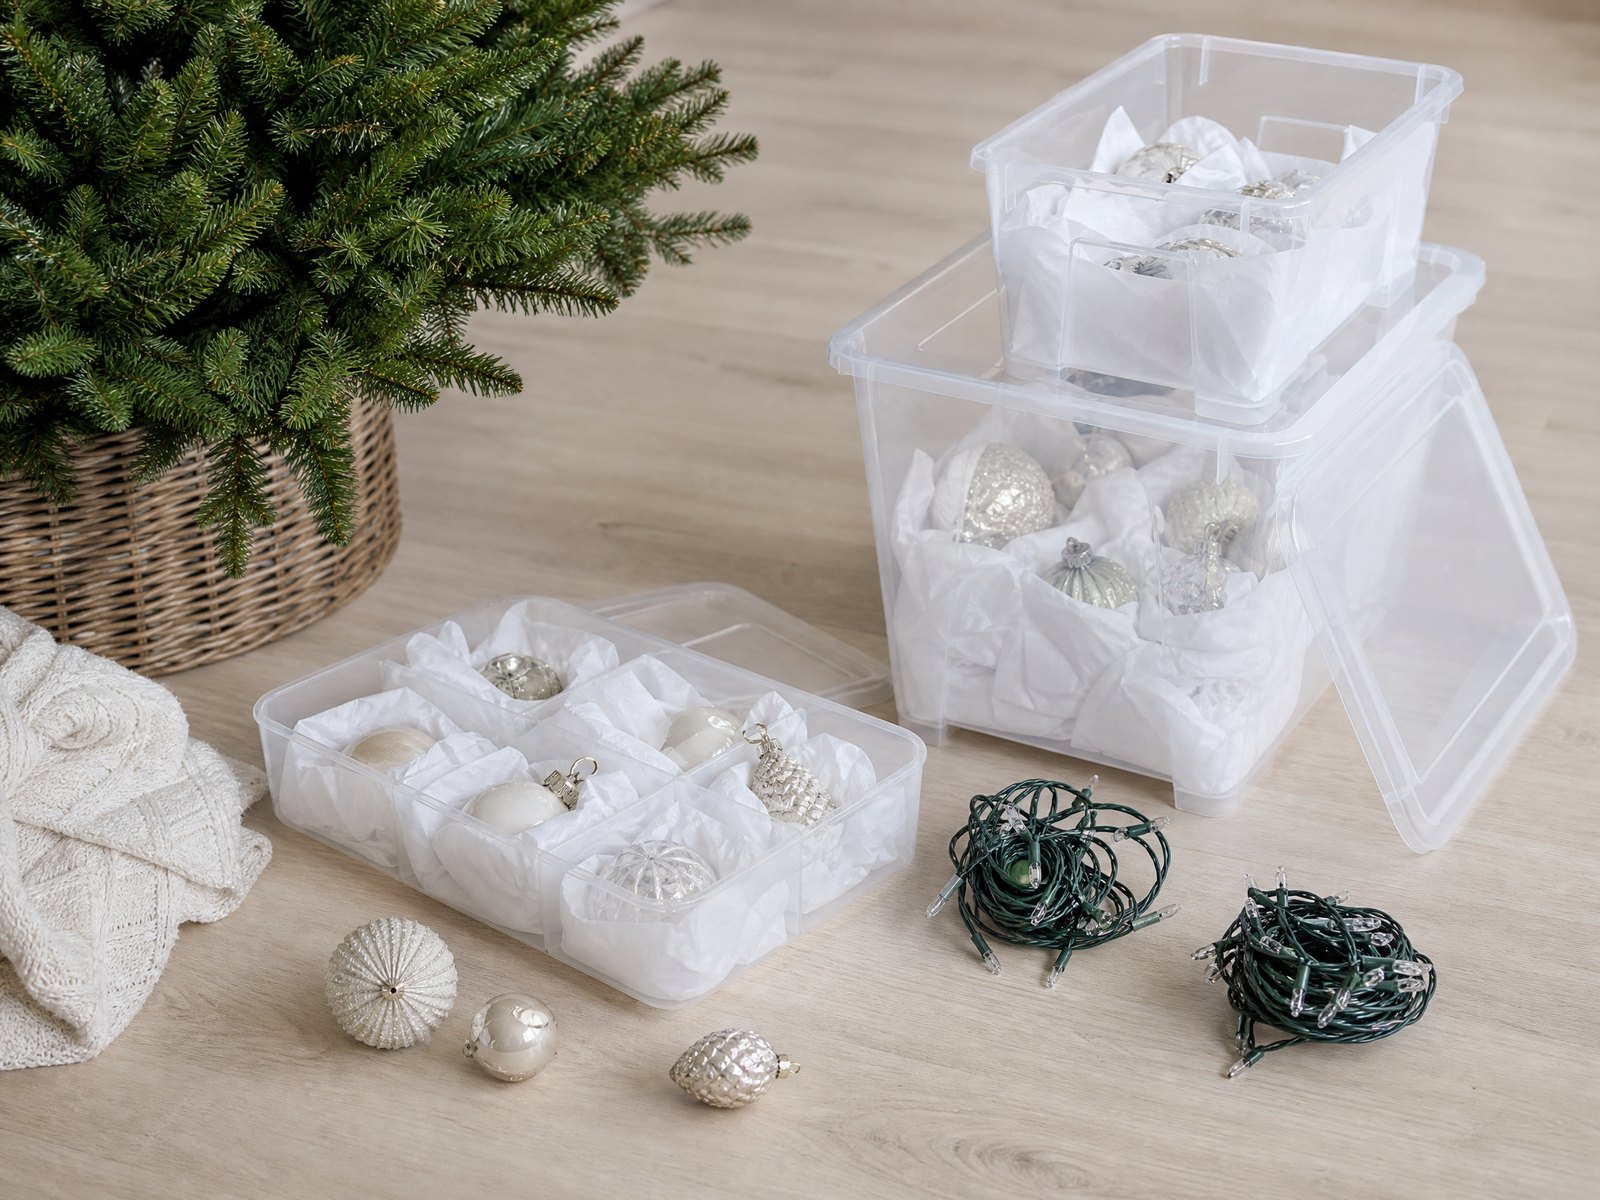
Think about dismantling as you decorate: place fragile ornaments in separate compartments, wrap similarly finished items together, and label boxes by category (large anchors, medium fillers, small details). Photograph the finished tree from a couple of angles to use as a visual reference for re-creating the layout next year—this saves time and preserves successful placement decisions.
Checklist:
- Use clear, labeled storage bins or sectional boxes for ornaments.
- Wrap delicate pieces individually; group sturdy items together.
- Coil lights loosely around a spool or cardboard to prevent tangling and label each strand’s length or tree section for quicker reinstallation.
Final Thoughts
Styling a tree with intention starts before you bring it into the room and continues through the final packing away. When you make each choice—from lights to base—based on a simple set of rules, the result is a composed and enduring holiday focal point rather than a chaotic display.
Treat the process like setting a table or arranging a room: one clear direction, disciplined layering, and a plan for both install and removal. Those small, intentional steps make decorating less stressful and more satisfying year after year.