Winter White, Reimagined: 11 Christmas Nail Looks That Feel Festive Without Feeling Fussy
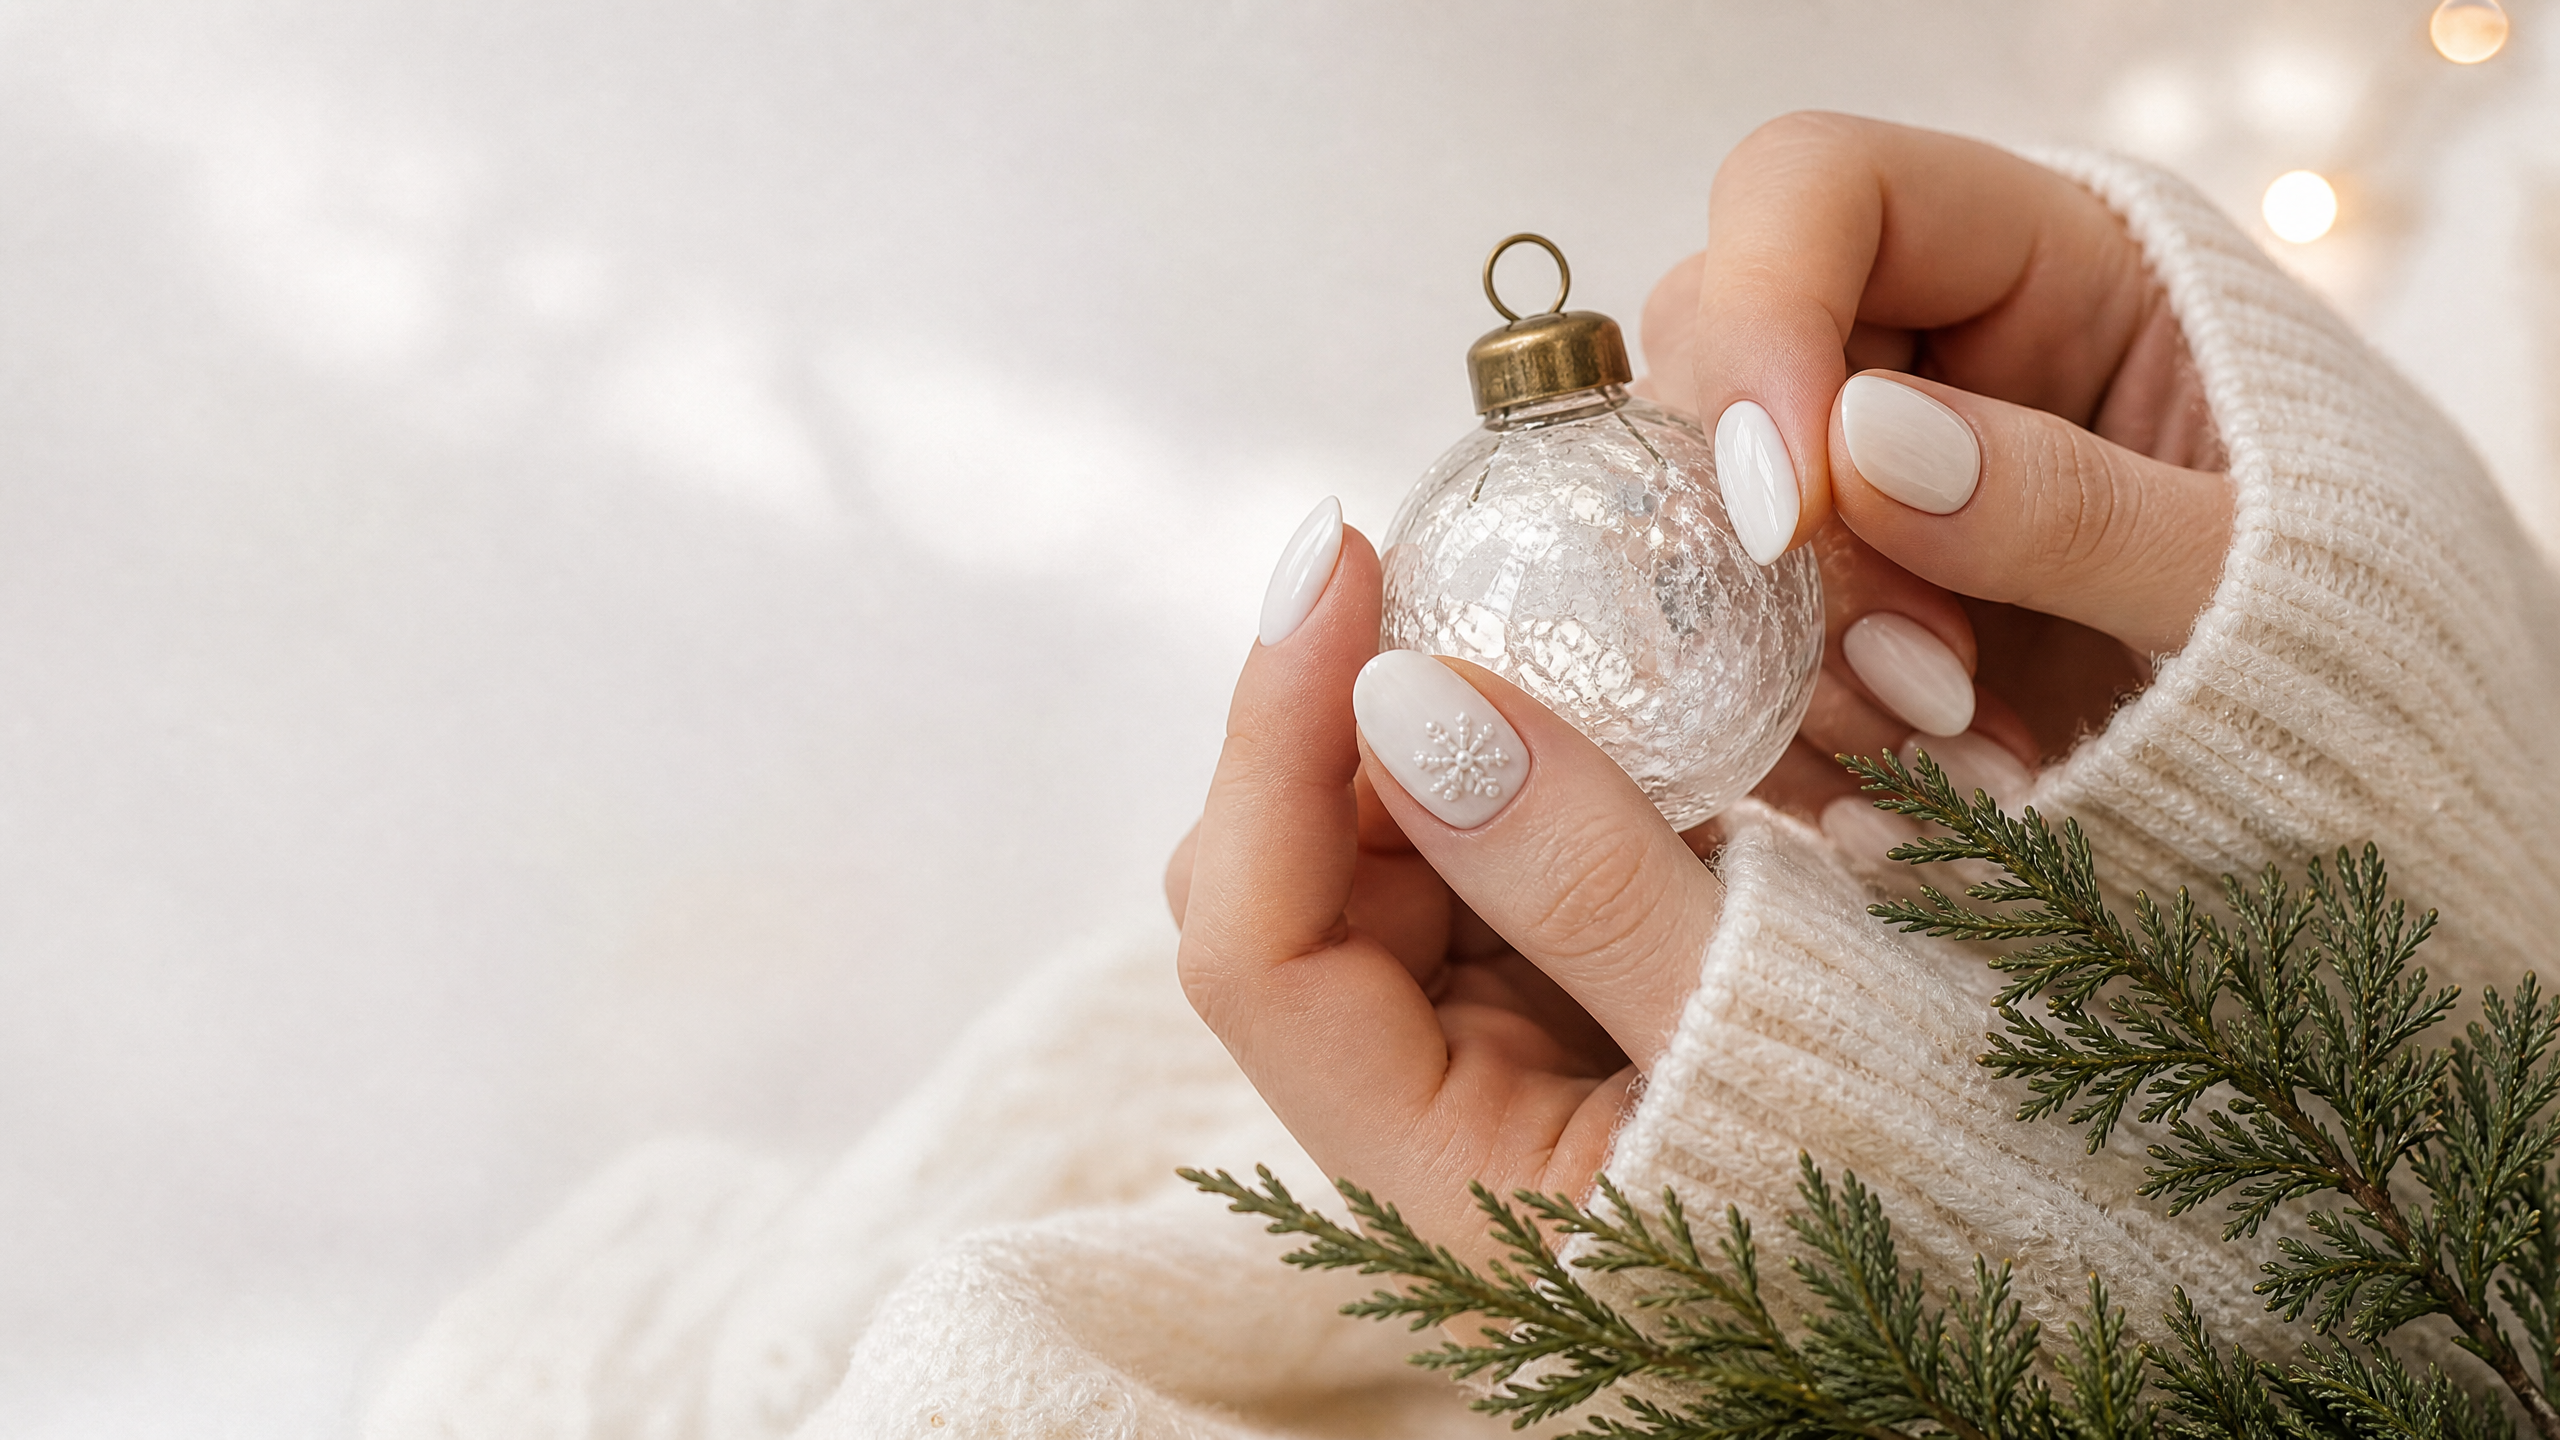
The best holiday manicure does more than match a party dress. It adds a small, cheerful detail to ordinary December moments: wrapping gifts at the kitchen table, holding a warm mug, or reaching for the last cookie on a dessert tray. White is especially lovely for that role because it can look crisp, soft, glamorous, playful, or nearly invisible depending on the finish and the accents around it.
This season, think beyond a full coat of bright polish. A winter-white manicure can be built from translucent layers, creamy neutrals, reflective details, tiny drawings, or one carefully chosen accent nail. The ideas below are organized by mood rather than by a parade of similar designs, so it is easier to find a look that suits your plans, your nail length, and the amount of time you want to spend at the salon or vanity.
Before You Choose a Design, Choose Your Mood
A little direction makes nail inspiration much easier to use. If your calendar is filled with work events and family gatherings, a sheer or neutral base with restrained detail will travel well. If you are dressing up for a late-night celebration, reflective finishes and dimensional accents can carry more visual impact. For a cozy weekend at home, a tiny illustration or soft matte texture may feel more personal than a formal sparkle.
It also helps to decide where you want the eye to land. A design can be concentrated at the tips, near the cuticles, on one or two accent nails, or across the entire set. Keeping one area quiet gives the decorative details room to look intentional.
1. The Polished Everyday Set
Sheer snow-white wash
Ask for a translucent white layer that lets a hint of the natural nail show through. The result is clean and luminous rather than stark, and it works especially well when you want your manicure to look fresh for several different occasions. Add a high-shine topcoat, or leave the surface softly satin for a more understated finish.
This is also a forgiving option for a short, practical manicure. The color does not need a long canvas, and the soft edge makes small amounts of growth less conspicuous than a sharply contrasting design.
Creamy tips on a neutral base
For a gentler alternative to classic bright-white tips, pair an ivory edge with a beige, blush, or milky-pink base. Keep the tip narrow on shorter nails and slightly fuller on longer shapes. The contrast is subtle enough for daytime but still gives the hands a finished holiday look.
A single micro-shimmer layer over the base can make the manicure catch the light without turning it into a glitter set. Choose a fine, even shimmer rather than large particles if you want the design to remain office-friendly.
White-on-white French detail
Use two whites with different finishes: perhaps a glossy base and a satin tip, or a sheer base with opaque curved lines. From a distance, the design reads as minimalist; up close, the texture difference gives it depth. This is a thoughtful choice for anyone who likes nail art that reveals itself gradually.
2. Snow-Day Details
Scattered snowfall
Create a quiet snowfall effect with dots of varied sizes over a clear or pale base. The dots do not need to be perfectly uniform. In fact, a loose arrangement feels more like falling snow than a precise pattern. Concentrate a few larger dots near the tips and let smaller ones drift toward the middle of the nail.
For balance, leave at least one section of each nail open. Negative space keeps the set airy and prevents a delicate idea from becoming visually crowded.
One snowflake, not ten
A single snowflake on each ring finger or thumb can provide a winter reference without making every nail compete for attention. Use a fine brush or a stamping method for the small lines, and place the motif over a sheer pink, pale gray, or creamy white background.
If you are doing the manicure yourself, simplify the snowflake into a few clean intersecting lines rather than trying to reproduce every branch. A recognizable silhouette will look more polished than a crowded miniature drawing.
Icy halo accents
For a frosty effect, place a veil of pearly powder or fine silver shimmer around the outer edge of a white design. The center can remain plain, allowing the glow to frame the nail. This idea is particularly pretty on an almond or oval shape, where the curved perimeter naturally emphasizes the halo.
Use reflective materials sparingly. A little light-catching detail is enough to suggest ice; too much can obscure the clean white foundation.
3. Playful Holiday Signals
Ribbon-tip manicure
Turn the tip of the nail into a tiny present by painting a narrow vertical line and a small bow over a neutral or white base. Keep the ribbon on just two or three nails, using the remaining nails for simple tips. Red is the obvious holiday choice, but deep green, cranberry, metallic gold, or even a soft blue can make the idea feel less expected.
The key is scale. Small graphic lines look chic when they have breathing room, while oversized bows can quickly dominate a short nail.
Peppermint accent lines
Instead of covering every nail with candy stripes, use one diagonal stripe on each accent nail or draw a slim red-and-white swirl at the sidewall. The asymmetry makes the design feel modern and keeps the color story controlled.
A glossy finish suits the candy-inspired idea, but a matte topcoat can make the same red-and-white pattern look more graphic and contemporary. Decide on the finish after considering the rest of your accessories; a matte set can be a welcome counterpoint to shiny jewelry.
Tiny tree on a quiet canvas
A miniature evergreen can be the only illustration in an otherwise neutral set. Paint it as a simple stack of green triangles, add a small dot at the top, and place it on a white or transparent accent nail. The surrounding nails can be creamy solid color or delicate French tips.
This design is easy to personalize. A metallic dot suggests a star, while a few colored specks suggest ornaments. Keep the tree flat and graphic if you want a clean look, or add a raised detail for a more tactile finish.
Gingerbread-inspired neutrals
Warm brown, cinnamon, and cream create a softer holiday palette than traditional red and green. Try a white base with a small gingerbread-colored heart, a simple cookie-like outline, or tiny dots arranged like sprinkles. The result feels nostalgic without requiring a literal character on every nail.
Because the palette is muted, this look pairs naturally with sweaters, tan boots, and warm-toned winter clothing. It is a good choice when bright seasonal colors feel too loud.
4. Evening Sparkle and Texture
Silver crescent tips
Replace a standard French tip with a slim silver crescent that follows the curve of the nail. Under a white or translucent base, the metallic edge resembles a ribbon of light. This design can be delicate on short nails or widened slightly for a more dramatic effect on longer lengths.
For a cohesive set, repeat the crescent shape rather than adding several unrelated embellishments. Consistency makes a simple metallic detail look considered.
White chrome with one gem cluster
A pearly or chrome-like white finish already makes a statement, so reserve crystals or pearl details for one or two nails. Place a small cluster near the base, where it can resemble a piece of jewelry, and secure it with a suitable top layer according to the product or salon method being used.
Dimensional accents may catch on clothing or hair, particularly if they are large or placed near the edge. A low-profile arrangement is easier to wear through a busy holiday week.
Matte sweater texture
A raised knit-inspired pattern over a white or oatmeal base brings a cozy texture to the manicure. Rather than decorating every nail, use the pattern on two fingers and keep the rest smooth. The contrast between velvety texture and glossy polish gives the set interest without requiring additional color.
This is one of the more appointment-oriented options because the raised lines benefit from careful application. If you are recreating it at home, a simple vertical rib or small crosshatch is more achievable than a complicated cable-knit pattern.
Soft gold and white marble
A milky white base with a few irregular taupe or gray veins can suggest stone without looking heavy. Add very fine gold lines only where the veins naturally break, treating the metallic as an accent rather than a border. The combination feels festive while remaining wearable after the holidays.
Marble looks best when each nail is slightly different. Avoid trying to make every vein match; variation is what gives the design its organic quality.
How to Make the Look Work for Your Nails
The same idea can read very differently depending on length and shape. Short, rounded nails tend to suit tiny dots, narrow tips, and small side details. Medium almond or oval nails offer room for a snowflake, tree, or crescent while retaining a soft silhouette. Longer square or coffin shapes can support bolder graphics, but they may need larger spacing so the artwork does not feel compressed.
Your base color matters, too. A cool, crisp white creates a high-contrast winter effect, whereas ivory and cream feel warmer. Sheer pink gives sparkle and line art a delicate background, while beige and taupe make red, brown, and gold accents look especially rich. If you are unsure, ask for a sample swatch beside your skin tone before committing to the full set.
A Simple At-Home Application Plan
Start with clean, dry nails and gently tidy the shape. Apply a thin base layer, allowing it to settle before adding color. Two light coats generally give a more even finish than one thick coat, especially with opaque white polish, which can show brush marks when overworked.
Next, add your design in stages. Paint the base first, then place the largest decorative element, and finish with the smallest dots, lines, or shimmer. Give each layer enough time to set so the details do not drag into one another. A fine detailing brush, dotting tool, and clean-up brush can cover many simple designs without a large collection of supplies.
Finish by sealing the free edge and the surface with topcoat. If you are using textured or dimensional elements, follow the instructions for that product rather than flooding the design with a thick layer. Keep a small brush and remover nearby for correcting stray marks while the polish is still workable.
Keeping White Polish Looking Fresh
White and pale shades make surface texture and small smudges easier to notice, so gentle maintenance pays off. Apply cuticle oil when the surrounding skin feels dry, wear gloves for chores that involve water or cleaning products, and avoid using the tips of your nails as tools. If one nail chips, repairing that single detail is usually easier than repeatedly adding thick layers to the whole set.
When the manicure is ready to come off, remove it patiently and use the removal method appropriate for the formula. Peeling or scraping polish can leave the nail surface rough. A clean, well-prepped canvas will make the next winter design look better and feel more comfortable.
The Takeaway
A white Christmas manicure does not have to be elaborate to feel special. Begin with the atmosphere you want—quiet snowfall, playful wrapping paper, cozy knitwear, or evening sparkle—and choose one or two details that support it. A sheer wash, a single snowflake, a ribbon accent, or a slim metallic crescent can be enough to make your everyday look feel ready for the season.
The most wearable holiday nail art leaves room for your own style. Keep the base comfortable, scale the details to your nail shape, and let repetition create harmony. Whether you choose a nearly bare winter-white finish or a carefully jeweled accent set, the goal is the same: a manicure that brings a little brightness to everything you do in December.