Choose a Cute Halloween Manicure by Mood and Real-Life Wearability
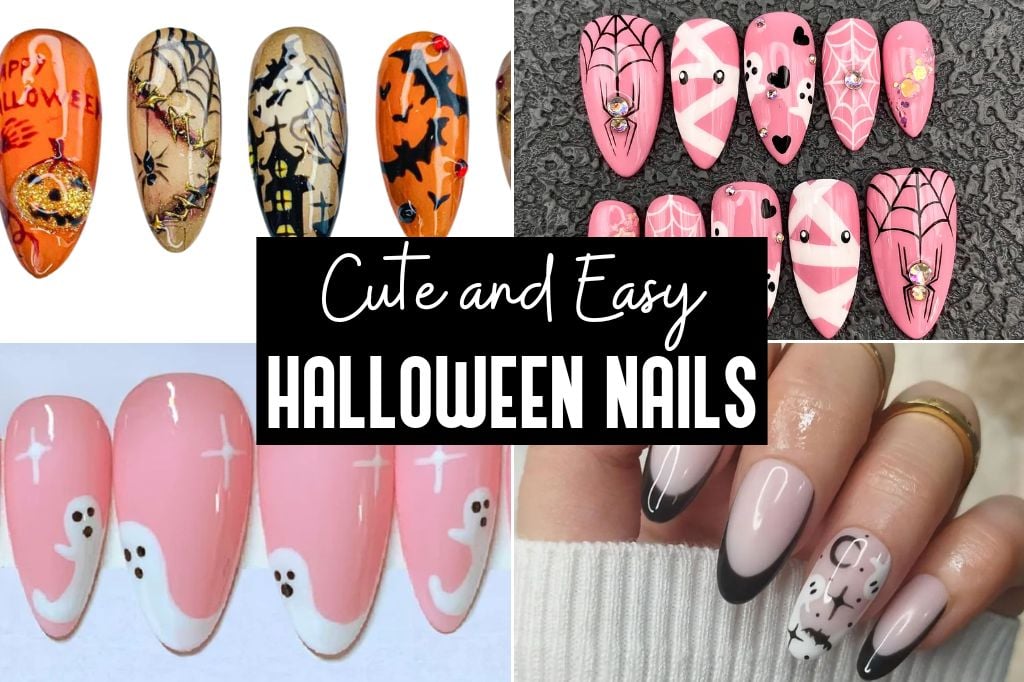
Halloween manicures can be as subtle or theatrical as you like, but choosing a style that fits your mood and daily life makes the season more fun—and more wearable. Instead of scrolling through endless designs, think about the vibe you want to give: sweet and playful, moody and dramatic, cozy and understated, or whimsical and costume-ready. That mental filter will help you find a look you’ll actually enjoy wearing throughout October.
This guide groups manicure ideas by mood and by practical factors like length, durability, and how easy they are to do at home or at a salon. You’ll also find a concise prep checklist so your manicure lasts, tips for matching nail shape to design, and straightforward aftercare to keep your nails healthy after the spooky season is over.
1. Practical Prep Checklist: Before Any Halloween Mani
Good results start with good prep. Whether you’re doing your own nails or heading to a technician, a few quick steps make polish look smoother and last longer. Start by trimming and shaping nails to the length you plan to wear; this prevents accidental breakage during the drying stage. Gently push back cuticles and buff the surface to remove shine so base coats adhere better.
Keep a small kit handy so touch-ups are simple: nail file, buffer, base coat, top coat, and a cotton swab with polish remover. Consider these additional practical items:
- A hydrating hand cream and cuticle oil for daily maintenance.
- A quick-dry top coat if you’ll be in a hurry.
- Nail glue and a set of emergency press-ons for unexpected chips or breaks.
If you’re getting press-ons or decals, lay them out and try sizes on each finger before committing. For salon visits, book slightly longer than you think you need so intricate details aren’t rushed.
2. Sweet & Playful: Cute Nails for Everyday Wear
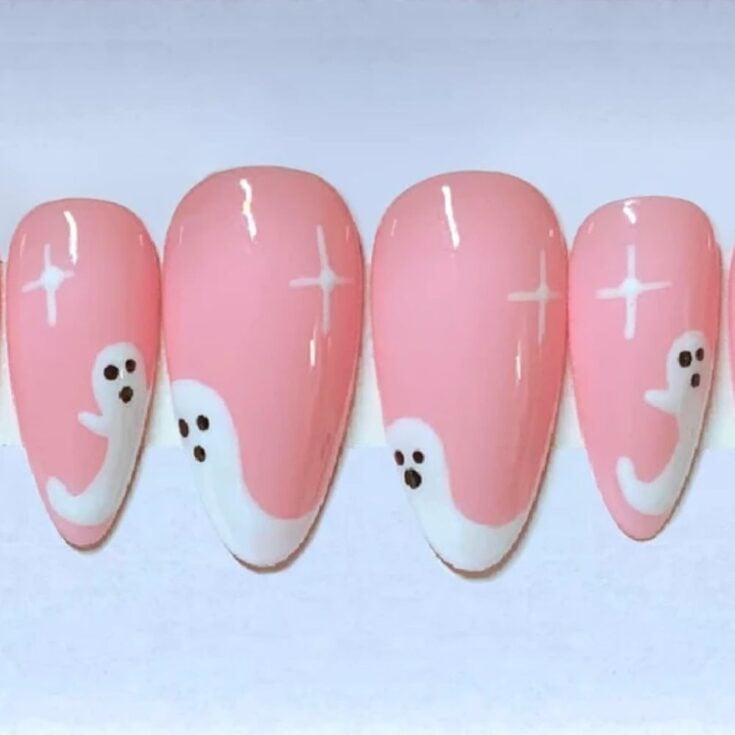
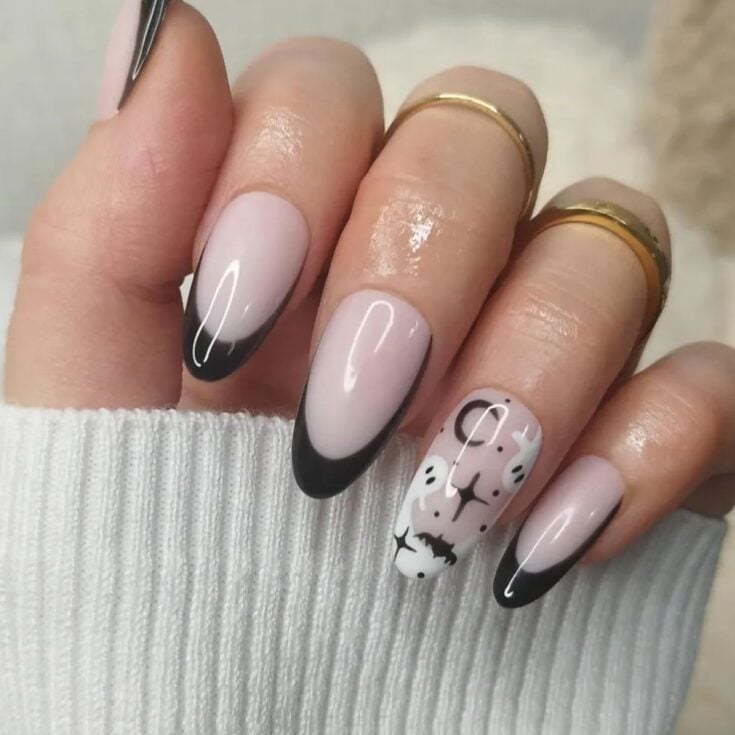
If you want Halloween charm without full-on spooky theatrics, opt for small, sweet motifs placed on a neutral or pastel base. Tiny ghosts, miniature pumpkins, or a single accent nail with a smiling jack-o’-lantern can read festive without overwhelming your look. This style suits short to medium lengths and is especially nice if you prefer a feminine, understated vibe.
For longevity, keep most nails in a simple solid color and reserve the detailed art for one or two accent nails. Small details can be achieved with stickers, fine-liner polish brushes, or tiny stamps—tools that work well at home and reduce salon time. Finish with a glossy top coat to make the tiny designs pop while protecting them from daily wear.
3. Moody & Dramatic: Goth-Adjacent Looks for the Bold
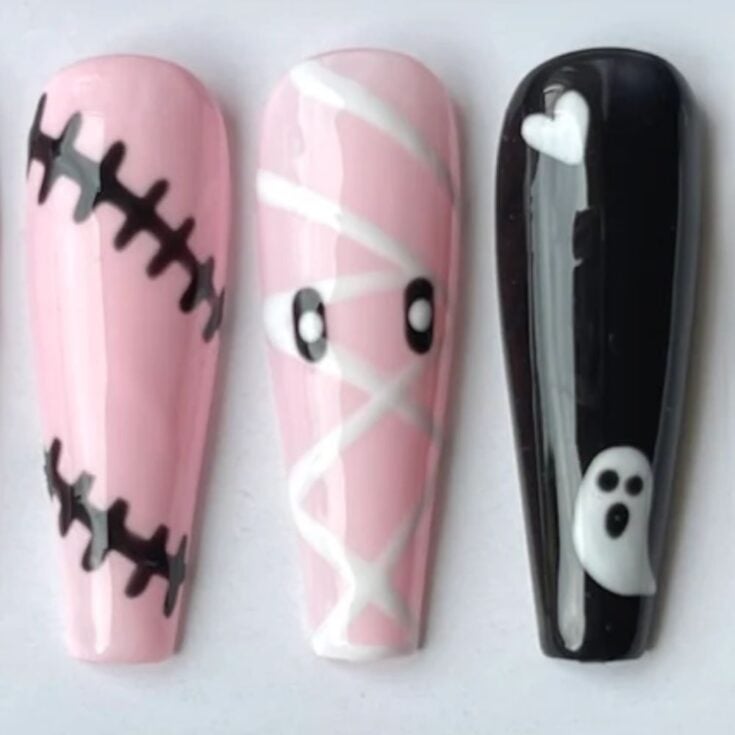
If your mood leans darker, go for high-contrast designs—think deep matte bases, blood-drip accents, or tiny silhouetted bats and moons. These looks often perform best on longer shapes like almond, coffin, or stiletto where the canvas allows dramatic details. Matte top coats can give a refined, moody finish, while glossy finishes emphasize shine and depth.
Because these designs tend to be more eye-catching, durability matters. Choose gel or shellac if you want minimal chipping through seasonal activities, and discuss reinforcement at the salon if you’re prone to nail breaks. When doing it yourself, apply a thin base coat, two thin color coats, and a generous top coat to lock in the design without losing detail.
4. Cozy & Minimal: Subtle Autumn-Inspired Manicures
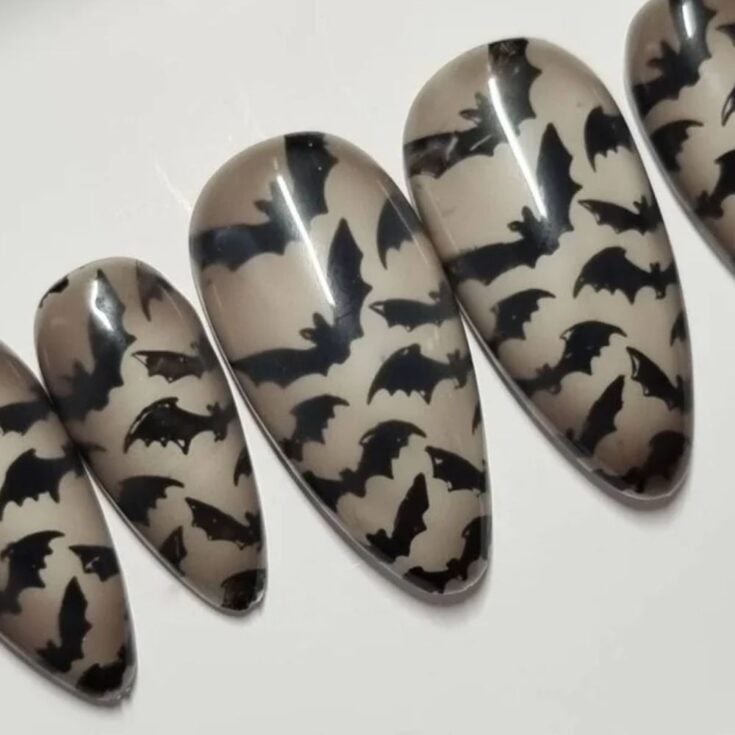
For a manicure that blends with sweaters, pumpkins, and pumpkin-spice-season plans, choose warm neutrals—muted orange, cocoa, olive, or deep cranberry. Simple French twists (dark or colored tips) or negative-space stripes feel seasonal without being overtly themed. This approach is ideal for workplaces or when you want an autumnal nod rather than a costume-ready nail.
Minimal looks are forgiving of small chips because their designs are less intricate. Keep them fresh by maintaining neat cuticles and refreshing the top coat every few days. For a textural twist, add a single matte accent or a touch of metallic on the ring finger to elevate the simplicity into something distinctly seasonal.
5. Whimsical & Kawaii: Character-Led Cute for Parties
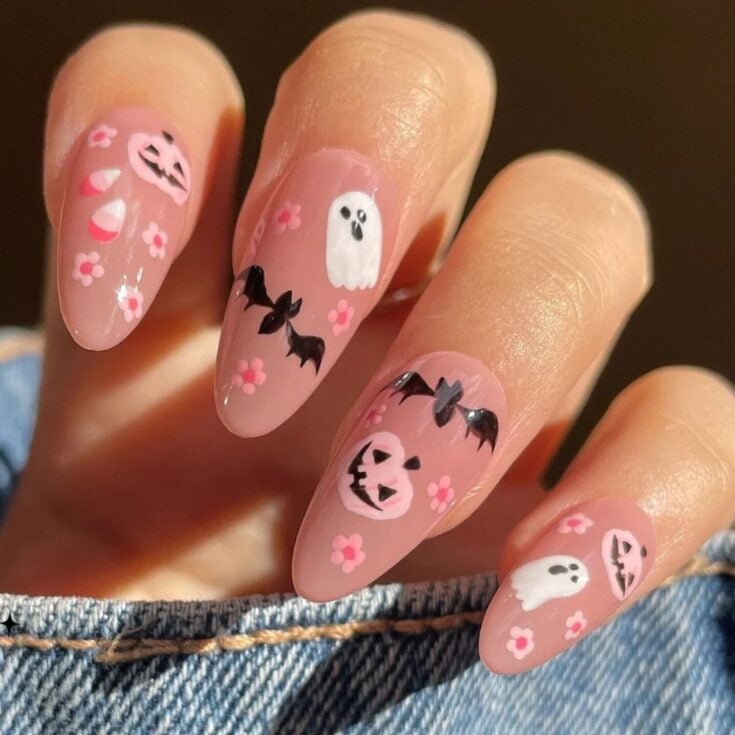
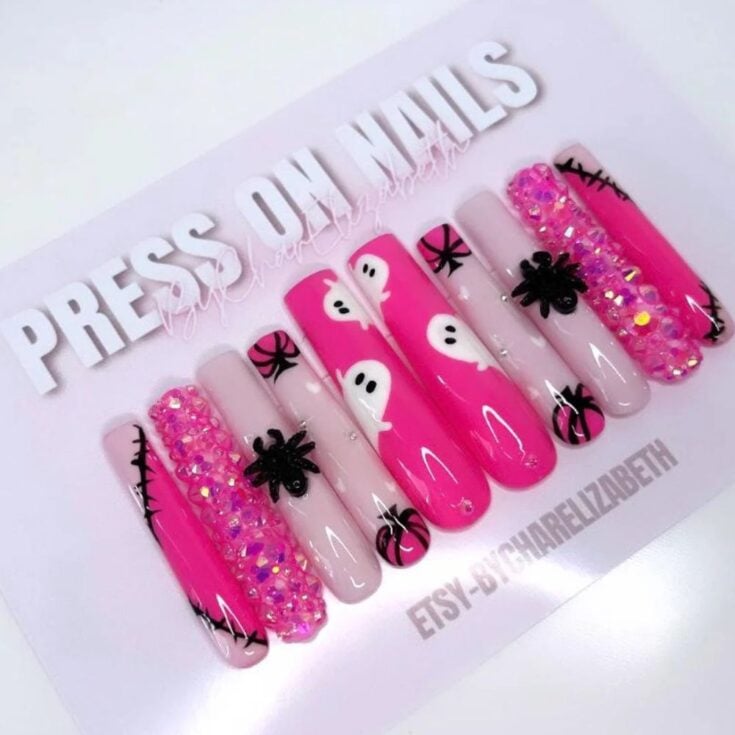
If you’re dressing up or want nails that double as conversation starters, embrace tiny characters and playful 3D elements—think smiling monsters, pastel ghosts, or candy-corn motifs. These looks shine at parties and for photos, but they may be less practical for everyday tasks, especially with large 3D charms. Plan to wear them for a few days rather than weeks.
When choosing whimsical accents, balance fun and function: place bulkier decorations on non-dominant fingers, or limit them to one or two nails. If you love the look but need more practicality, pick flat stickers, decals, or hand-painted tiny characters that won’t catch on clothing or keyboards.
6. Matching Shape and Length to Your Lifestyle
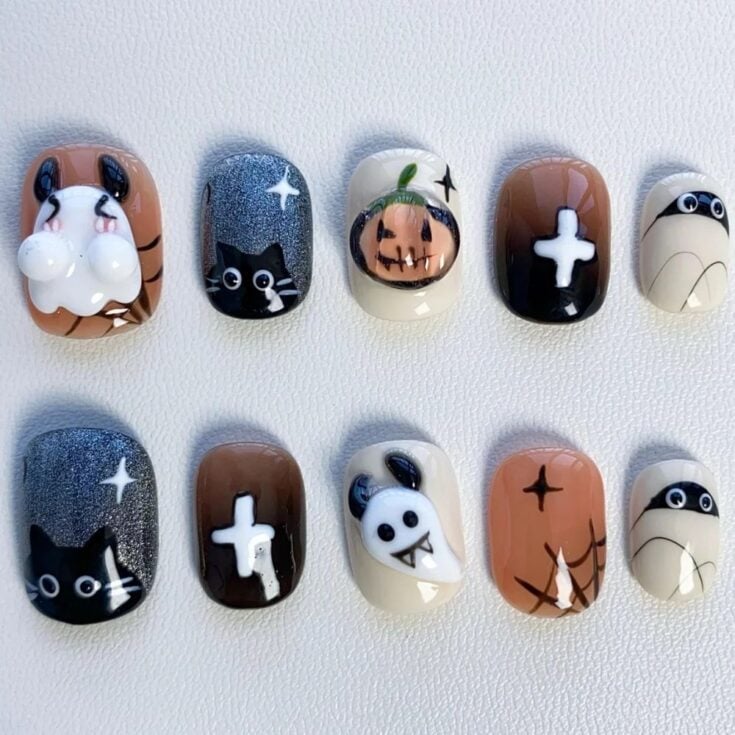
Shape and length influence both the aesthetic and durability of a Halloween mani. Short, rounded nails are low-maintenance and suit cute, simple motifs. Medium almond or squoval nails offer a stylish canvas for detail while staying functional. Long coffin or stiletto shapes are dramatic and perfect for bold seasonal designs, but they require more care and may limit certain tasks.
Consider these quick guidelines:
- Short (practical): best for stickers, single accents, and solid colors.
- Medium (versatile): ideal for hand-painted details and two-tone designs.
- Long (statement): choose for dramatic art, 3D elements, or elaborate color transitions.
Pick a length that matches your daily activities—if you type, cook, or craft often, shorter shapes will be more comfortable and longer-lasting.
7. DIY, Press-Ons, or Salon: Choosing the Right Method
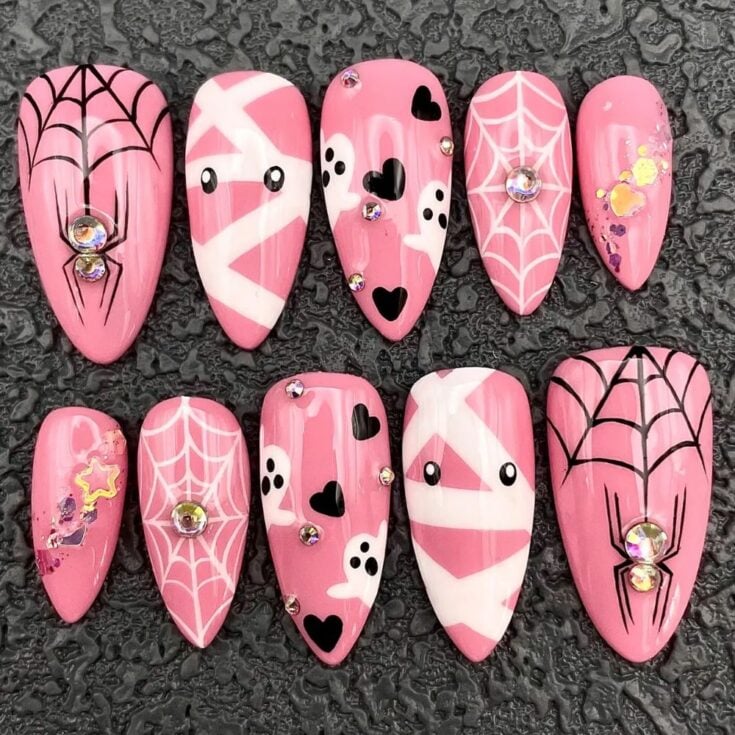
Each method has trade-offs. DIY gives you control and cost savings, and it’s great for simple looks or trying a trend. Press-ons are fast and can look very polished when applied well; they’re especially handy for experimental or novelty designs that you don’t want to commit to. Salon services deliver the most durable results and best finish for intricate art or long-lasting gel looks.
To make the best choice, ask yourself:
- How long do I want the look to last? (Press-ons: days to a week; gel: 2–3 weeks.)
- How intricate is the design? (Complex art is easier at a salon.)
- How quickly do I need it? (Press-ons or simple DIY are fastest.)
If you choose press-ons, prep the natural nail with a gentle buff and alcohol wipe for better adhesion. For DIY art, invest in a small set of brushes and a steadying wristrest to improve line work.
8. Aftercare: Keep Your Halloween Mani Looking Fresh (and Remove It Safely)
Aftercare prolongs wear and protects the nail bed. Regularly apply cuticle oil and moisturizing hand cream to prevent dryness and peeling around the nail plate. Refresh top coat every 3–4 days to guard against chips and restore shine. If your design includes gems or appliqués, be mindful when washing dishes or using hand sanitizer—wear gloves when doing chores to reduce stress on the nails.
When it’s time to remove press-ons, gels, or heavy polish, be gentle to avoid damaging the nail surface. For press-ons, soak them in warm soapy water or use an oil-based adhesive remover to ease them off without prying. Gel polish typically requires a proper removal process—filing the top coat and using an appropriate soak or professional service—so consider booking a salon removal if you’re unsure. After removal, give nails a few days to breathe: trim, file, hydrate with oil, and avoid heavy polish for a recovery period.
Final Thoughts
Choosing a cute Halloween manicure is more fun when you balance the look you want with the realities of your day-to-day life. Use mood-based choices to narrow styles quickly, follow the prep checklist for better results, and treat your nails kindly afterward so you can enjoy the season without sacrificing nail health. With a little planning, your Halloween mani can be both adorable and practical.