Beginner-Friendly DIY Halloween Nail Guide: Materials, Techniques, and Easy Spooky Designs
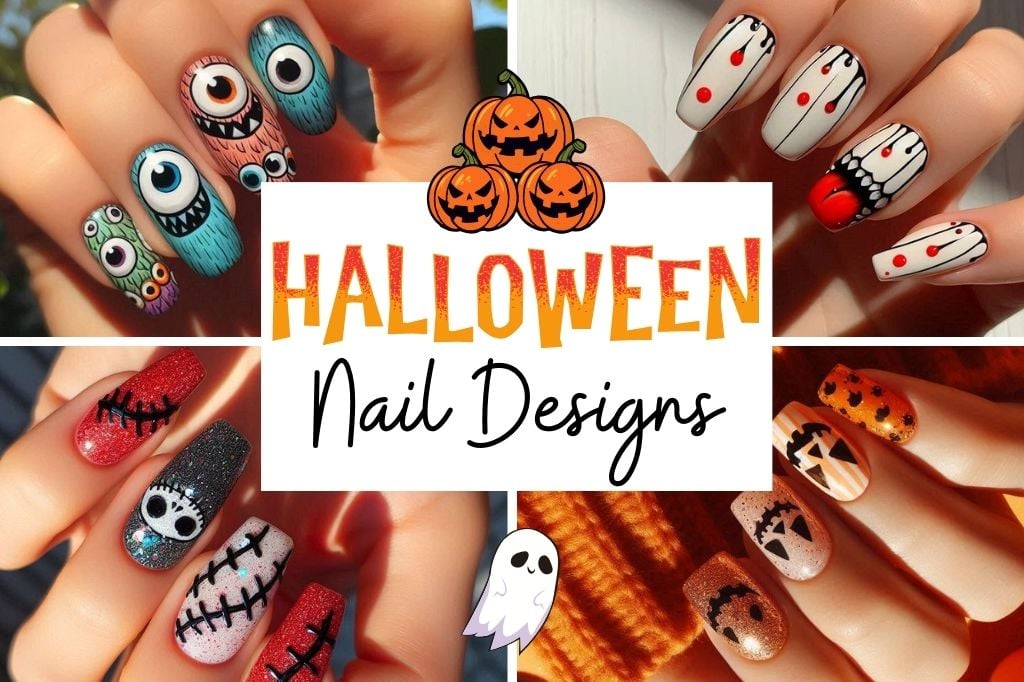
Halloween is the perfect moment to try playful nail art—no appointment required. If you’re new to decorating your nails at home, the trick is to focus on a few reliable tools and a handful of simple methods. With a little practice you can create looks that suit anything from a low-key night in to a costume-ready party.
This guide breaks the process into manageable parts: what to buy, how to prepare your nails, the core techniques to practice, families of designs to try first, a concise step-by-step application routine, time-saving shortcuts, and safe removal and aftercare. Read through once, pick one small design to start with, and you’ll build confidence quickly.
1. Essential tools and materials for beginners
Before you start, gather a compact kit so you aren’t hunting for supplies mid-design. At minimum, aim for:
- A good base coat and glossy top coat (quick-dry formulas are helpful).
- Two to four polish colors you love: a dark shade, a bright accent, a pale neutral, and a glitter or metallic.
- A thin nail art brush and a dotting tool (a bobby pin or toothpick works as a dotter in a pinch).
- Striping tape or regular scotch tape, small sponge pieces for blending, and cotton pads.
Also useful but optional: a stamping plate and stamper, a selection of small rhinestones or studs, nail glue, nail file and buffer, cuticle pusher, and a cleanup brush or angled brush with nail polish remover for tidying edges. Investing in these items lets you try more effects without relying on salon-level skill.
2. Prep and basic nail-health steps
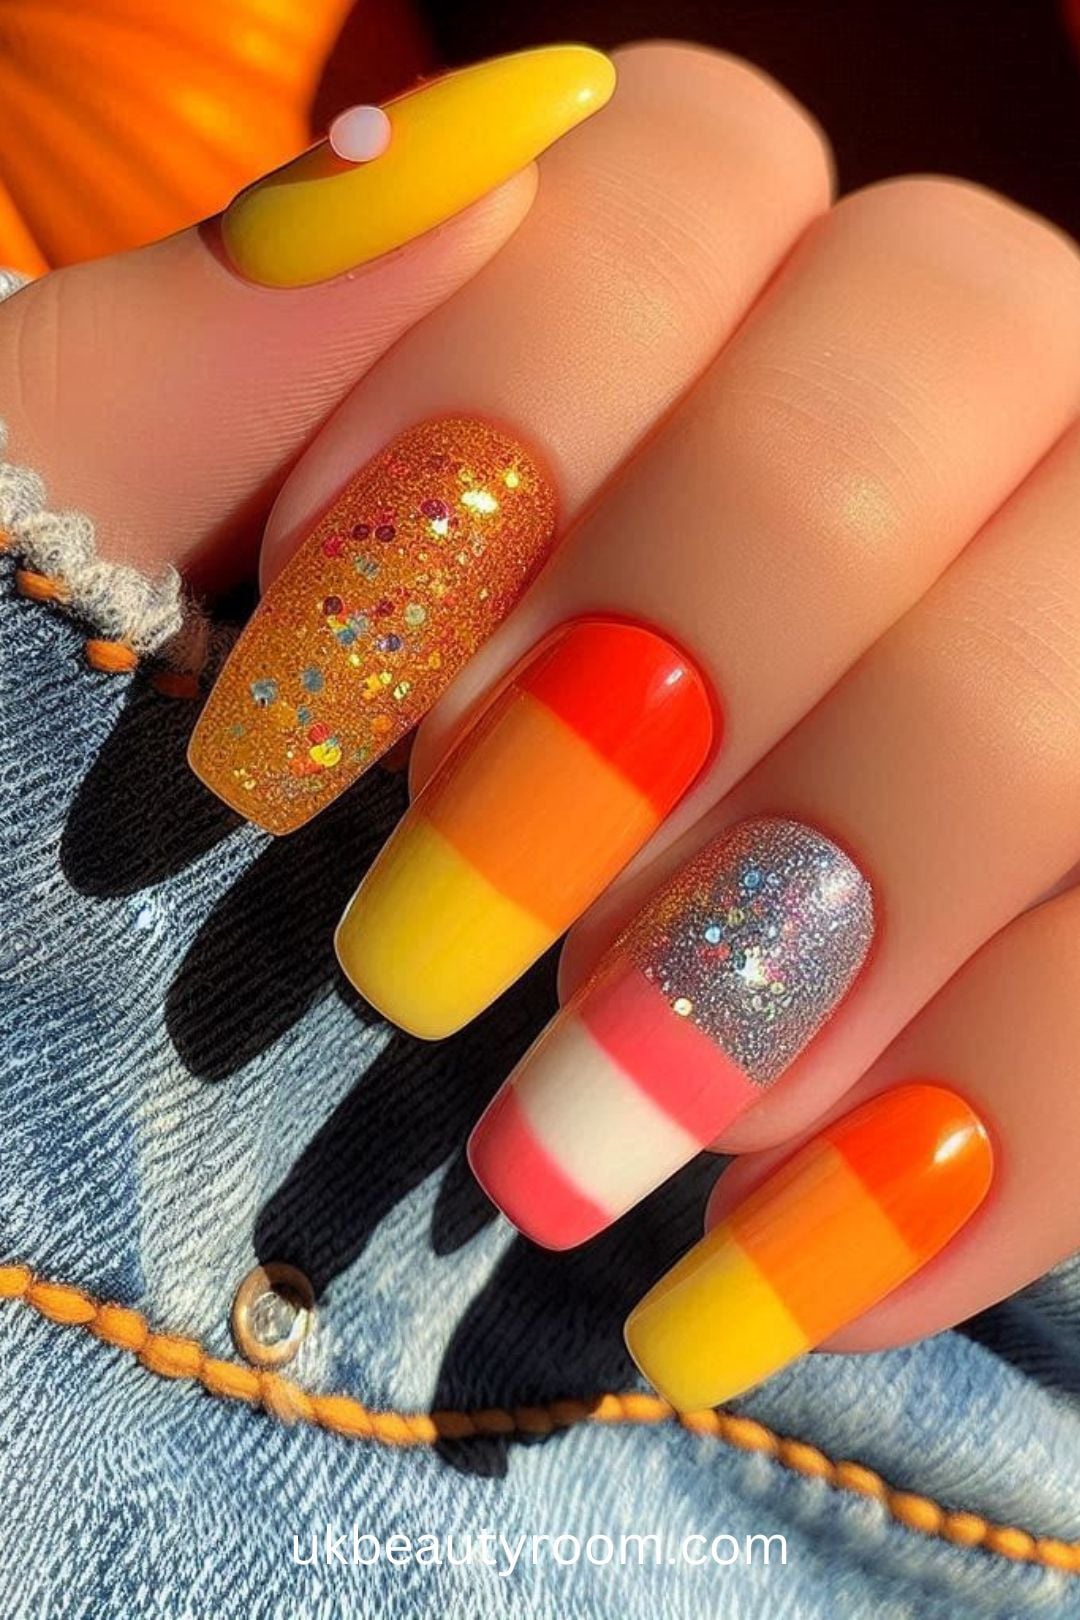
Good polish looks better and lasts longer on a clean, even surface. Start by trimming or filing your nails to your preferred shape; file in one direction to reduce splitting. Gently push back cuticles after a warm hand soak, and lightly buff the nail plate to remove shine if your polish tends to peel. Wipe nails with a lint-free pad dipped in non-acetone remover or rubbing alcohol to remove oil.
Don’t skip the base coat: it protects your nails from staining and gives polish something to grip. If your nails are especially dry, apply cuticle oil and give it a few minutes to absorb before painting. Healthy prep equals smoother application and fewer chips, so treat the first five to ten minutes of your session as maintenance rather than a chore.
3. Core techniques to practice first
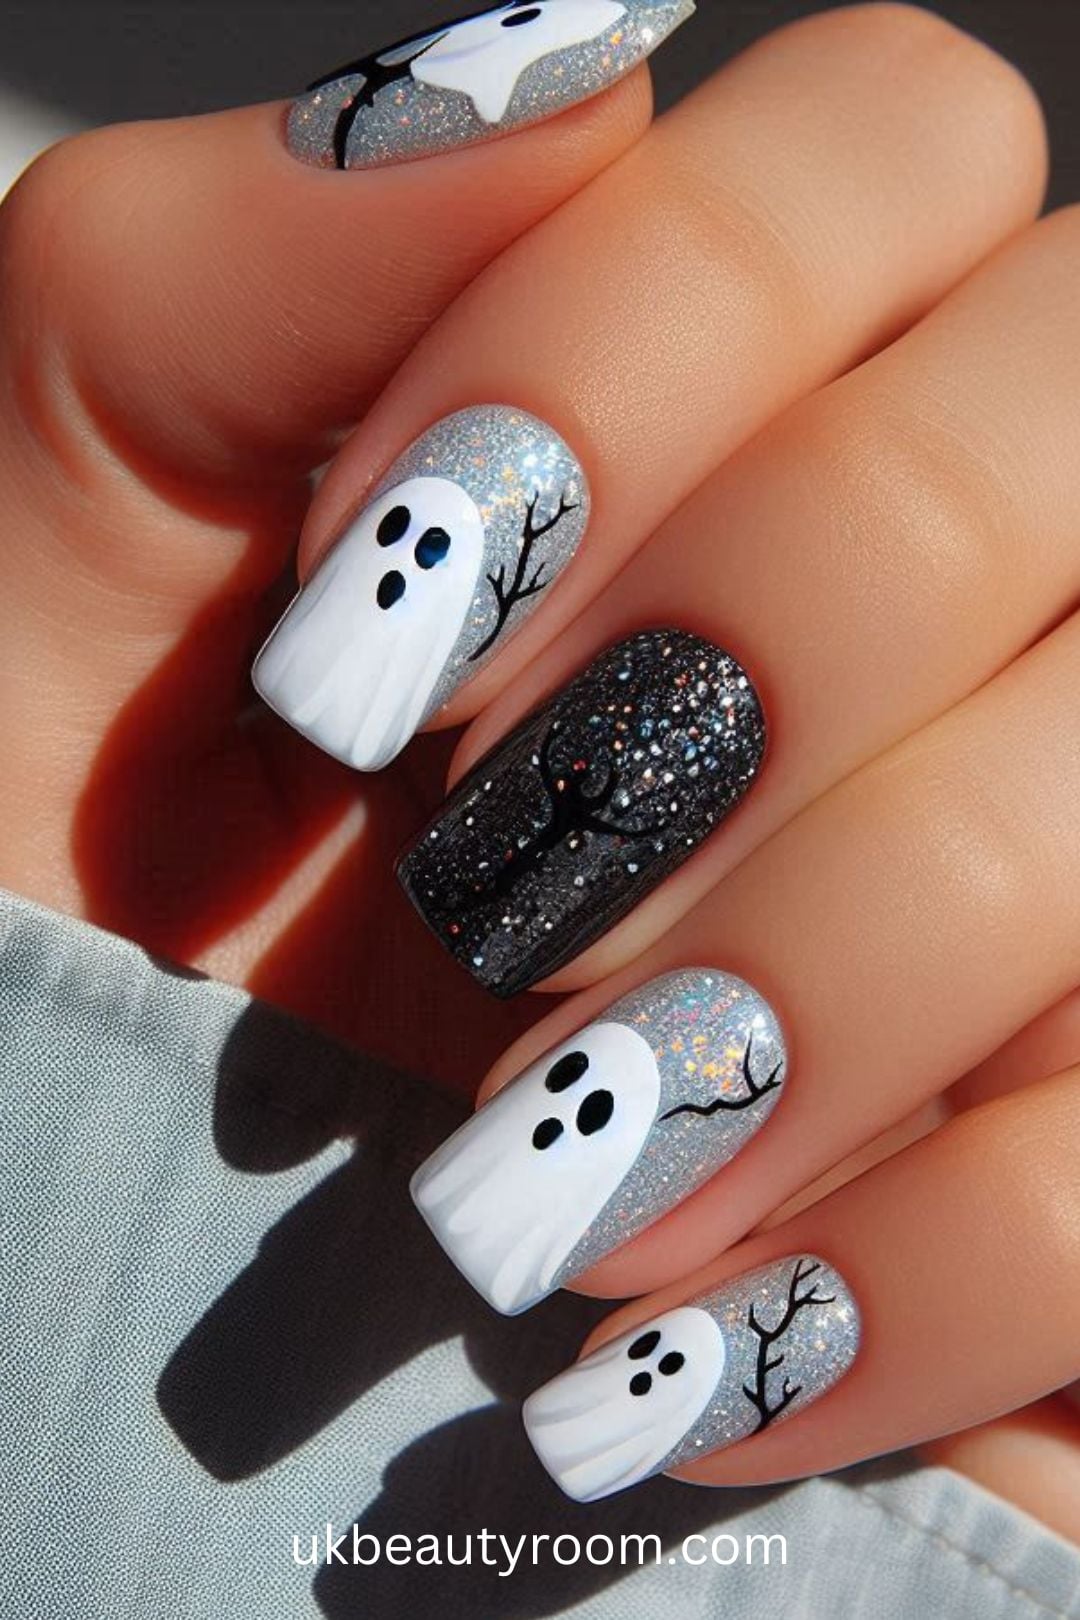
Focus on a handful of repeatable techniques that unlock many looks. Practice even, thin coats of polish—two thin coats beat one thick coat for dry time and durability. Learn to control the brush: wipe a little polish from its tip back into the bottle mouth so the brush isn’t overloaded and use three strokes per nail (one down the center, then one along each side).
Next techniques to try:
- Dotting: use a dotting tool, bobby pin, or toothpick to make uniform dots for eyes, polka dots, or pumpkins.
- Stripes: practice with striping tape or a long, thin brush for clean lines.
- Sponging (ombre): dab polish with a small sponge to blend two or three colors.
- Fine-line brushes: for small silhouettes like bats or branches.
Spend a little time on scrap paper or on a spare plastic nail tip to build steadiness—short bursts of practice pay off quickly.
4. Design families and easy starter ideas
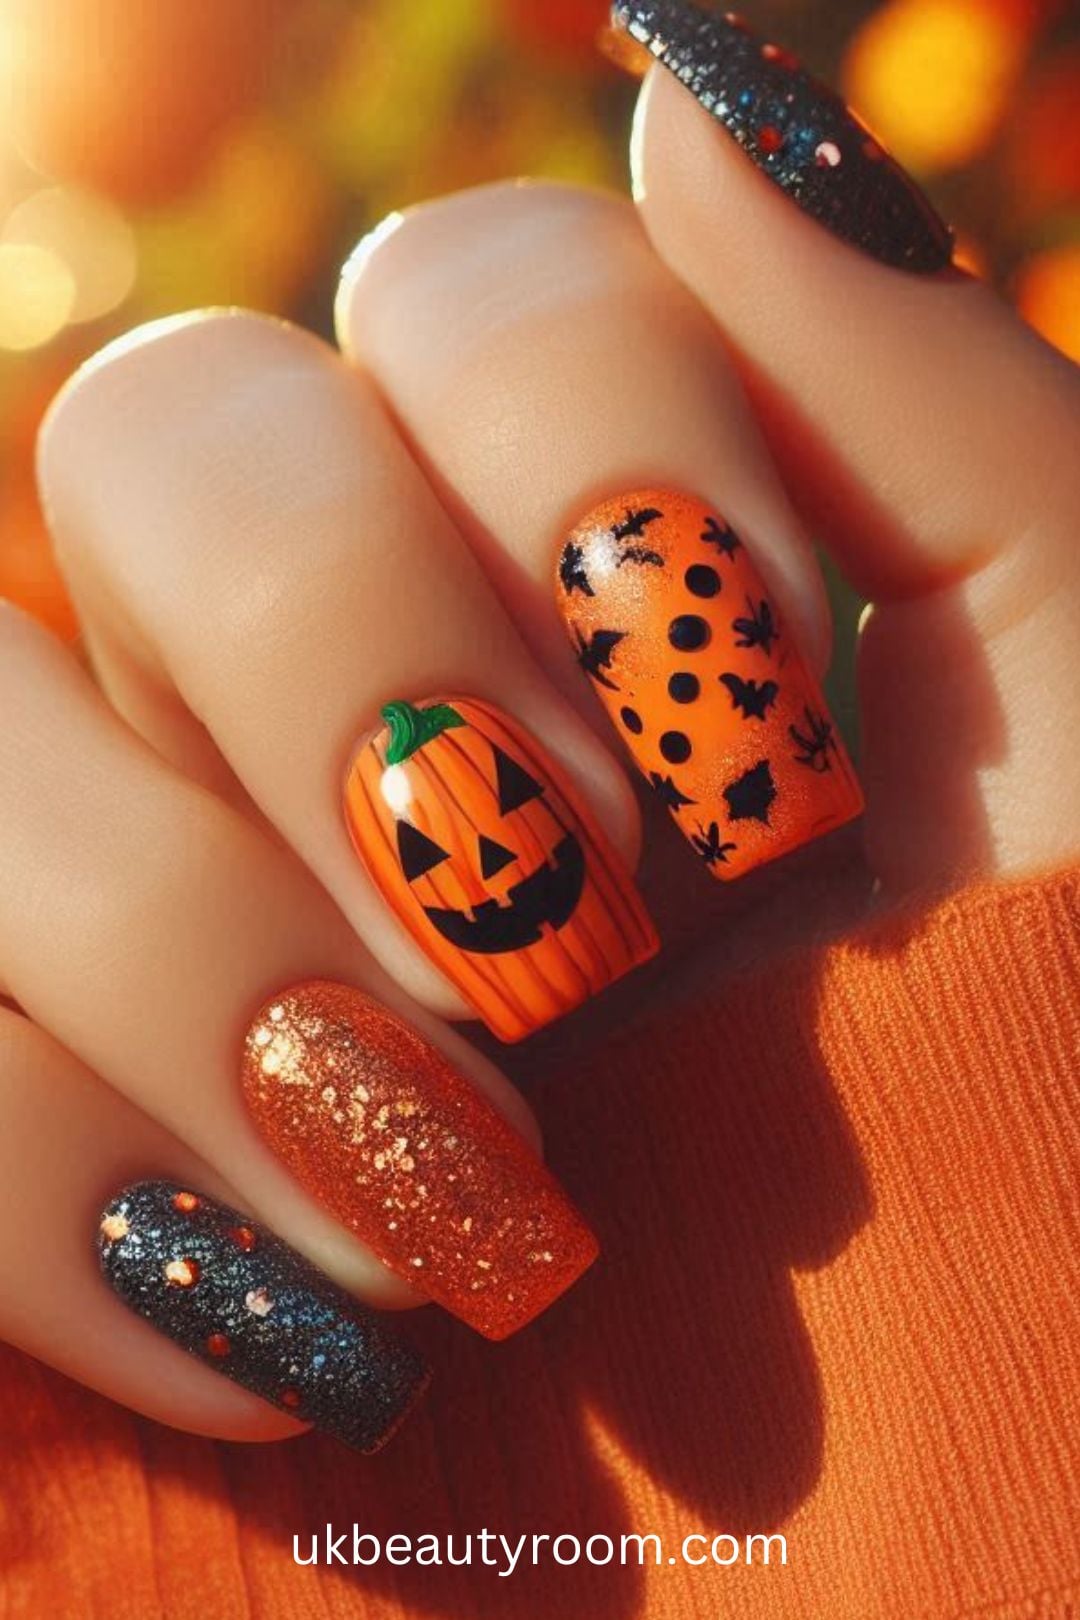
Group designs by style to pick one that matches your skill level and mood. Here are three approachable families and how to simplify them:
- Graphic and geometric: stripes, polka dots, and color blocks are forgiving and stylish. Use tape for crisp edges and alternate two contrasting colors for instant Halloween vibes. These designs are especially good on shorter nails.
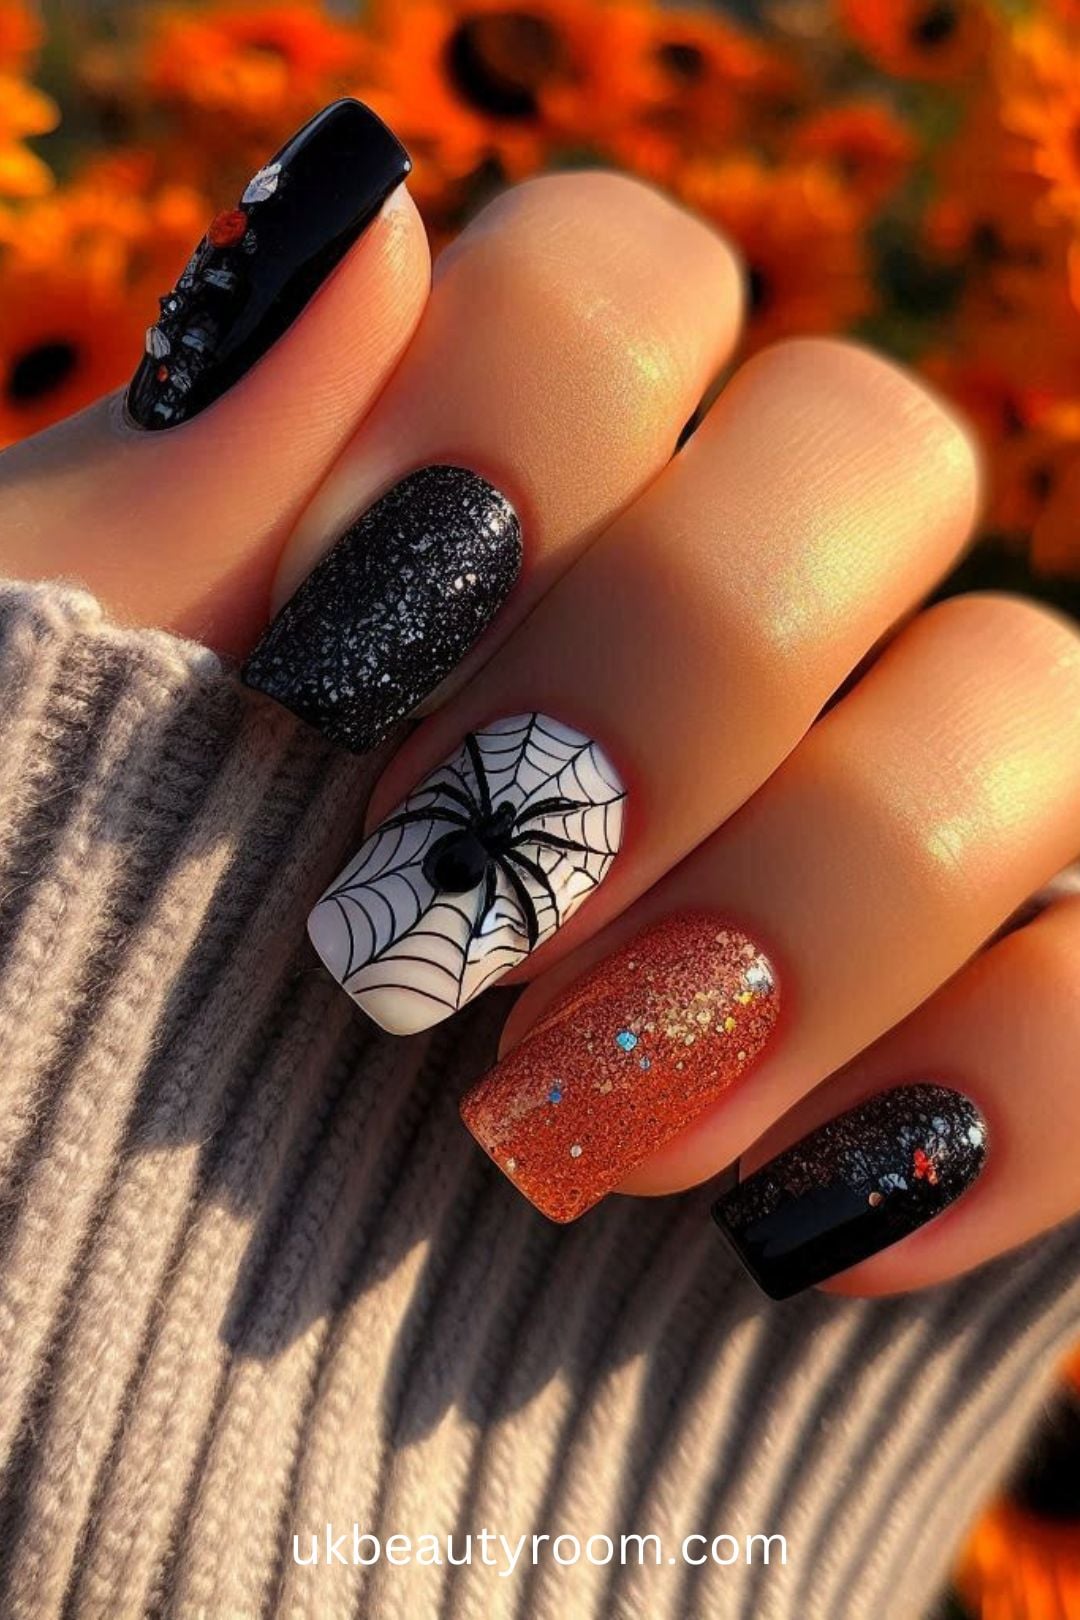
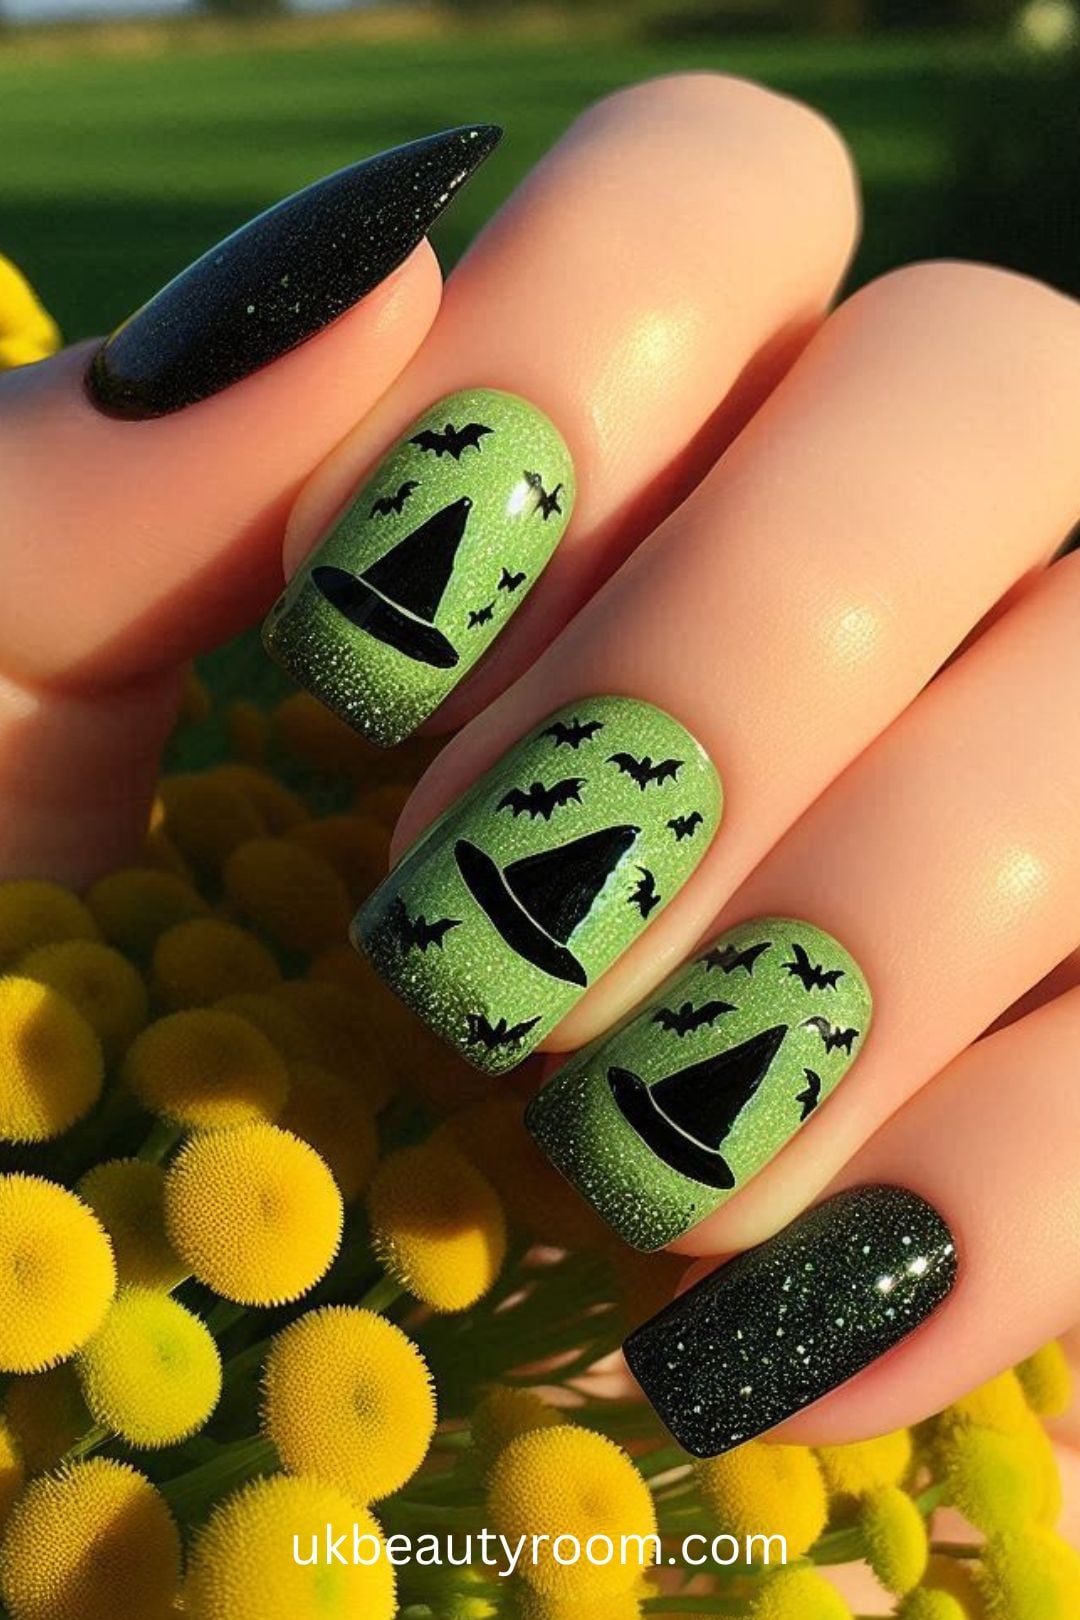
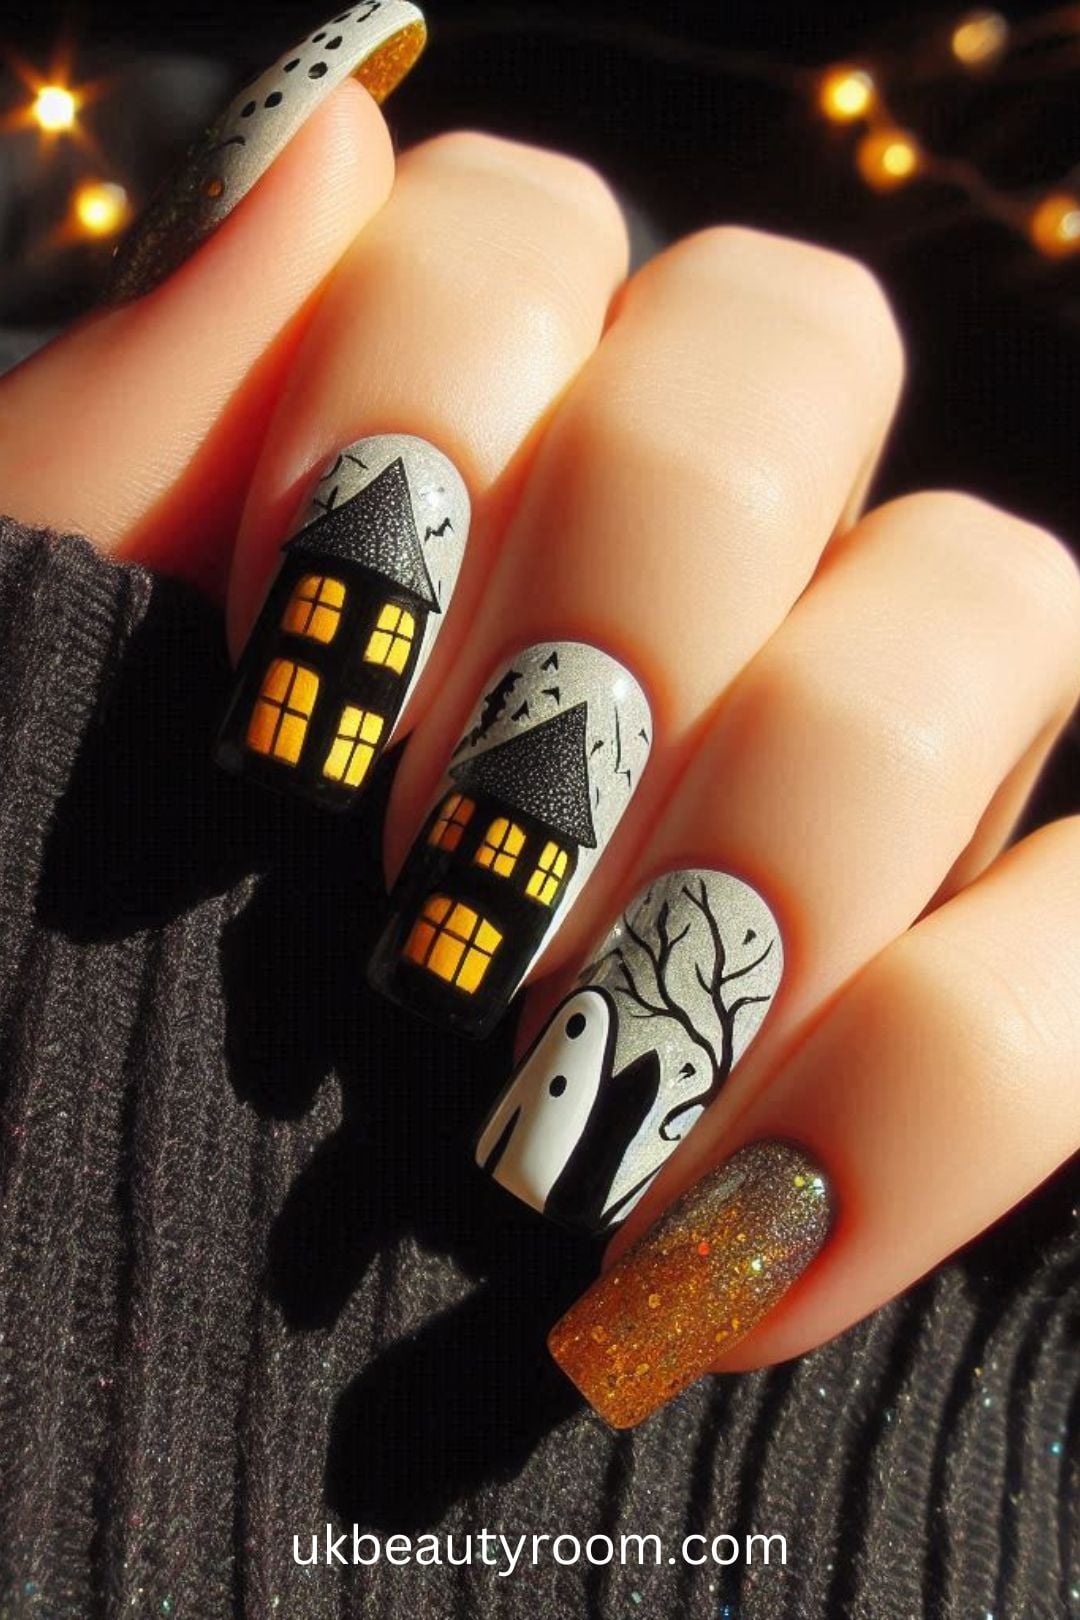
- Spooky accents and silhouettes: small ghosts, bats, spiders, or gravestone silhouettes make striking accents. Keep most fingers in a solid complementary color and paint the small illustration on one or two accent nails. Simple shapes—rounded ghosts, V-shaped bats—are easiest.
- Texture and finish: gradients, glitter tips, and matte versus glossy combos add drama with minimal painting skills. Try a glitter accent nail or a black-to-orange ombré with a sponge for impact without intricate lines. Pick one family and combine two techniques for a polished result.
5. Start-to-finish application routine
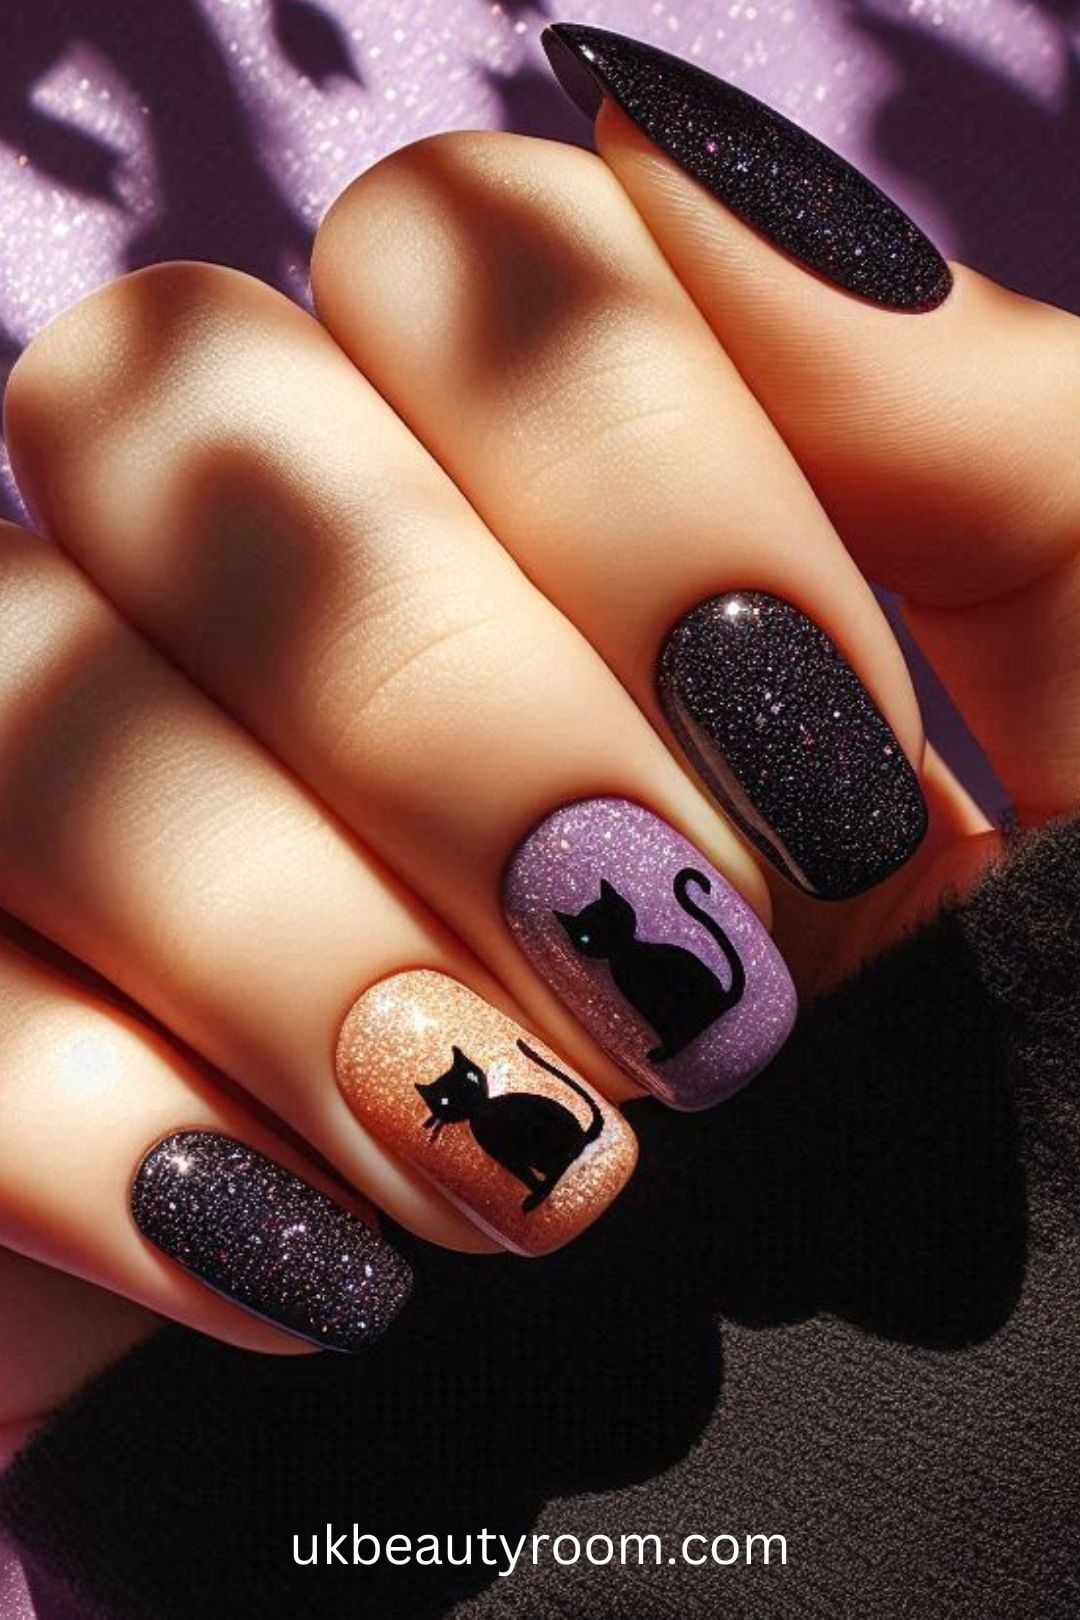
A concise workflow keeps your manicure efficient and reliable. Follow this order:
- Prep: file, push back cuticles, buff lightly, and remove oils with a lint-free wipe.
- Base coat: one thin layer—allow it to dry for 60–90 seconds.
- First color coat: apply one thin layer and wait 2–3 minutes.
- Second color coat: apply a second even coat; thin layers dry faster and are less prone to streaks.
- Detail work: add dots, lines, silhouettes, or sponges after the color layers are dry to the touch (usually 5–10 minutes, depending on formula).
- Top coat: wait until art is set, then seal with a glossy or matte top coat; a quick-dry top coat helps prevent smudges.
Allow proper cure time between steps—rushing is the top cause of smudges and dents. If you’re using gel polish, follow lamp cure times and remember gel top coats must be fully cured under the lamp. Work in a well-lit area and keep a small cleanup brush and remover nearby for tidy edges.
6. Shortcuts, time-savers, and low-effort options
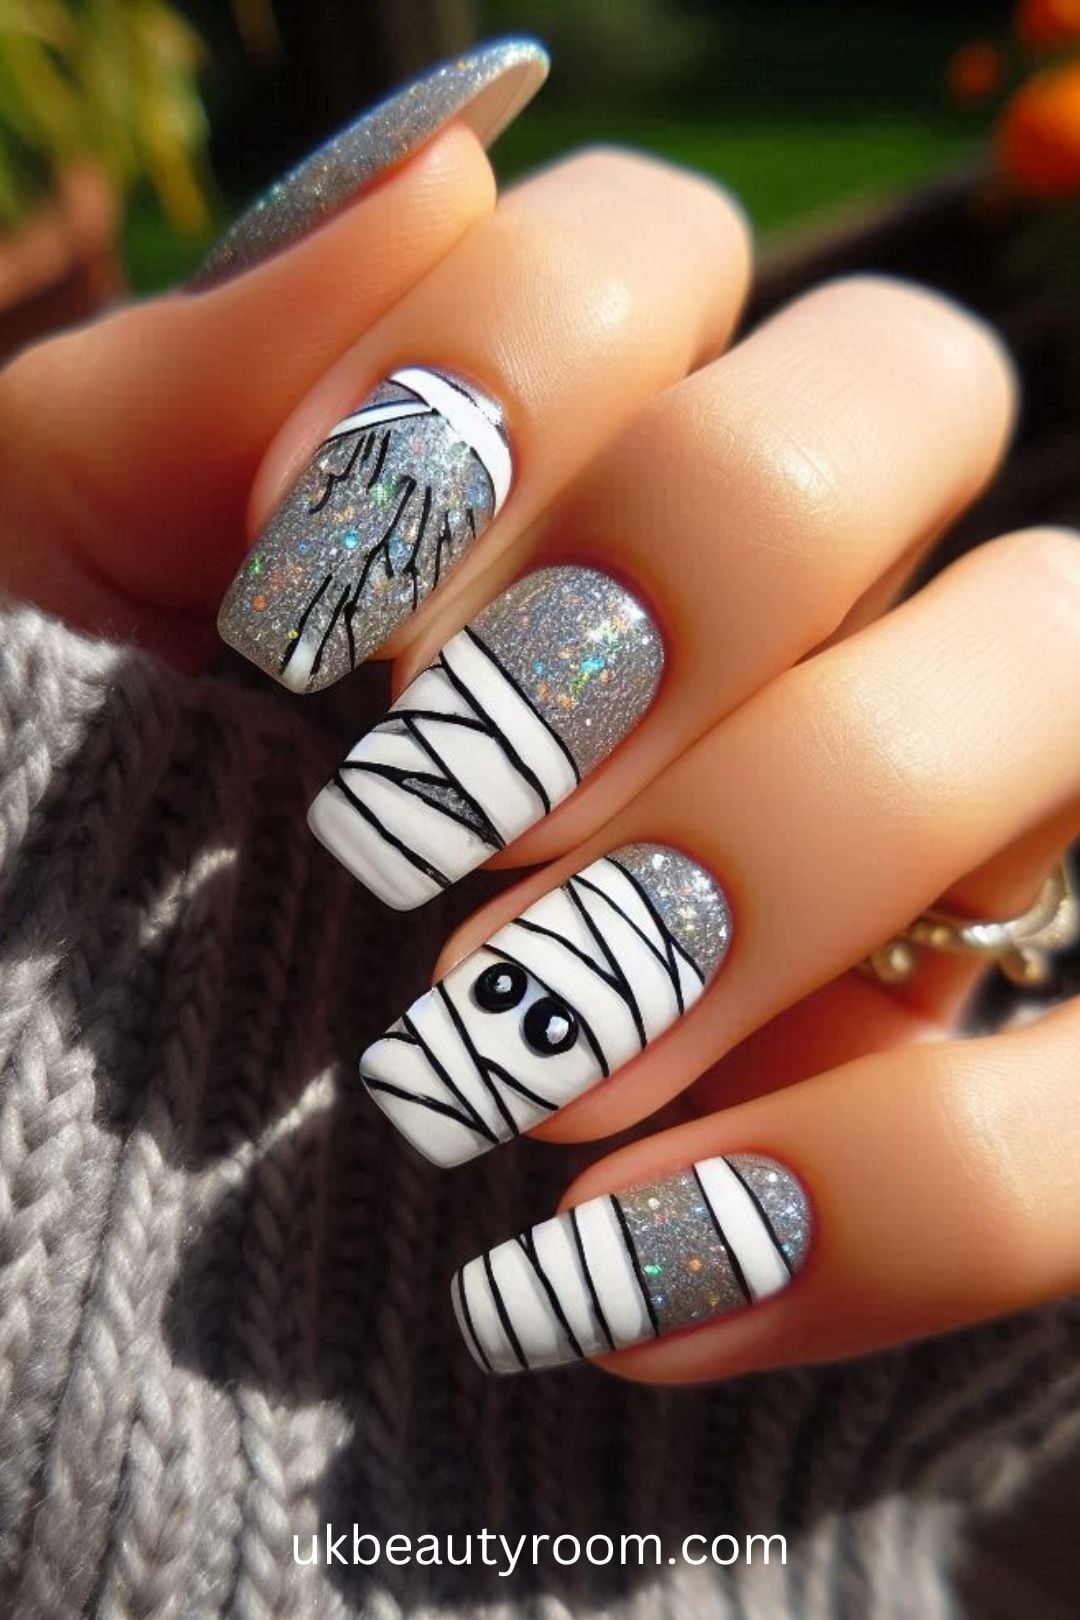
Pressed for time? There are many ways to get a polished Halloween look without freehand detail. Consider:
- Stickers and decals: pre-made designs that adhere directly to a dried base color.
- Nail wraps and press-ons: full-coverage stickers or pre-designed press-ons that you can glue or stick on in minutes.
- Stamping kits: transfer pre-etched designs from a plate to your nail using a stamper—fast once you learn the motion.
Other quick tricks: use a single accent nail with heavy embellishment (glitter, gems, or a tiny charm) while keeping the other nails simple; swap a glossy top coat for a textured or matte finish to change the vibe instantly; and use a peel-off base for temporary designs that can be removed without acetone.
7. Safe removal and recovery
Proper removal protects nail health. For regular polish, use non-acetone remover and cotton pads, but expect it to take a bit longer with darker or glitter polishes. For stubborn glitter or gel, soak cotton pads in acetone, place them on the nails, and wrap with foil for 10–15 minutes before gently removing residue with an orangewood stick or cuticle pusher. Avoid prying or scraping aggressively.
After removal, wash hands, buff lightly if necessary, and apply a hydrating cuticle oil and hand cream. If you notice nails are thin or brittle after repeated polish cycles, take a break for a week or two and use a nail-strengthening treatment. When using acetone frequently, protect surrounding skin with a barrier cream and hydrate often to prevent dryness.
8. Troubleshooting common problems
If polish chips quickly, check that you’re sealing the free edge with top coat and that layers were thin and fully dry. Rapid chipping also happens when oil isn’t removed from the nail before painting—wipe each nail with alcohol prior to base coat. For bubbling: avoid shaking polish bottles (roll them instead) and allow each layer to dry fully before adding the next.
Smudges and dents can be fixed if caught early—dip a toothpick into remover, clean the smudge carefully, then reapply a small amount of polish and resurface with top coat. For streaky coverage, wipe the brush on the bottle neck to remove excess, then use three smooth strokes per nail. Keep a small cleanup brush and acetone handy to sharpen edges and make your set look professional without starting over.
Final Thoughts
Start small, pick one design family that appeals to you, and build on it over a few sessions. With a straightforward kit, steady prep, and practice of a few core techniques—dots, lines, and sponging—you’ll be able to create Halloween-ready nails that look intentional and last. Enjoy the process and let each mini-manicure teach you something new.