How to Create a Calm Coastal Kitchen with a Thoughtful Backsplash
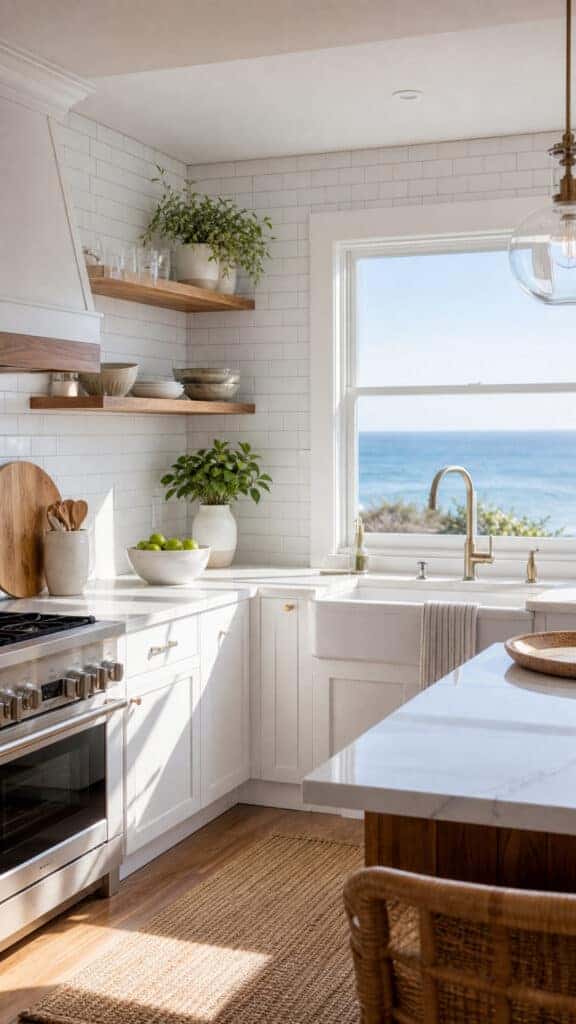
A backsplash is an easy way to bring a coastal mood into a kitchen without gutting the space. Thoughtful choices in color, texture and material can evoke sand, sea and sky while standing up to everyday cooking and family life. The right approach balances visual impact with durability and ease of care.
This guide walks through practical options—from low-maintenance tiles that reflect light to textured natural materials and wood-look alternatives—so decisions can be made with both style and function in mind. Use these ideas to shape a kitchen that feels relaxed and resilient.
1. Start with a Coastal Color Story
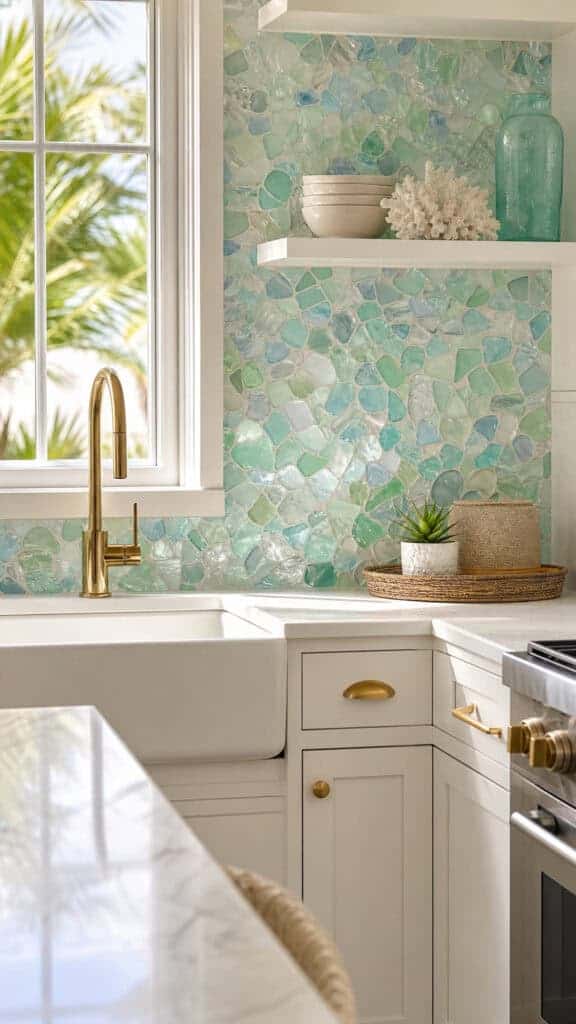
Selecting a palette is the first step toward a cohesive coastal backsplash. Aim for a small range of colors: a soft neutral that echoes sand, one or two blues or greens to suggest water, and a bright accent to mimic sunlit highlights. Lighter backgrounds increase perceived space and reflect light, while deeper tones add contrast and hide splatters. Consider grout color as part of the palette—darker grout reduces the appearance of stains, while lighter grout emphasizes brightness and crisp lines. If unsure, test a few tiles taped to the wall near the counter and view them throughout the day to see how natural and artificial light change their look.
2. Tile Choices That Balance Beauty and Practicality
Not all tiles perform the same under kitchen conditions. Porcelain and glazed ceramic are resilient, stain-resistant and easy to clean, making them good everyday choices. Large-format tiles reduce grout lines and are particularly low-maintenance in busy households. Glass tiles and translucent mosaics create luminous surfaces that bounce light, ideal for compact kitchens, but may show smudges more readily. Natural stone adds organic texture and warmth, but porous varieties require sealing and occasional resealing. For a water- and heat-proof alternative with wood character, choose wood-look porcelain that mimics grain without the moisture concerns of real wood.
3. Patterns and Layouts to Shape Perception
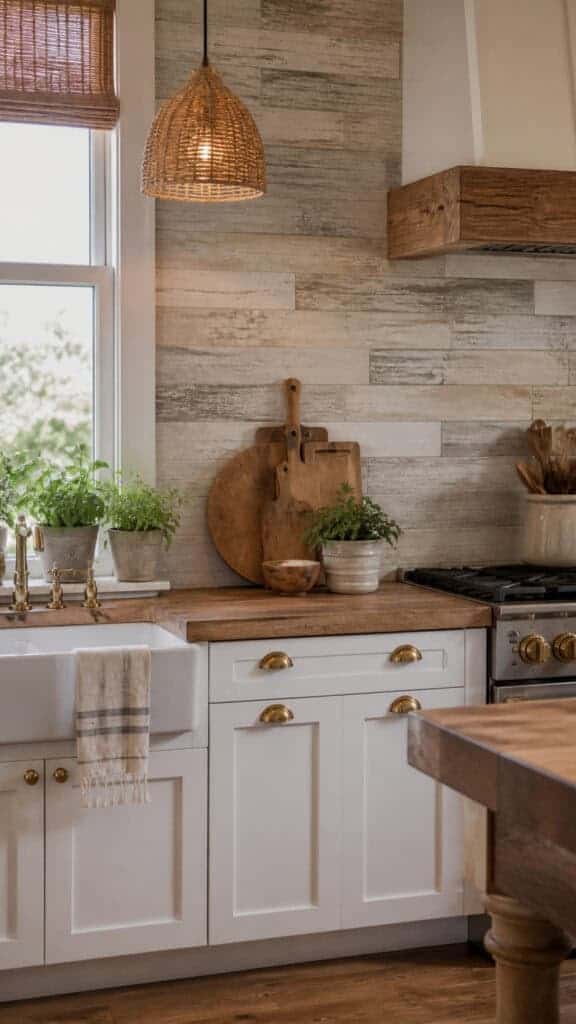
How tiles are arranged affects how the room reads. Horizontal subway tiles can widen a space, while vertical stacks or vertically oriented planks draw the eye up to make ceilings feel taller. Herringbone or chevron layouts introduce motion and a subtle coastal energy without needing bold color. Small mosaics and gradients create depth and can simulate the ocean’s color shifts—place darker shades near the counter and transition to lighter hues toward the top to add visual height. For small kitchens, use patterned tiles as an accent behind the stove or sink rather than across the entire wall to avoid overwhelming the room.
4. Using Light and Reflective Surfaces Strategically

Reflective materials amplify light and add a breezy quality reminiscent of sun on water. Glass, mirror tiles and glossy finishes brighten dark corners and make compact kitchens feel larger. Antiqued or lightly distressed mirror tiles offer character without becoming overly showy, though fingerprints can be more visible. Metallic tiles in brushed or matte finishes—think soft nickel or warm copper tones—introduce a coastal hint of maritime hardware. Place reflective tiles where they catch natural light but away from areas that see heavy splatter for easier upkeep.
5. Textured and Natural Finishes for an Organic Feel

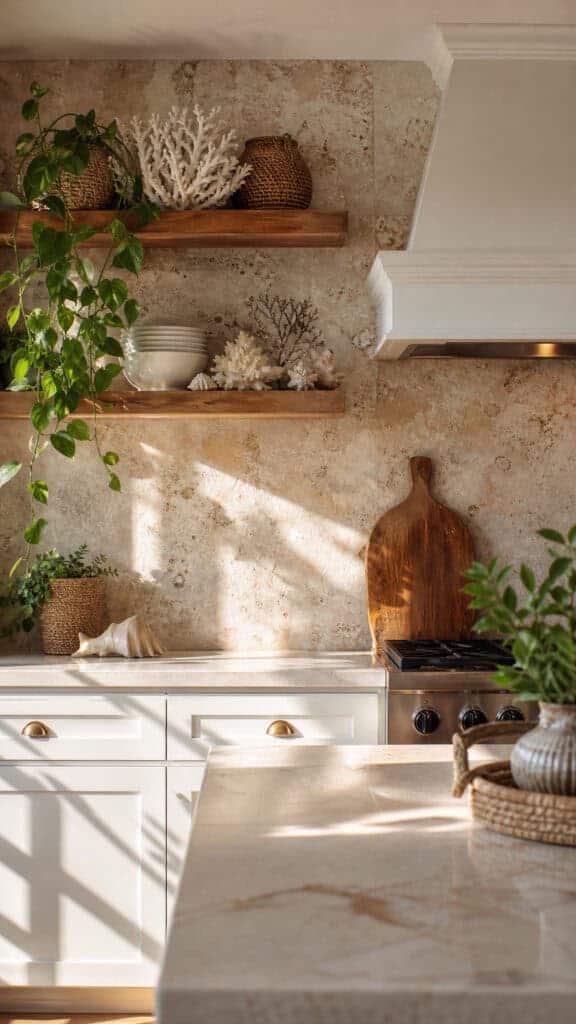
Natural materials lend authenticity and tactile interest to a coastal kitchen. Stone like travertine, limestone or soft-veined marble brings a weathered, shoreline quality; stacked stone panels offer three-dimensional texture but need careful sealing and grouting. Reclaimed wood or whitewashed shiplap creates a cottage-like warmth; if used close to heat or water, select properly finished or engineered wood, or opt for wood-look porcelain for similar aesthetics without the vulnerability. When choosing natural finishes, factor in sealing, maintenance intervals and whether the look will harmonize with countertops and cabinetry.
6. Accents, Scale and Placement Decisions

Decide where the backsplash will make the most impact: running the material wall-to-wall creates a unified backdrop, while concentrating a statement panel behind the range serves as a focal point. Scale matters—large patterned tiles read differently than small mosaics, and busy motifs can shrink a room visually. Use narrow accent bands or insets to introduce pattern without dominating. Consider framing an accent area with trim or a contrasting tile border to create definition. Keep appliance finishes and hood styles in mind so the backsplash complements rather than competes with hardware and cabinetry.
7. Installation, Sealing and Everyday Care

Plan installation and maintenance up front to protect both appearance and longevity. Mosaic sheets on mesh backing speed installation and help maintain consistent layout; larger tiles require fewer grout lines and less long-term cleaning. Porous stones and unglazed cement tiles need sealing before grouting and periodic resealing after installation. Use kitchen-appropriate caulk at countertop joints and around windows to allow a small amount of movement and prevent water infiltration. For daily care, mild dish soap or pH-neutral cleaners and soft cloths prevent damage—avoid abrasive pads and harsh acids on sensitive finishes.
Final Thoughts
A coastal backsplash can be both serene and practical when material choices and placement match everyday needs. Prioritize ease of maintenance near work zones, use color and texture to set the mood, and reserve bolder treatments for focal areas if space is small. With thoughtful planning, a backsplash becomes a durable, restful backdrop that reflects the relaxed qualities of coastal design.