A Refined White Christmas Manicure: Guide to a Chic Seasonal Look
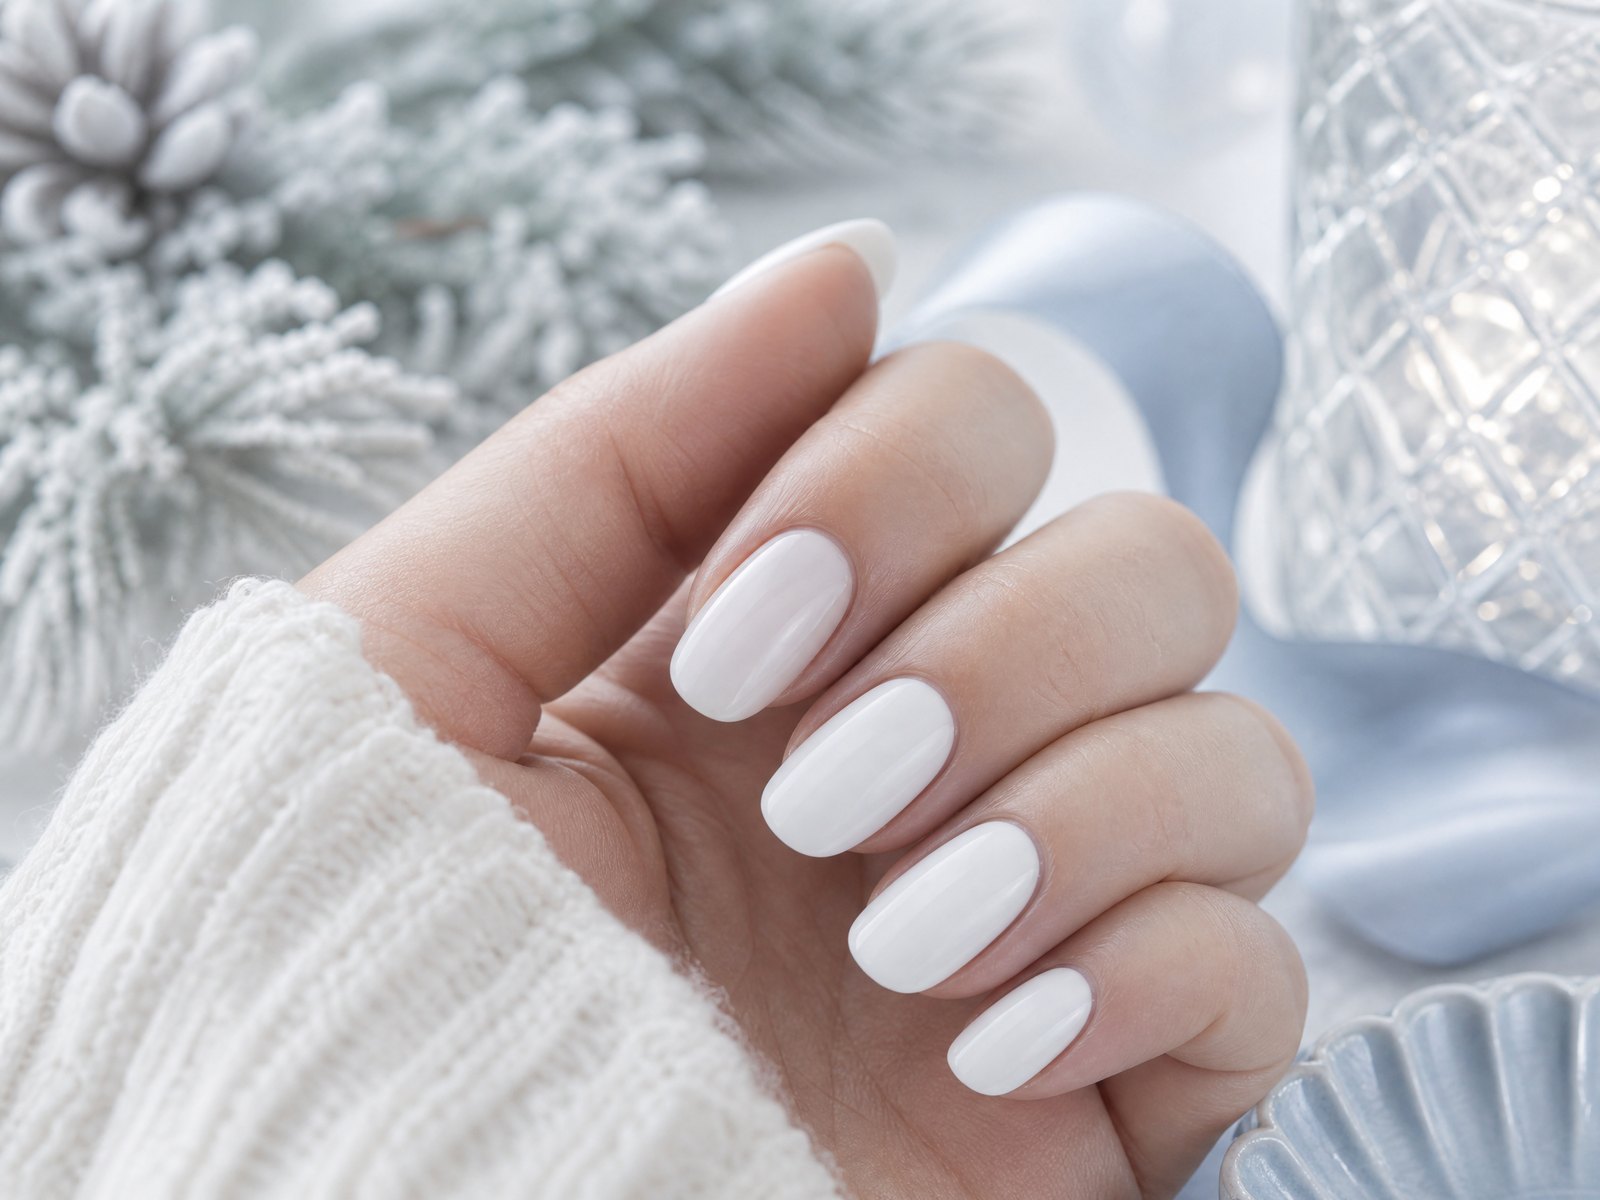
White nails feel crisp and festive, but getting a polished, modern result takes a little thought. The trick is to aim for balance: a white that flatters your skin, finishes that play with light rather than fight it, and small accents that read wintry without overpowering the hand.
This guide walks through the decisions that turn a straightforward white manicure into an elevated seasonal style. You’ll learn how to choose the right white undertone and opacity, mix glossy and soft textures, use negative space to keep the look airy, add a single tasteful accent, and care for your nails so the manicure looks fresh for longer.
1. Choose the White Undertone and Opacity That Flatters You
White is not one color — it comes in undertones that can either complement or clash with your skin. Cool whites, which have blue or gray hints, tend to brighten cooler or olive complexions. Warmer whites with a hint of cream or ivory soften and warm up yellow or warmer skin tones. If you’re unsure, try holding a few swatches near your fingertip in natural light; pick the one that seems to harmonize with the veins and the undertone of your hand.
Opacity affects how modern or soft the manicure reads. A fully opaque white gives a crisp, graphic statement and works well for short-to-medium nails. Semi-sheer whites, like milky or frosted finishes, feel airy and less harsh, making them ideal if you want a French-inspired or understated look. Consider building opacity in thin layers: start with a translucent base and add coverage until you reach the desired balance between brightness and softness.
2. Pair Glossy and Soft Finishes for Dimension
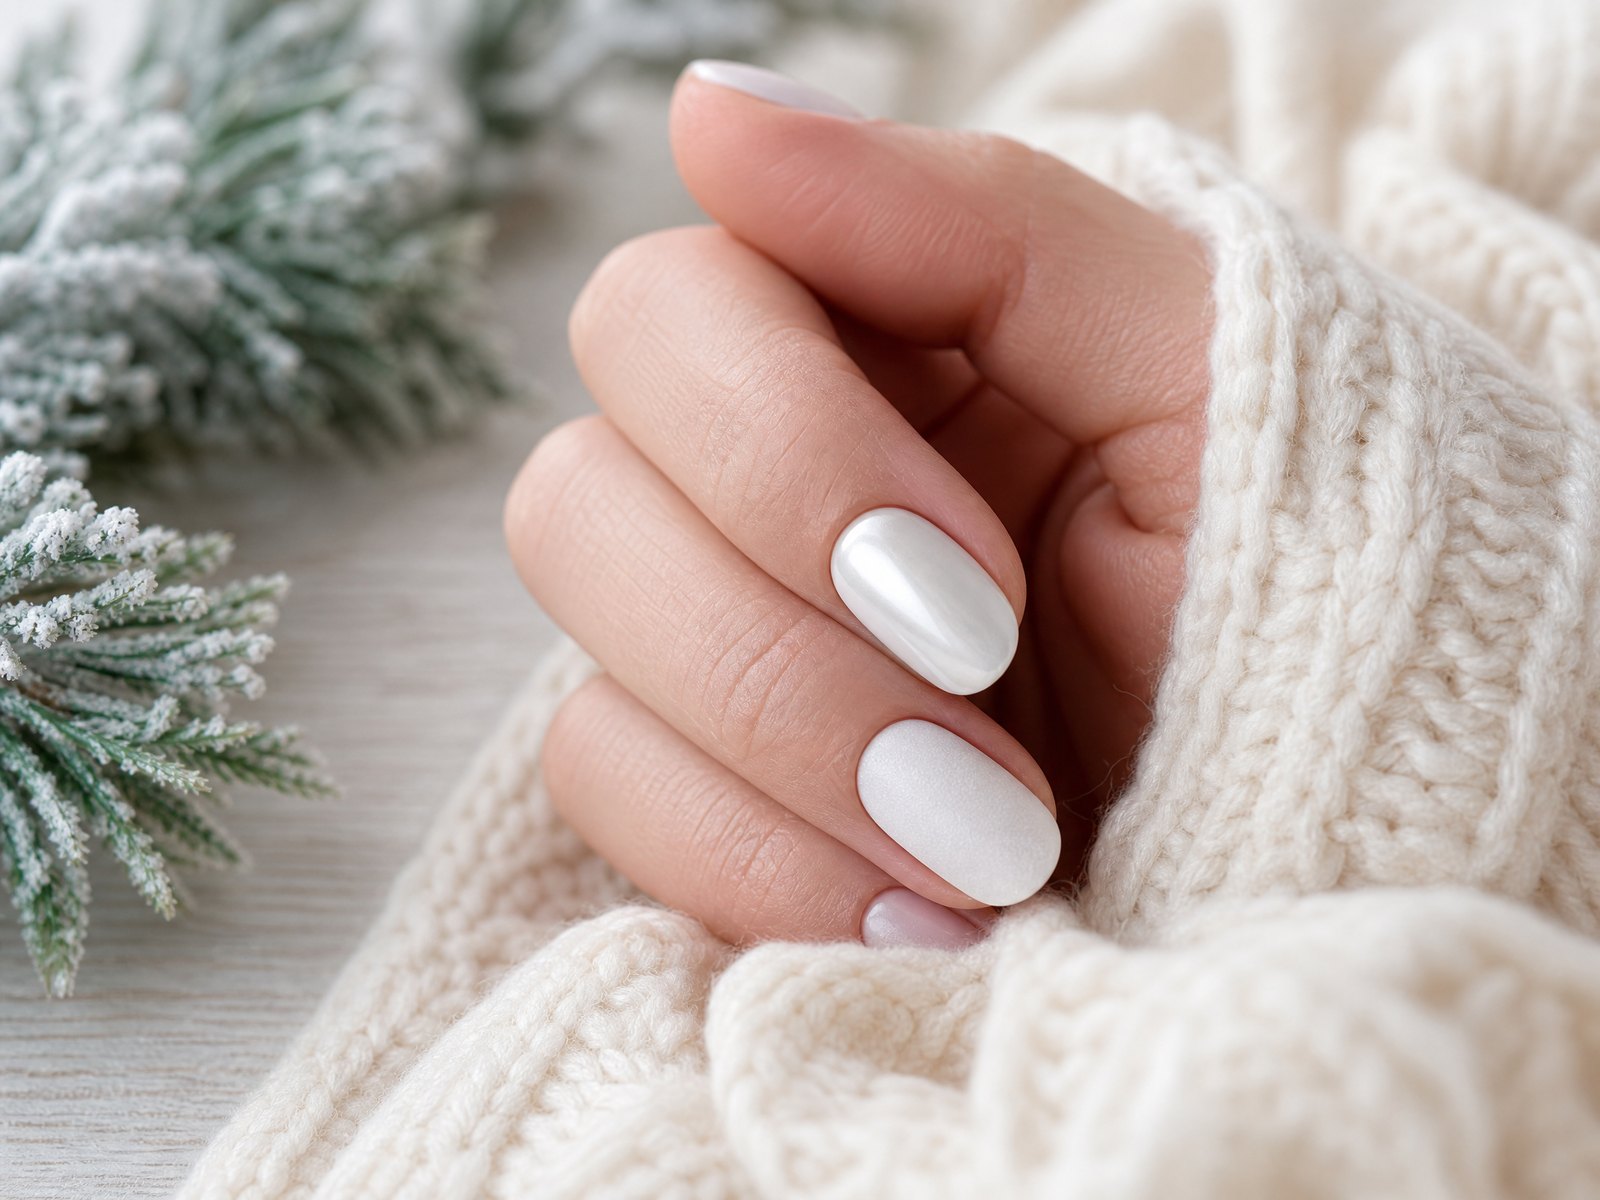
Mix glossy and satin finishes to add depth without extra color. A high-gloss white catches light and looks chic and formal; a softer, satin or matte white reads more modern and subdued. Alternating these finishes between nails or using a glossy topcoat only on the center of the nail creates visual interest while staying monochrome.
When applying two finishes, keep the transitions clean. If you plan a glossy accent over a matte base, make sure the matte layer is fully cured and lightly buffed first for adhesion. For at-home application, use a steady hand and thin coats—thicker layers amplify streaks. In the salon, ask for a mix of finishes rather than embellishments to maintain a minimal, refined aesthetic.
3. Use Negative Space to Prevent a Heavy Look
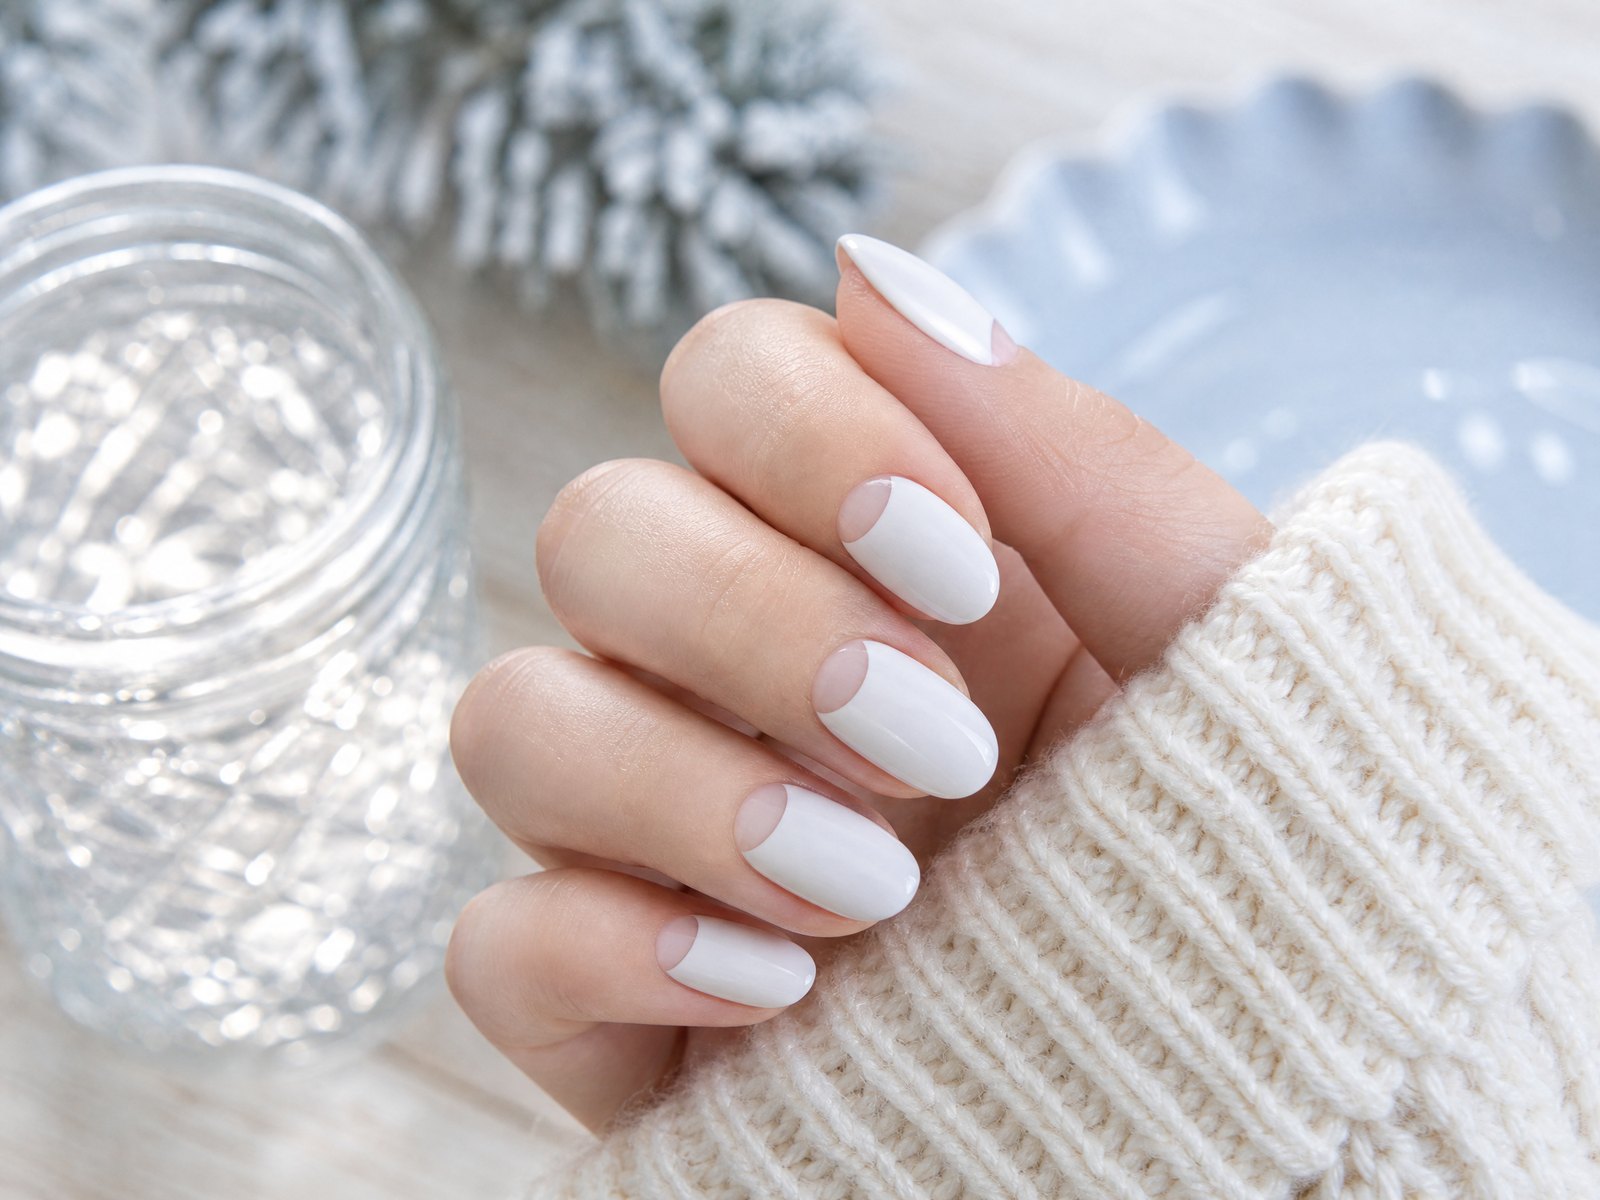
White can feel bold, so negative space is a simple technique to make the manicure feel light and wearable. Leaving a thin crescent near the cuticle, a diagonal gap at the nail tip, or an unpainted stripe along the nail creates air and keeps the design from appearing blocky. These small areas of bare nail also highlight the natural shape of the finger, lending an elegant, modern feel.
Negative space works especially well with sheer whites or when pairing white with a transparent partner shade. Keep the unpainted sections minimal and intentional: the goal is to reduce visual weight, not to create a rushed or unfinished look. Use precise tape, a fine brush, or a negative-space stencil if you want crisp lines and symmetry across both hands.
4. Select One Small Wintry Accent and Keep It Subtle
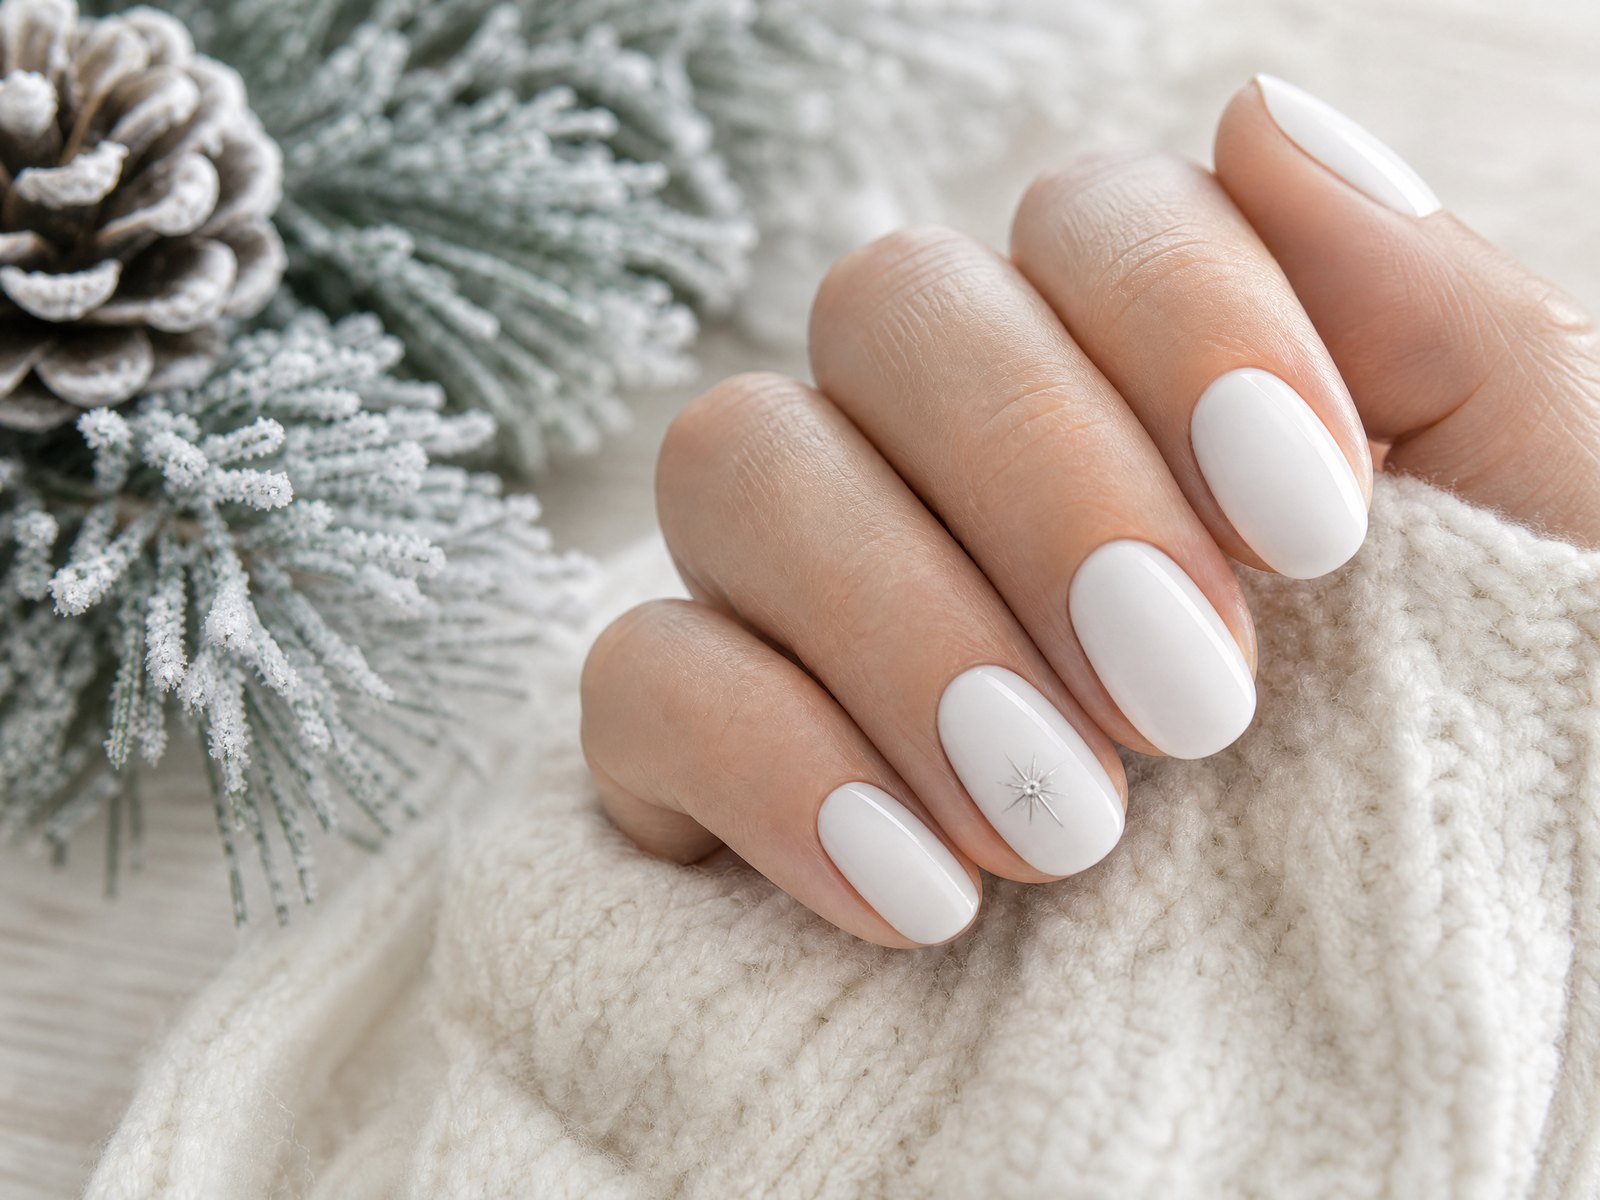
Rather than decorating every nail, choose a single small accent to read as festive without becoming costume-y. A tiny metallic dot near the cuticle, a fine silver line along the free edge, or a micro snowflake placed sparingly on one or two nails can suggest winter without overwhelming the simplicity of the white base. Scale and placement matter: small, well-placed details read refined.
Limit the accent to one texture or motif and repeat it symmetrically (for example, the ring fingers on both hands). This restraint keeps the manicure feeling intentional and easy to wear during daily activities. If you prefer movement, choose a motif that follows the nail’s natural line rather than sitting in the center, which preserves a streamlined silhouette.
5. Balance Shimmer with Quiet Nails
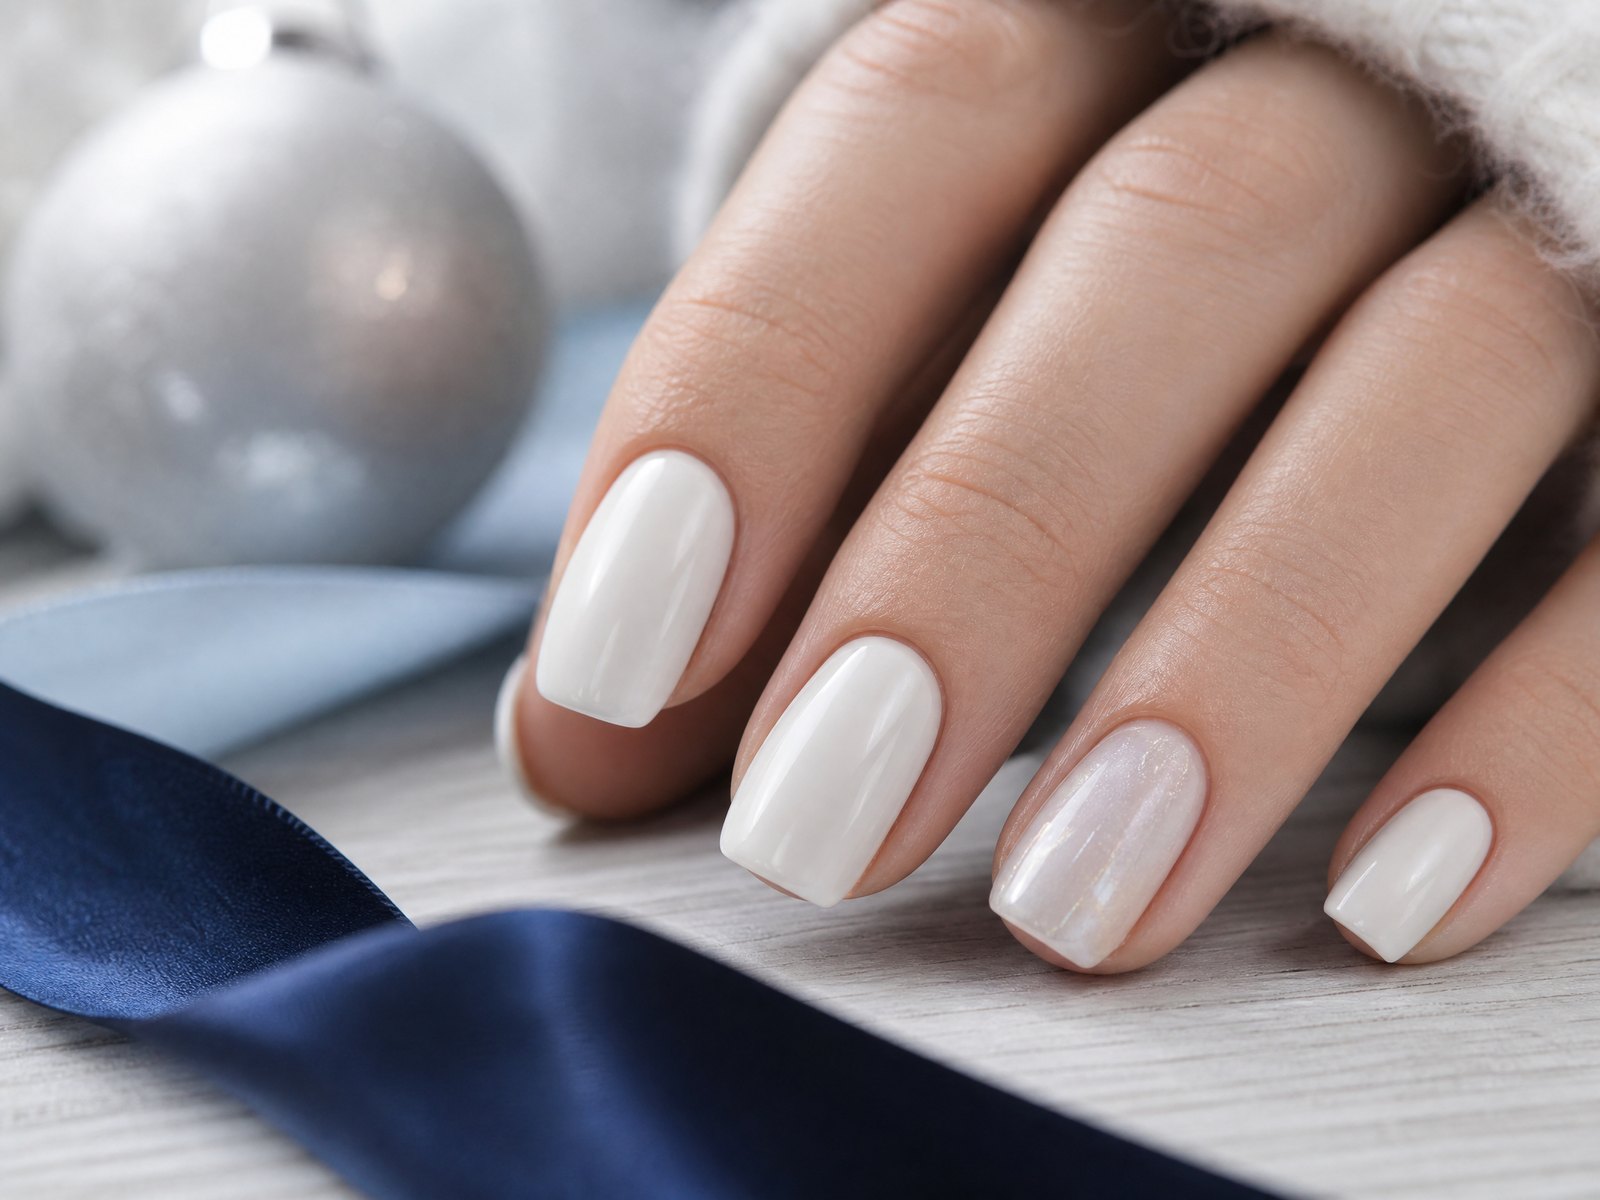
Introduce shimmer carefully so the manicure remains understated. A single shimmery nail or a thin glitter accent along one edge can add festive sparkle without turning the set into a statement piece. Place shimmer sparingly and consider a soft, diffused sparkle rather than chunky glitter for a more refined finish.
Checklist:
- Pick one nail (commonly the ring finger) for shimmer.
- Use a light veil of shimmer or a micro-glitter rather than dense flakes.
- Apply shimmer over a semi-sheer white for a diffused effect.
- Seal with a clear topcoat to prevent texture and preserve shine.
- Keep other nails matte or glossy to maintain contrast and moderation.
6. Add a Neutral or Sheer Partner Nail to Soften the Palette
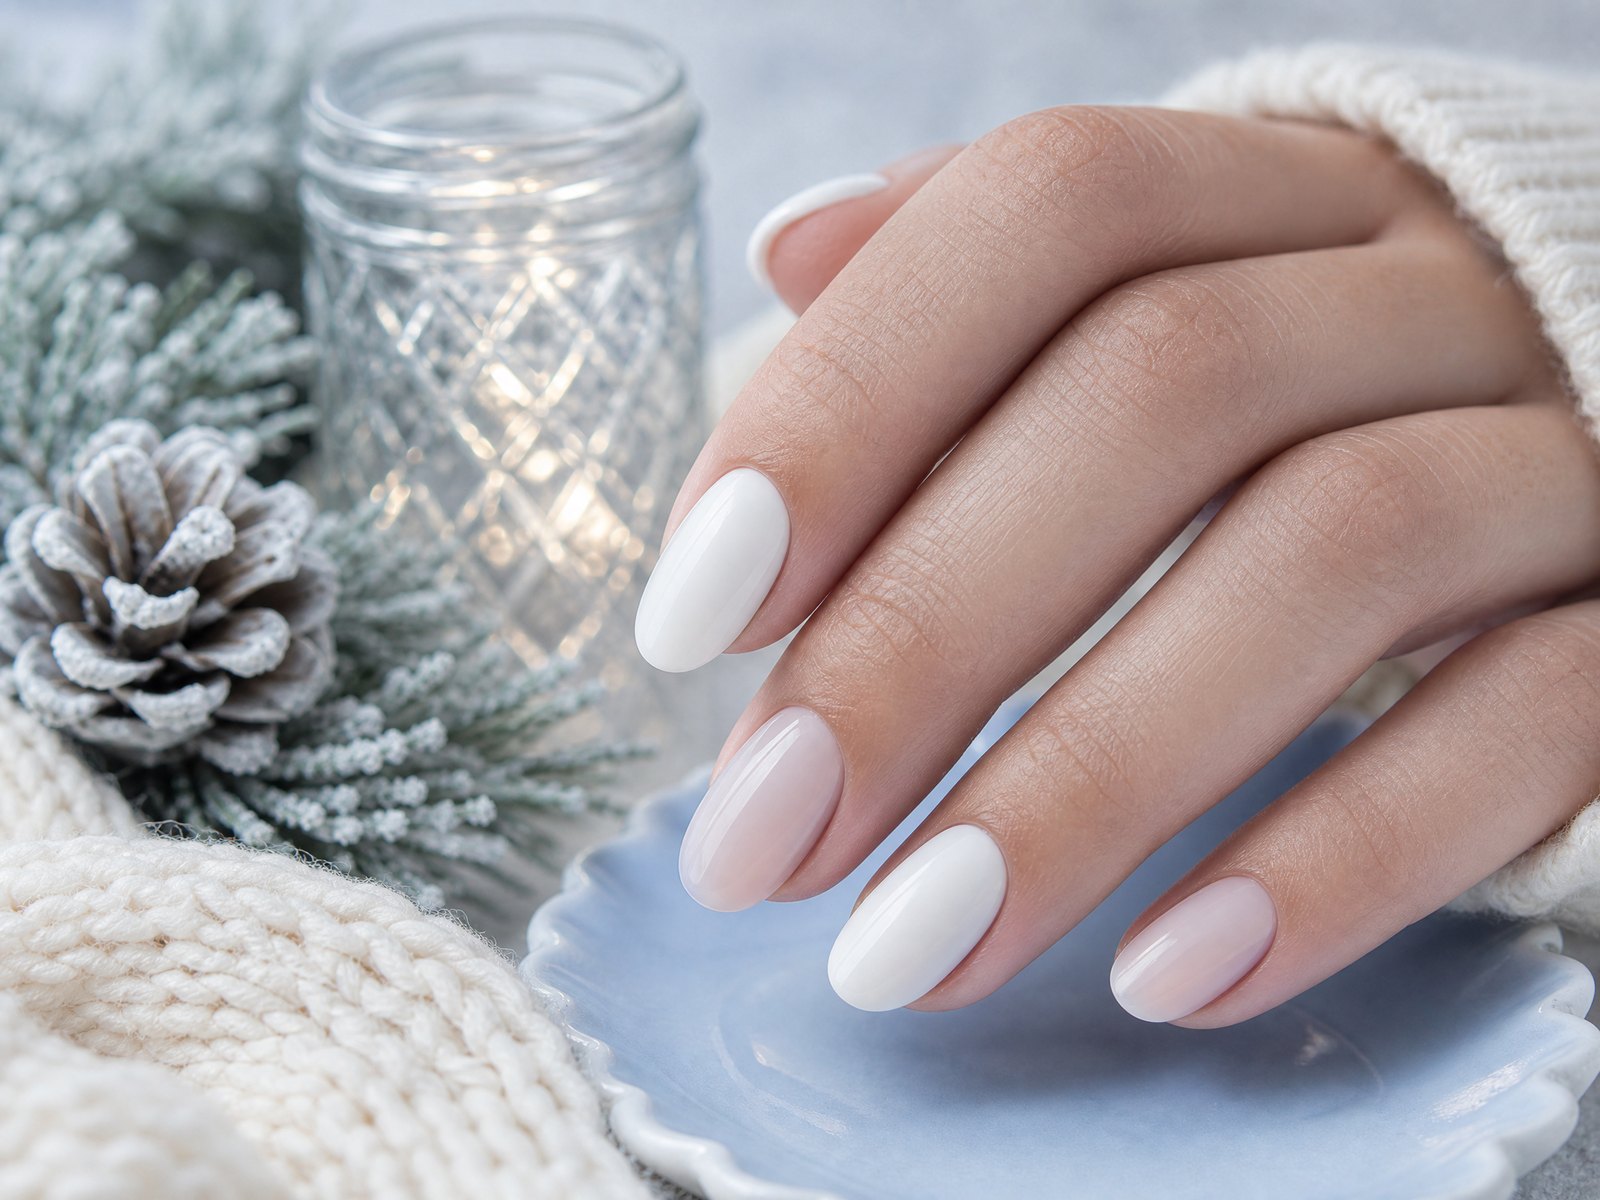
A neutral or sheer partner nail — such as a pale beige, soft blush, or translucent nude — grounds a white manicure and adds warmth. Using a partner shade on one or two nails creates a visual rest point that keeps the white from feeling stark. Choose a sheer formulation for a subtle effect or a gentle cream for a cleaner contrast.
Placement is flexible: try placing the partner shade on the thumb or ring finger to balance the hand, or use it on both thumbs for symmetry. When mixing shades, keep undertones consistent; a warm ivory pairs best with warm neutrals, while a cool white reads harmoniously with taupey or blue-leaning sheers. This coordination ensures the overall look feels cohesive and sophisticated.
7. Select a Shape and Length That Fit Everyday Life
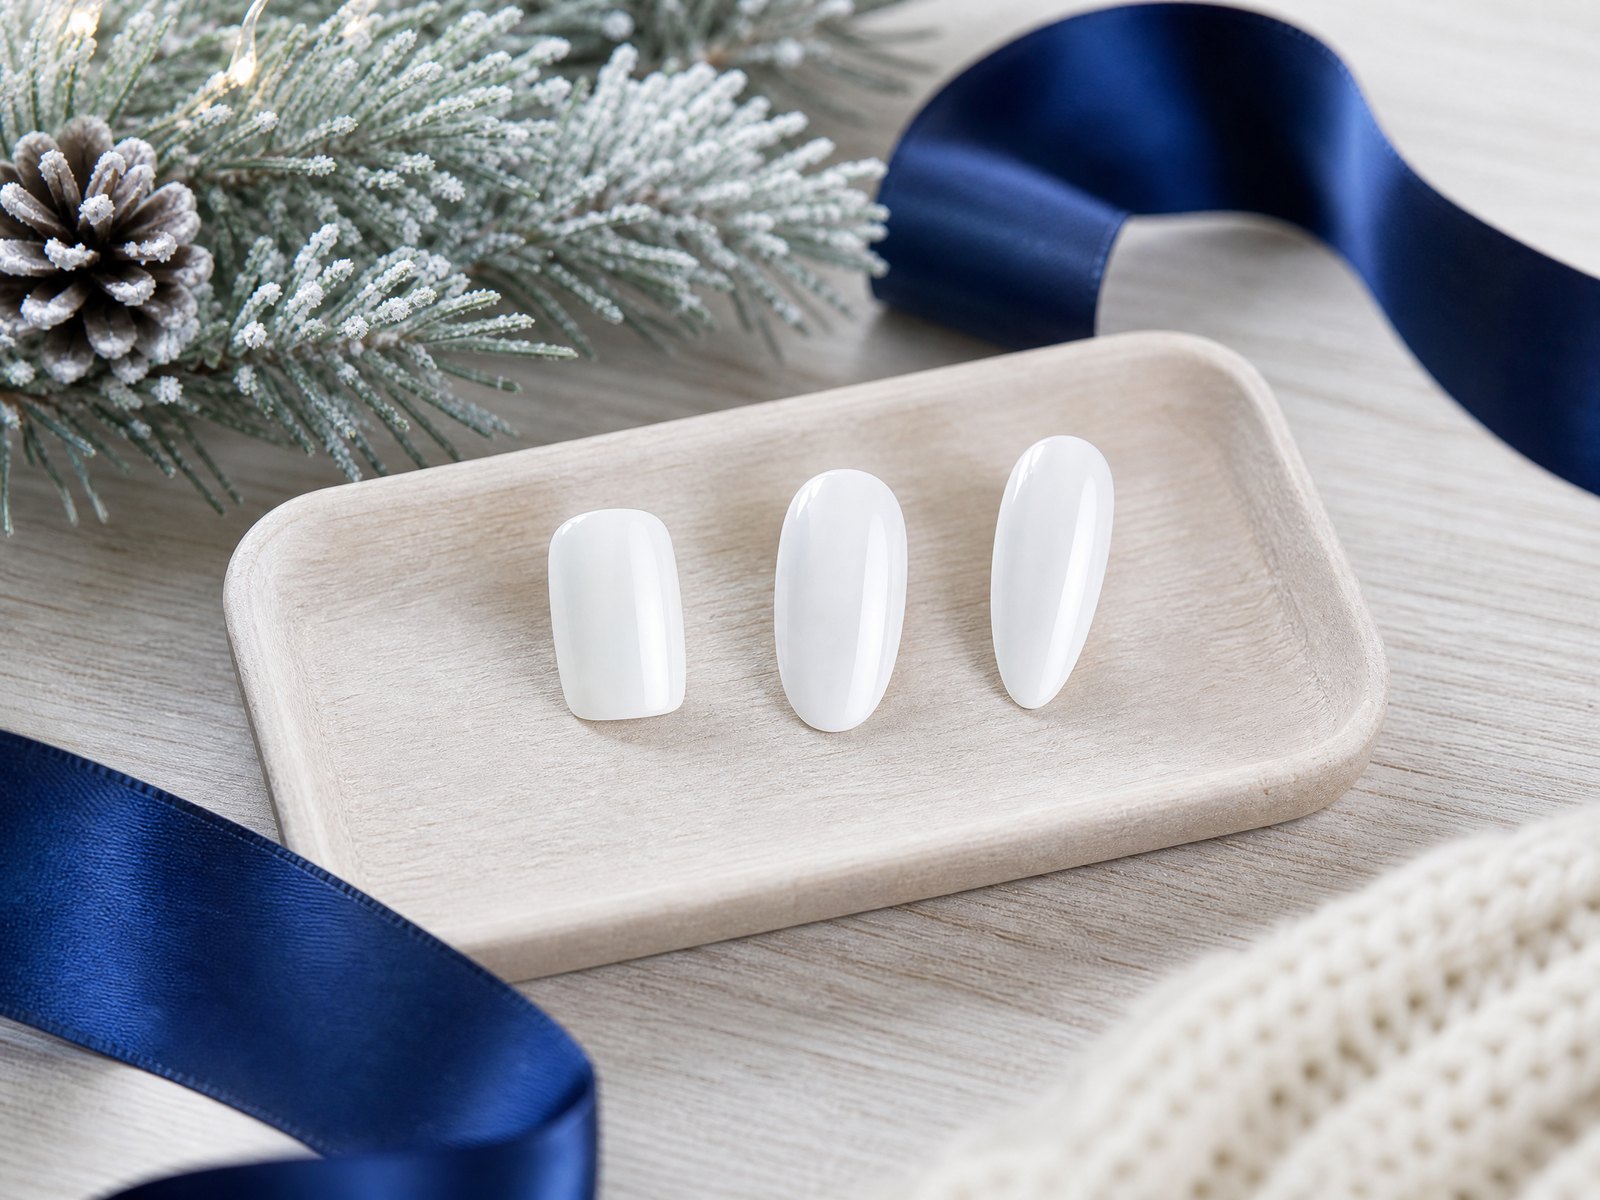
Choose a length and shape that suit your routine before committing to an elegant white finish. Short to medium lengths are the most practical for everyday wear and still showcase detail work. Popular functional shapes include a soft square or a gentle oval; these offer a tidy edge and minimize snagging while remaining flattering on most hands.
If you want visual elongation without extra length, try a tapered oval or a very soft almond; these shapes give a refined silhouette but can be kept at a short-to-medium length for comfort. Remember that sharper shapes and longer lengths require more upkeep and are more likely to chip at the tips, so weigh aesthetics against practicality when planning your manicure.
8. Prepare and Remove Polish Gently for Healthy Results
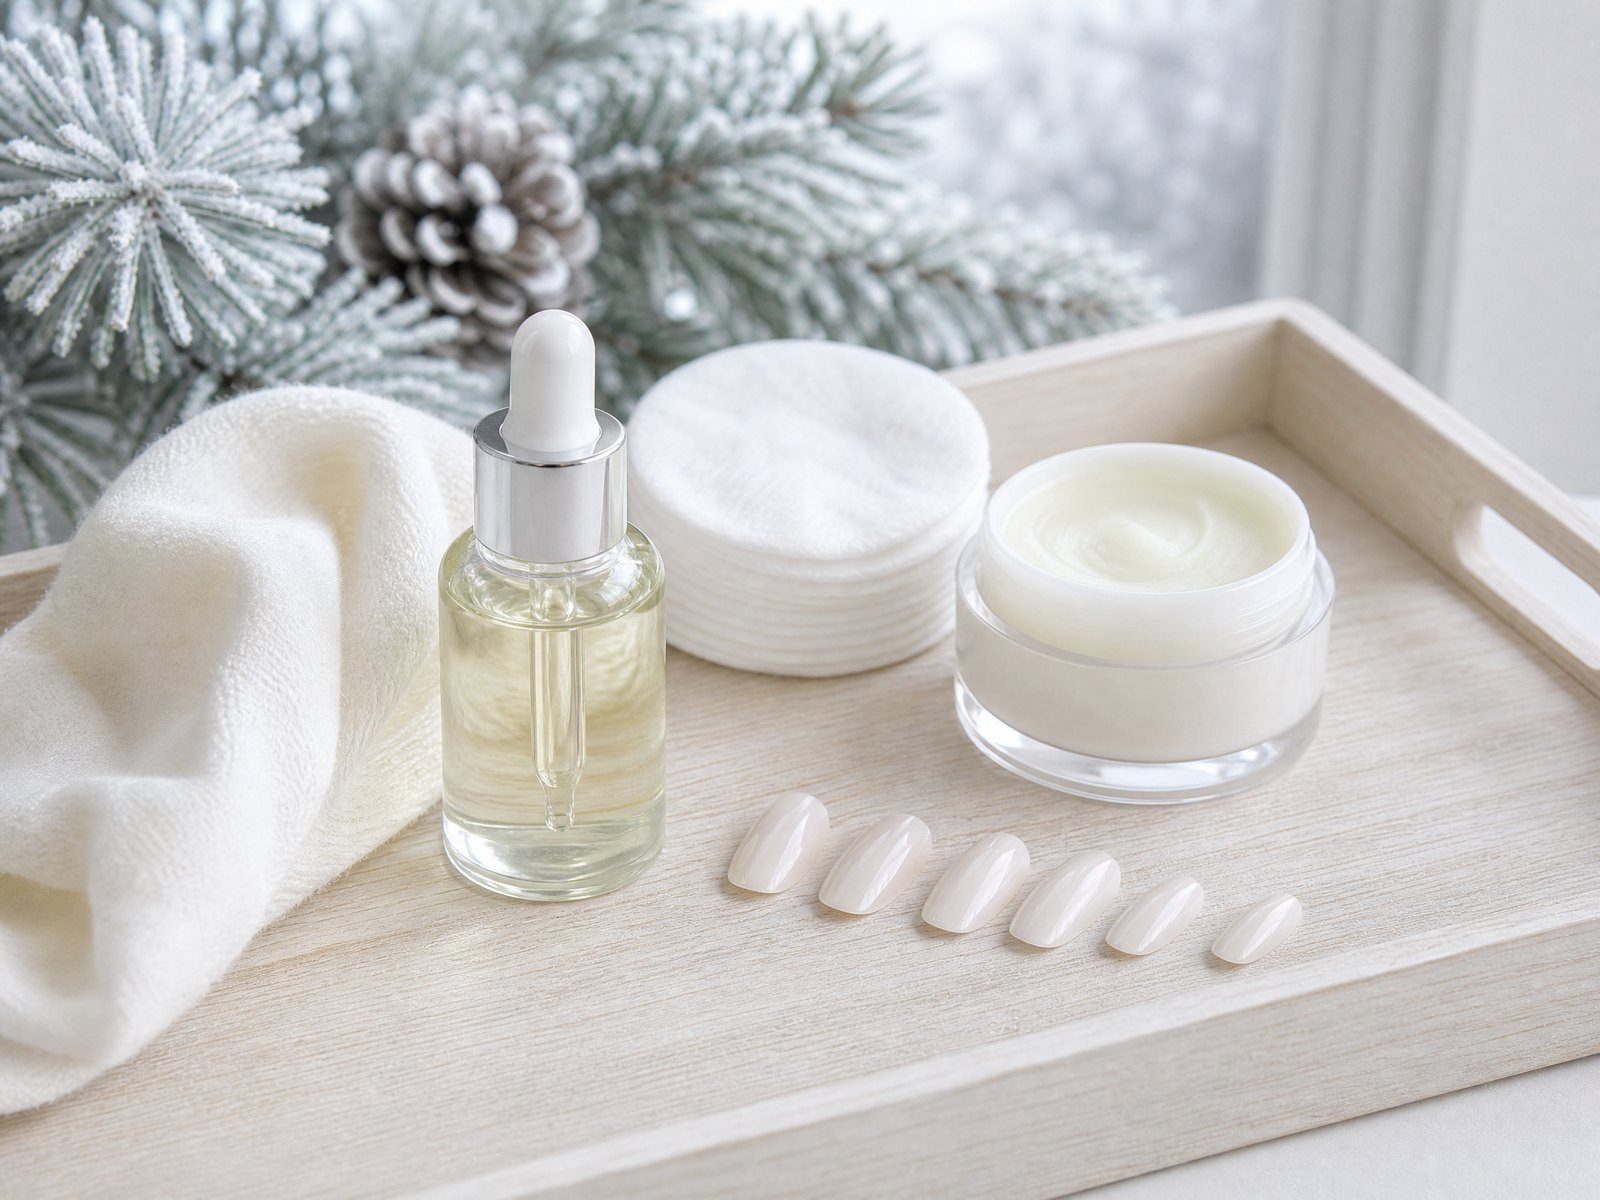
Good results start with preparation: clean nails, pushed-back cuticles, and a light buff to create an even surface. Apply a thin base layer suited to your chosen opacity to help the white go on smoothly and reduce staining or patchiness. When layering white, use thin coats and allow adequate drying time between each application to avoid streaks and bubbling.
Checklist:
- Trim and file nails to the desired shape; lightly buff the surface.
- Gently push back cuticles; avoid aggressive cutting.
- Apply a thin base layer, then build white in thin, even coats.
- Use a non-acetone remover for routine changes; reserve acetone for stubborn finishes.
- Remove polish with gentle soaking and soft wraps or pads; avoid excessive scraping to protect the nail plate.
Final Thoughts
A refined white Christmas manicure relies on thoughtful choices more than ornamentation. Pick a flattering white and opacity, mix finishes for interest, use negative space and a single tiny accent to keep things light, and support the look with a neutral partner nail and practical shape. With careful preparation and gentle removal, a seasonal white manicure will feel modern, elegant, and wearable through the holidays.