Coastal Christmas Tree Ideas: How to Bring Summer Vibes into Your Holiday Decor
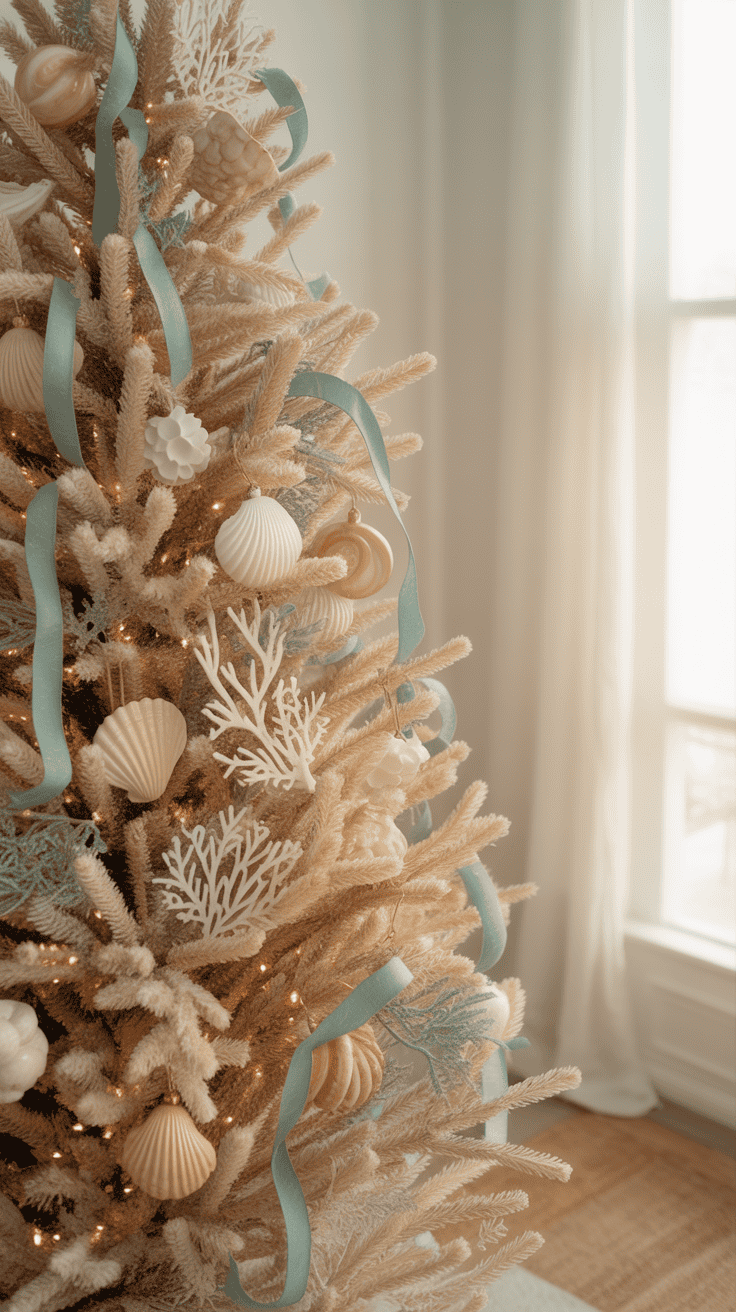
There’s something effortlessly calming about the seaside—the soft palette, tactile textures, and the relaxed rhythm of waves. A beach-inspired Christmas tree lets you fold those elements into holiday cheer, creating a centerpiece that feels both festive and fresh. By leaning into coastal colors, natural materials, and thoughtful lighting, you can design a tree that evokes sand and surf while still honoring seasonal traditions.
This article walks you through simple, practical steps for planning a beach-themed tree: choosing a color story and size, picking ornaments, garlands, and a topper with coastal charm, and enlisting kids in safe, creative projects that become keepsakes. We’ll also explain why a beach-style tree works so well—it balances nostalgia and novelty—and finish with ideas for final flourishes: wrapped gifts that complement your theme, layered lighting for a warm glow, and small touches that bring the seaside mood into the whole room. Whether you’re in a coastal home or craving summer on a winter night, these approachable ideas will help you craft a tree that feels like a sunny memory.
1. Planning a Beach-Inspired Christmas Tree

Bring coastal calm to your holiday tree by planning with purpose: pick a limited palette that echoes sand, sea, and sun, choose ornaments that tell a seaside story, and set a simple decorating plan so the process is joyful instead of chaotic. Start by deciding which coastal elements you want to emphasize—driftwood textures, pearly shells, nautical rope, or pops of coral—and limit yourself to three or four main colors to keep the finished tree cohesive. Think about where the tree will live and how it will be viewed: a slim tree works for narrow spaces, while a fuller tree shows off layered textures like netting and bundled driftwood pieces. Plan for lighting first; the right warm or cool glow will make blues and whites sing.
Make decorating a relaxed family ritual by preparing beforehand. Lay down a towel to catch any sand or glitter, test all lights and hooks before you begin, and assign simple roles so everyone can help without crowding one branch. Keep heavier decorations toward the bottom and reserve fragile or sentimental ornaments for the top and front-facing branches. If you collect shells from the beach, rinse them and let them dry completely; drill tiny holes only with adult supervision, or attach them with glue that won’t damage the shell. Finally, leave room for one or two new traditions each year—an ornament commemorating a trip, a child’s craft, or a small framed photo tucked in the branches makes the tree feel like your family’s seaside scrapbook.
Materials
- – Christmas tree (real or artificial, size appropriate for your space)
- – String lights (test before decorating)
- – Garlands (rope, twine, bead strands, or fishing net)
- – Assortment of ornaments (shells, starfish replicas, boats, glass or wooden sea creatures)
- – Plastic ornament hooks or twine
- – Ribbon or burlap for accents and topper base
- – Hot glue gun and glue sticks (adults only)
- – Small drill or awl for shell holes (adults only) or alternative adhesive
- – Towel or drop cloth to protect floors
- – Keepsake box for handmade ornaments
Steps
- 1. Choose your color palette (3–4 colors) and set aside all matching ornaments and garlands.
- 2. Place the tree and test string lights, starting from the base upwards for even coverage.
- 3. Add garlands next, layering rope or netting with beads to create texture without overwhelming branches.
- 4. Hang larger, heavier ornaments lower on the tree and distribute themed pieces evenly to balance color and shape.
- 5. Use plastic hooks or tied twine for child-friendly hanging; reserve fragile or sentimental items for higher, protected spots.
- 6. Attach the topper (starfish, sand dollar, or knotted rope bow) and secure with ribbon or concealed ties.
- 7. Step back and adjust spacing and light placement; tuck a few small photo ornaments or a keepsake in visible spots to personalize.
- 8. Store leftover supplies and add any handmade pieces to your keepsake box for future trees.
2. Seaside Sparkle: Ornaments, Garlands & Toppers with Coastal Charm
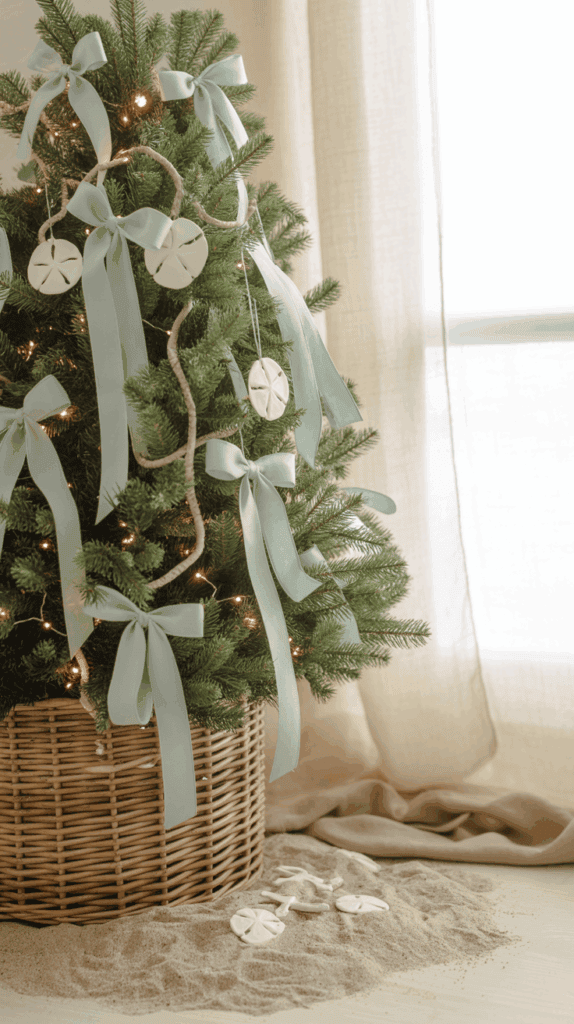
Bring the calm, textured beauty of the shore to your tree with ornaments and accents that feel like sun-warmed driftwood and tide-polished glass. Mix keepsakes from beach days with a few simple handcrafts to create a layered, collected look: glossy glass buoys, tiny beach toys for the kids, and white starfish all play nicely alongside soft ribbon “waves” and strands of natural twine. Choose a restrained palette—seafoam, sand, navy, and pearly white—to keep the tree feeling unified rather than busy.
Practical choices make decorating easier and safer, especially with little helpers. Use lightweight materials low on the tree and reserve fragile glass or heavy pieces for higher branches. Secure garlands at multiple points so they don’t slip, and pick a topper you can anchor firmly (rope bases or ribbon loops work well). A few handmade pieces—like a message-in-a-bottle ornament or a shell cluster topper—add personality and are surprisingly quick to make together as a family.
Materials
- – Collected seashells (small to medium) and sand
- – Small clear glass or plastic bottles with corks
- – Natural twine and thin fishing line
- – Wooden beads (plain or painted)
- – Lightweight starfish or sand dollars (real or faux)
- – Hot glue gun and craft glue (non-toxic for kids)
- – Cardboard or foam ball (for topper base)
- – Ribbon in coordinating colors
- – Fine drill bit or awl (for making holes in shells)
- – Optional: craft paint, glitter, small faux sea glass
Steps
- 1. Clean and prep shells: rinse, dry, and remove any rough edges. If you need a hole, gently use an awl or fine drill bit—supervise or do this part for kids.
- 2. Message-in-a-bottle ornaments: fill a tiny bottle with a pinch of sand, a couple of tiny shells, and a rolled cardstock note. Seal with a cork and tie twine around the neck to form a hanging loop.
- 3. Shell strand garland: thread shells onto fishing line or twine, spacing them a few inches apart. Tie loops at each end for easy hanging and secure knots with a dab of glue.
- 4. Bead-and-twine garland: string wooden beads on twine; knot between beads to control spacing. Paint a few beads sea-colored for extra pop.
- 5. Starfish or sand-dollar ornaments: glue a loop of ribbon or twine to the back of lightweight pieces so they hang flat against branches.
- 6. Shell cluster topper: glue shells around a cardboard cone or foam ball, covering any gaps with sand or tiny beads for texture. Attach a strong ribbon loop or a down-pointing dowel wrapped in ribbon to anchor it to the tree.
- 7. Secure everything: attach garlands at multiple points, hang fragile pieces higher, and place kid-friendly items low.
- 8. Final touches: weave ribbon “waves” and tuck small faux sea glass or netting into branches for depth. Step back often and adjust spacing for a balanced, beachy finish.
3. Get Kids Excited: Simple, Safe Ways to Make the Beach Tree a Family Project
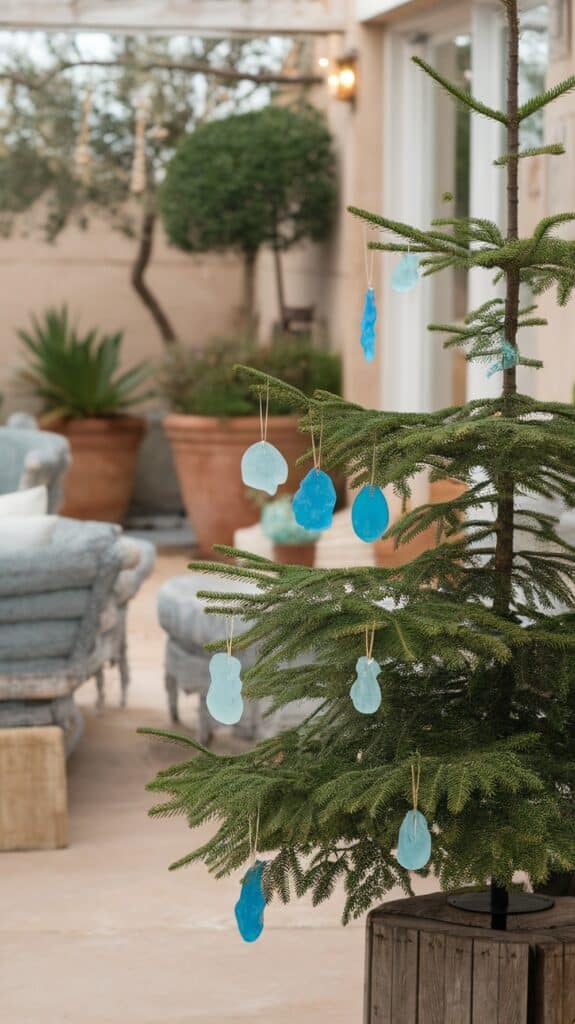
Bring the ocean into your living room and let your kids take center stage. Start by setting a few easy rules—assign each child a small zone of the tree and one special job, like ornament hanger or light tester—so everyone feels useful and there’s less bickering. Keep expectations low and celebrate the quirks: crooked ribbons, lopsided garlands and hand-painted shells become the story of the season rather than distractions from perfection. A calm playlist, a short snack break and a fixed end time will keep energy steady and make the project feel like a party instead of a marathon.
Treat the decorating as a creative day rather than a checklist. Offer two or three simple ornament projects that match your beach theme and that each child can finish in one sitting. Let them pick one element to personalize—favorite color ribbon, a drawn sea creature, or a tiny found shell—and reserve the more delicate pieces for adult placement higher on the tree. That balance lets kids shine while protecting fragile decorations and keeps the process joyful for everyone.
Materials
- – Pre-lit artificial tree or sturdy real tree
- – Non-breakable ornaments (plastic or wooden) and plain craft balls
- – Salt dough supplies: flour, salt, water
- – Paper plates, cardstock, tempera or acrylic paints, paintbrushes
- – Small plastic bottles with caps (for message-in-a-bottle crafts)
- – Shells, small pebbles or beach sand (sealed in crafts)
- – Thick ribbon, fishing net or bead garlands
- – Colorful pasta shapes (optional) and craft glue
- – Twine or thin string, pipe cleaners, googly eyes
- – Sealant spray (for adults to use) and wet wipes for quick cleanup
Steps
- 1. Prep the space: Lay down a washable drop cloth, set up a craft station with paints, brushes, and wet wipes, and cue a beachy playlist. Keep fragile ornaments out of reach until later.
- 2. Assign roles: Give each child a repeating job (ornament hanger, light checker, garland weaver, tree skirt arranger) and one creative choice they control.
- 3. Make quick ornaments: Mix salt dough (2 parts flour : 1 part salt, add water until dough forms), cut shapes with cookie cutters, poke a hole for hanging, bake low and cool, then paint. Adults spray-seal finished pieces.
- 4. Simple message bottles: Fill small plastic bottles with a teaspoon of sand, a tiny shell, and a rolled paper note or drawing; seal caps tightly.
- 5. Paper sand dollars and pasta shells: Paint paper plates and glue on cut shapes for sand dollars; spray-painted pasta can be glued into clusters for texture.
- 6. Decorate together: Start with lights, layer garlands, then let kids place non-breakables on lower branches. Adults add fragile or heavy items higher up.
- 7. Play a quick game: Hide one “treasure” ornament to find, or race to lace a garland to make decorating playful.
- 8. Clean up as a team: Spend five minutes picking up supplies, wiping sticky spots, and celebrating everyone’s contributions.
These simple steps keep kids engaged, safe, and proud of a tree that truly reflects your family’s seaside spirit.
4. Bring Summer Home: Why a Beach-Style Christmas Tree Works
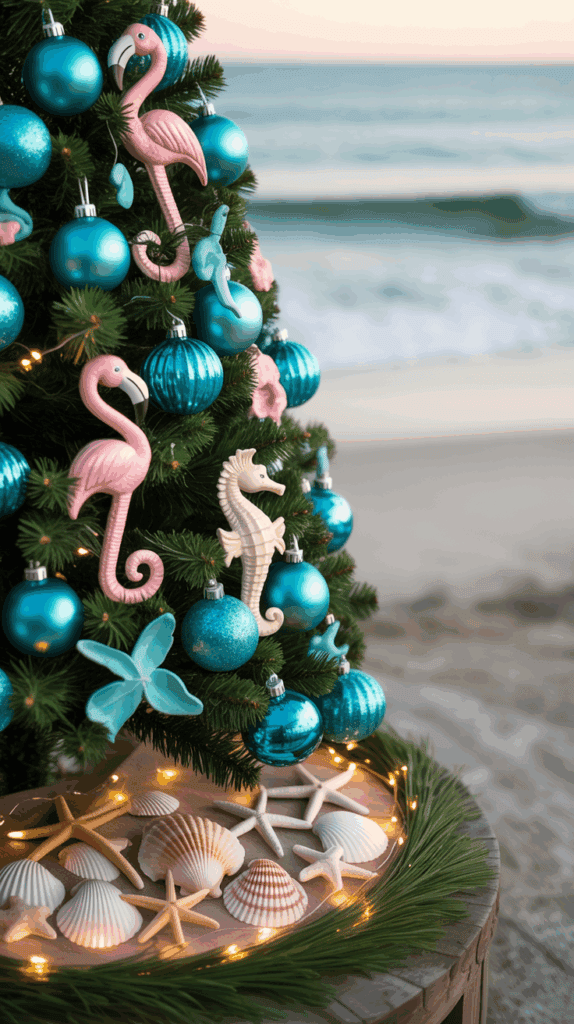
A beach-inspired Christmas tree swaps the expected red-and-green palette for soft sea-glass blues, sandy neutrals, and natural textures that feel both calming and celebratory. It brightens short winter days with a breezy, relaxed vibe and gives your holiday décor a distinctive, seasonal twist without feeling gimmicky. Choosing this theme can make your living space feel lighter and more personal — it’s an easy way to invite the warmth of summer into cold-weather months.
Beyond the look, a coastal tree encourages meaningful personalization. Use collected shells, bits of driftwood, and handmade sea-foam ornaments to tell family stories and turn decorating into a shared activity. It’s also kid-friendly: swap fragile glass balls for felt sea creatures, wooden beads, and ribbon so little hands can join the fun without constant worry. Overall, this theme supports creativity, memory-making, and a fresh take on holiday tradition.
Materials
- – Small or medium artificial or real Christmas tree
- – Battery-operated fairy lights (warm white or cool blue)
- – Assorted shells, sea glass, small driftwood pieces
- – Twine, fishing net or coarse ribbon for garlands
- – Felt or wooden sea creature ornaments (starfish, seahorses)
- – Lightweight glass or plastic blue/white baubles (optional)
- – A basket, galvanized tub, or tree skirt in natural fibers
- – Hot glue gun and glue sticks, scissors, ornament hooks
- – Clear craft sealant (optional, for fragile finds)
Steps
- 1. Place and secure the tree: choose a stable stand or container and position away from high-traffic or heat sources. If using a basket or tub, anchor the tree in a weighty base so it won’t tip.
- 2. String lights first: weave fairy lights evenly from trunk to tip, hiding the battery pack at the base. Lights set the tone, so test them before adding decorations.
- 3. Add texture with garlands: drape twine, a narrow fishing net, or ribbon loosely around the tree to create a layered, coastal look.
- 4. Prepare found items: brush off sand and debris from shells; apply a clear sealant if you want them more durable and glossy.
- 5. Group ornaments thoughtfully: hang larger pieces lower for balance and delicate items higher. Mix natural items (shells, driftwood) with pops of blue baubles to keep the palette cohesive.
- 6. Make kid-friendly additions: add felt seahorses or painted wooden shapes that kids can place themselves — they’ll love contributing.
- 7. Create a topper and base vignette: consider a starfish or a small wreath of driftwood as a topper; arrange sand, extra shells, or a soft tree skirt around the base (avoid loose sand inside the house if you have pets).
- 8. Step back and adjust: rotate the tree to find gaps and redistribute ornaments so the tree reads well from all angles.
- 9. Safety check: secure any sharp pieces, hide cords, and ensure battery packs are out of reach of children.
This approach keeps the decorating process simple, sentimental, and safe while giving your holiday décor a breezy, memorable personality.
5. Final Flourishes: Gifts, Glow, and Seaside Atmosphere
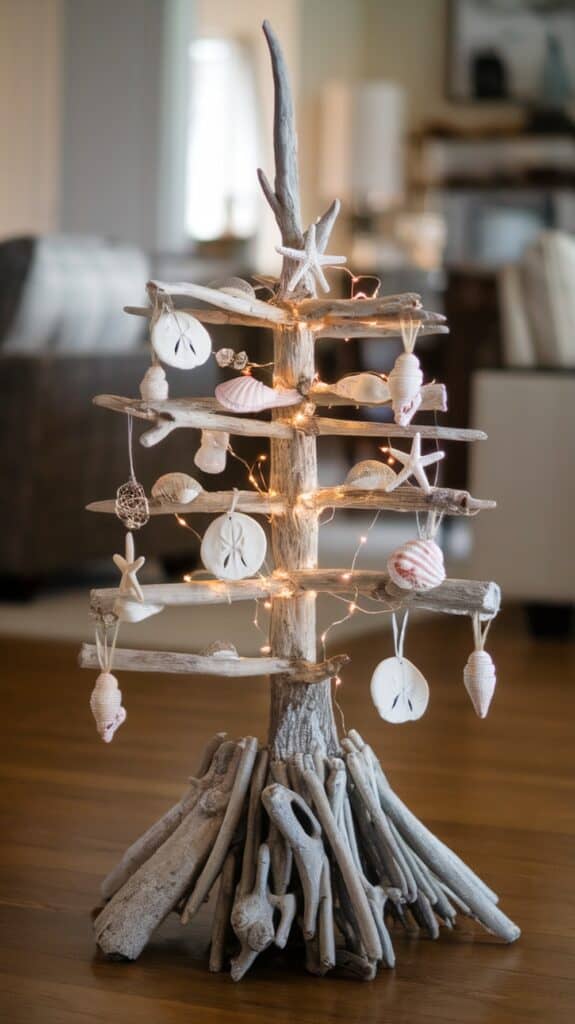
Bring the beachy spirit fully into your holiday room with a few thoughtful finishing touches. Small details — the way presents are wrapped, how the lights are layered, and the scents and sounds you choose — transform a decorated tree into a sensory scene that feels like a cozy day by the sea.
Keep comfort and safety top of mind while you create that shoreline look. Choose soft, diffused lighting and family-friendly scent options, and arrange gifts and props so they invite people to gather without creating tripping hazards. These final steps are easy to tailor for kids, pets, or small spaces and deliver the biggest payoff in atmosphere.
Materials
- – Warm white and soft blue string lights (mix of micro LED and standard bulbs)
- – Battery-operated sea-glass or shell-shaped lights (optional)
- – Burlap, sand-colored throw, or washed sheet for a tree ‘shoreline’
- – Brown kraft paper, white wrap, or aqua tissue for presents
- – Natural twine and small shells or faux starfish for gift ties
- – A few pieces of driftwood or smooth branches
- – A shallow wooden crate or tray (to elevate gifts as a ‘dock’)
- – Soft throws in blue/cream/tan and a small speaker or ocean-sound device
- – Plug-in dimmer or LED-compatible timer (for gentle night glow)
- – Flameless candles or room-safe diffuser (coconut, sea salt, or linen scents)
Steps
- 1. Layer your lights: weave a few strands of warm white lights deep into the tree first to create an inner glow, then add soft blue or aqua strands closer to the outer branches for a watery shimmer. Mix micro LEDs with standard bulbs for depth.
- 2. Anchor the shoreline: place burlap or a sand-toned blanket around the stand. For a raised shoreline, set a shallow wooden crate off to one side and arrange wrapped gifts partially inside and beside it to mimic a small dock or beach chest.
- 3. Wrap with seaside touches: use kraft or white paper for a clean, sandy look. Tie gifts with twine and tuck in a small shell, a sprig of dried grass, or a strip of aqua tissue. Punch a hole in a larger shell to use as a reusable gift tag.
- 4. Add driftwood accents: lean a couple of small driftwood pieces near the base or weave a low strand of lights around them to cast gentle shadows, evoking a boardwalk at dusk.
- 5. Set scent and sound: operate a flameless candle or diffuser with a coastal scent and play soft ocean waves at low volume. Keep scents subtle and sounds ambient so they enhance, not overpower.
- 6. Safety and finishing sweep: secure loose cords with tape or clips, use a dimmer or timer for night use, and keep fragile decorations out of reach of young children. Step back, adjust any balance of color or light, and enjoy the seaside calm you’ve created.
Final Thoughts
A beach-themed Christmas tree is a versatile way to blend seasonal spirit with relaxed coastal style. Start with a clear plan—select a compact or full tree to suit your space, pick a cohesive color palette of soft blues, sand, and driftwood neutrals, and gather ornaments and textures that echo shells, rope, and weathered wood. Involve children with simple, safe crafts to create lasting memories and personalize the display.
Finish with small but impactful details: soft white or warm amber lights, gift wrapping that complements the theme, and subtle scent or decor accents that suggest sea air. The result should feel cohesive and personal—an inviting centerpiece that brings a hint of summer warmth into your holiday celebrations.