Shoreline Spooks: Durable, Cozy Ideas for a Beachside Halloween
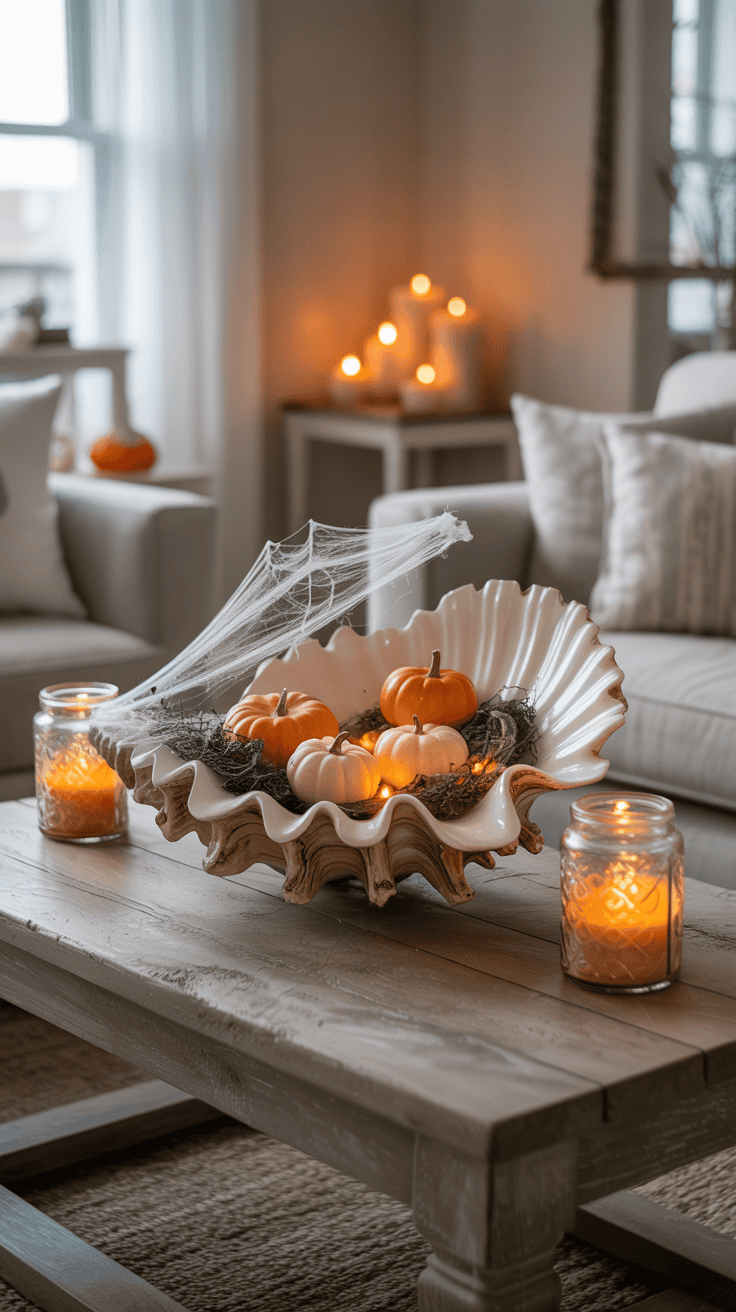
A Halloween by the sea offers a rare, salt-scented charm—wind-carved silhouettes, moonlight on the surf, and the soft crunch of sand underfoot. But decorating a shoreline comes with its own rules: salt, sun, spray and steady breezes can quickly undo delicate displays. With a few weatherwise choices and a dash of coastal creativity, you can set a spooky, welcoming scene that stands up to the elements and feels right at home on the shore.
This article walks through practical, family-friendly ways to celebrate Halloween on the coast. You’ll find coastal-proof outdoor decorating tips that emphasize durable materials and secure anchoring, ideas for crafting a cozy beachside atmosphere that’s moody without being over-the-top, and simple crafts kids can make—and keep as keepsakes. We’ll also explore why a seaside Halloween belongs on your shoreline and suggest approachable family themes that balance safety, sustainability, and seasonal fun. Whether you’re aiming for eerie elegance or playful beachy ghosts, these ideas help you create a memorable, low-maintenance celebration by the water.
1. Coastal-Proof Halloween: Smart Outdoor Decorating Tips
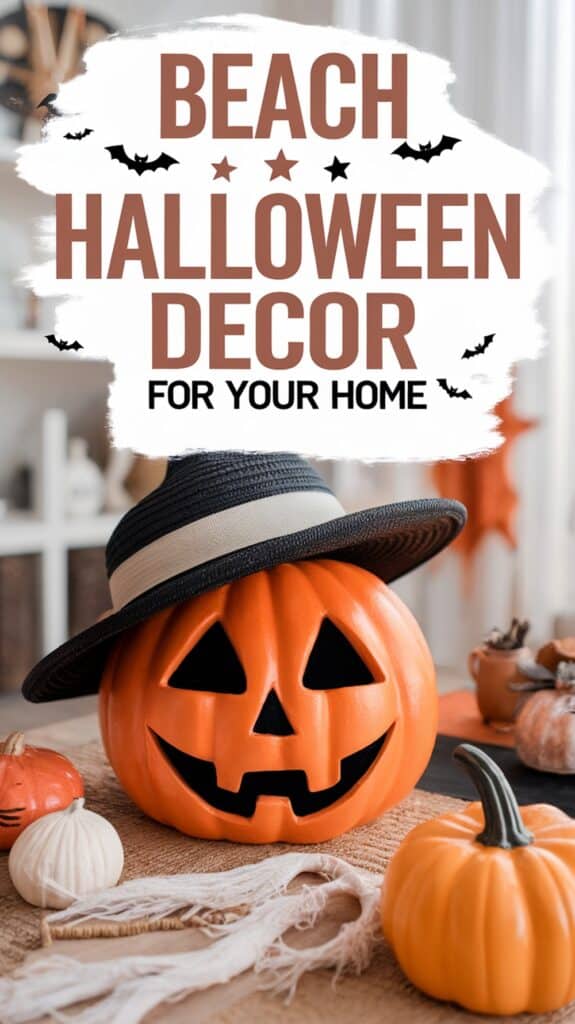
Living near the water means decorating has to be both festive and built for weather. Salt spray, strong sun, and gusting breeze are the real enemies of Halloween props, so choose pieces that shrug off rust, fade, and flying away. Favor durable plastics, resin, galvanized metal, and marine-grade rope; these materials age into charm rather than falling apart. Think of function first—weight, drainage, and fast-dry surfaces—then add playful details that won’t need constant babysitting.
Anchor solutions and easy cleaning save a lot of headaches. Give light and movement over to battery-powered LEDs and wind-friendly items, and secure larger displays with zip ties, bungee cords, or sand-filled bases. Use items you can hose off or wipe down after a storm, and make repair/refresh a quick family job so the yard looks ready for trick-or-treaters without a big weekend overhaul. Embrace natural finds—driftwood stakes, shells, and washed grasses—to blend Halloween into the shoreline without extra expense.
Materials
- – Resin or heavy-duty plastic pumpkins/figures
- – Galvanized buckets or planters with drainage
- – Marine-grade rope or weatherproof cord
- – Zip ties, bungee cords, and stainless hooks
- – Small sandbags, pebbles, or weighted inserts
- – Battery-operated LED string lights and lanterns (sealed battery compartments)
- – Outdoor paint (exterior grade) and clear sealer
- – Spray sealant for painted items
- – Driftwood, large shells, sea grass or faux alternatives
- – Soft netting or mesh (for texture/backdrop)
Steps
- 1. Pick a stable base for large props: use heavy-planter bottoms, sandbags, or pebbles inside hollow decorations to lower the center of gravity.
- 2. Secure taller items to railings or posts with zip ties or bungee cords; attach a secondary tie point at the midpoint to reduce wobble.
- 3. Use galvanized metal containers for lights or buckets—drilling small drainage holes prevents standing water and salt pooling.
- 4. Wrap battery LED strings around railings and tuck excess into a weatherproof box; avoid exposed electrical cords near spray.
- 5. Paint any wooden signs with exterior paint and finish with a clear, water-based sealer. Test a scrap piece first in sun for a week.
- 6. Anchor lightweight décor inside heavier baskets filled with shells or stones so they stay put and look beachy.
- 7. Create texture by layering driftwood, rope, and netting; hide fasteners behind shells or grass for a polished look.
- 8. Rinse decorations with fresh water after storms and wipe battery compartments dry before replacing batteries.
- 9. Rotate fragile or paper items indoors on windy nights; swap them back out the evening of the event.
- 10. Involve the family for quick nightly checks—spotting loose ties or damp areas early keeps the display looking its best.
Follow these steps and you’ll have a Halloween display that survives seaside weather and still delights trick-or-treaters.
2. Seaside Spooks: Crafting a Cozy Beachside Halloween Atmosphere
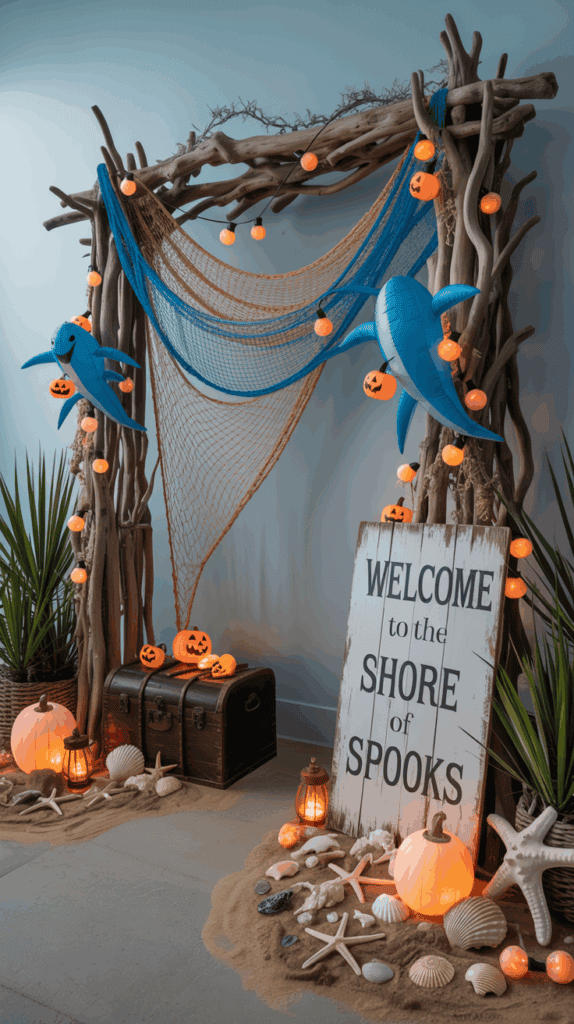
A beach Halloween should feel warm, playful, and effortless — not windy chaos. Start by thinking in layers: soft pools of light, comfy clusters for chatting, and a clear play zone for kids. Opt for battery-powered LEDs and enclosed lanterns to avoid open flames in gusty conditions, and pick fabrics and cushions you won’t mind rinsing off later. Small, intentional touches (a string of lights tucked into a driftwood display, a few glowing jars on low tables) transform ordinary sand into a festive, welcoming scene without overdoing it.
Plan the layout like a tiny seaside neighborhood. Place food and drink in a sheltered spot, seating in easy-to-supervise clusters, and games downwind from food to keep sand out of snacks. Choose one focal moment — a story circle, a s’mores station, or a photo backdrop — so guests have a shared place to gather. Remember accessibility: leave clear paths between zones and keep a small first-aid kit and spare layers on hand for chilly evenings. With a bit of prep and wind-aware choices, you’ll have a beach party that’s equal parts spooky and salt-air friendly.
Materials
- – Battery-operated LED string lights and fairy lights
- – Battery tealights or enclosed lanterns in jars
- – Heavy-duty blankets, beach towels, and outdoor pillows
- – Folding chairs or low beach loungers
- – Sand anchors, buckets of sand/rocks, or clip-on tablecloth clips
- – Lightweight backdrops (old surfboard, fabric garland) and props
- – Glow sticks, inexpensive trinkets for treasure hunts
- – Small portable speaker and extension of power pack (battery bank)
- – Cooler, covered snack containers, hand sanitizer, trash bags
- – Optional: portable firepit with spark screen OR battery flameless candles
Steps
- 1. Choose your spot and schedule: pick a time before high tide and scout wind direction. Aim for early evening so younger kids can enjoy daylight then the glow of lights.
- 2. Layer the lighting: hang string lights between poles or chairs, place jar lanterns on tables, and use glow sticks for game prizes and path markers. Keep all lights battery-powered for easy setup.
- 3. Anchor everything: weigh down tablecloths, tie decor to stakes, and place heavy rocks inside open-bottom props. Use buckets of sand as stable bases for poles or umbrellas.
- 4. Arrange seating into zones: a food station with easy access, a relaxed seating cluster for adults, and a kid-friendly game area with soft boundaries so toys stay contained.
- 5. Set up a focal feature: make a photo spot or story circle visible from all areas. Secure any backdrop with extra ties and avoid lightweight fabrics that flap in the breeze.
- 6. Plan food with wind in mind: use covered containers, insulate drinks, and position serving tables perpendicular to the wind to reduce sand intrusion.
- 7. Follow safety basics: keep a bucket of water or sand near any flame source, supervise children around fire, and stow sharp items safely.
- 8. Quick pre-party check: test batteries, sweep seating for glass, secure loose items, and leave labeled bins for trash and recycling to make cleanup simple.
With these steps, your beach Halloween can be memorable, manageable, and magic-ready — all while staying salt-air approved.
3. Seaside Halloween Crafts Kids Can Make (and Keep Cherishing)
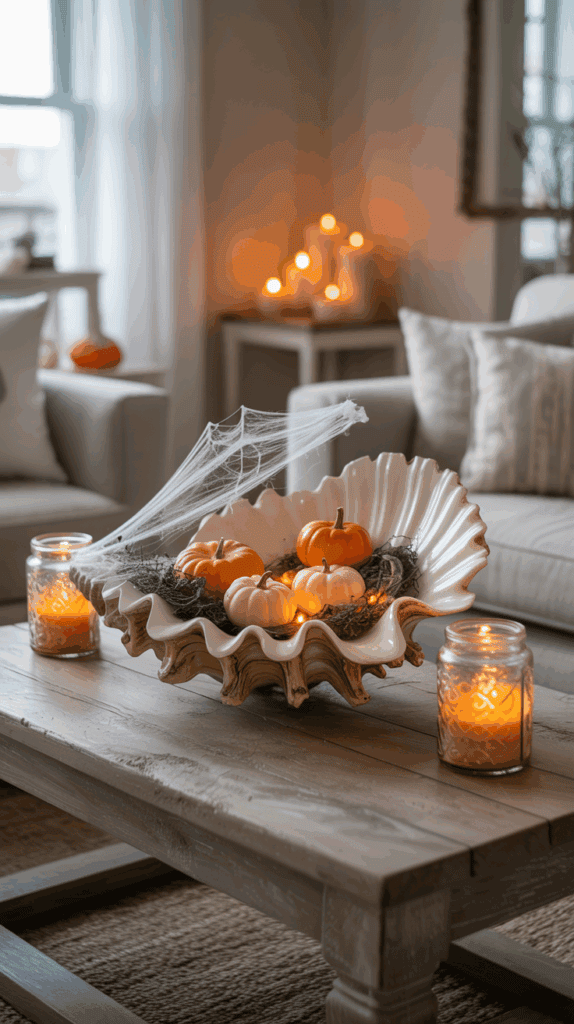
There’s something magical about making Halloween decorations with sand on your hands and salt on your jacket. These simple projects are designed for small helpers and short attention spans: they lean into the beachy theme, tolerate a little outdoor mess, and result in playful pieces you’ll actually want on the porch. Let the kids pick shells, colors, and character names — those choices are what make these decorations feel special.
A quick note before you start: set up a washable work area, keep small parts away from very young children, and use battery-powered lights instead of candles. For outdoor longevity, seal painted pieces with a clear, weatherproof spray and tuck delicate items under eaves or in sheltered displays when storms roll in. Above all, focus on fun — perfection isn’t part of the brief.
Materials
- – Clean glass jars with lids (mason, pickle jars, etc.)
- – Beach sand and an assortment of shells, small driftwood, sea glass
- – Battery tea lights (LED)
- – Twine or ribbon
- – White acrylic paint and paintbrushes
- – Fine-tip permanent markers
- – Clear-drying craft glue and a hot glue gun (adult use only)
- – Smooth beach rocks or large pieces of sea glass
- – Clear plastic bowls or cut water bottles
- – Assorted ribbons, yarn, or strips of lightweight plastic bags
- – Googly eyes, craft gems, stickers
- – Small pumpkins (real or faux) and craft sand or adhesive gems
- – Fishing line or clear thread for hanging
- – Clear outdoor sealer (optional)
Steps
- 1. Sand Lantern Jars
1. Fill each jar with a 1–2 inch layer of sand. Let kids press in shells or small driftwood pieces to create tiny scenes. 2. Add an LED tea light, close the lid, and tie twine or ribbon around the neck. Label with a small tag for extra charm.
- 2. Ghost Shells
1. Wash and dry clam-style shells. Paint the inside or outside white and let dry. 2. Use permanent markers to draw eyes and an open “O” mouth. Seal with clear spray if they’ll sit outside.
- 3. Jellyfish Window Hangers
1. Cut the bottom from a clear plastic bowl (adult help) or use the rounded top of a bottle. 2. Attach ribbons, yarn, and plastic strips to the rim with glue. Add googly eyes and hang by fishing line so they dance in the breeze.
- 4. Tide-Pool Pumpkins
1. Paint pumpkins in ocean hues and let dry. Glue on shells, faux seaweed, and small driftwood around the stem to mimic a tide pool. 2. Sprinkle craft sand into wet glue for texture and seal if displaying outdoors.
Tip: Keep a small basket for finished pieces and rotate them through the porch display so each child’s creation gets a moment to shine.
4. Why Beach Halloween Decor Belongs on Your Shoreline
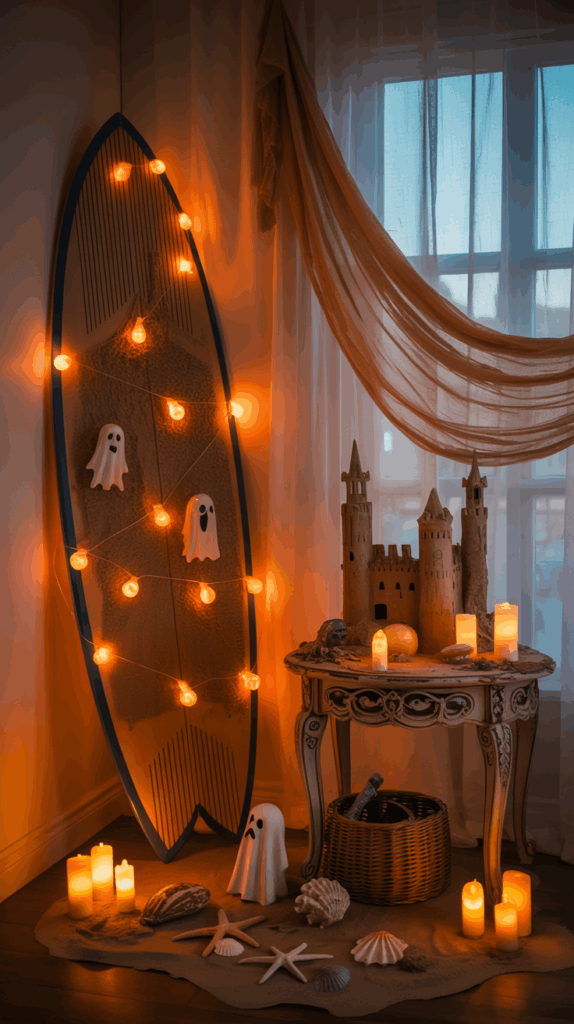
Coastal homes deserve Halloween that feels like part of the landscape—not an awkward theme pasted onto a porch. Beach-friendly decorations are designed to tolerate sun, salt spray, and wind while still delivering the playful spookiness the season demands. Choosing elements that age gracefully and anchor well lets your outdoor displays glow all evening without a nightly rescue mission.
Beyond durability, seaside Halloween decor lets you celebrate in a way that reflects daily life by the water. Seashells, driftwood, and rope add texture and familiarity; string lights, lanterns, and weatherproof pumpkins provide atmosphere without clashing with coastal style. The result is a welcoming display that pleases neighbors, invites trick-or-treaters, and keeps maintenance low.
Materials
- – Driftwood or reclaimed wood pieces
- – Sturdy fishing net or decorative netting
- – Outdoor-rated string lights (solar or low-voltage)
- – Weatherproof pumpkins or foam pumpkins with outdoor paint
- – Marine-grade rope or natural jute
- – Heavy-duty zip ties and stainless steel hooks
- – Small sandbags or landscape stakes for anchoring
- – Clear outdoor sealant or water-resistant spray
- – Large shells, starfish (real or faux), and smooth stones
- – Lanterns or mason jars with LED tealights
Steps
- 1. Survey and plan: Walk your porch or yard at the time you’ll display the decor (evening and daytime) to note wind direction, sun exposure, and foot traffic. Plan heavier pieces where gusts are strongest and keep pathways clear for visitors.
- 2. Prep and protect: Clean driftwood and shells, and apply a clear outdoor sealant to protect against rot and salt. Paint or finish foam pumpkins with outdoor-rated paint and seal when dry.
- 3. Build sturdy anchors: Use sandbags or landscape stakes at the base of freestanding pieces. For hanging elements, install stainless steel hooks or use heavy-duty zip ties around railings—metal and marine-grade fasteners resist corrosion.
- 4. Layer textures for coastal character: Drape netting over arches or railings, nest lanterns in clusters of shells and stones, and wrap rope around posts for a weathered, seaside look that reads as intentional rather than fragile.
- 5. Light with purpose: Place solar or low-voltage lights behind translucent shells or inside mason jars to create soft, salt-air–friendly illumination. Secure wiring with zip ties and protect connections from spray.
- 6. Finish and secure decor: Position pumpkins and decorative pieces so they’re sheltered from direct gusts; weigh lighter items with hidden stones or attach them discreetly with ties. Keep sharp objects away from play areas.
- 7. Maintain and store: After a storm or at season’s end, rinse items with fresh water, allow to dry, and store in breathable bins. Reapply sealant annually for pieces left outdoors.
These practical choices keep your Halloween festive, seaside-true, and simple to manage—so you spend more time enjoying the season and less time chasing decorations down the beach.
5. Family-Friendly Coastal Halloween Themes
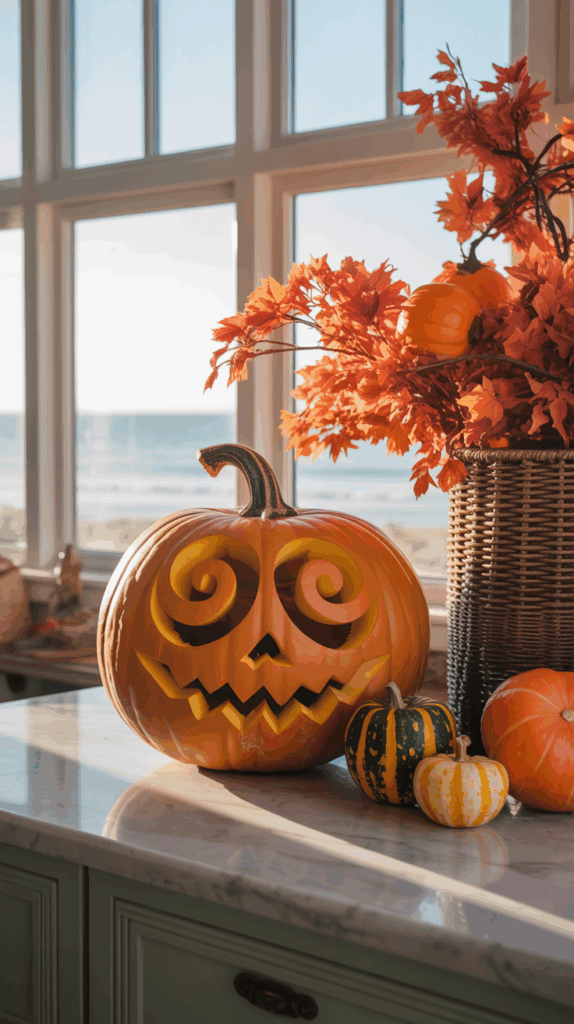
Bring the shore to your Halloween with playful, sea-inspired themes that kids love and that stand up to salt air and breeze. Start by picking one big idea—pirates, merfolk, shipwrecks, or spooky tide pools—and let that guide colors, props, and activities. Choosing durable materials and simple construction keeps things fun without a lot of maintenance, so decorations still look great after an evening on the porch.
Keep safety and longevity in mind as you plan. Use battery-operated LEDs instead of real candles, anchor freestanding pieces against wind, and avoid small parts if young children will be handling decorations. Involve the whole family: treasure hunts for driftwood and shells double as prep time, and decorating pumpkins or painting signs gives everyone a role.
Materials
- – Driftwood, old oars, or scrap wood pieces
- – Fishing net or rope, buoys, and coarse twine
- – Cleaned shells, starfish replicas, and pebbles
- – Pumpkins or faux pumpkins (foam or plastic)
- – Clear umbrellas, ribbons, and curling ribbon or streamers
- – Pool noodles, pillowcases, or lightweight fabric for ghost shapes
- – Acrylic paint and spray paint designed for outdoor use
- – Hot glue gun, waterproof glue, and glue dots
- – Battery-powered LED lights, fairy lights, and small lanterns
- – Clear craft sealant spray or outdoor varnish
- – Buckets, baskets, or weatherproof containers
- – Hooks, zip ties, and sandbags or bricks for anchoring
Steps
- 1. Pick a theme and a primary color palette (e.g., navy + orange for nautical, teal + silver for merfolk). Keep it consistent across all elements.
- 2. Collect and clean beach finds: rinse shells and driftwood, let dry, then spray a clear sealant to protect from salt and humidity.
- 3. Make a focal piece: paint a driftwood sign with your theme name (“Haunted Harbor,” “Mermaid Cove”) and attach rope for hanging. Seal the paint for weather resistance.
- 4. Build quick jellyfish lanterns by inverting clear umbrellas, tying ribbons/streamers from the rim, and placing battery LEDs inside. Hang with sturdy twine from porch eaves.
- 5. Create pirate or treasure accents: fill a small chest or basket with painted shells, faux coins, and a lantern; tuck it near the entry as a candy station.
- 6. Transform pumpkins with coastal details—glue shells, paint wave patterns, or stack them like a sandcastle in baskets weighted with sandbags.
- 7. Add ambient lighting: place LED lanterns inside buckets lined with sand to stabilize them and scatter string lights behind fishing nets.
- 8. Anchor everything: use zip ties, sandbags, or heavy bases so wind won’t tip displays. Test stability before nightfall and swap batteries as needed.
Finish by involving kids in setup and naming each piece—personal touches make the display feel special and memorable while keeping it practical for life by the sea.
Final Thoughts
A successful beach Halloween blends imagination with common-sense preparation: choose hardy materials, secure decorations against wind and tide, and favor reusable or natural pieces that won’t harm the shoreline. Simple lighting, weighted displays, and a few handmade treasures from kids can transform a stretch of sand into a cozy, spellbinding scene that invites neighbors and family to gather safely.
Start small, focus on textures and durable anchors, and let the coast guide your aesthetic. With mindful planning and a few tried-and-true techniques, a seaside Halloween becomes a beloved, low-stress tradition that celebrates the season and the shoreline alike.