Undersea Halloween: Simple DIY Mermaid Decor Ideas for Home and Kids
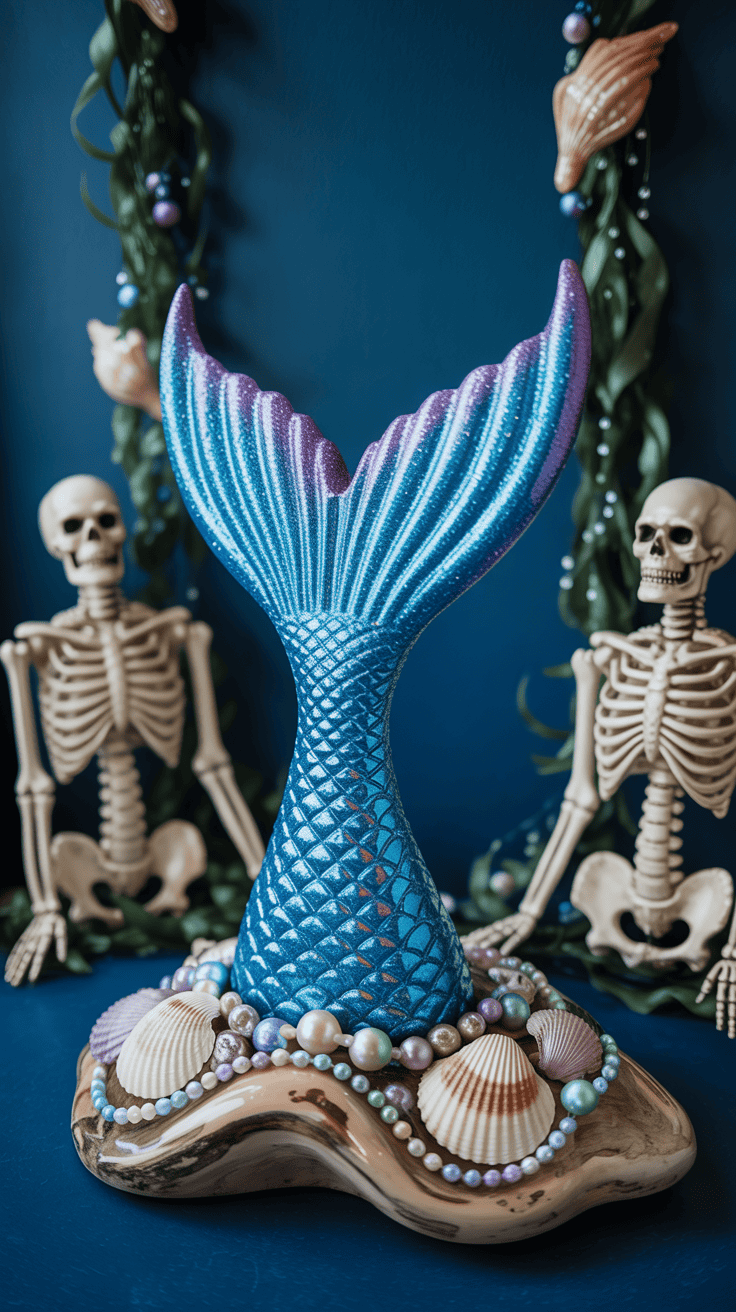
Turn Halloween into an underwater wonderland with mermaid-themed décor that’s simple to make and delightful to display. Whether you want a whimsical porch, a cozy indoor nook, or a family-friendly craft project, these ideas keep things approachable. You’ll find straightforward outdoor options that stand up to breezy nights, calm decorating strategies for doing projects with kids, an easy mermaid-tail garland children can help assemble, a compact starter-kit checklist of essentials, and a magical tablescape and photo nook to tie it all together.
This collection focuses on texture, color, and movement—think draped netting, iridescent accents, soft lighting, and layered blues and greens—to create depth without complicated techniques. Most projects use affordable, common supplies and simple tools so you can adapt ideas to your space and schedule. If you’re decorating with little ones, there are gentle, joyful activities that let them contribute without pressure, plus practical tips for choosing kid-safe materials. Mix and match elements to suit your style, keep cleanup minimal, and enjoy an enchanted Halloween that feels effortless.
Along the way you’ll get simple weatherproofing tips for porches, ideas for repurposing household items into sea-themed props, and shortcuts to keep projects quick when time is tight. Whether you prefer subtle ocean hints or a full-on mermaid fantasy, these adaptable concepts help you create a memorable, family-friendly display.
1. Easy Outdoor Mermaid Halloween Decorations
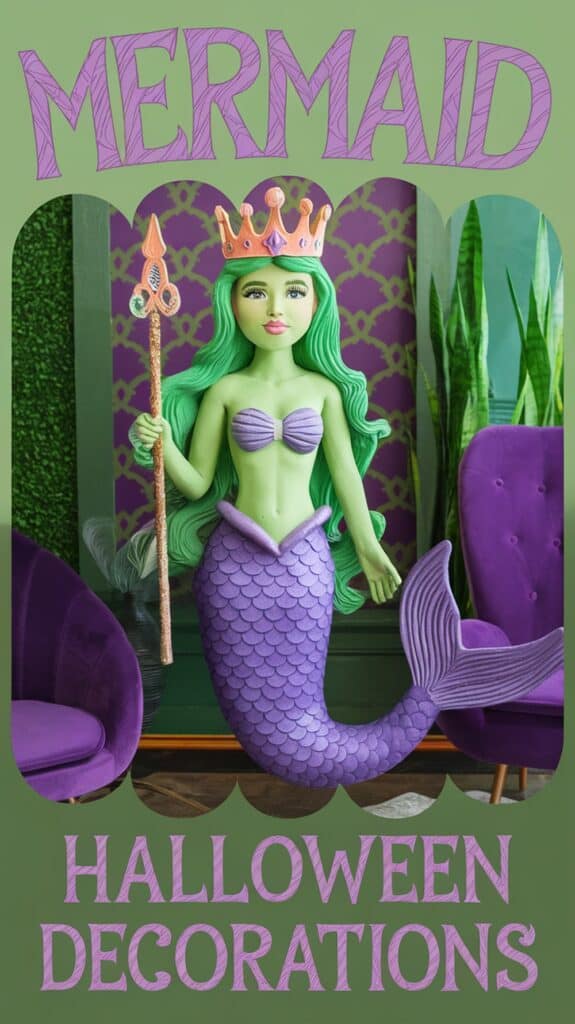
Create a seaside welcome that feels both spooky and sparkling without a lot of fuss. Outdoor spaces are perfect for bringing mermaid magic to Halloween: a twinkling pathway and a simple porch vignette can transform your entryway into a mini grotto that delights trick-or-treaters and neighbors alike. These projects are designed to be quick, kid-friendly, and weather-aware so you get big impact with small effort.
Before you begin, think durability and safety. Choose weather-resistant materials or add a clear sealant to painted pieces, anchor lightweight items against wind, and keep decorations off walkways where they might trip visitors. A few inexpensive solar lights and battery tealights will do more than glow—they make the scene look polished and keep paths visible after dark.
Materials
- – Assorted craft seashells (real or faux)
- – Flat glass gems or large craft beads
- – Glow-in-the-dark paint or paint pens
- – Small solar path lights or LED tealights
- – Strong craft glue or hot glue gun
- – Small flat river rocks or pebbles
- – Fish netting or lightweight mesh fabric
- – Green plastic tablecloths or crepe paper for seaweed
- – Cardboard or foam board for mermaid tails
- – Zip ties, twist ties, or small weights/sandbags
- – Clear outdoor sealer (optional)
- – Scissors, craft knife, and painter’s tape
Steps
- 1. Prepare glow pieces: Paint some shells and glass gems with glow paint and let them cure per the instructions. This creates spots of soft light that charge in daylight and glow after dusk.
- 2. Anchor shells to pebbles: Use a dab of glue to adhere larger shells to flat river rocks—this helps keep them from blowing away or being accidentally kicked into the street.
- 3. Lay your path: Scatter the glued shell-rocks and loose gems along the edge of the walkway in clusters rather than a straight line for a natural, treasure-strewn look. Space solar lights every few feet to highlight the trail.
- 4. Build a simple tail: Cut a mermaid tail shape from cardboard or foam board, paint with iridescent colors or metallic spray, and seal if needed. Attach a small stake or loop on the back so it can stand in a planter or be tied to a post.
- 5. Dress the porch: Drape fish netting around railings and tuck strips of green plastic or crepe paper behind it to mimic flowing seaweed. Add the tail, a few plush sea creatures, and a lightweight “treasure” chest filled with beads and shells.
- 6. Secure everything: Use zip ties, tape, or weights to keep items stable. Bring batteries and tealights inside after heavy weather, and refresh glow paint yearly.
These easy touches create an enchanting, seaside entrance that’s safe, reusable, and fun to assemble with helpers of any age.
2. Calm, Joyful Mermaid Decorating With Kids
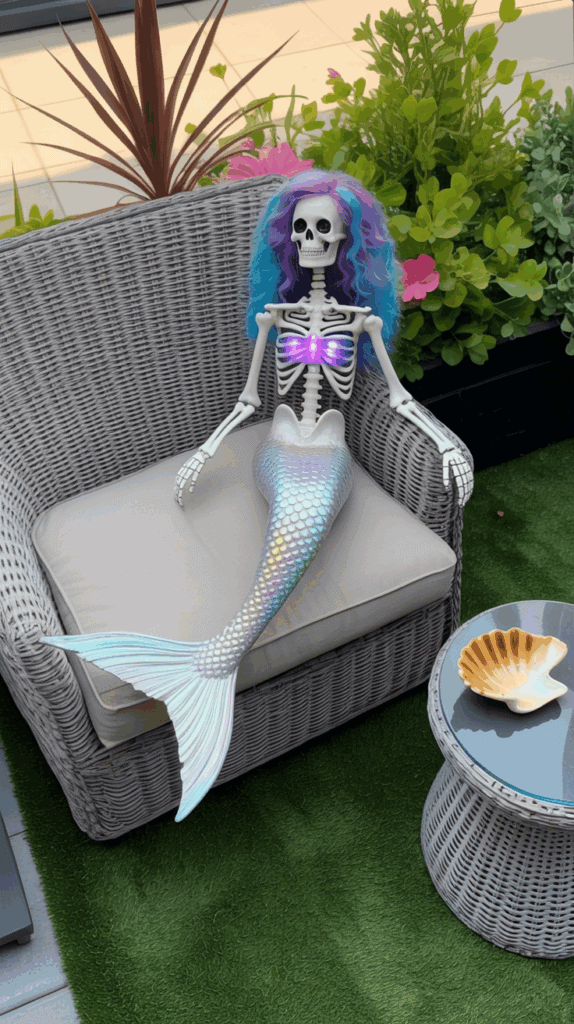
Getting kids involved in mermaid-themed decorating can be one of the best parts of the season—if it’s organized so everyone enjoys the process. Create a clear, contained workspace, offer simple tasks matched to each child’s abilities, and treat the session like a short, creative party rather than a long chore. When the focus is on fun and small wins, kids feel proud of their contributions and grownups avoid the overwhelm of glitter and glue everywhere.
Keep expectations relaxed: handmade decorations will be charmingly imperfect, and that’s the point. Encourage children to choose colors and textures freely, praise effort over precision, and take photos mid-project to capture the playful chaos. Short bursts of focused activity, little incentives like a sticker or a quick snack break, and a tidy end-of-session routine will help the whole family leave the table smiling and with decorations to display.
Materials
- – Large washable tablecloth or drop cloth
- – Trays or placemats (one per child)
- – Child-safe scissors and glue sticks; liquid glue in easy-squeeze bottles for older kids
- – Tempera or washable paints and brushes
- – Paper, cardstock, and pre-cut mermaid tail/shell shapes
- – Stickers, sequins, foam shapes, and faux pearls (sorted into small bowls)
- – Painter’s tape or removable hooks for displaying creations
- – Wet wipes, paper towels, and a small trash bin
- – Aprons or old shirts to protect clothing
- – A kitchen timer or phone timer
Steps
- 1. Pick a washable or outdoor area and spread the drop cloth. Place each child’s tray or placemat so supplies stay separated.
- 2. Pre-cut any intricate shapes and pour paints/glue into small containers so kids don’t have to wrestle with big bottles.
- 3. Assign age-appropriate roles: toddlers handle stickers and sequins; elementary-age kids paint and assemble layers; older kids can cut, plan layouts, or help attach pieces to displays.
- 4. Set a timer for 20–30 minutes and explain the goal: make one or two pieces before the bell. Short sessions keep energy positive.
- 5. Turn part of the work into a playful challenge (e.g., “decorate the shiniest tail” or a quick treasure-hunt for a particular sticker).
- 6. Praise creativity and encourage experimenting with color and texture rather than perfection.
- 7. When time’s up, play upbeat music and make cleanup a team race: everyone wipes, stacks, and sorts together.
- 8. Let pieces dry in a protected spot; use painter’s tape or removable hooks to display proud work.
- 9. Take photos of the finished collection and celebrate — maybe a tiny parade of mermaids around the house.
- 10. Store leftover sorted supplies in labeled containers for the next quick craft day.
These simple habits keep decorating upbeat, manageable, and memorable for the whole family.
3. Easy Mermaid Tail Garland Kids Can Help Make
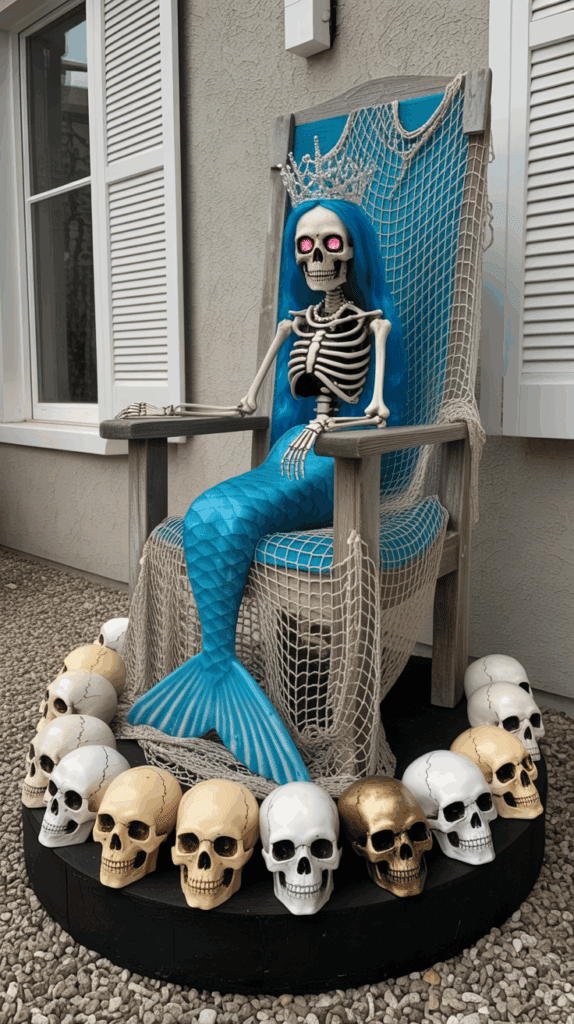
Bright, layered mermaid-tail garlands are an instant mood-lifter: they add color, movement, and a little sparkle without needing advanced craft skills. This version uses soft felt for durability and safety, plus ribbons and sequins for shimmer. It’s ideal for a mantel, doorway, or strung along a porch rail; little hands can help trace and glue while an adult handles any hot glue work.
Keep the design flexible—pick bold jewel tones for a dramatic Halloween vibe or soft pastels for a whimsical look. If you plan to hang the garland outdoors, choose weather-resistant felt or swap in laminated cardstock, and protect any glittery bits with a clear spray sealer. For a nighttime effect, weave a strand of battery-powered fairy lights through the top cord so the tails glow like lanterns.
Materials
- – Felt sheets (assorted colors: teal, purple, coral, seafoam, metallic if available)
- – Scissors
- – Pencil or washable marker (for tracing)
- – Mermaid-tail template (draw one simple curved tail or cut a quick stencil from cardboard)
- – Hot glue gun and low-temp glue sticks (or fabric glue for child-friendly option)
- – Thin cord, twine, or ribbon for stringing
- – Assorted trims: sequins, flat-backed pearls, small shells, or fabric paint for accents
- – Optional: small wooden beads or mini pom-poms for spacing and texture
Steps
- 1. Cut several tails: Trace the template onto felt and cut out 12–20 tails depending on desired length. Alternate colors for a repeating pattern.
- 2. Add scale layers: Cut small rounded “scale” pieces from contrasting felt or metallic sheets. Layer and glue them along the bottom half of each tail to create a scaled look—overlap slightly like shingles.
- 3. Embellish: Attach sequins, pearls, or tiny shell pieces near the top of each tail for sparkle. If kids are helping, let them press on self-adhesive gems or dab fabric glue under supervision.
- 4. Prepare the cord: Measure the hanging space and add a few extra inches. Lay the cord flat on your work surface and plan tail spacing—about 3–5 inches between tails works well for a full look.
- 5. Attach tails to cord: Fold the top edge of each tail over the cord by about 1/4 inch and secure with a dot of hot glue or fabric glue. For a layered appearance, attach some tails slightly higher or lower than others.
- 6. Add finishing touches: Thread wooden beads between groups of tails for rhythm, or knot small ribbon bows at intervals. If using lights, weave the fairy light wire behind the cord before final hanging.
- 7. Hang and enjoy: Use removable hooks or tied bows to hang the garland. For outdoor installation, loop the ends and secure with twine so the garland won’t slip in wind.
This project scales easily—make several shorter strands and cluster them at different heights for a cascading, ocean-wave effect that’s perfect for a mermaid-themed Halloween display.
4. Mermaid Decor Starter Kit: Essentials for an Underwater Halloween
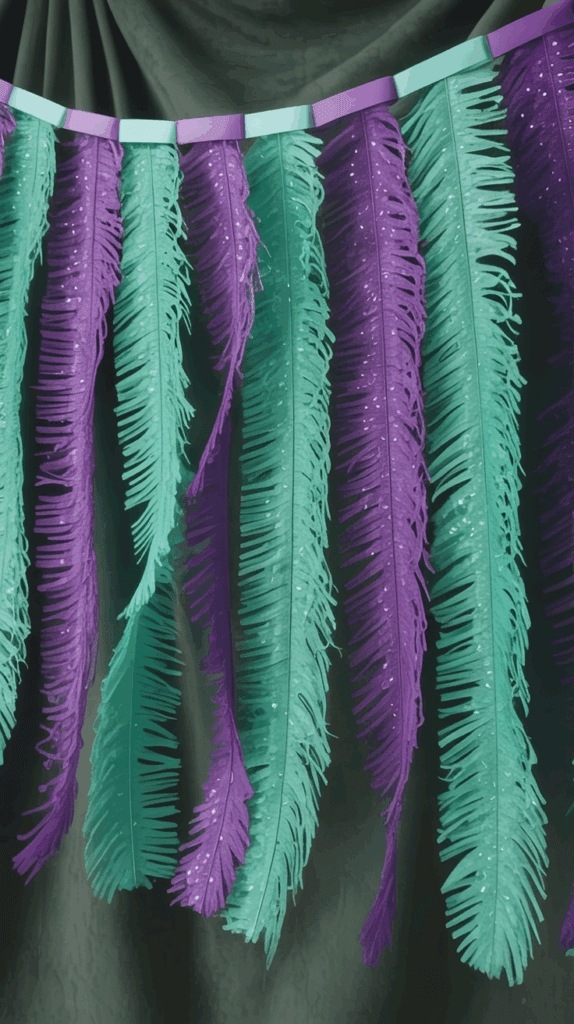
Start by choosing a simple palette and a few repeat textures — think seafoam, teal, lavender and a touch of pearly gold. Limiting colors to three or four makes it easier to assemble pieces that look cohesive even if you collect items over several seasons. Before you buy or DIY anything, walk the route you want to decorate (porch, mantel, entryway, or a party table) and take a quick photo: that snapshot helps you plan scale so a tail cutout doesn’t overwhelm a narrow doorway or a garland doesn’t disappear on a large wall.
Also plan for safety and durability. Swap real candles for battery-operated LED lights, choose plastic or weather-resistant pieces for outdoor displays, and use removable hooks or zip ties to fasten heavier items securely. If kids are helping, separate hot-glue or sharp tools tasks for adults; give little helpers glitter glue, sequins, and stickers so they can personalize shells and streamers without risk.
Materials
- – Iridescent streamers or holographic wrapping paper (for shimmer)
- – Fishnet or decorative netting (small roll)
- – Faux shells, plastic pearls, and small plastic sea creatures
- – Cardboard or foam core (for tails and signs)
- – Battery-operated LED fairy lights or waterproof puck lights
- – Command hooks, zip ties, or fishing line (for hanging)
- – Hot glue gun + glue sticks and craft glue
- – Crepe paper or sheer fabric in ocean tones (for seaweed)
- – Spray adhesive or double-sided tape
- – Optional: sequins, glitter glue, adhesive-backed rhinestones
Steps
- 1. Map the space: use your photo to decide focal points and measure for garlands or tail cutouts.
- 2. Cut your palette: choose two dominant colors and one accent to keep the look unified.
- 3. Make a focal mermaid tail: trace a tail shape on cardboard or foam core, cover with holographic paper or glued-on scales made from cut tissue or sequins, and reinforce the back with another piece of board.
- 4. Create layered seaweed: cut crepe paper or sheer fabric into long strips, fringe the edges, and secure bundles with a dab of hot glue to hang behind lights.
- 5. String shell garlands: thread faux shells and pearls onto fishing line or hot-glue them to ribbon, spacing for balance; hang with discreet hooks.
- 6. Add texture and depth: drape fishnet over chairs, railings, or mantels and weave in lights and small sea creatures.
- 7. Secure for outdoors: use zip ties or fishing line and tuck battery packs in sealed bags; anchor large pieces so wind won’t displace them.
- 8. Final touches and cleanup: scatter a few loose shells or pearls, adjust lighting for evening glow, and store extras in a labeled bin for next year.
This approach keeps decorating manageable, child-friendly, and repeatable — build on these basics each season to make your mermaid display more elaborate without extra stress.
5. Enchanted Mermaid Tablescape and Photo Nook
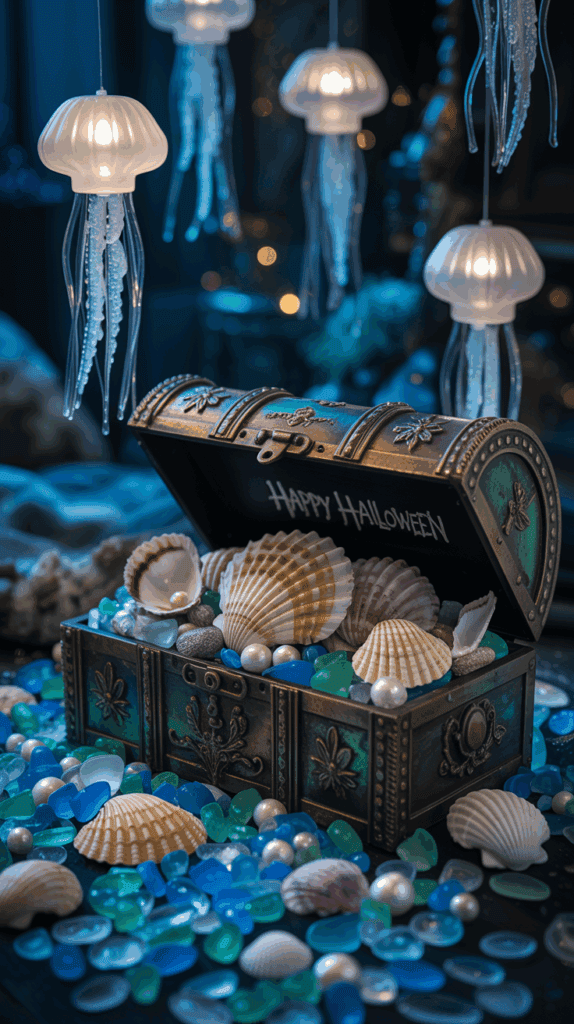
Create a single spot in your home that feels like a secret tidepool—perfect for snacks, photos, or a cozy corner where little sailors and mermaids can play. Start with a simple color story (teal, seafoam, and pearly white) and build layers: different fabrics, a few natural accents, and a handful of sparkly details will make the whole set-up read as whimsical without feeling fussy.
Keep it kid-friendly and easy to change. Use lightweight pieces that can be rearranged for games or cleared away for everyday life, and involve youngsters in naming treats and arranging shells so the area becomes part of the party experience. Small touches like soft lighting, a few plush sea creatures, and playful labels bring everything together and make photos pop.
Materials
- – Assorted fabrics: blue tablecloth or sheet, sheer aqua scarf or netting
- – Streamers or crepe paper in blue/teal/purple
- – Balloons in ocean tones (including a few iridescent)
- – Faux pearls, shells, and plastic sea creatures
- – Driftwood pieces or spray-painted sticks
- – Small clear bowls or glass jars for treats
- – Battery-operated string lights or a clip-on lamp
- – Toothpicks and small cardstock for labels
- – Tape, scissors, and fishing line or removable hooks
- – A lightweight blanket or sheet for the photo floor area
- – Optional: small treasure chest, crown or props for photos
Steps
- 1. Choose your anchor wall or table. Pick a spot with good light and enough room for guests to gather.
- 2. Lay your base fabric. Drape the darker blue cloth over the table (or across the floor for a photo nook), then layer sheer aqua netting or a scarf for depth.
- 3. Create a backdrop quickly by hanging streamers vertically in overlapping shades. Tape the top edge to the wall and allow the bottoms to hang loose for a watery effect.
- 4. Add balloon clusters at varying heights around the backdrop to mimic bubbles; secure with small pieces of tape or tie to a weight.
- 5. Arrange driftwood and shells across the table—use larger pieces as anchors and tuck smaller shells and faux pearls into crevices for a natural look.
- 6. Place clear bowls or jars with treats and label each with a fun name written on cardstock and attached to toothpicks.
- 7. Integrate soft lighting: weave battery string lights among the decor or set a clip-on lamp to highlight the centerpiece for evening photos.
- 8. Scatter plush sea creatures and a small treasure chest near the photo area; add a blanket for kids to sit on and props for posing.
- 9. Balance the scene by stepping back and removing anything that feels crowded—negative space helps the details shine.
- 10. Invite helpers to add final touches like handmade paper shells or tiny flags; take a few trial photos to tweak lighting and placement.
This setup is fast to assemble, simple to reset, and delightful for photos and play—perfect for a mermaid-themed gathering that feels magical without the stress.
Final Thoughts
Mermaid-themed Halloween décor offers a playful way to blend seasonal spookiness with oceanic whimsy without a big time or budget commitment. By focusing on a few repeatable elements—textured fabrics, shimmering accents, soft lighting, and a handful of versatile props—you can build a cohesive look that works both indoors and out. Include simple crafts so children can chip in, and choose durable, weather-resistant materials for outdoor pieces to keep things safe and low-maintenance.
Start small, for example with a mermaid-tail garland and a lighted photo nook, then layer in more elements over time. These approachable ideas are designed to be mixed, matched, and adapted to your space and schedule so you can create an inviting, imaginative Halloween that delights both kids and grown-ups.