A Low-Stress Halloween Craft Afternoon for Kids: A Parent’s Guide
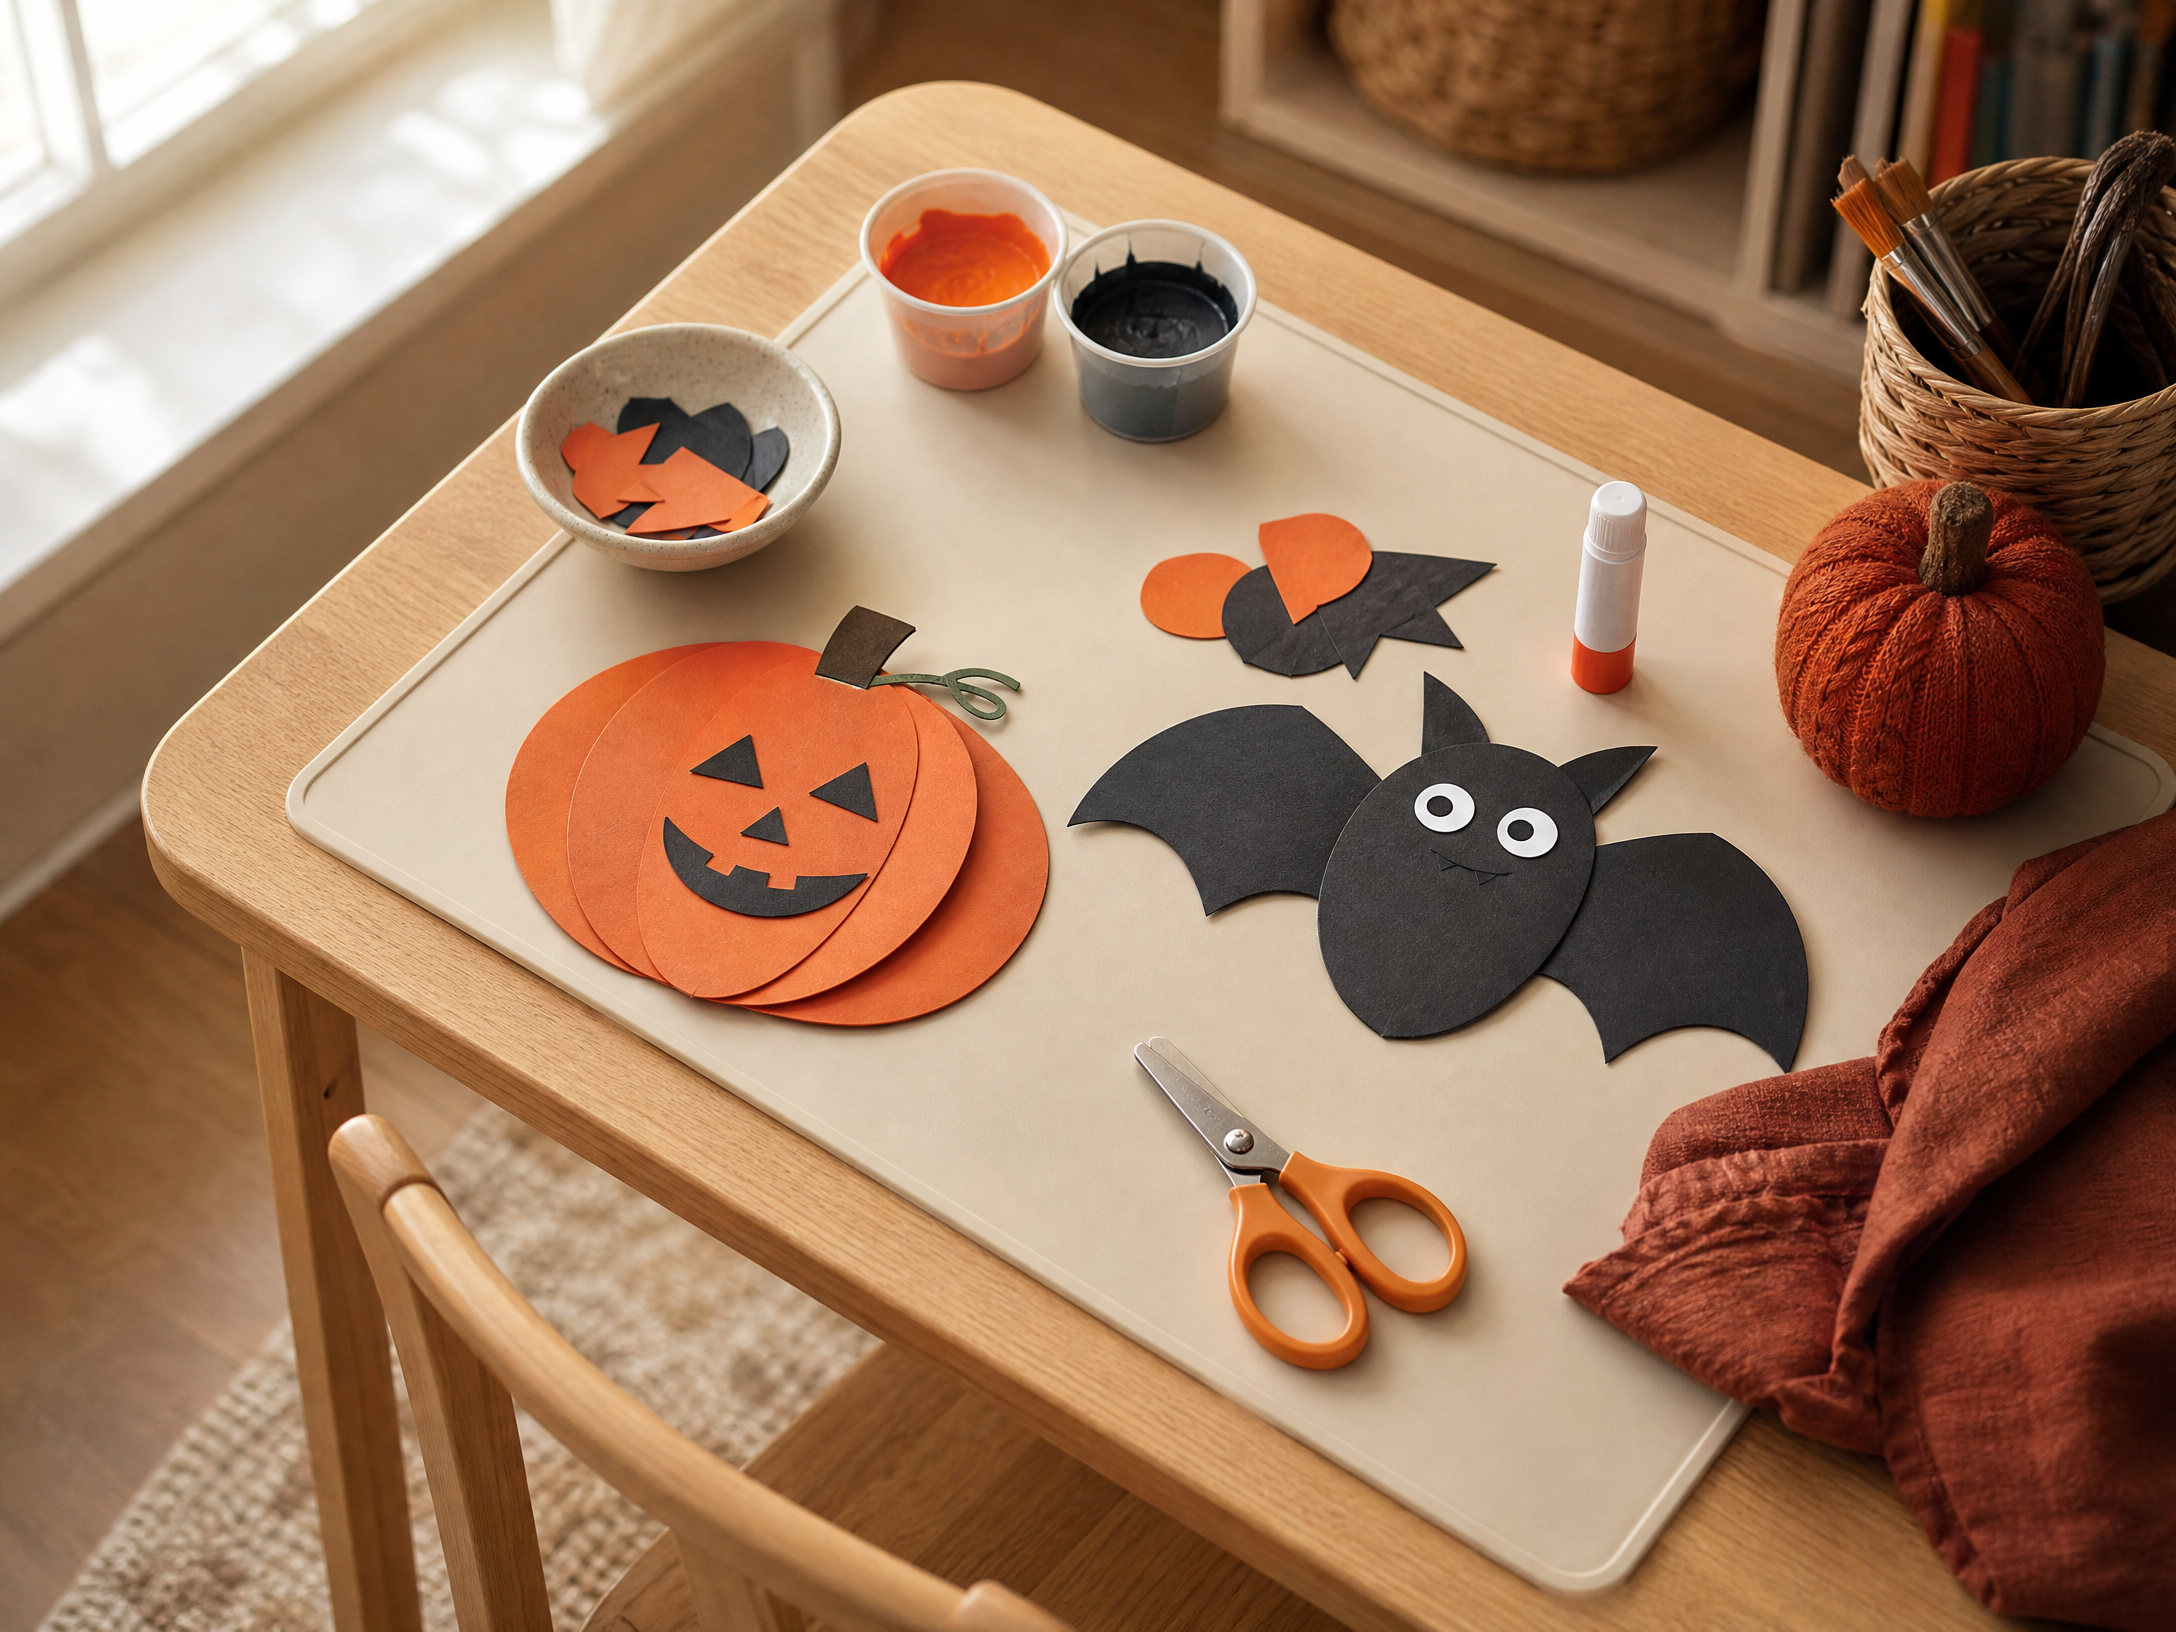
An afternoon of Halloween crafts can be a cozy, creative memory instead of a source of stress. With simple prep, clear expectations, and a few calm rhythms, you can turn sticky paint and glitter into a relaxed celebration of small successes. Focus on projects that are easy to set up, age-appropriate, and finished in a single sitting so kids feel proud and you stay sane.
This guide walks you through preparation, choosing the right projects for different ages, setting up a practical supply station, tool safety and supervision, a gentle creative rhythm, ways to display finished work, quick cleanup tips, and how to adapt everything when you’re crafting with a group. Use the suggestions as a flexible framework — tweak timing, materials, and supervision to suit your child and your space.
1. Plan and Prep: Keep it small and realistic
Decide on one or two project types before the day — short activities that can be completed in 20–45 minutes. Limiting choices prevents decision overload for children and reduces the amount of materials on the table. Pick projects that share core supplies (paper, glue, basic paints) so you don’t need dozens of different items.
Prep as much as you can ahead of time: pre-cut shapes for younger kids, portion paint into small containers, and arrange a drying area. Give kids a quick heads-up about how long each activity will take so they enter the project with realistic expectations and fewer mid-activity meltdowns.
2. Age-Appropriate Project Formats
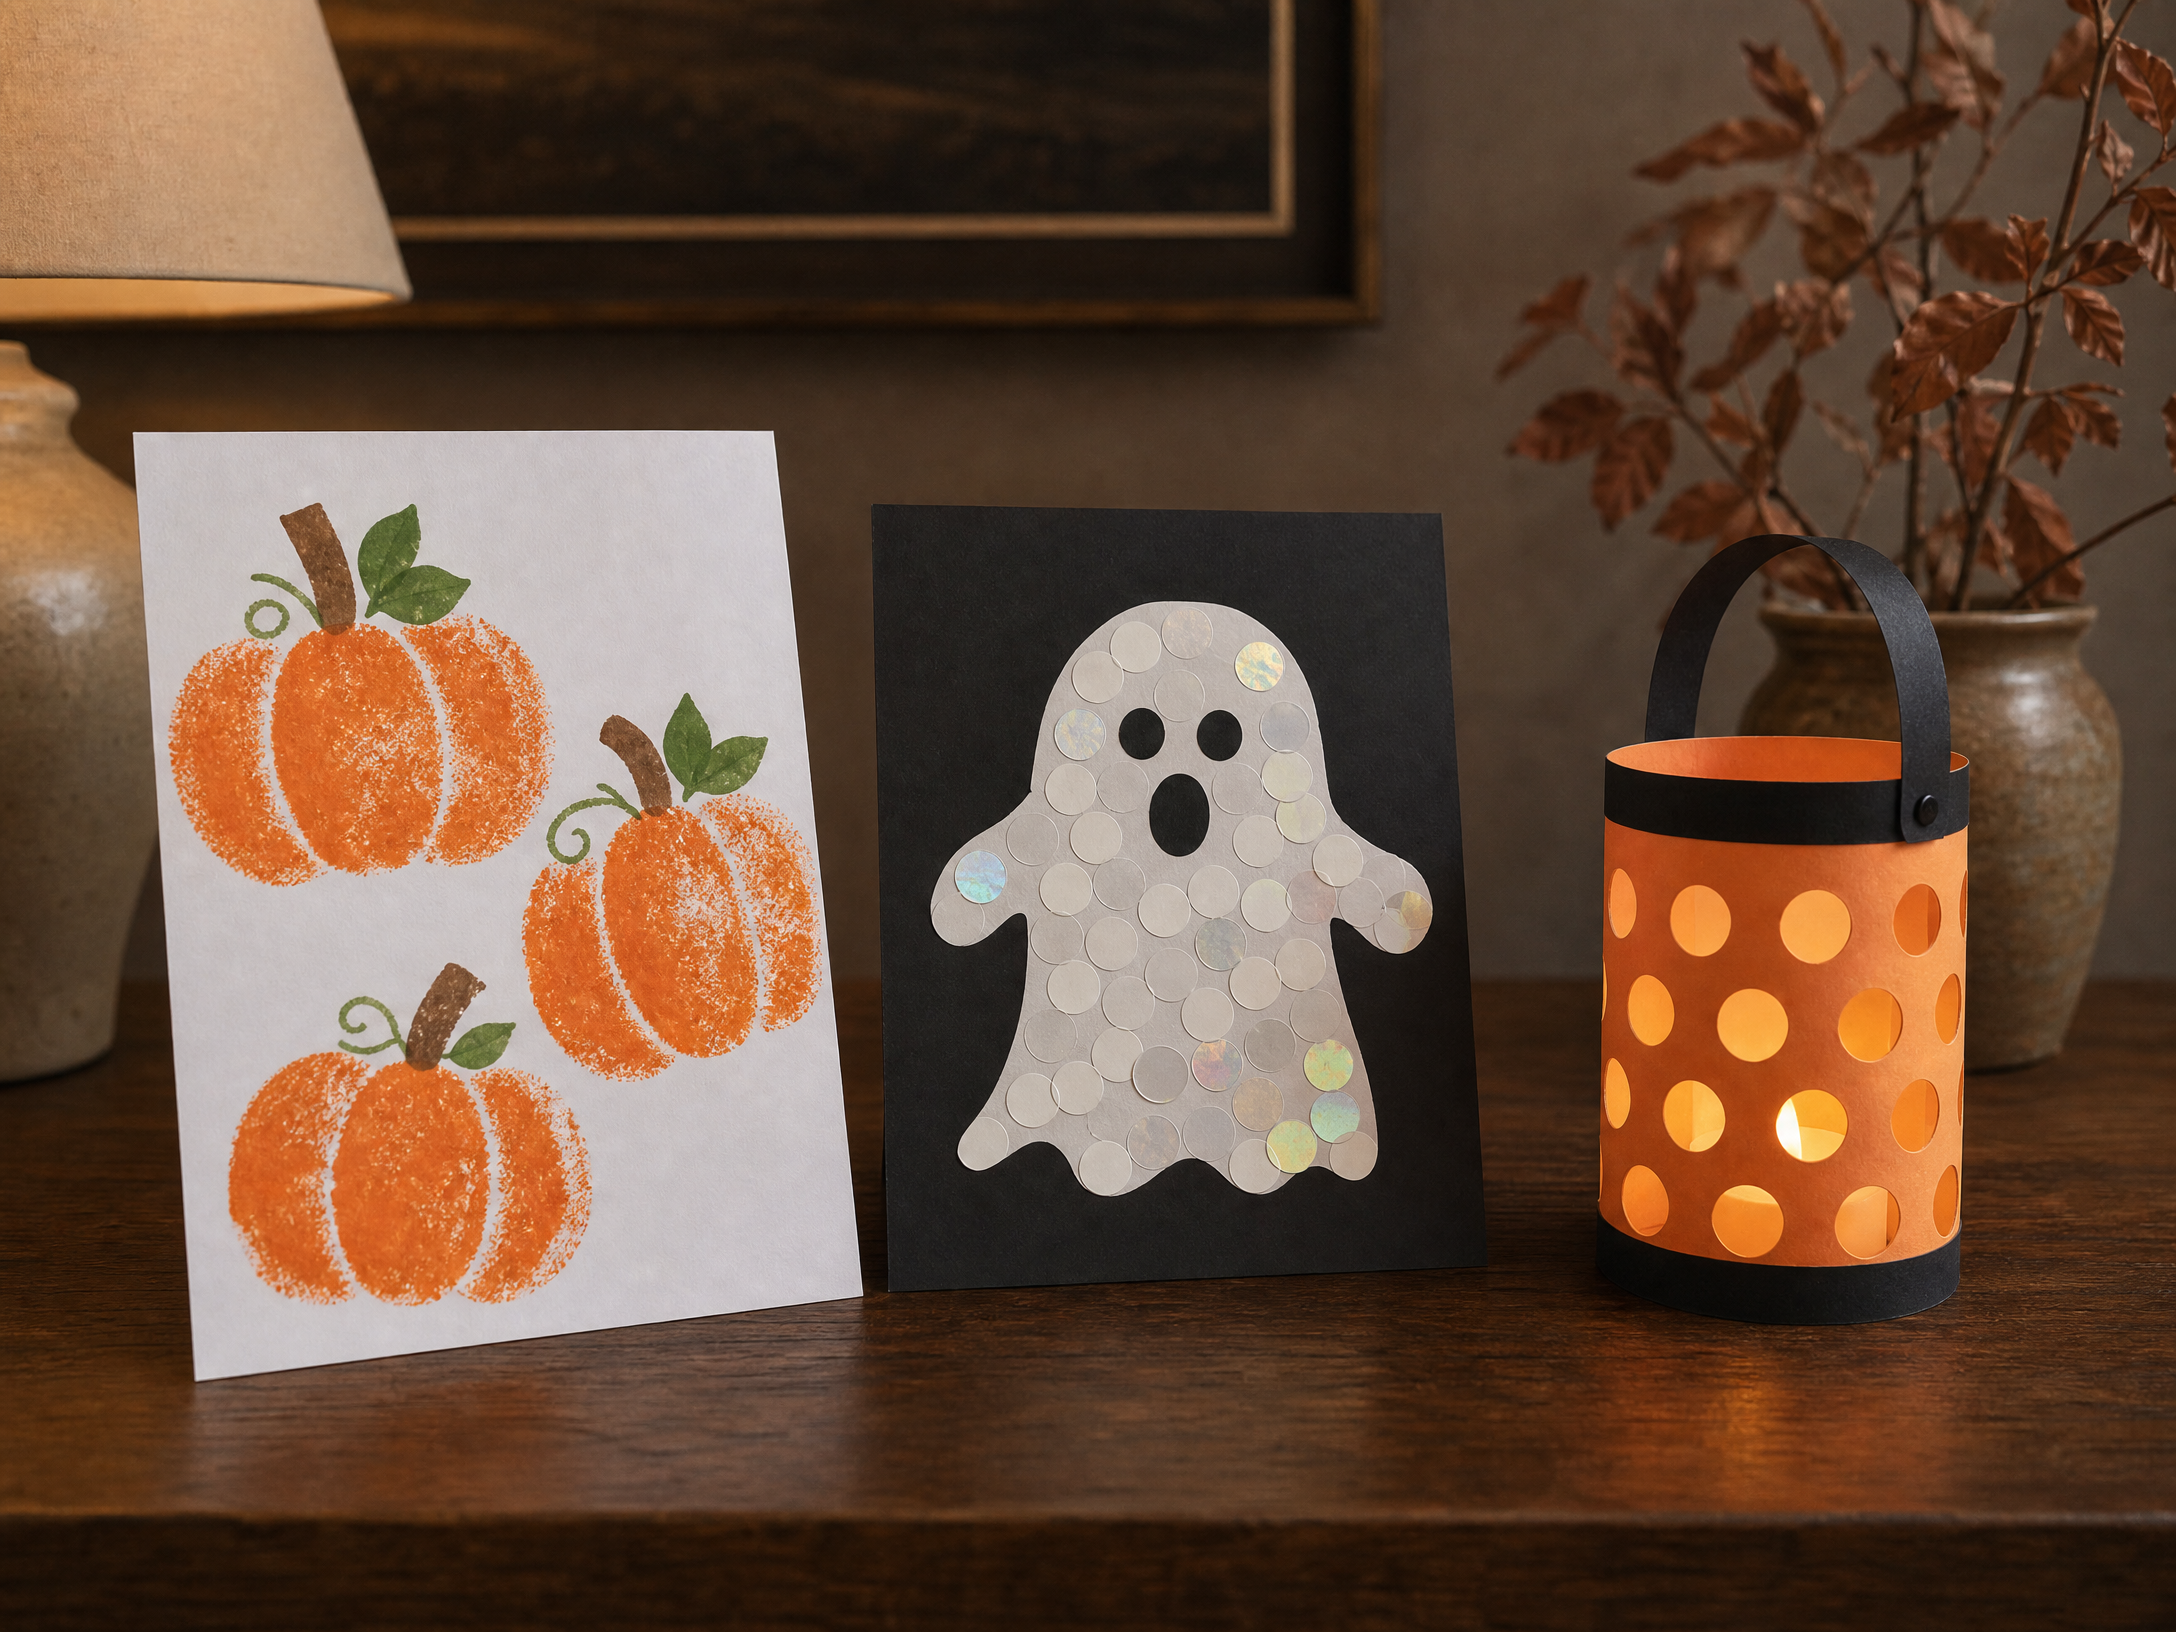
Match projects to developmental skills. For toddlers and preschoolers choose simple, sensory-friendly activities: stamping with sponges, sticker collages, or safe finger-painting on paper. These formats celebrate exploration and don’t require precise fine-motor control.
For early elementary kids, offer slightly more structured projects like simple cut-and-glue scenes, paper lanterns with pre-punched holes, or basic collage masks they can color. Older children (8+) can handle layering techniques, basic sewing with blunt needles and felt, or painting small wooden shapes. Keep instructions clear and short, and demonstrate each step rather than reading long lists to them.
3. Build a Simple Supply Station
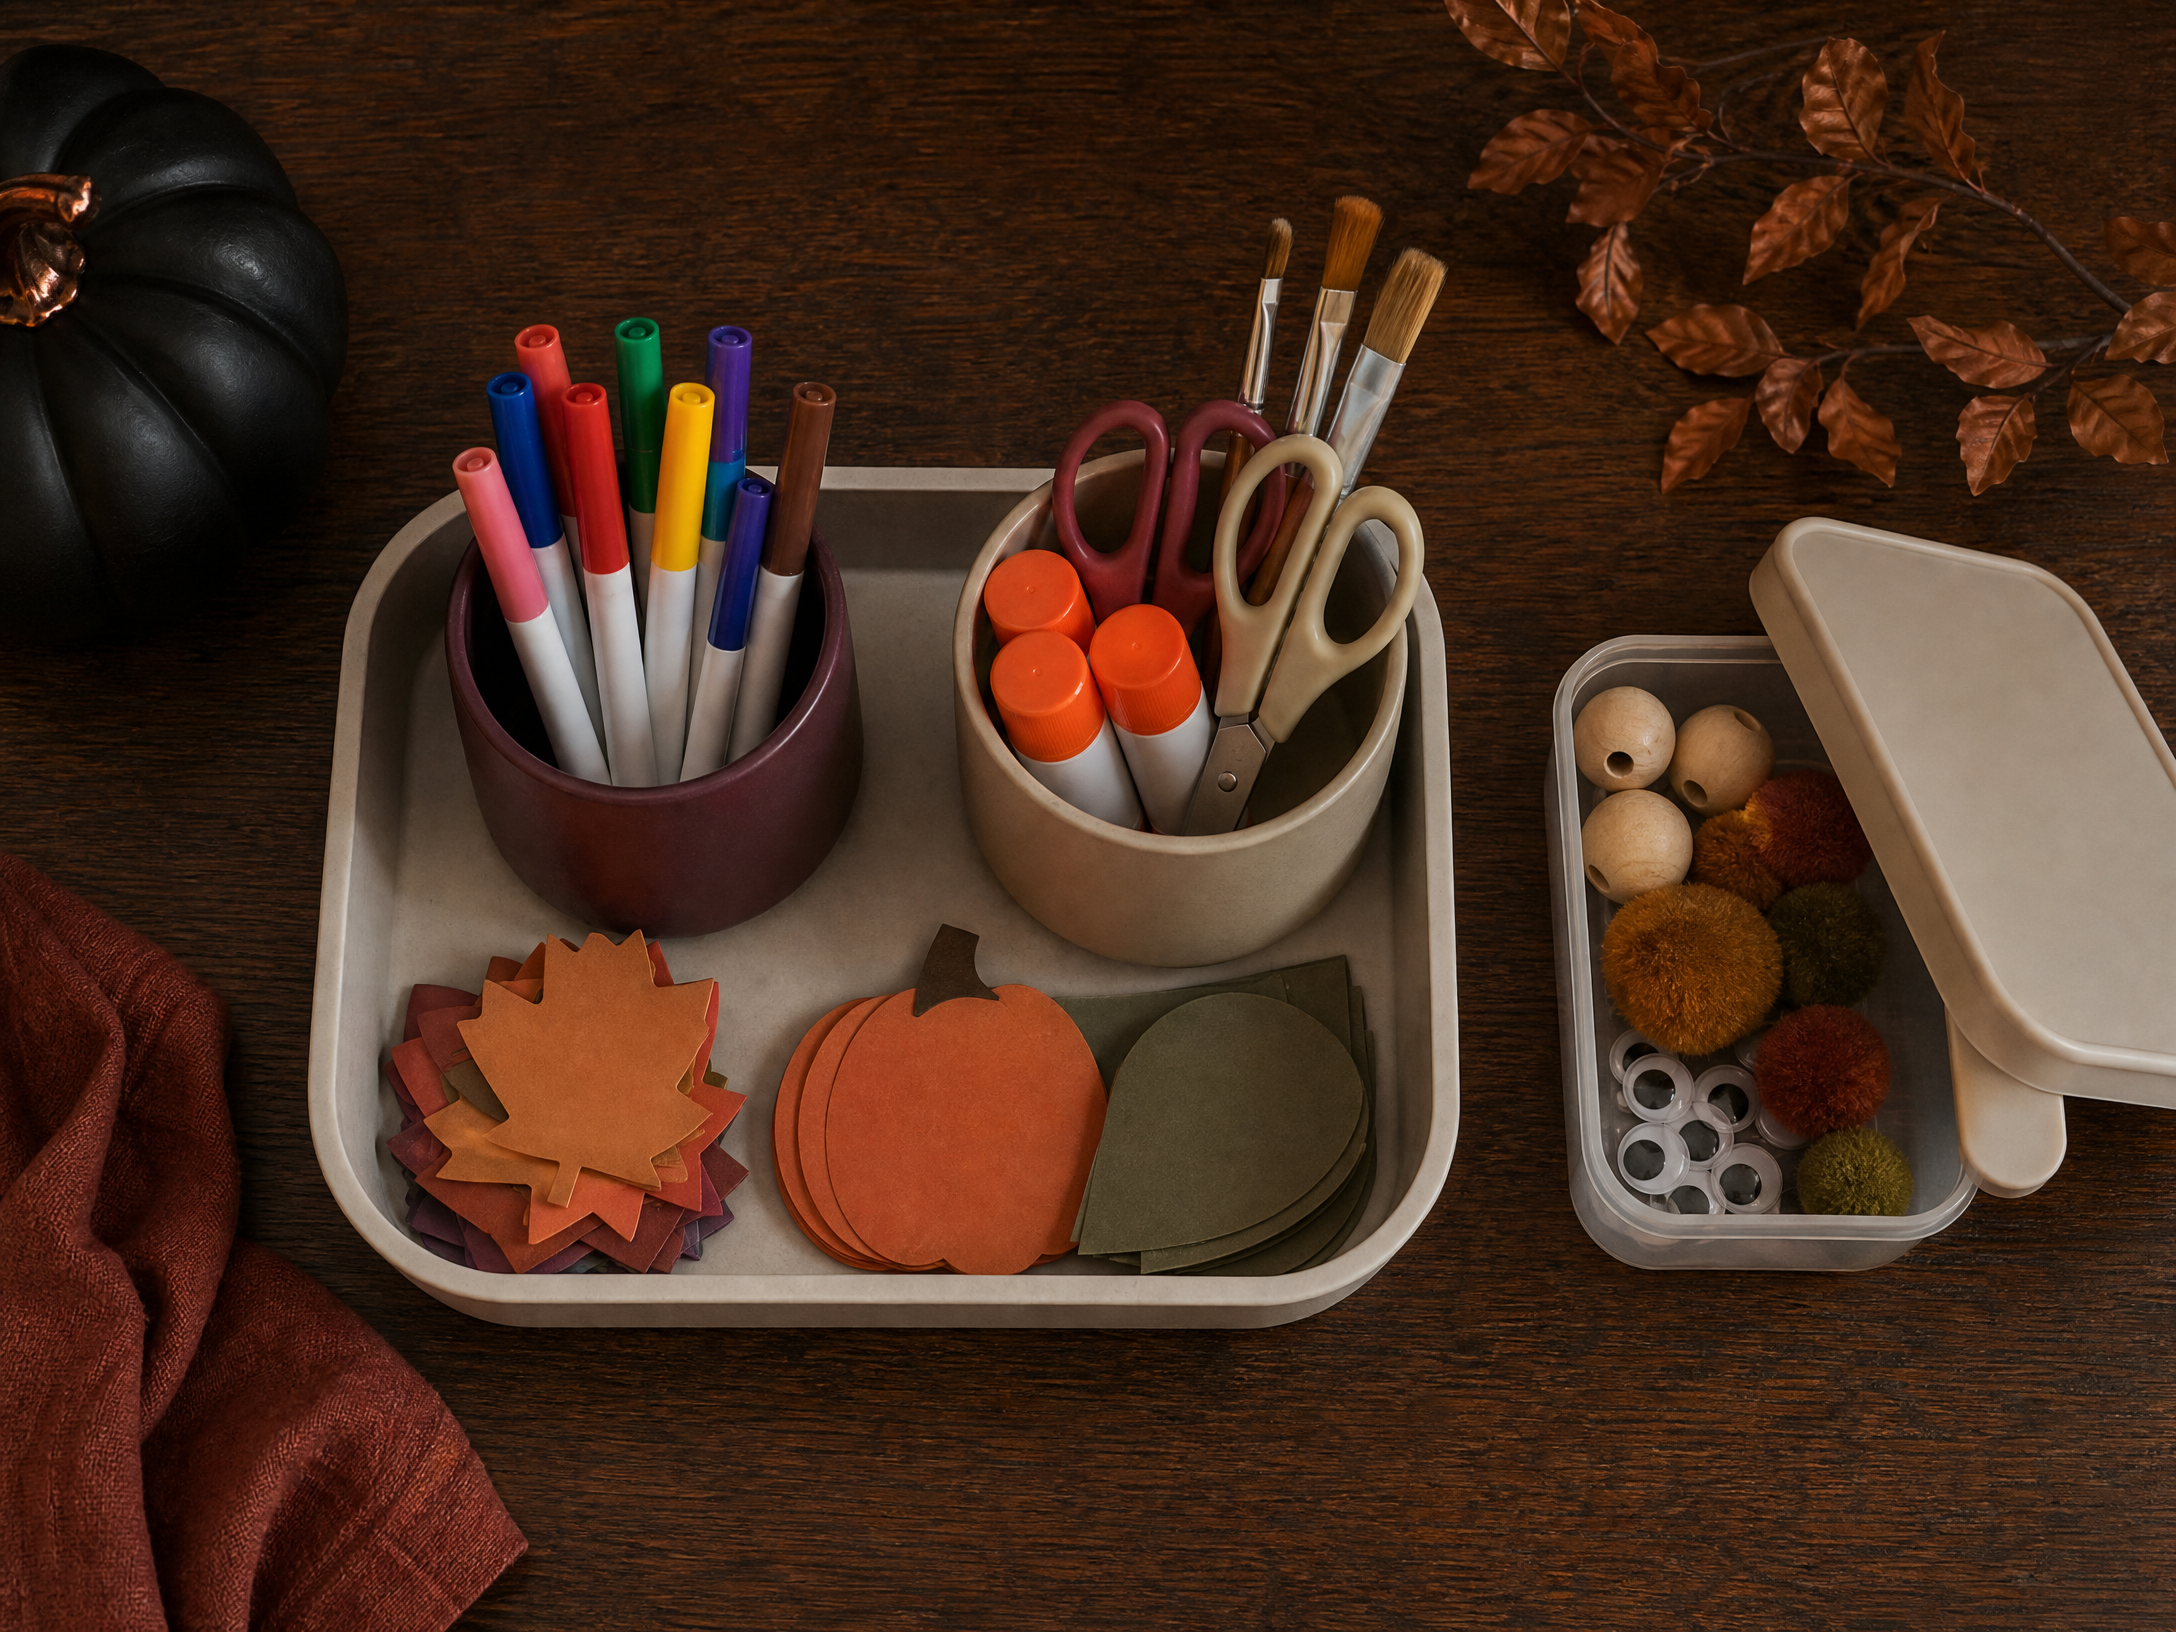
Create a compact supply station with only what you need. Use a tray or shallow box to hold the daily essentials: child-safe glue, washable paints, a few brushes, washable markers, scissors, and pre-cut paper shapes. Limiting the visible options helps children focus and lowers mess potential.
Also prepare a separate ‘extras’ box with optional items like stickers, scraps of fabric, or sequins that an adult can provide when a child is ready. Label trays or containers so kids learn where things belong during cleanup — picture labels work well for early readers and non-readers.
4. Tool Safety and Adult Supervision
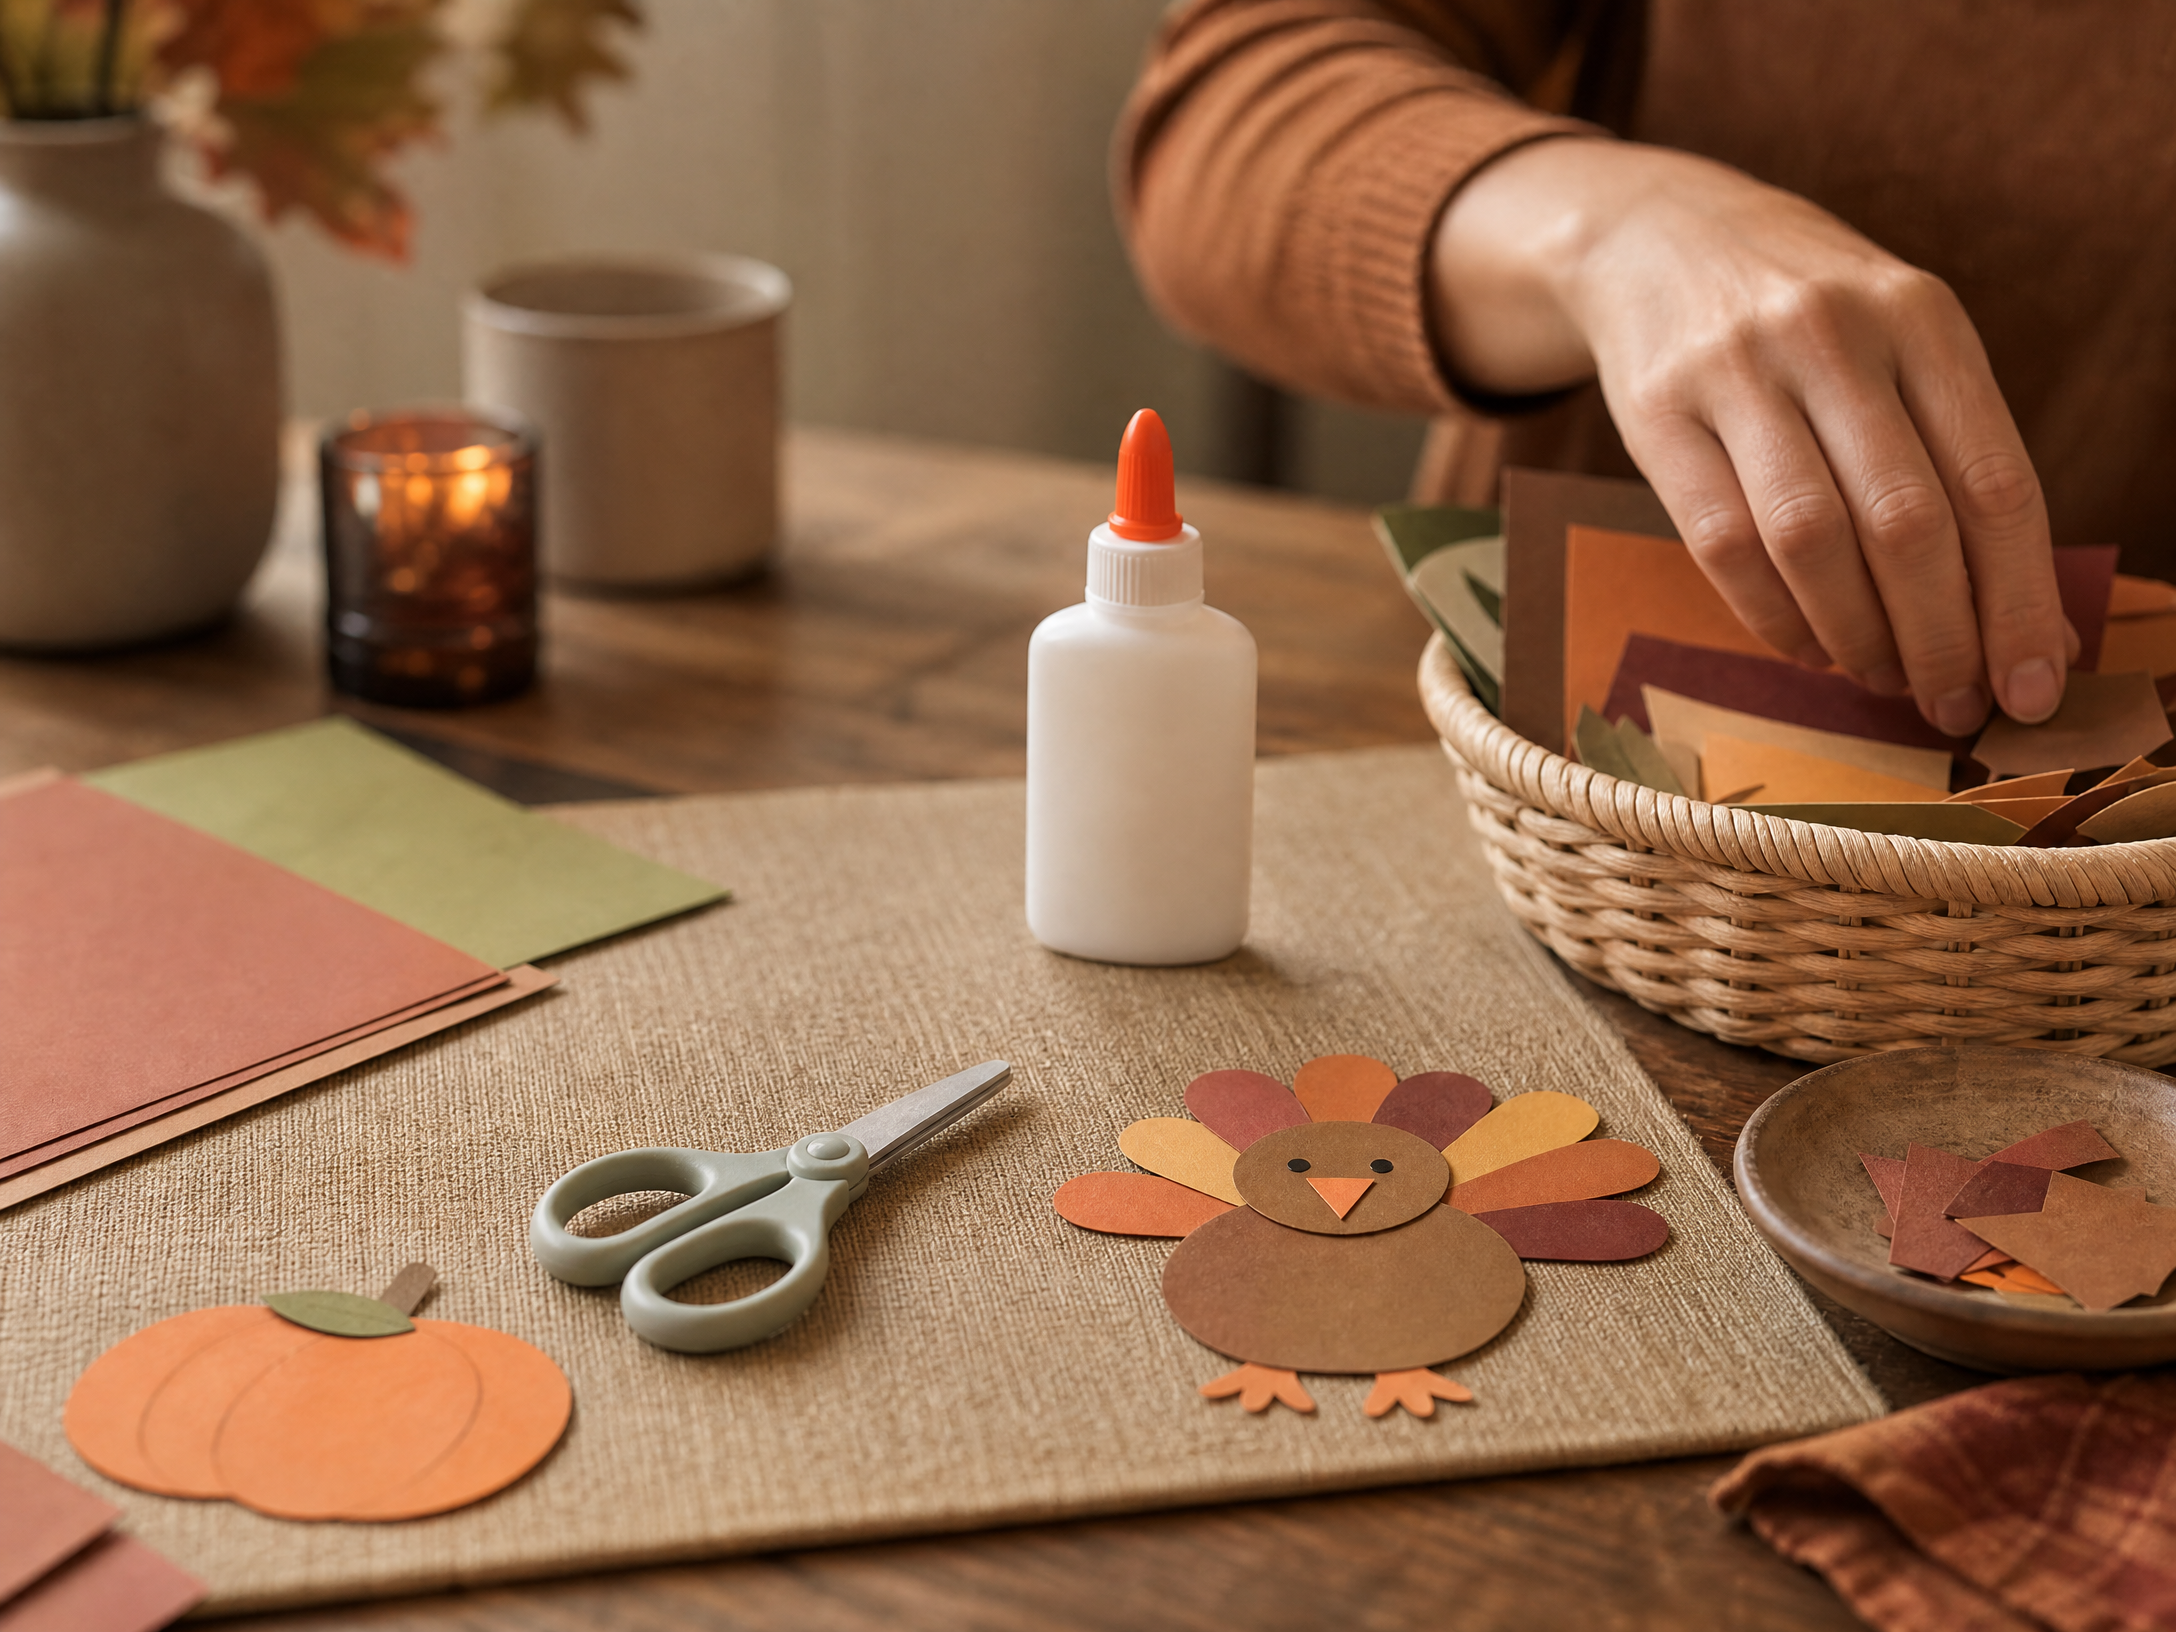
Keep safety front and center without turning crafting into a lecture. Use only child-safe tools: blunt-tipped scissors, non-toxic glue, and washable art supplies. If a project would normally call for a hot tool (like a glue gun) or any pointed blades, an adult should handle those steps entirely out of reach of children.
Supervise actively but gently: sit nearby, give hands-on help when a task requires it, and teach simple safety rules (scissors on the table, one tool at a time). For older kids learning new skills, model correct use and then step back while keeping a watchful eye so they gain confidence.
5. A Creative Rhythm: Gentle structure and transitions
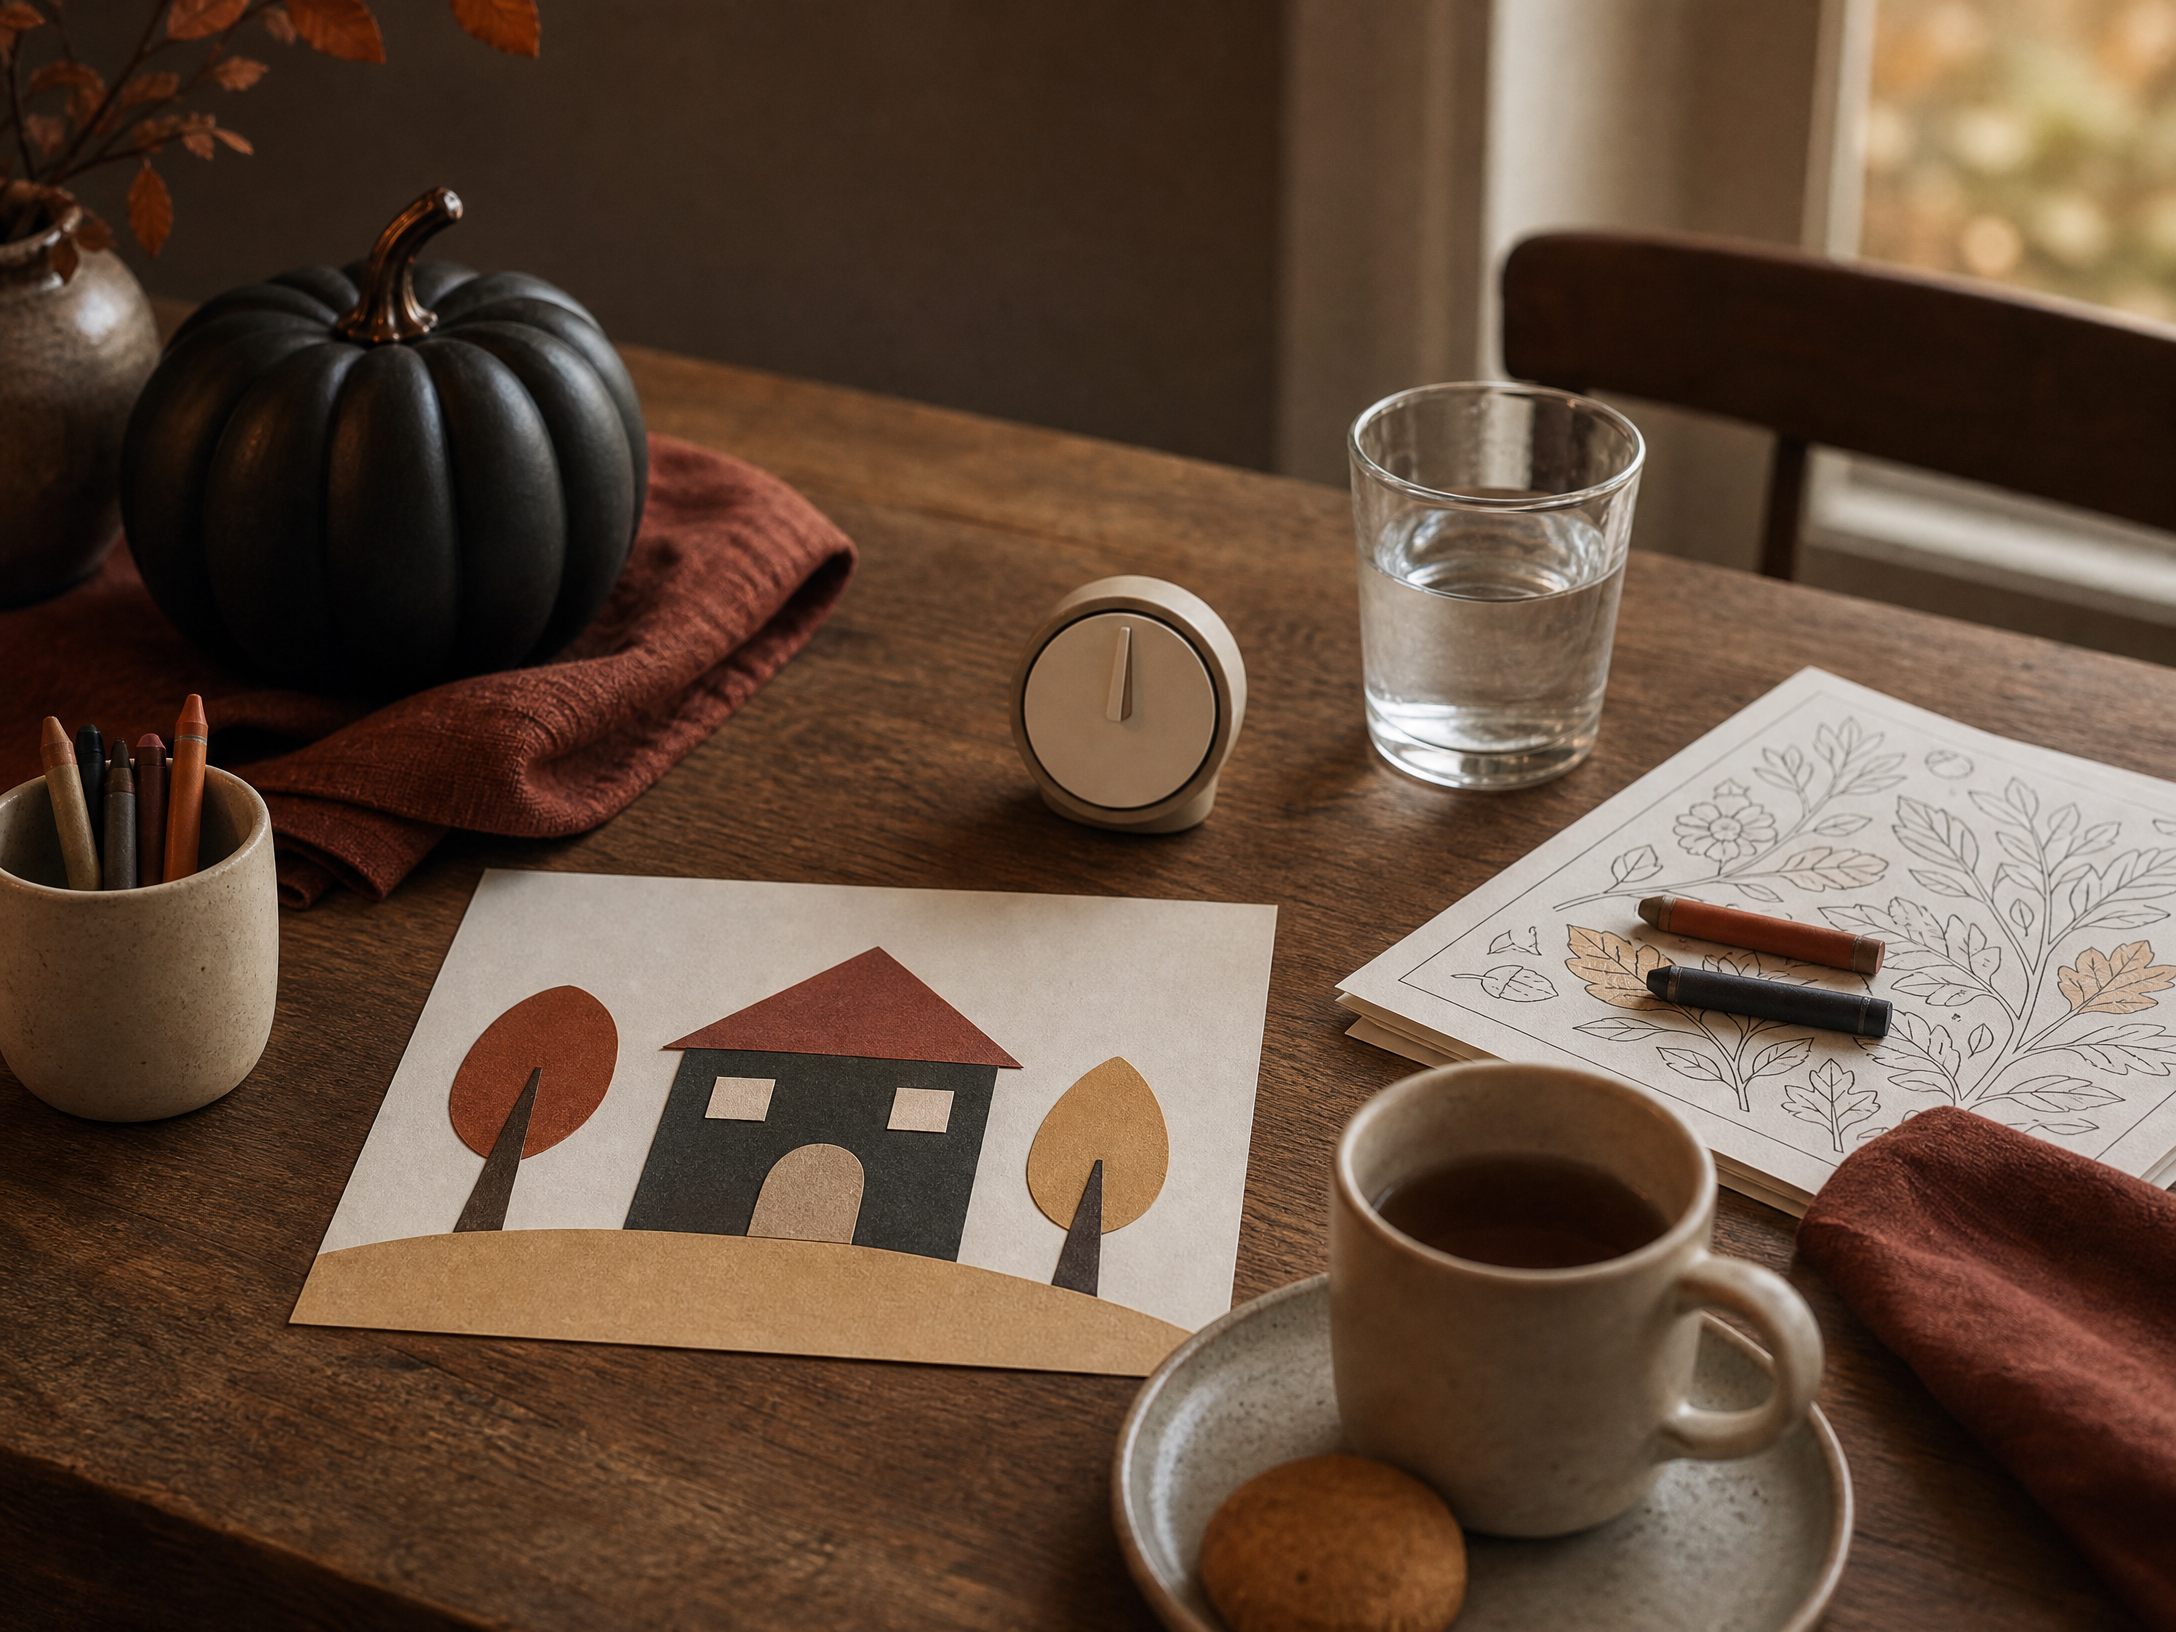
A clear but flexible rhythm helps the session flow: welcome and quick demo (5–10 minutes), open creative time (20–40 minutes), a short sharing moment, and a tidy-up window. Timers or a simple song can mark transitions so kids know what to expect without constant reminders.
Offer mini-checkpoints during the open creative time — for example, a five-minute walk to stretch or a drink break — to reset attention. If a child finishes early, have a quiet ‘finisher’ option like a coloring sheet or a sticker page so they can keep doing something satisfying without disrupting others.
6. Display and Celebrate the Work
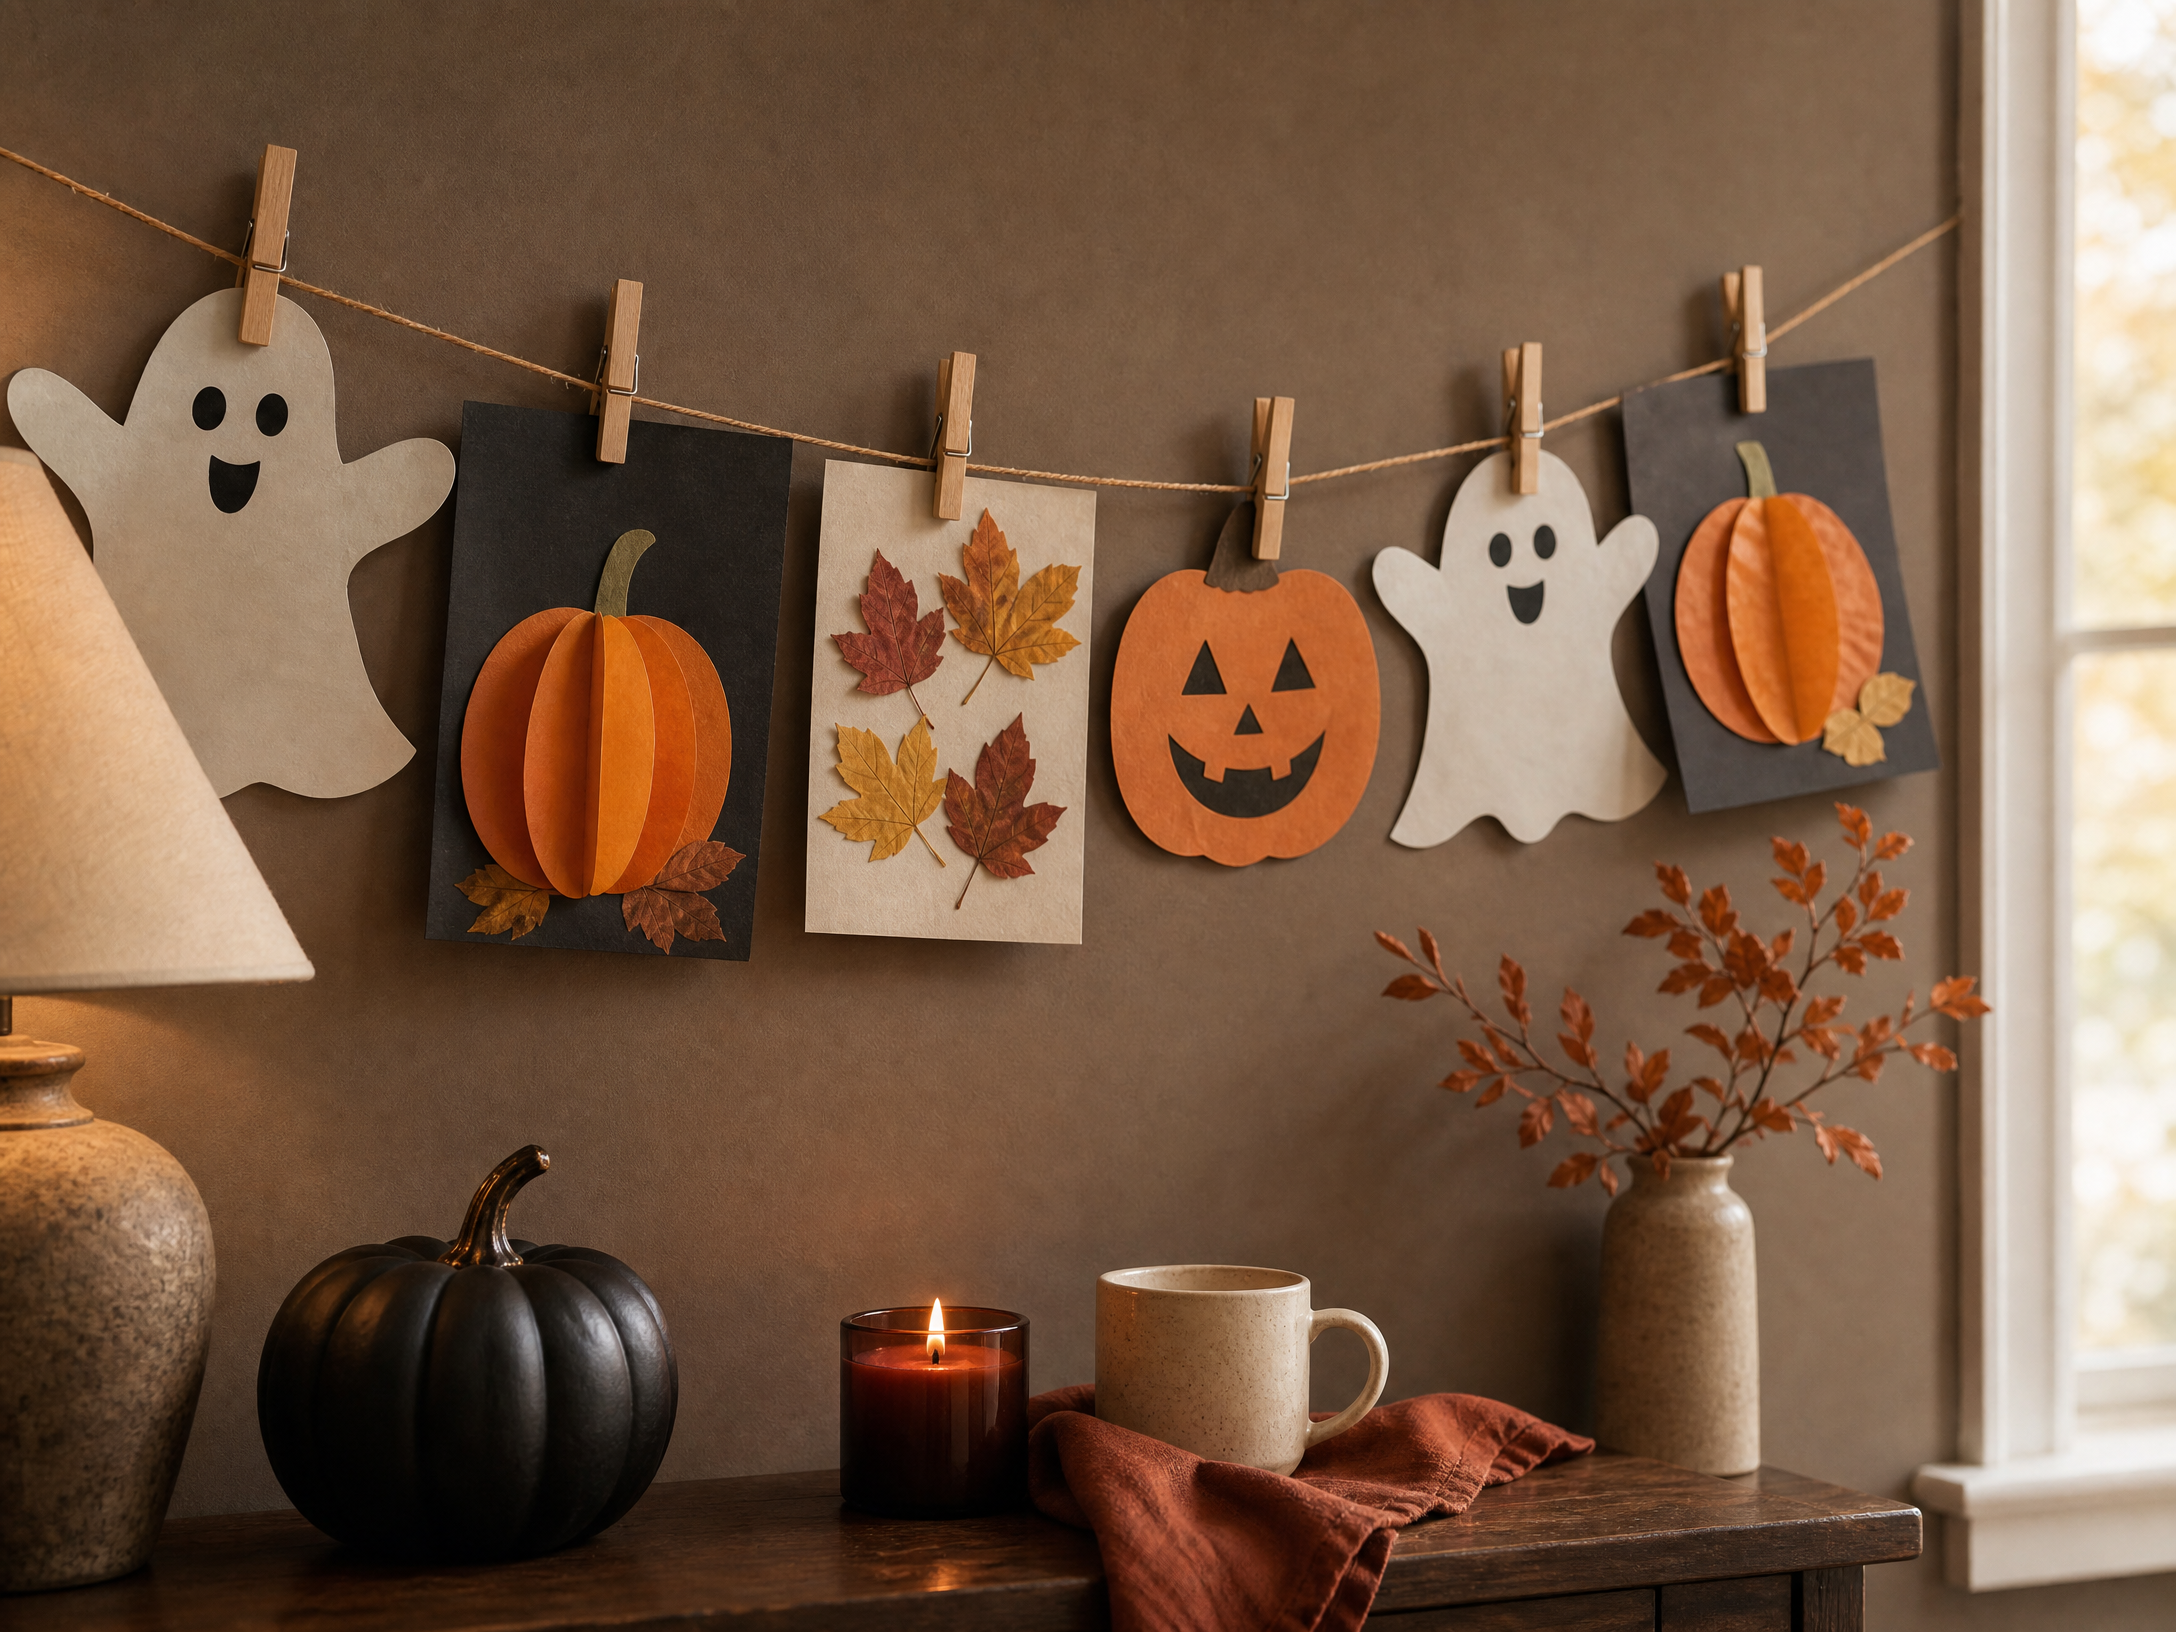
Display projects immediately to validate effort and keep the momentum going. Create a short gallery line on a windowsill, a string with clothespins, or a corner of a shelf dedicated to that day’s creations. Rotate older items out to make room and let each child’s work shine for a few days.
Make the reveal a small ceremony: invite each child to name their piece and share one thing they liked about making it. Snap a photo to preserve the memory — a digital album or a simple printed collage becomes a lovely keepsake and stops clutter from piling up.
7. Easy Cleanup Strategies
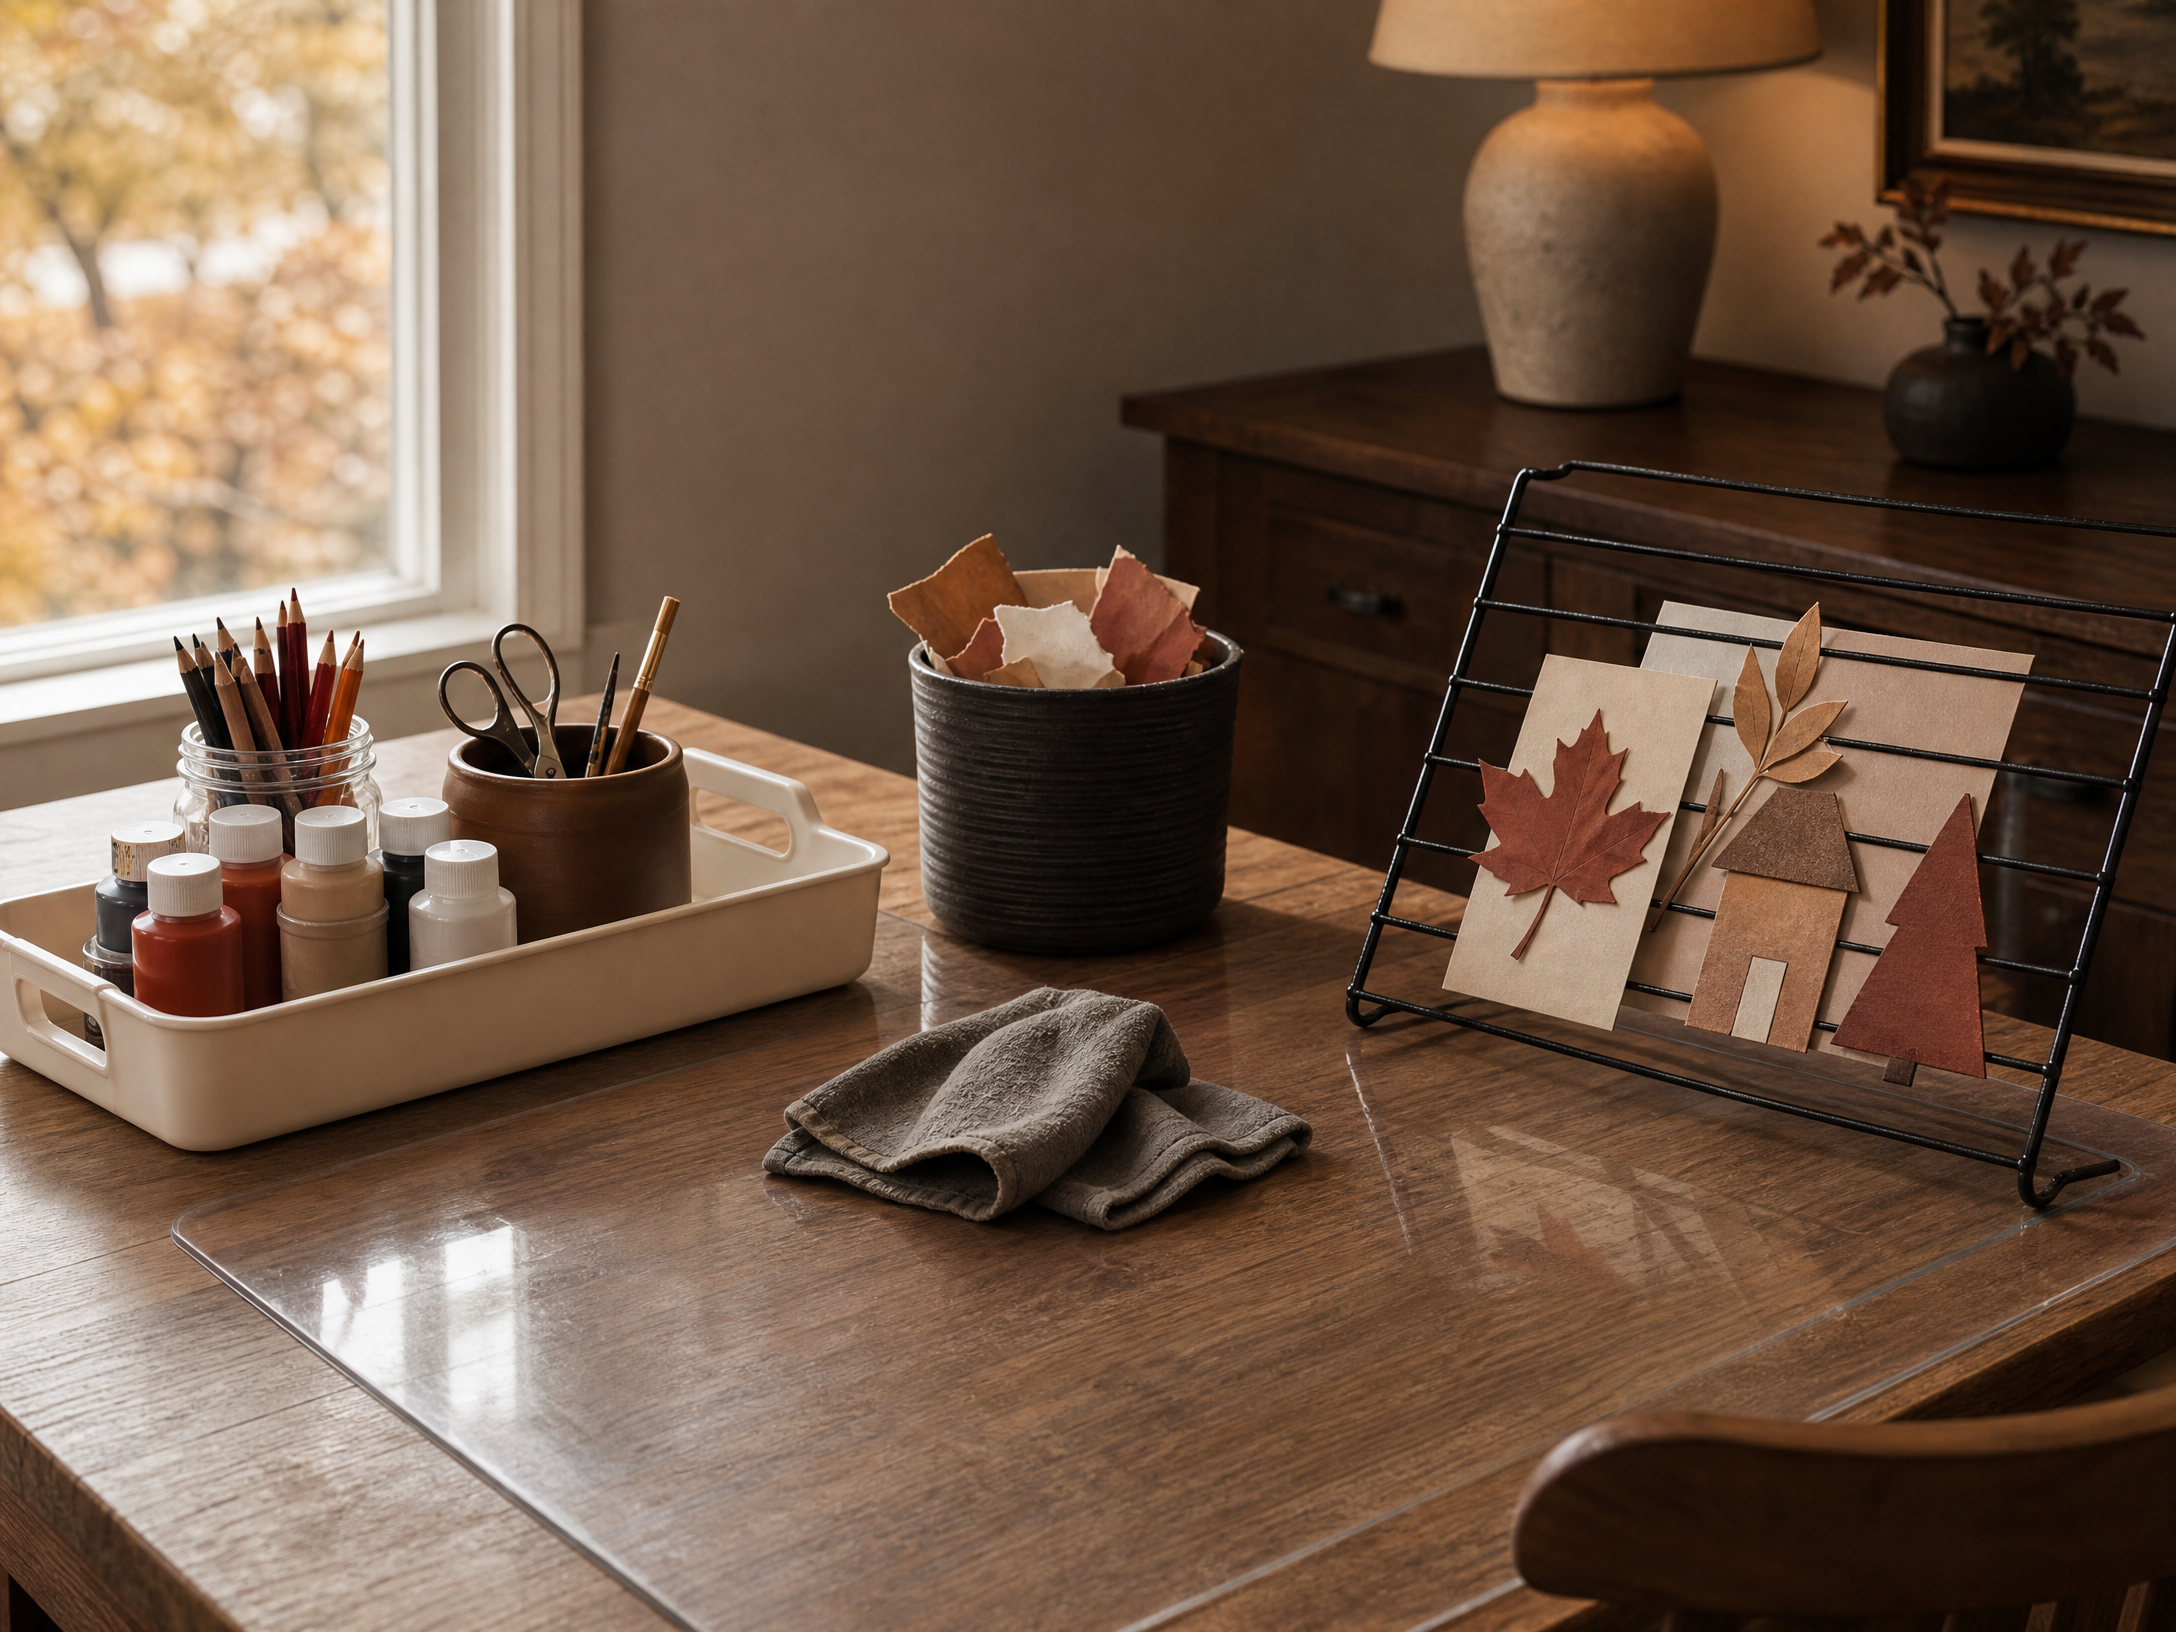
Treat cleanup as part of the activity, not an obstacle. Set a five-minute cleanup timer and turn put-away tasks into a game: who can round up all the glue sticks? Keep a wet wipe or damp cloth handy for quick hands and surface cleaning, and protect work surfaces with a reusable mat or newspaper that can be folded up and tossed.
Have a clear system for drying and storing finished pieces — a drying rack, a low shelf, or an empty cardboard box labeled ‘drying.’ Teach children simple end-of-session responsibilities according to age (gather tools, throw away scraps, stack finished papers) so cleanup becomes a natural habit.
8. Scaling Up: Adapting for a Group
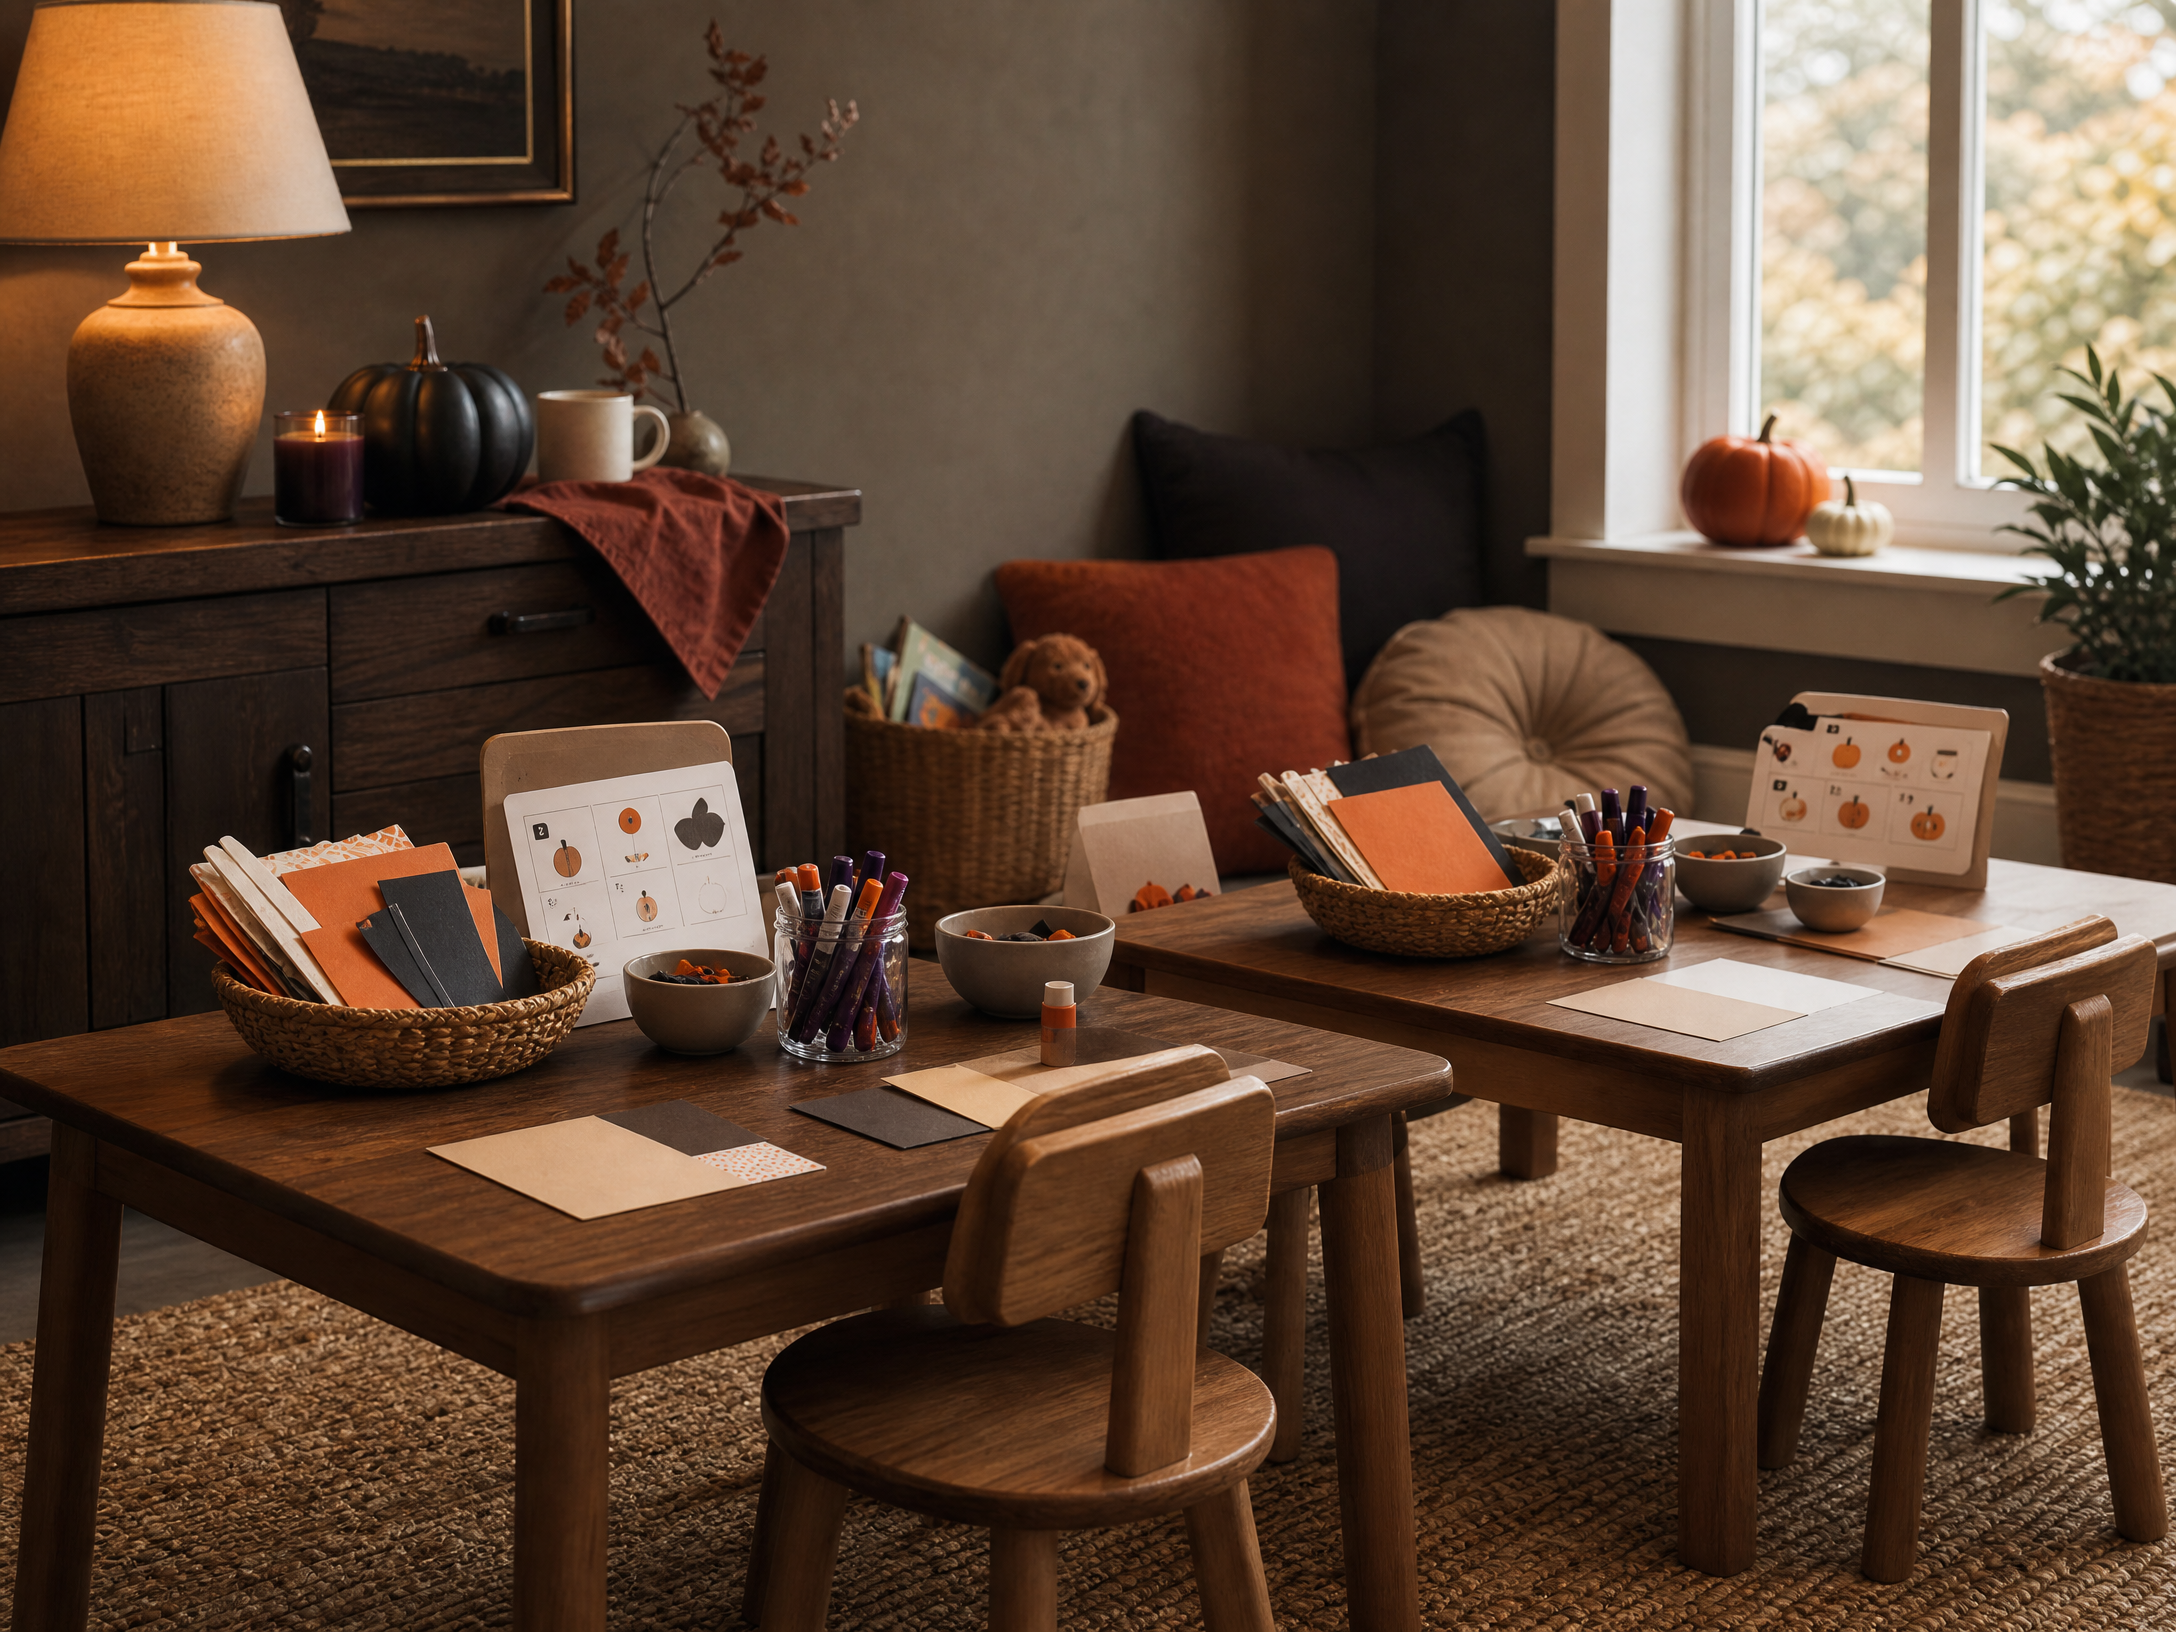
When crafting with a group, reduce choice and increase stations. Offer two coordinated project stations rather than many different ones to keep supervision manageable. Position an adult or older helper at each station, pre-portion supplies into individual kits, and label each spot so children know where to sit and which materials belong to them.
Stagger starts and finish times if possible so not everyone needs help at once; rotate helpers between stations. Use simple signage with step images to guide children through projects independently, and plan for a quiet corner for kids who need a break from the group activity.
Final Thoughts
A low-stress Halloween craft afternoon is all about preparation, scaled choices, and gentle routines. With child-friendly materials, clear supervision, and simple display and cleanup plans, you can create a festive, fun experience that leaves everyone proud — and calm. Tweak the structure to suit your space and your kids, and enjoy the moments of creativity together.