Gentle Halloween Face Painting: A Calm, Kid-Friendly Parent Guide
Face painting can be a sweet, simple way to bring a Halloween costume to life without heavy makeup or complicated prosthetics. This guide helps parents choose age-appropriate designs, prepare a relaxed space, use gentle skin products responsibly, and keep the whole experience comfortable and safe for young children.
Always use products intended for use on the face and follow the manufacturer’s directions. If your child shows any sign of irritation, redness, swelling, itching, or discomfort at any point, stop the application immediately and rinse the area with water. If concerns persist or the reaction is significant, seek professional guidance from a healthcare provider — this guide does not provide medical diagnosis or treatment advice.
1. Pick one simple concept and stick to it
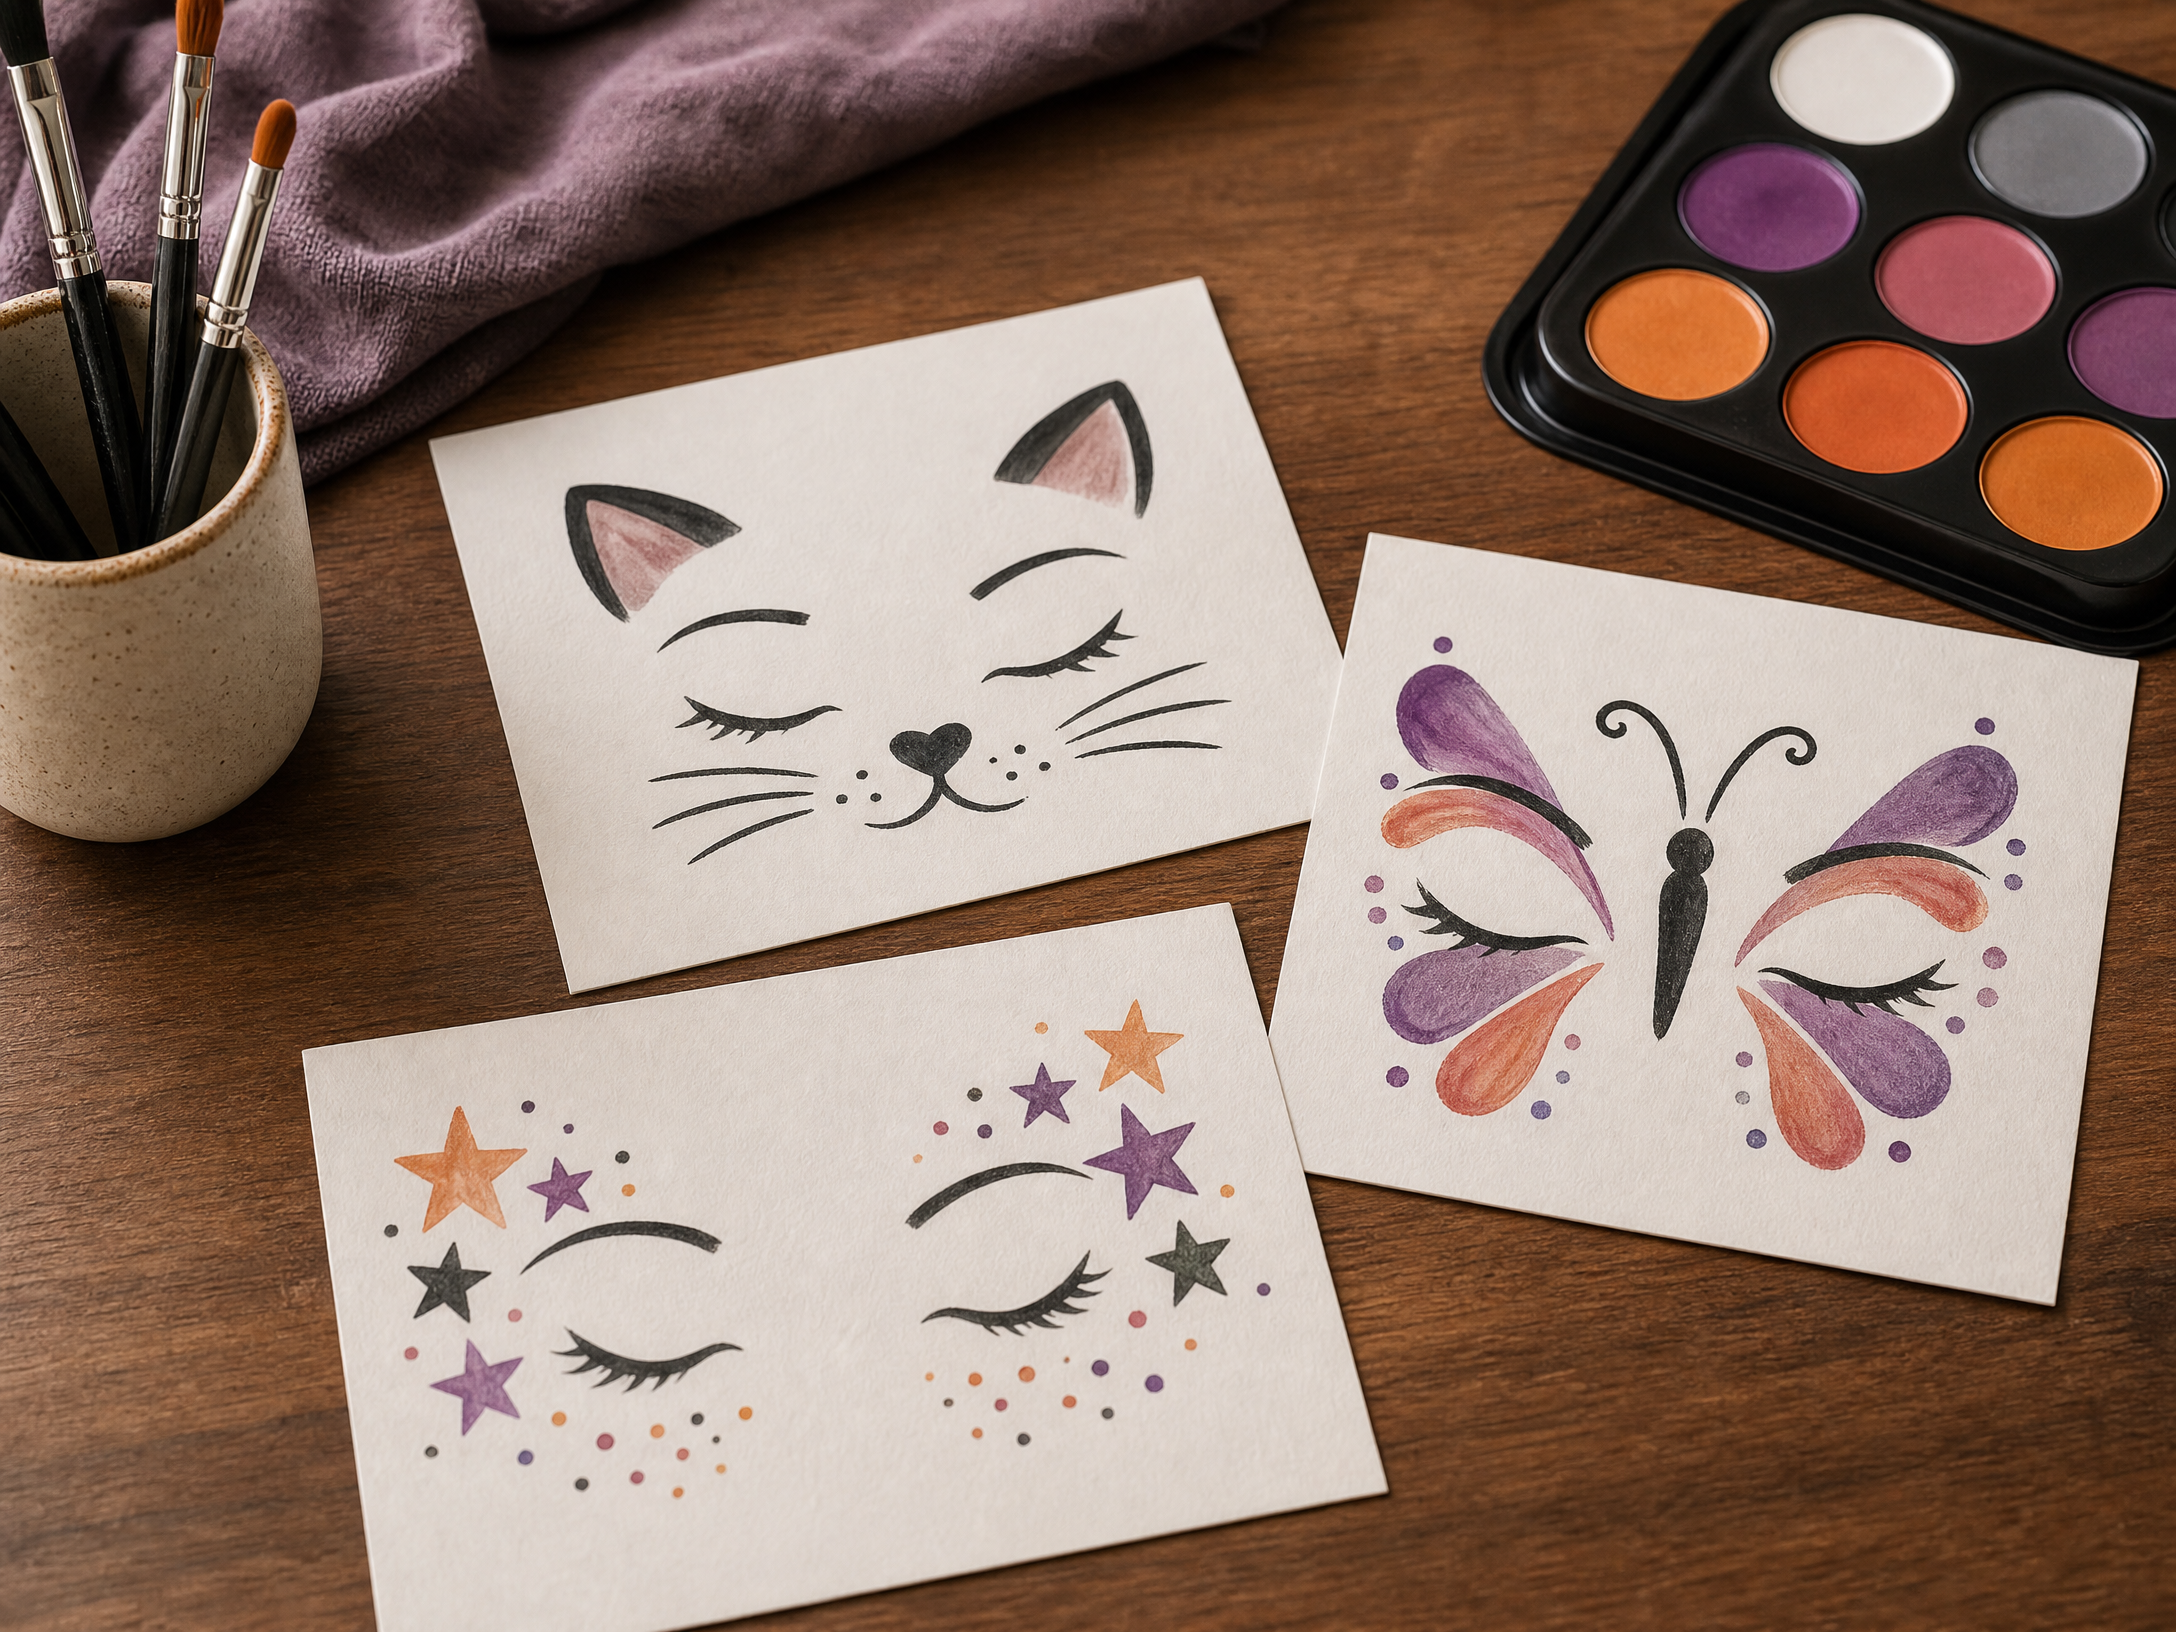
For young children, one clear idea executed simply looks better and lasts longer than an elaborate design. Choose a single theme—an animal face, a friendly monster, a whimsical plant, or a classic mask look—and limit yourself to two or three colors and a couple of defining marks (for example: whiskers + nose for a cat, or antennae + cheek wings for a butterfly).
Keeping the concept narrow helps you work quickly and makes it easier for the child to tolerate the process. It also makes touch-ups simpler if paint smudges during play. Avoid trying to recreate detailed movie or TV characters; instead, lean on basic shapes and playful accents that are easy to apply and remove.
2. Set up a calm, predictable workspace
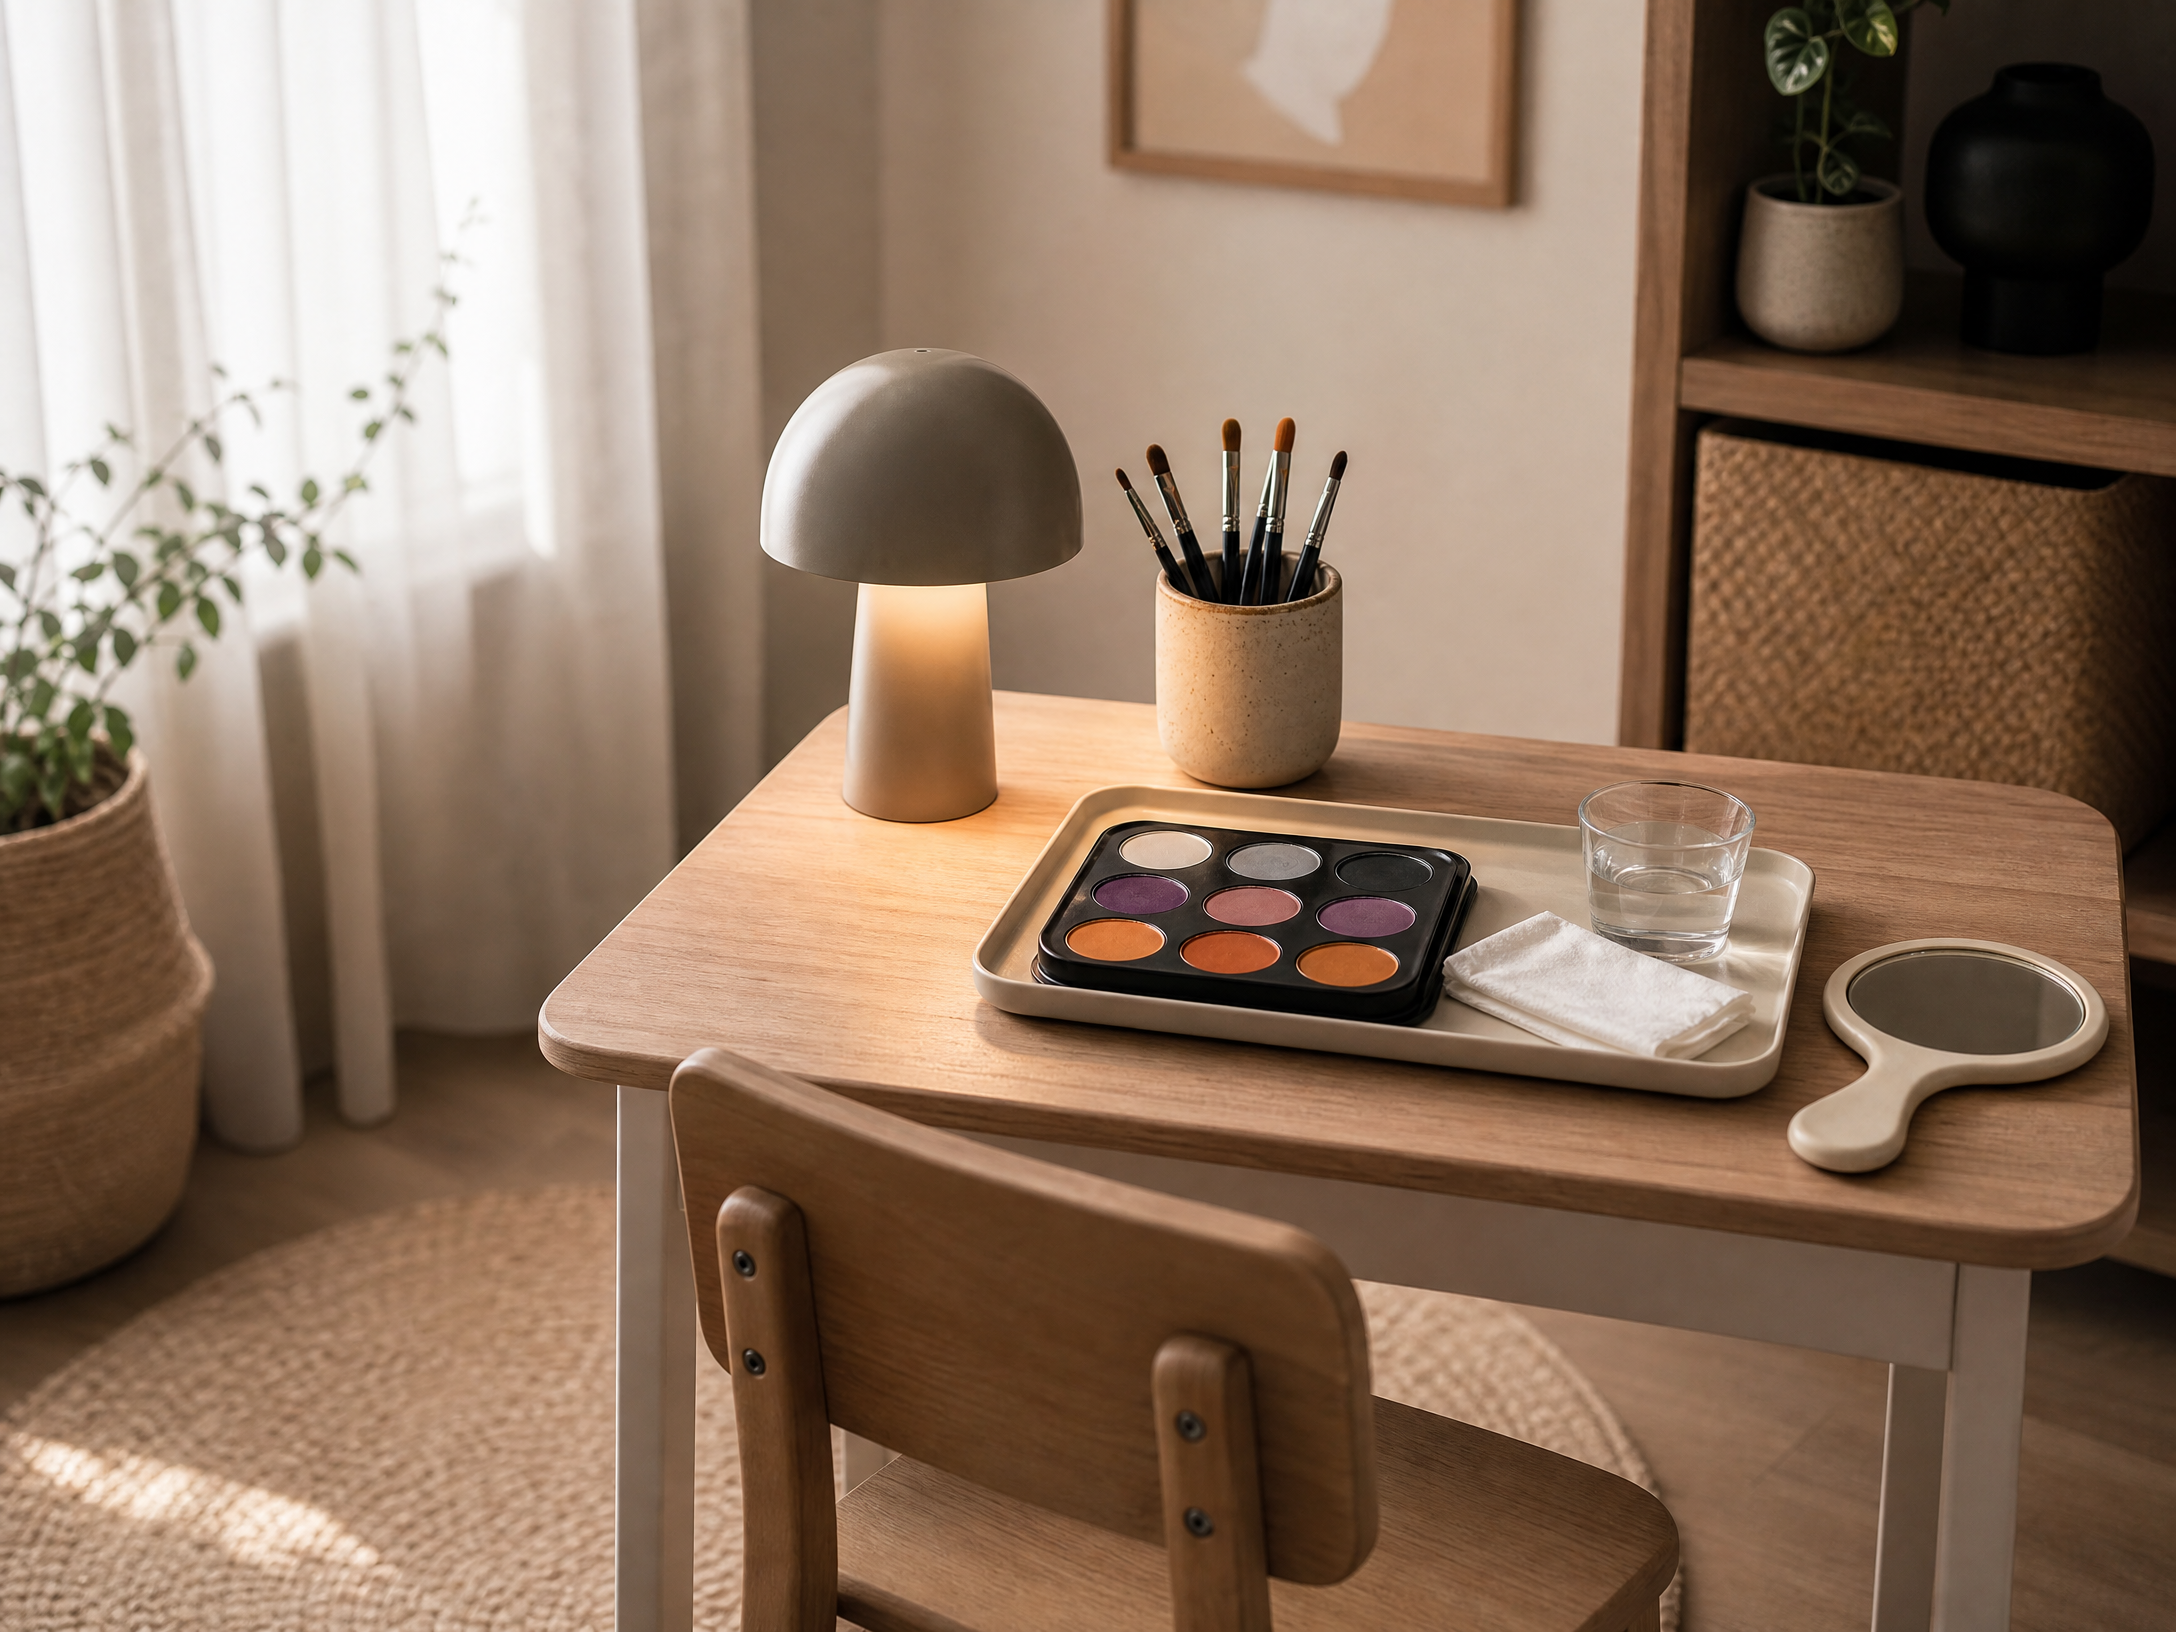
A relaxed atmosphere makes a big difference in how your child experiences face painting. Work in a well-lit area with a comfortable chair for the child and a small table at your side. Minimize distractions—soft background music or a short, familiar video can help some kids sit still; others prefer quiet and reassurance.
Helpful workspace checklist:
- Seat with back support for the child and a cushion if needed
- Small tray with the paints, brushes, water cup, and tissues within reach
- A damp cloth and a bowl of water for quick clean-ups
- A mirror or phone so the child can peek at progress
Create a simple routine (wash hands, pick design, sit, paint, check comfort) so the child knows what to expect each time.
3. Choose gentle, face-safe cosmetics and use them as directed
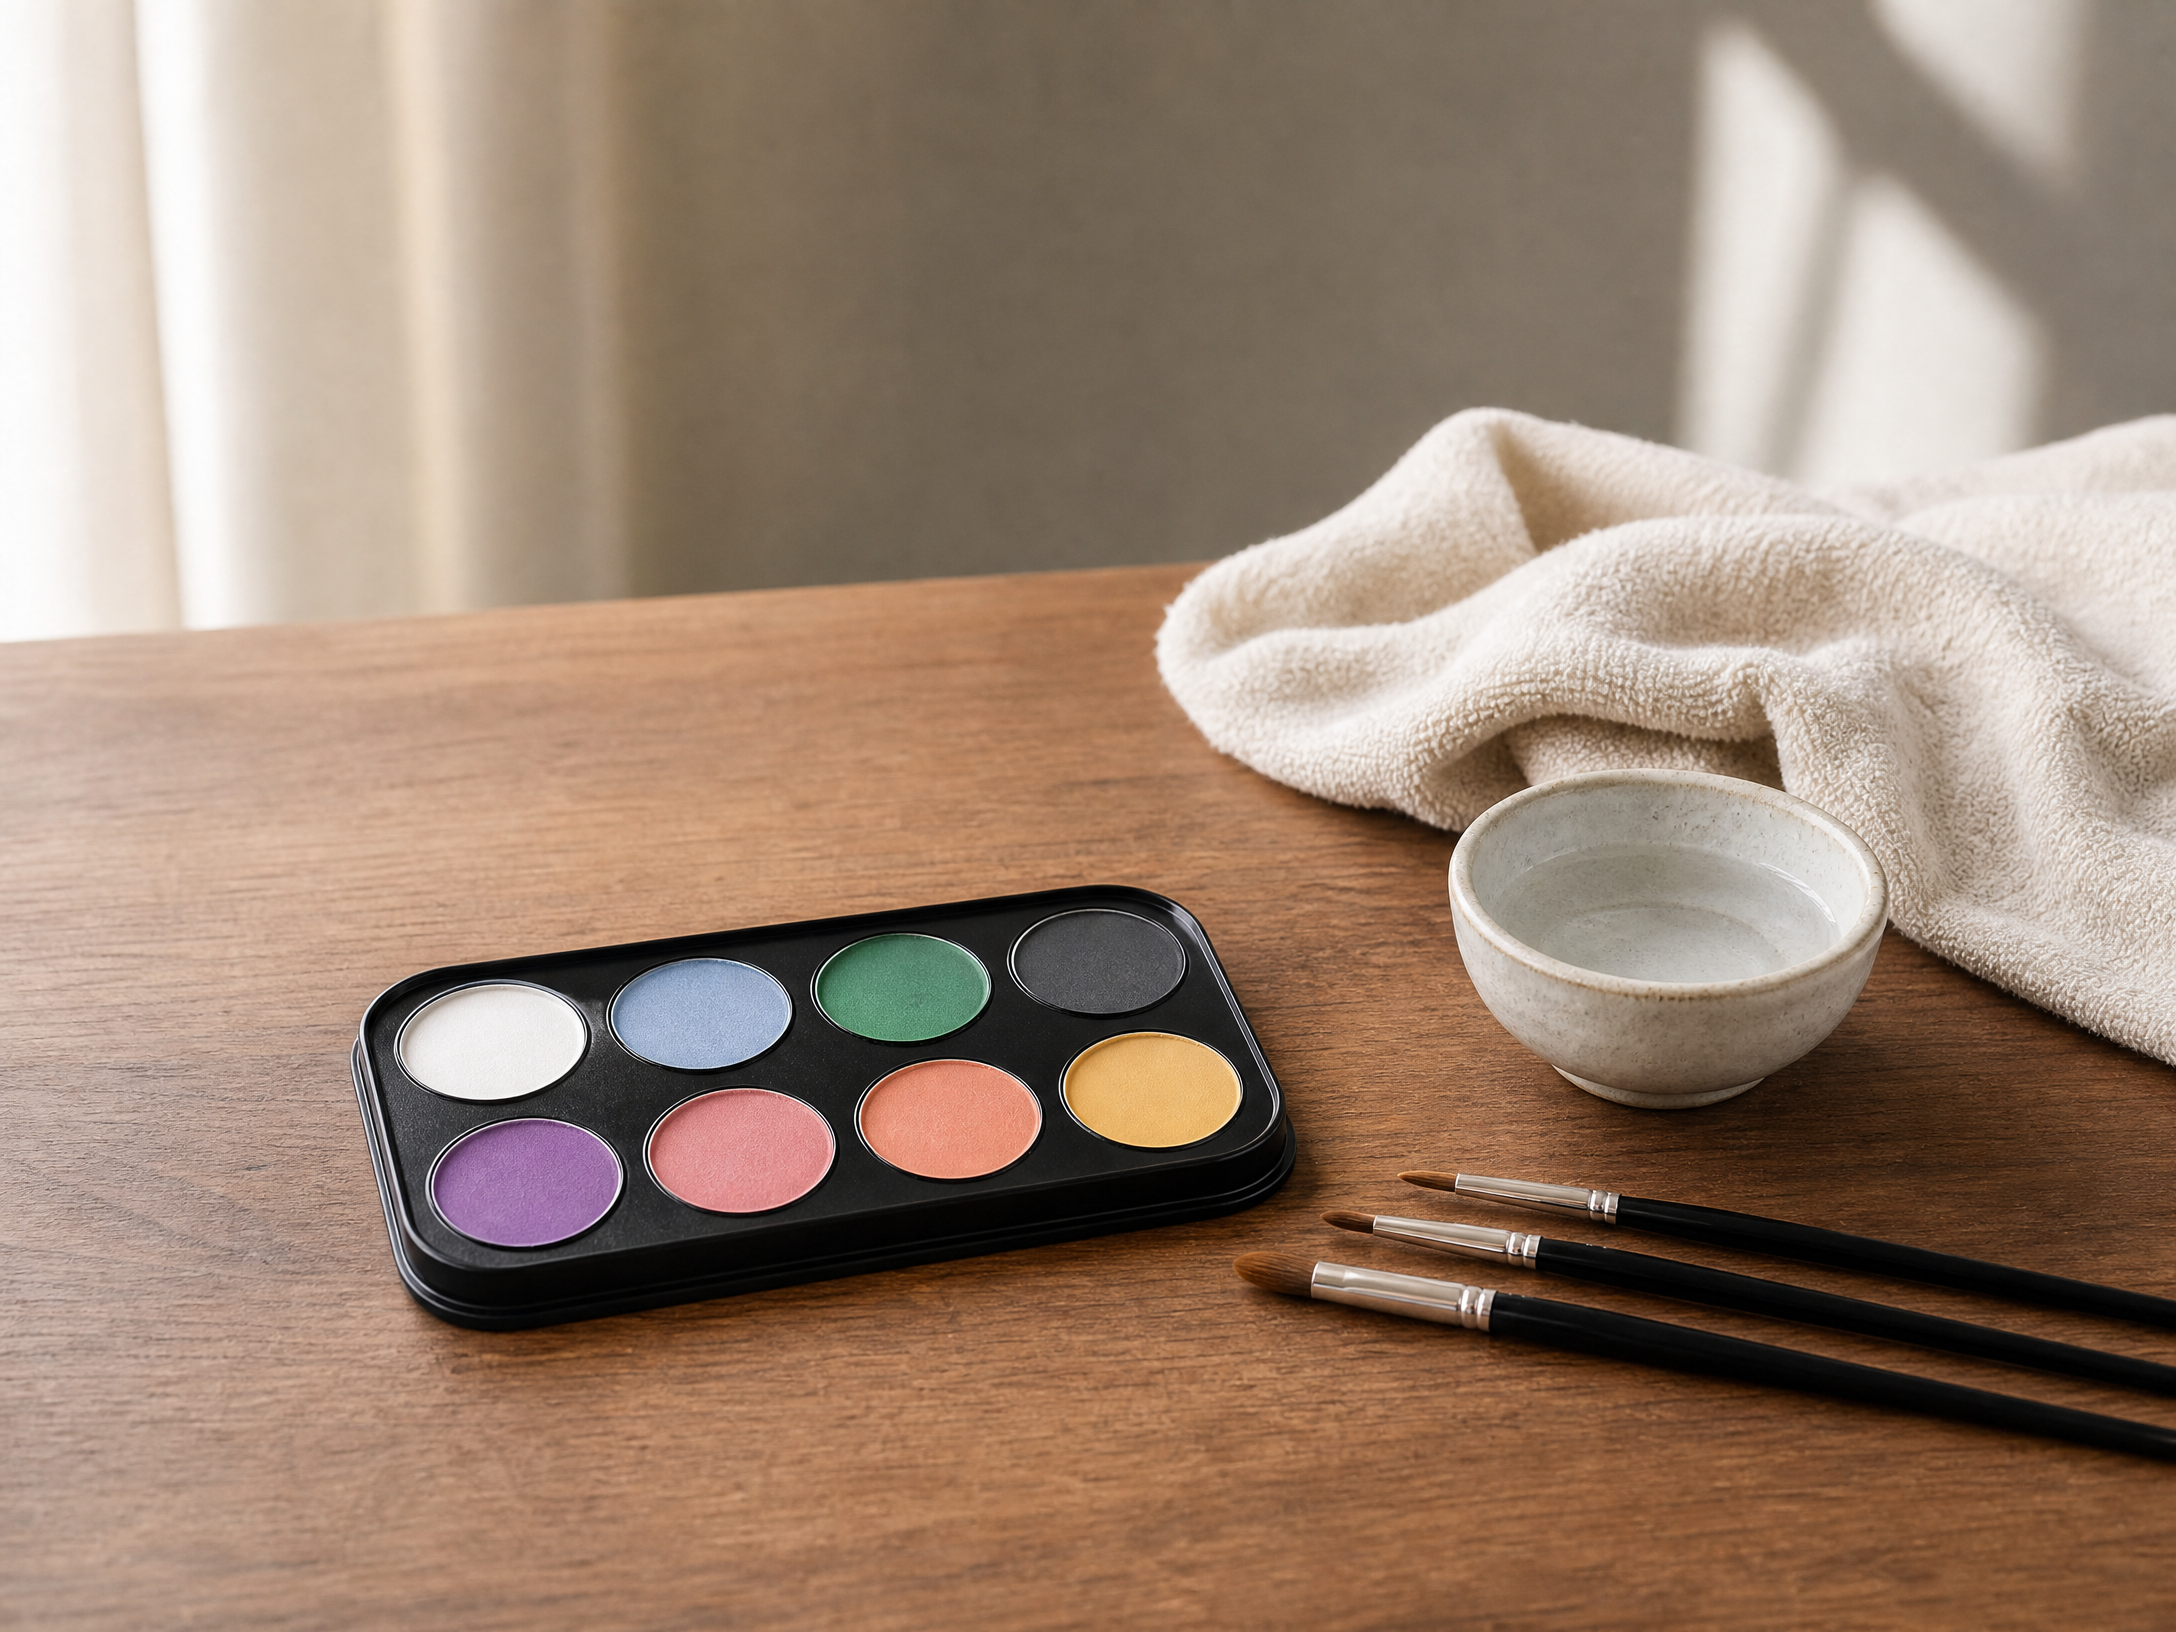
Only use products made for facial use on children and follow the instructions on the packaging, including any guidance about age limits and removal. Even gentle, water-based paints should be applied to clean, dry skin and removed at the end of the day. Avoid mixing household products or using craft paints that aren’t formulated for skin.
Before a full application, do a quick spot check on a small area of the child’s inner forearm or behind the ear and wait a short time (as the product directions suggest) to watch for an obvious reaction. If the skin stays calm, proceed. If you’re unsure about a product’s suitability for your child’s skin, consult a pediatrician or dermatologist before using it extensively.
4. Avoid sensitive areas and keep lines soft
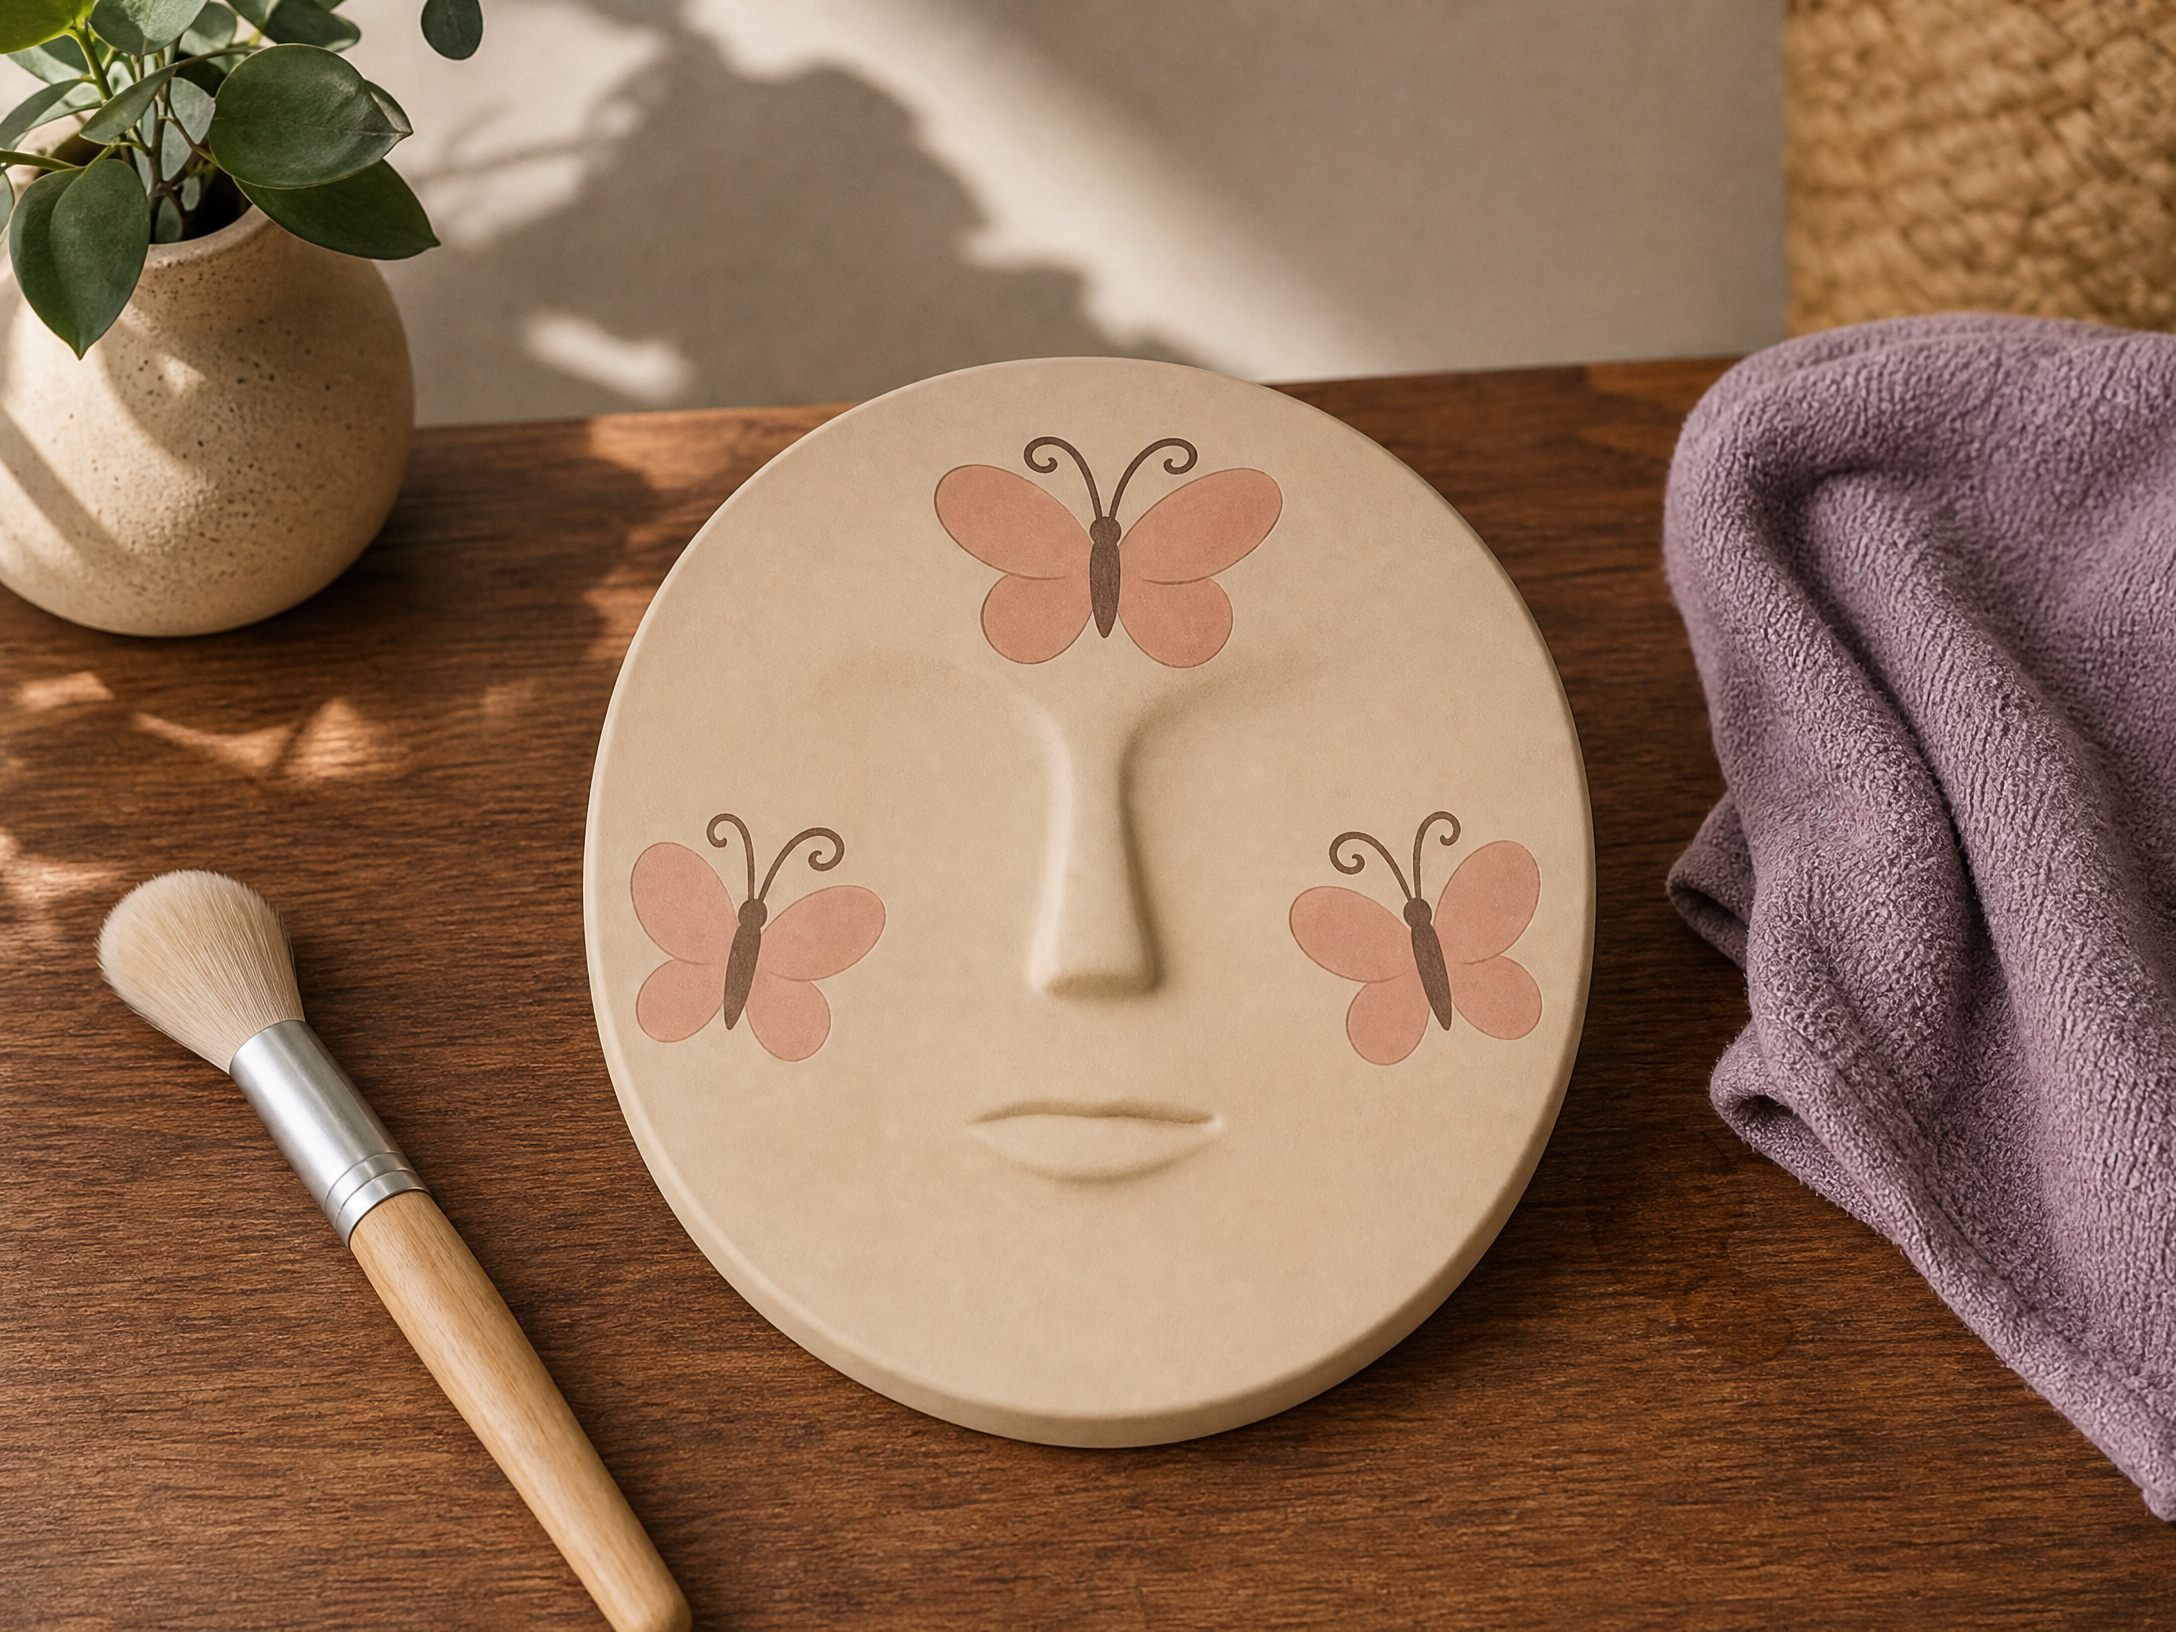
The eye lids, the inner corners of the eyes, the inside of the mouth, recent cuts or sunburned skin, and any areas where the child has eczema or irritation should be left alone. Instead of painting on these spots, adapt your design to nearby, less sensitive zones (cheeks, forehead, bridge of the nose). Soft edges and rounded shapes are kinder to young skin than heavy, layered fills or sharp metallic pigments.
If you need to create definition, use thin, gentle strokes rather than dense coverage. Keep a damp cloth handy to remove stray marks quickly; repeated scrubbing can aggravate delicate skin, so blot and rinse rather than rub.
5. Pace the session and give plenty of breaks
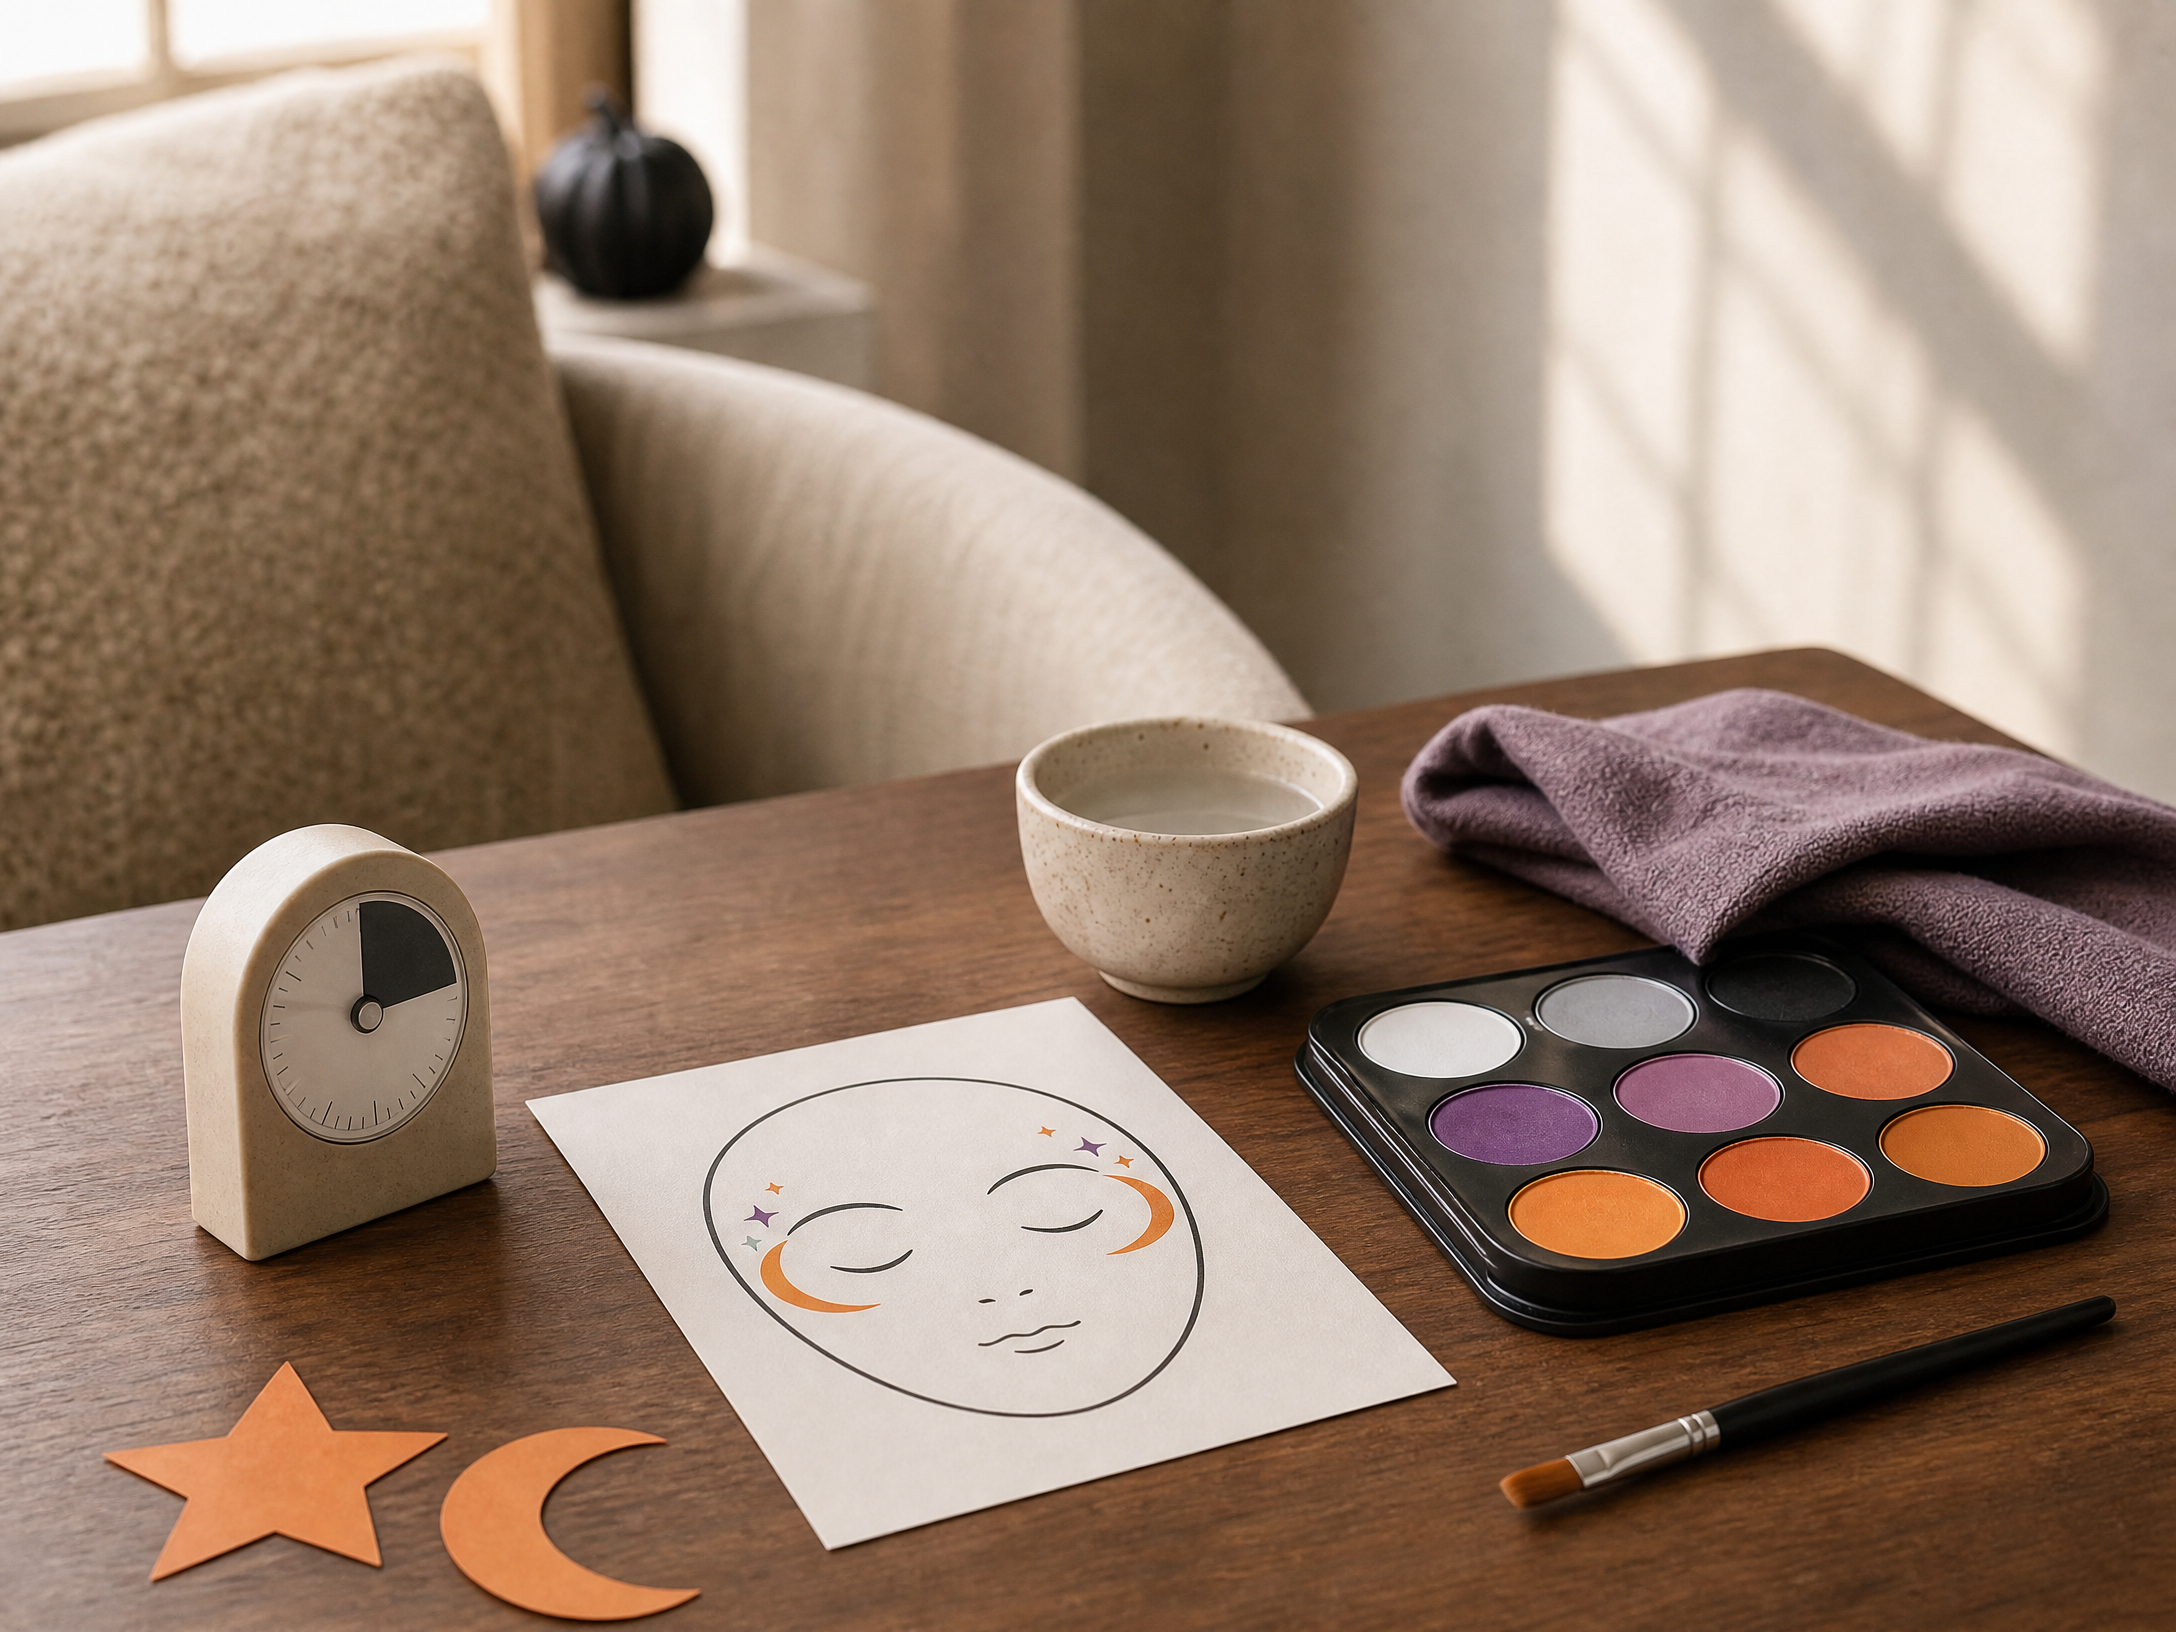
Young children have limited patience and may find sitting still for long stretches uncomfortable. Break the session into short steps: primer or moisturizer (if needed), base color, accents, and a quick comfort pause after each step. Praise and light conversation help keep the mood positive, and short, scheduled breaks let the child move without ruining the design.
If the child becomes restless, consider pausing and returning in five to ten minutes rather than rushing. For older kids, you can invite them to help with small, safe tasks—handing you a brush or choosing a color—so they feel involved without compromising the final look.
6. Design families that are easy to customize
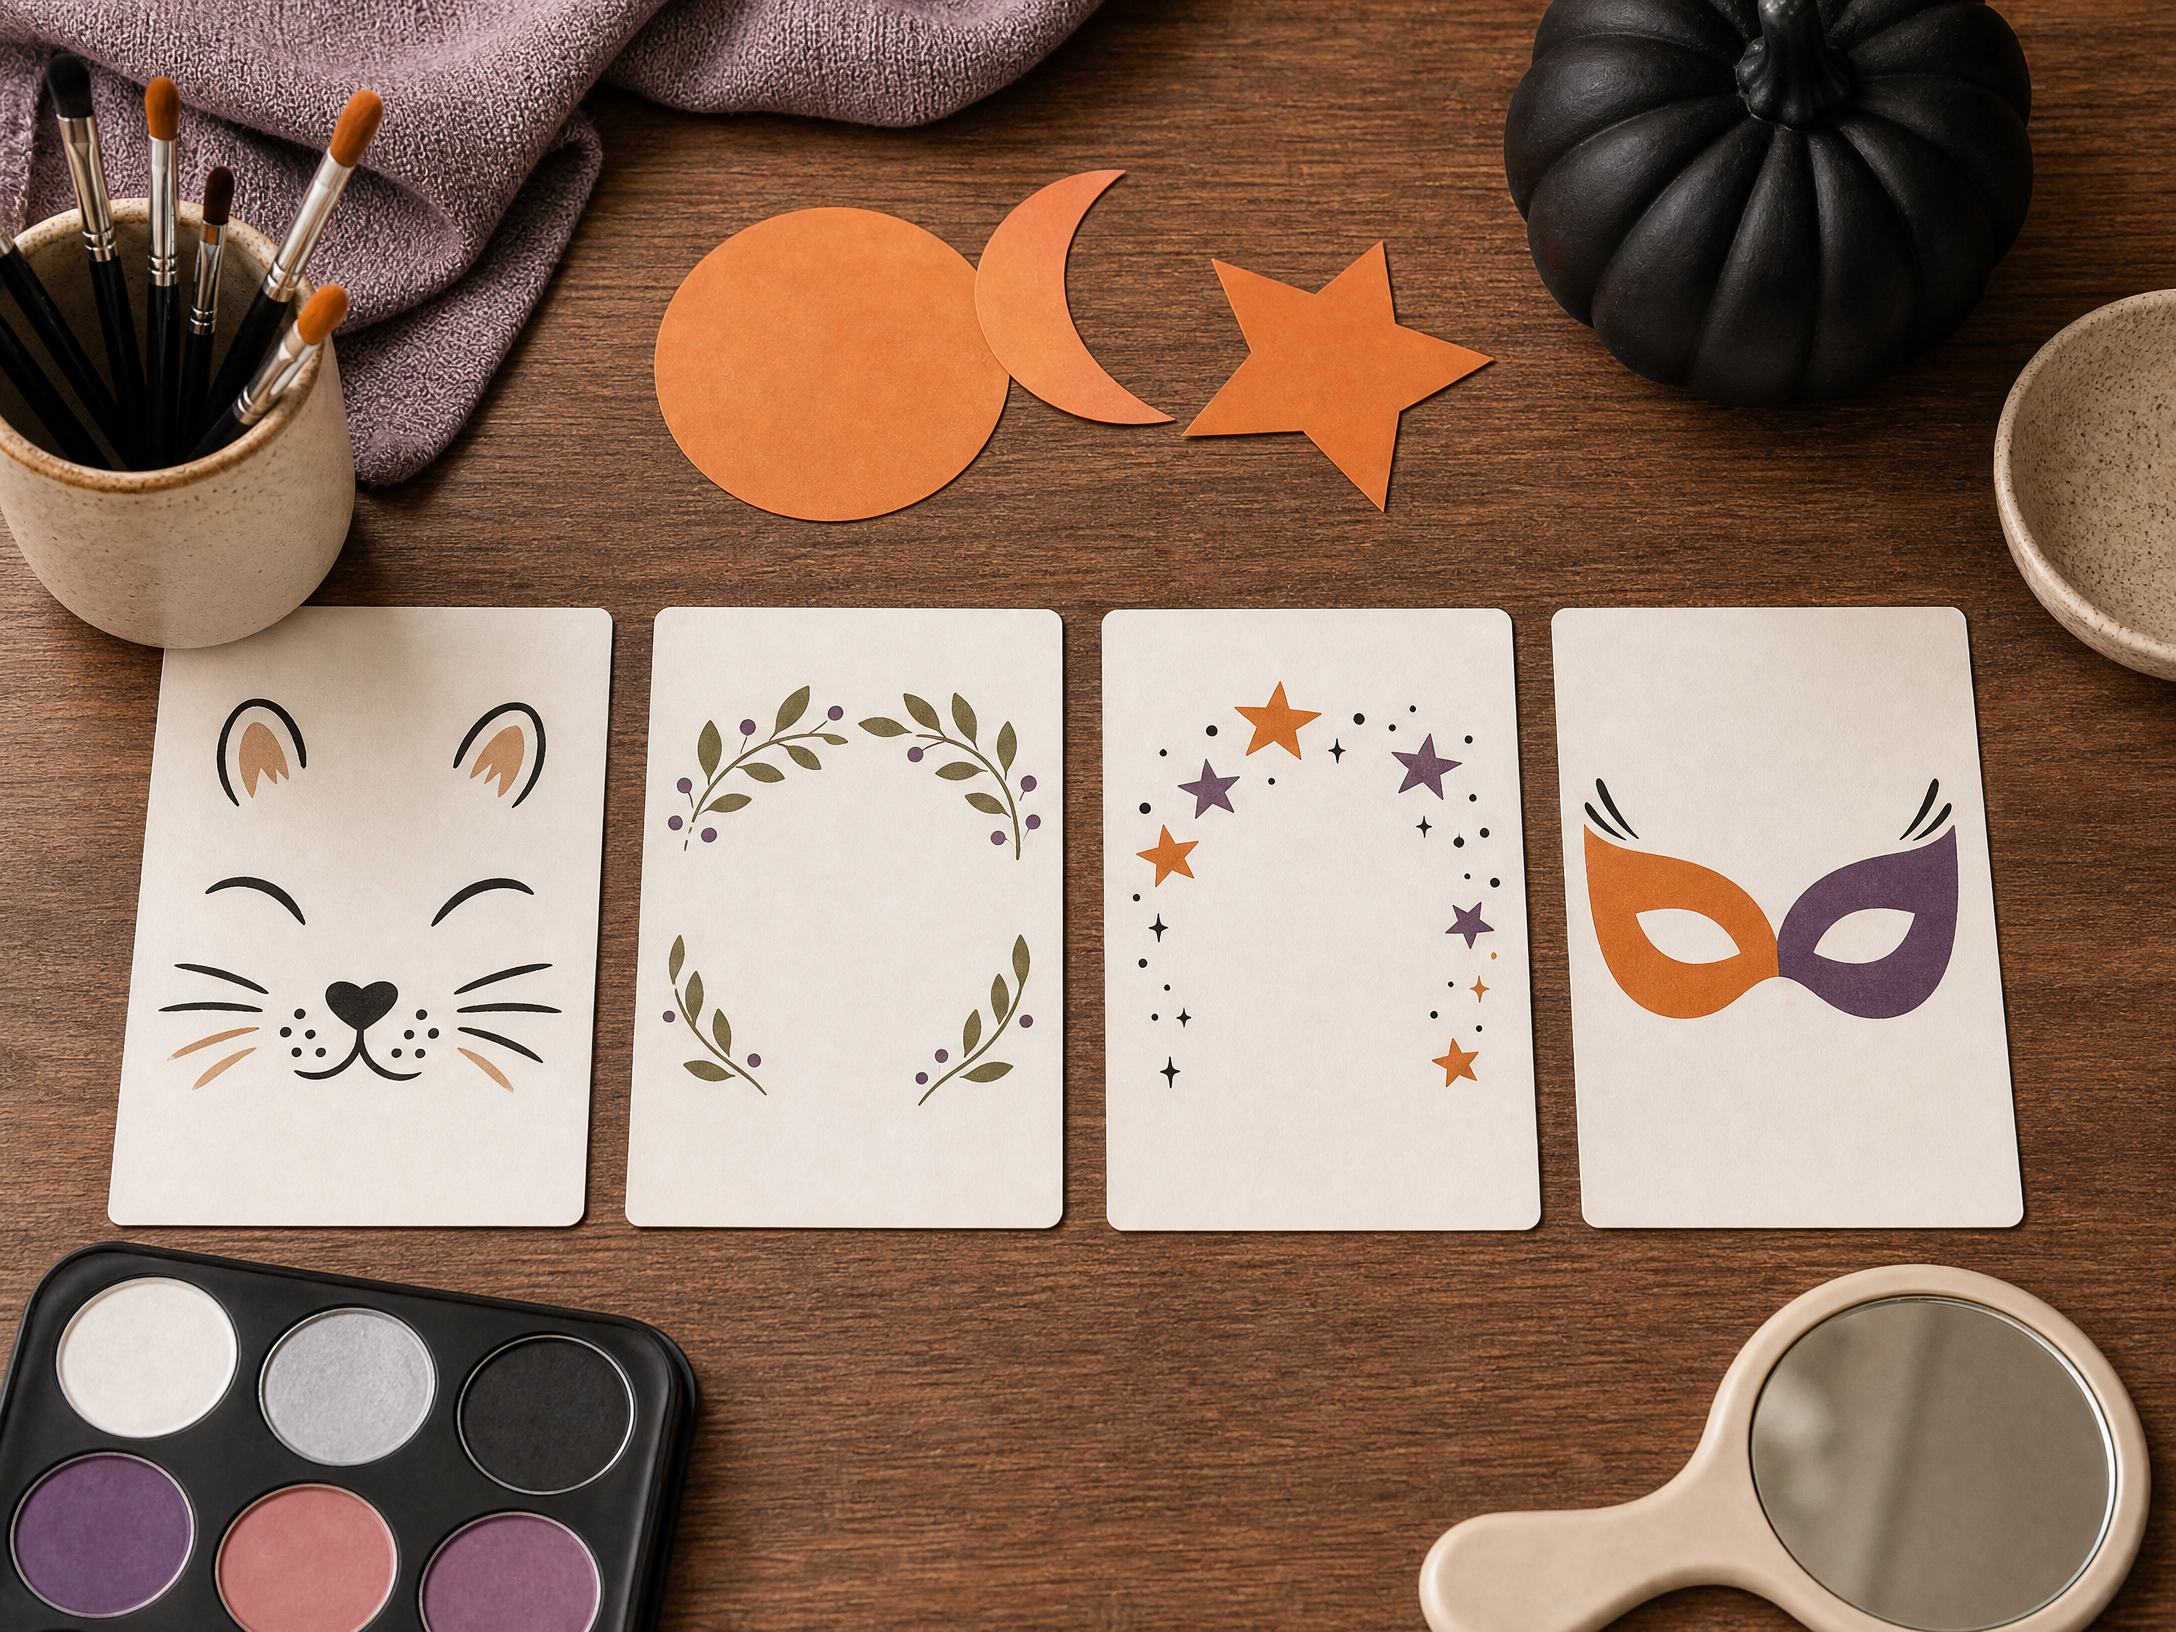
Work with flexible design families that allow small adjustments for different ages and temperaments. Examples include:
- Animal faces: cat, bunny, puppy (whiskers, small nose, cheek shading)
- Nature motifs: sunflower, leaf garland, small ladybug on a cheek
- Magical touches: star cluster, simple fairy mask, soft horn accent
- Classic masks: half-face bandit/superhero-style eye mask in two colors
These families let you add or remove elements depending on how cooperative the child is and avoid the need to copy a copyrighted or licensed character exactly.
Start with the simplest version for toddlers—one or two marks—and add layers of detail for older children who can sit longer. Use the same basic shapes (dots, crescents, stripes) to keep the learning curve small and the outcome consistent.
7. Comfort checks and gentle removal
Throughout the session, check in with simple questions—“Is that okay?” or “Do you want a little break?”—and watch for nonverbal cues like rubbing, pulling away, or sudden quietness. If the child says something hurts, itches, or they want to stop, pause and rinse the area. As noted above, stop using the product if any irritation appears and seek professional advice if problems don’t settle quickly.
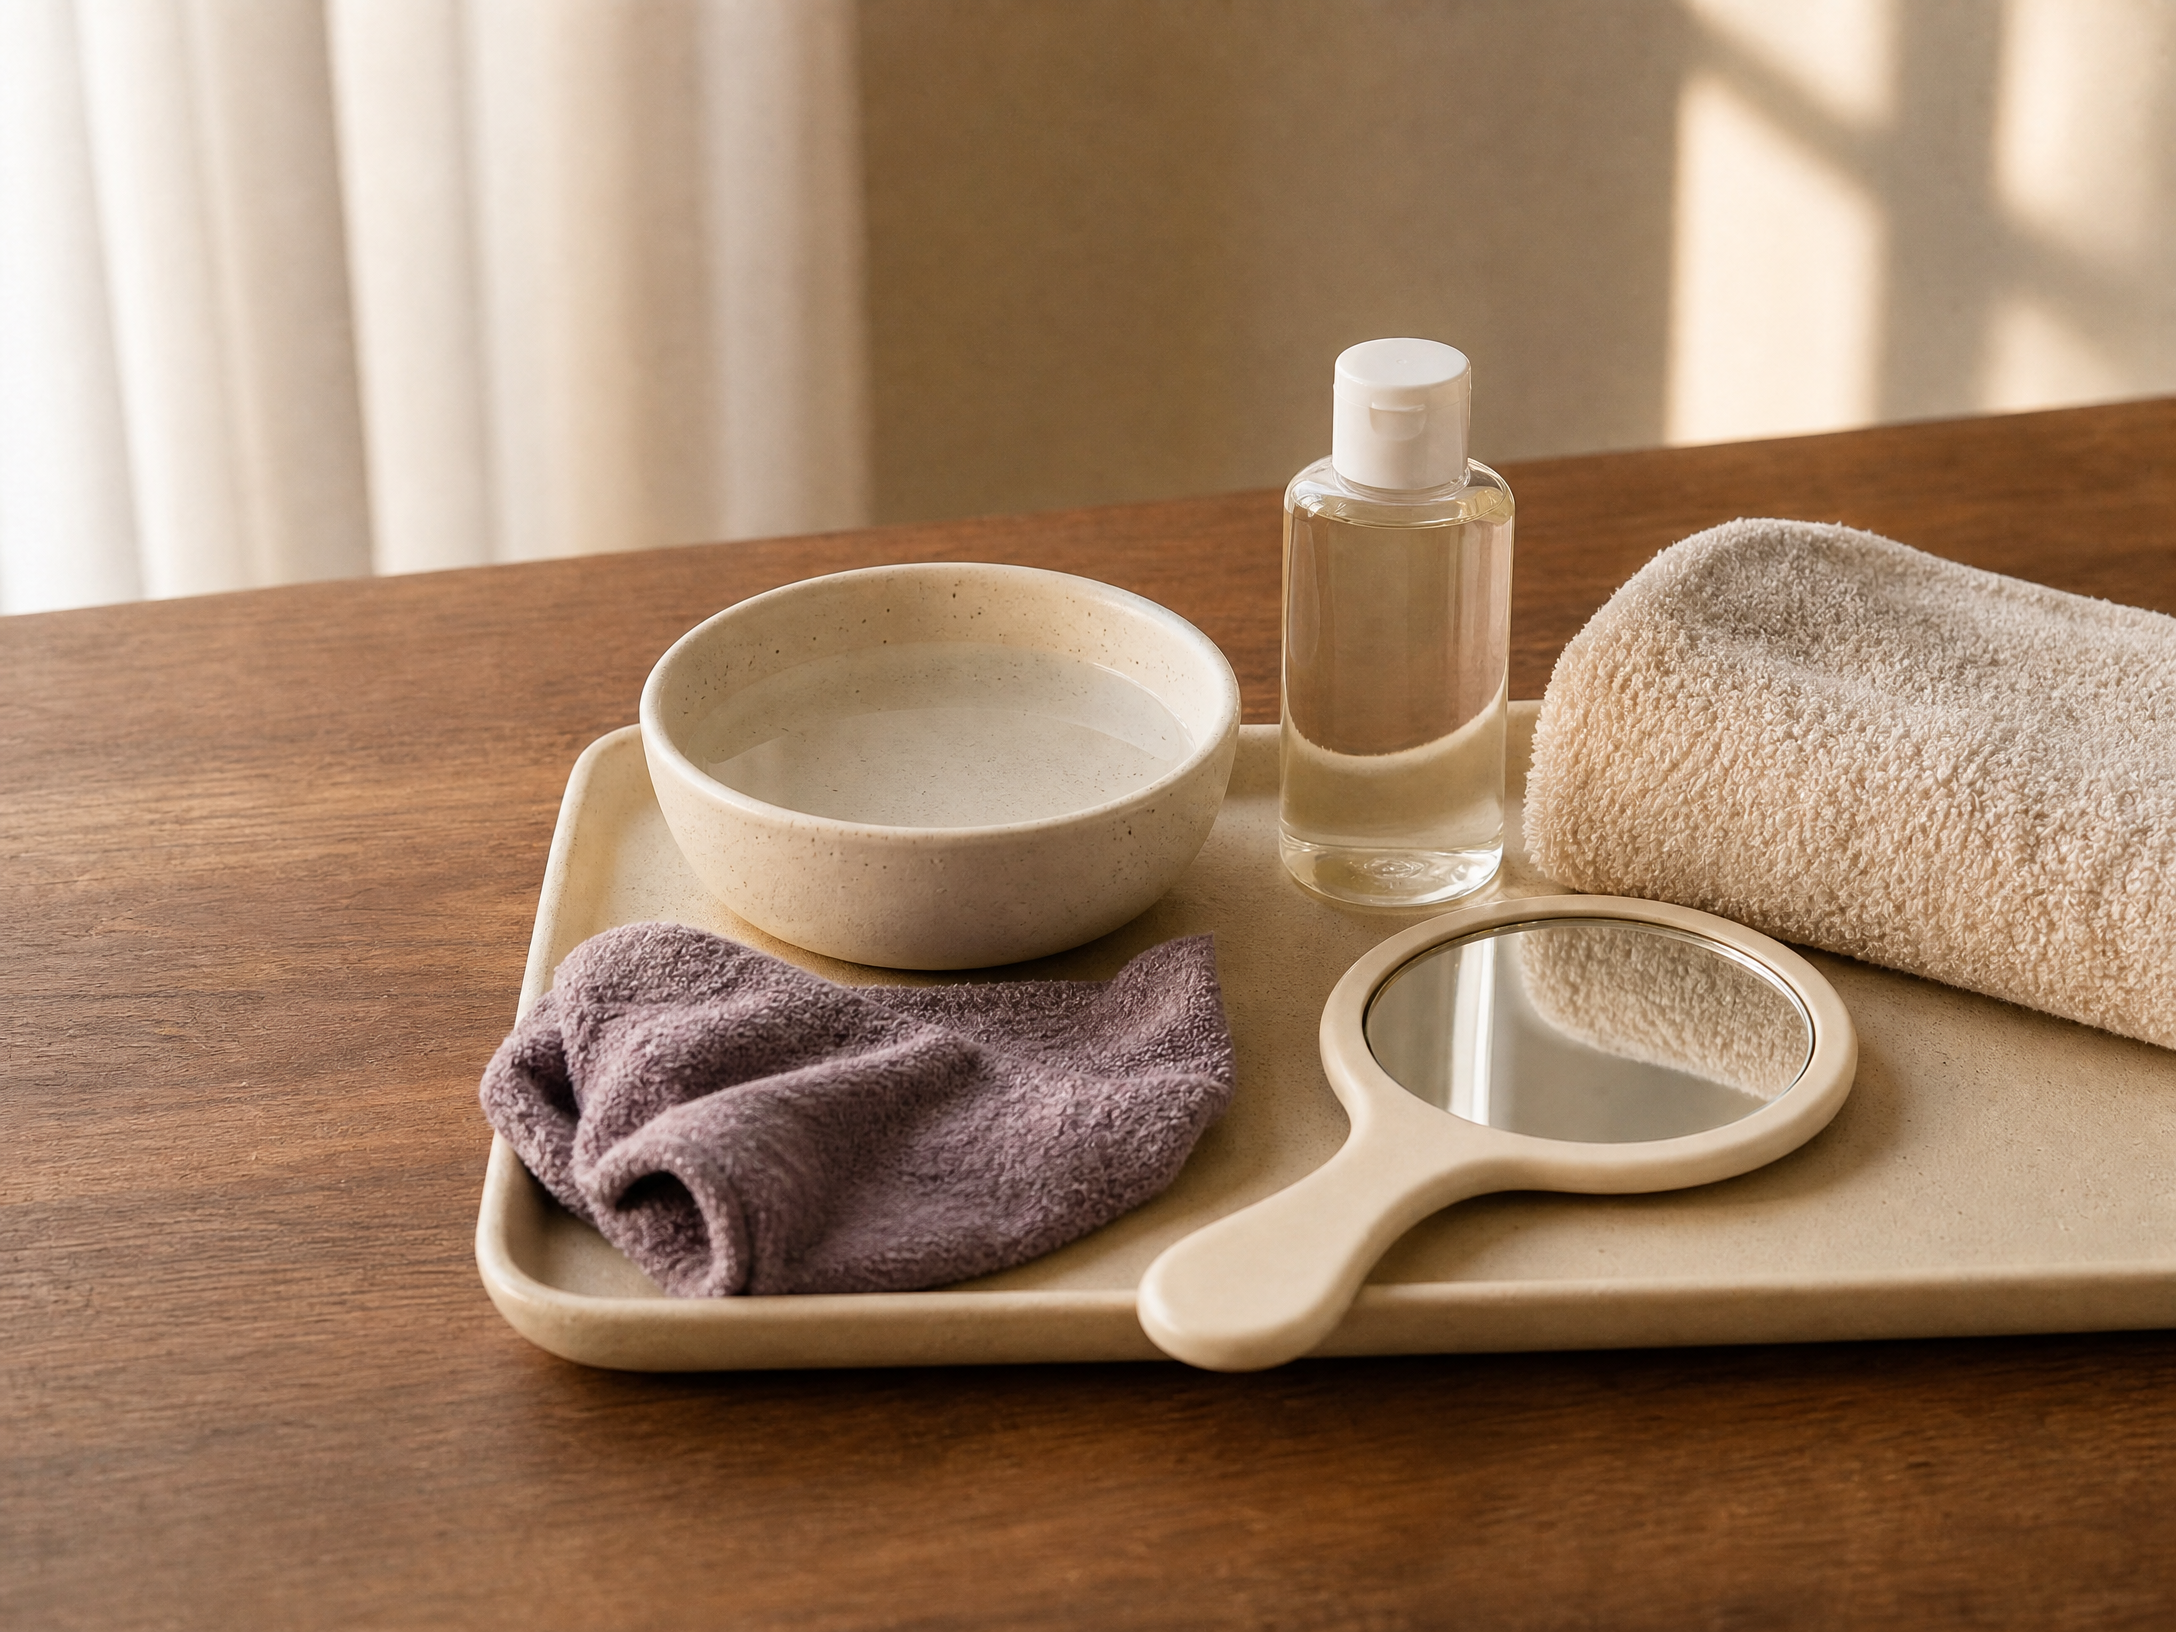
When it’s time to remove the paint, use gentle methods: a soft, damp cloth with mild soap or a product specified for face paint removal, warmed slightly for comfort. Work slowly in the direction of hair growth, using light pressure. If some color persists after one gentle pass, repeat with fresh water rather than scrubbing. Finish with a mild moisturizer to soothe the skin and help it recover after the day’s fun.
Final Thoughts
Keeping Halloween face painting calm, simple, and child-centered makes it an enjoyable tradition rather than a stressful task. Choose easy designs, set up a soothing space, follow product directions, avoid sensitive areas, pace yourself, and prioritize the child’s comfort throughout. If irritation or discomfort occurs, stop and seek professional guidance when needed—safety and your child’s wellbeing always come first.