A Simple Guide to Building a Layered Winter Home Scent

A thoughtfully fragranced home can transform chilly days into a cozy, layered experience. Rather than dousing every room with the same strong aroma, use a considered approach: choose a scent direction, set intensity to suit each space, and use complementary notes across different zones. This creates depth without overwhelming the senses.
This guide outlines a practical framework — from picking one of four scent directions (bright citrus spiced, evergreen woods, soft bakery warmth, cool mineral) to pairing a single anchor note with one supporting note, keeping scent zones distinct, and choosing non-flame options when appropriate. It also covers managing sensitivity and candle fire safety so your winter scent plan is as safe as it is inviting.
1. Pick a scent direction that fits the mood

Start by choosing a directional mood for your home rather than collecting random smells. Bright citrus spice blends uplift and feel festive — think zesty top notes warmed by cinnamon or clove for a cheerful, energetic atmosphere. Evergreen woods emphasize resinous pine, fir or cedar elements and suit a calm, forest-like ambience that reads cozy and grounding.
Soft bakery warmth centers on vanilla, caramel, or fresh-baked bread impressions; it’s intimate and comforting in living and dining spaces. Cool mineral evokes crisp air, salt, and stone — a cleaner, more modern winter scent that works well in minimalist or smaller rooms where you want clarity rather than opulence. Commit to one of these directions per zone to create clarity and cohesion across your home.
2. Match scent intensity to room size and function
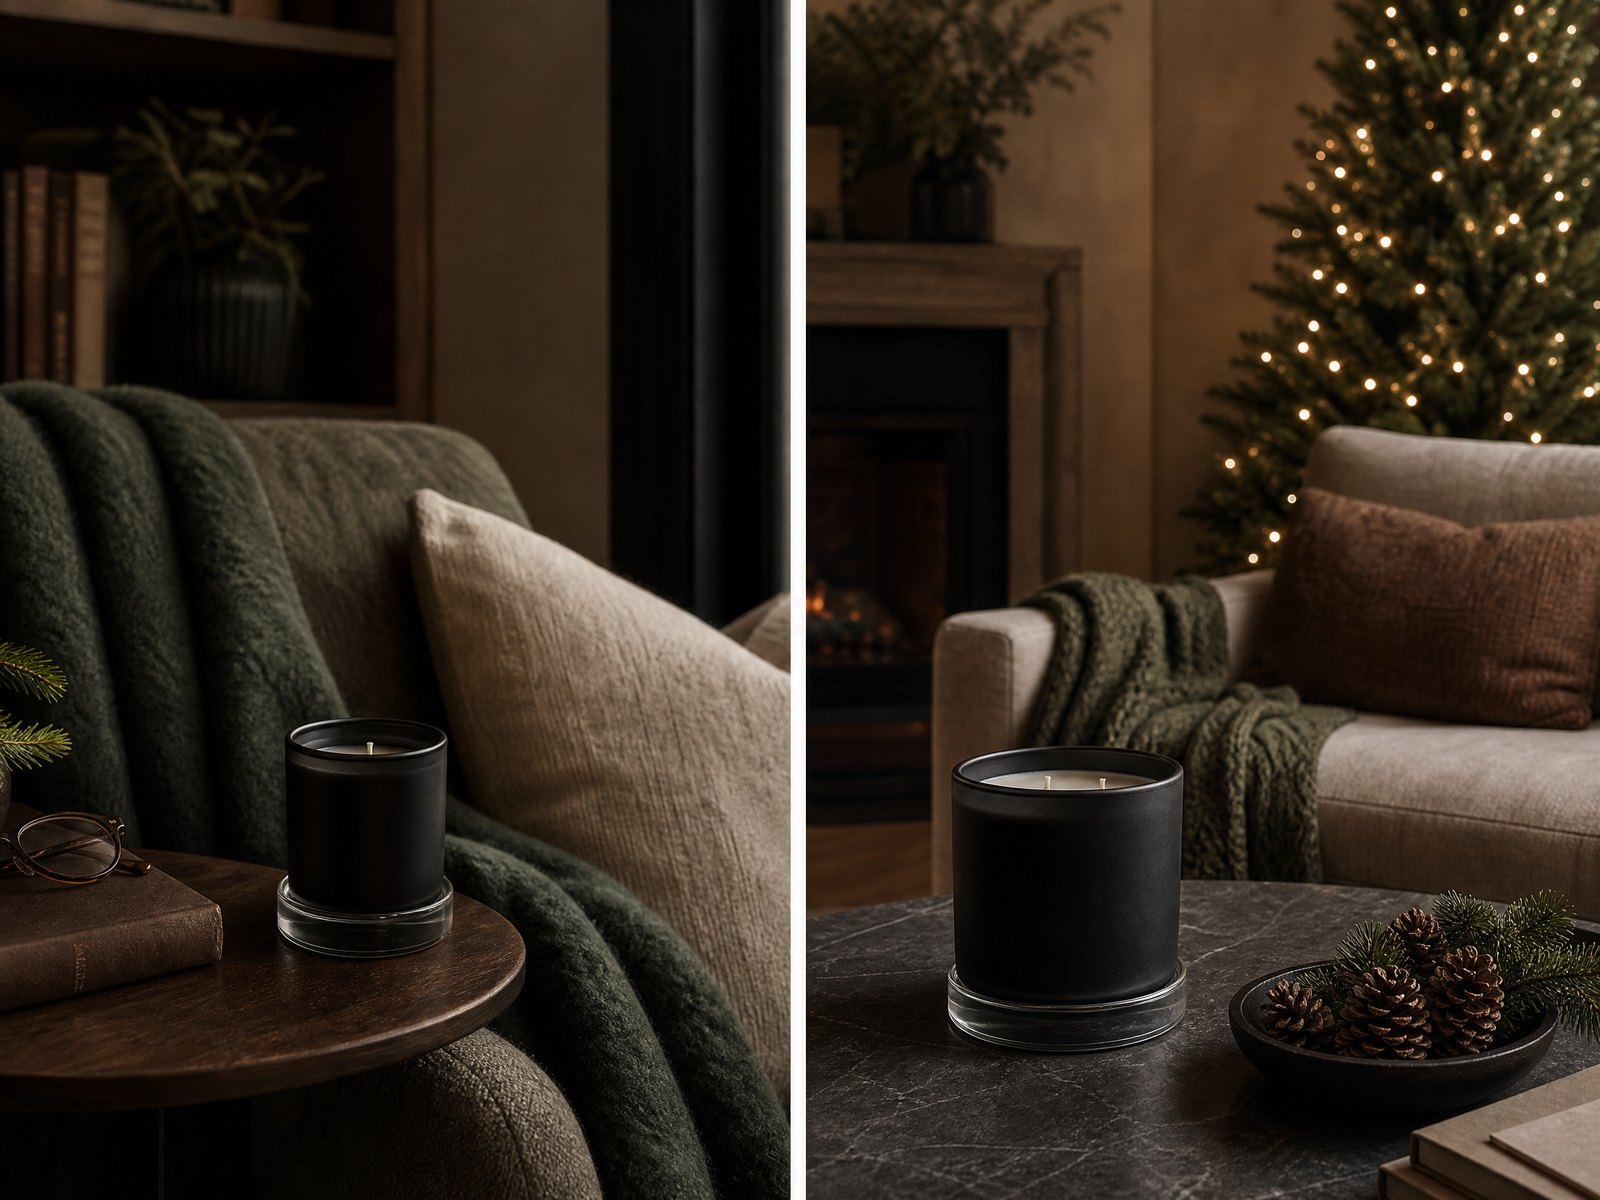
Room volume and function should dictate how strong a fragrance you use. Large open-plan areas tolerate, and often benefit from, stronger scent delivery or multiple dispersed diffusers; small bedrooms and bathrooms require subtlety. Think in terms of concentration: a powerful aroma in a compact room becomes cloying, while a whisper in a big space disappears.
Adjust delivery method and placement to control intensity. Use smaller diffusers, a single wax melt, or lower-wattage electric diffusers in small rooms; reserve larger water-based diffusers, multiple reed sets, or several matches of a chosen scent for living rooms and open kitchens. For high-traffic areas, keep a mid-level intensity so the scent registers without lingering too strongly on clothes or linens.
3. Keep scent zones separate
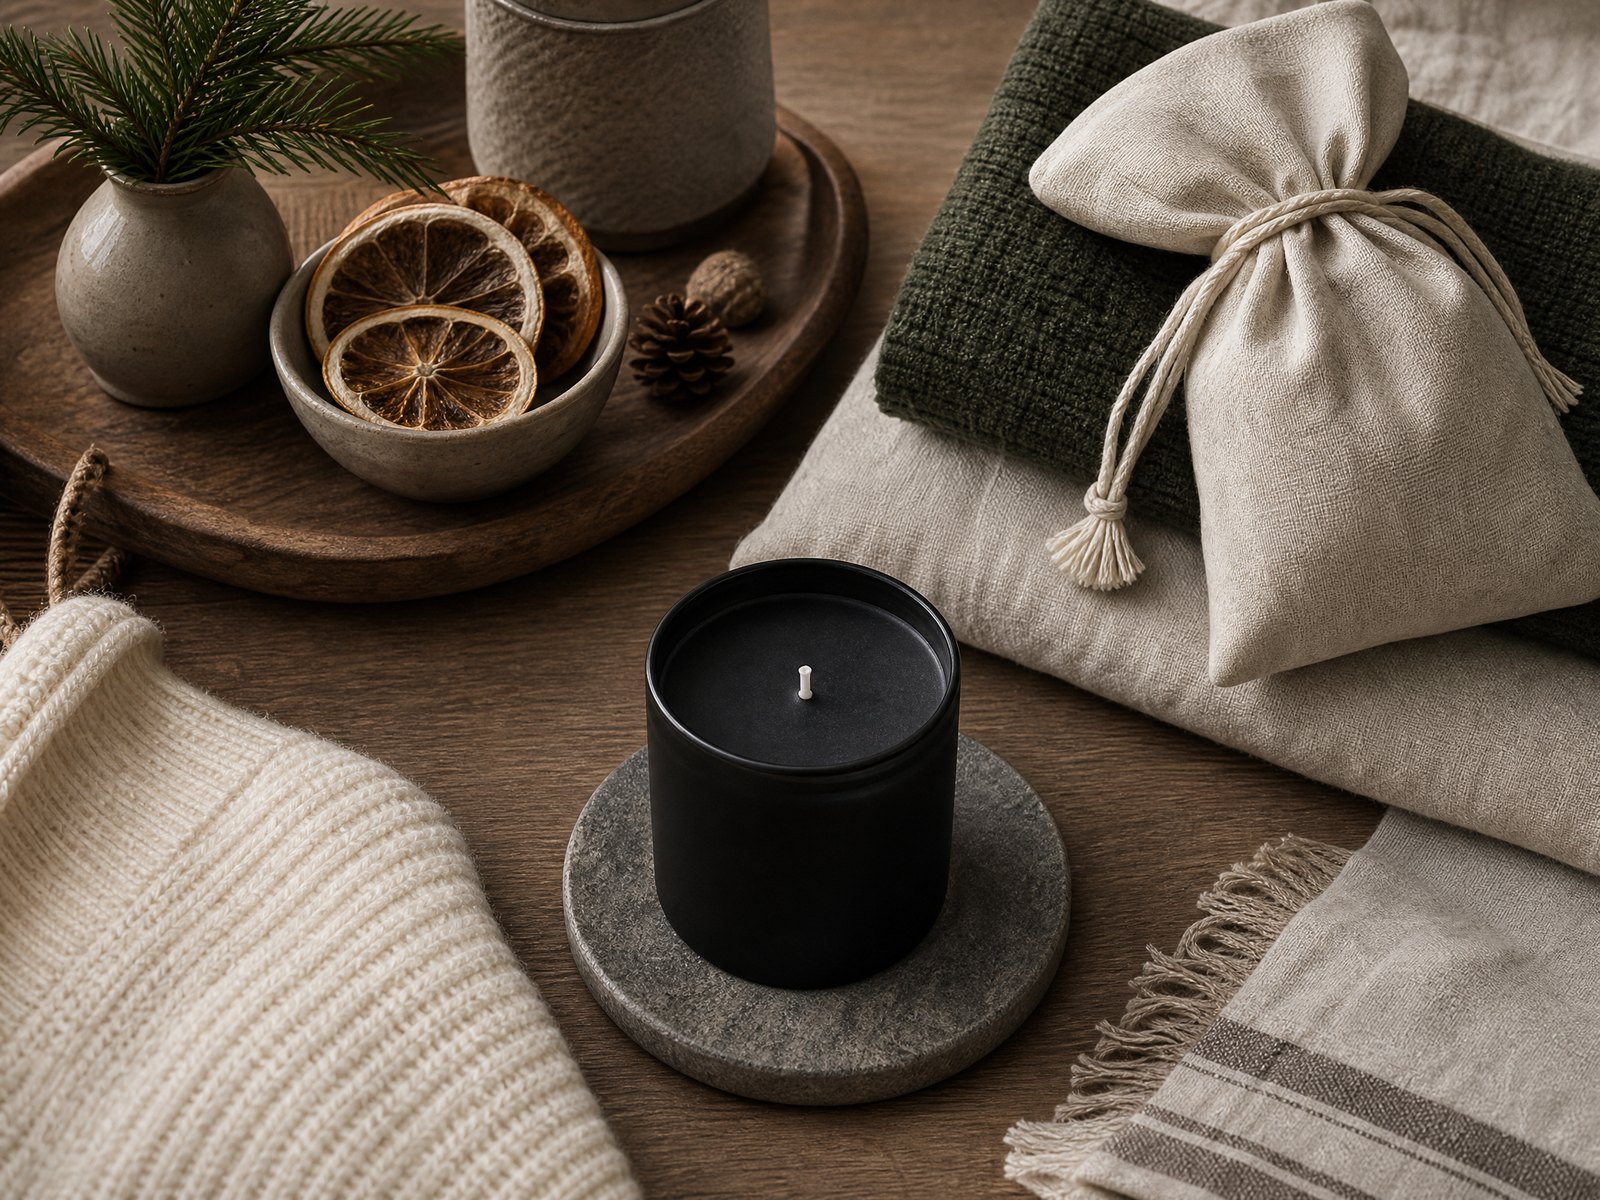
Create distinct scent zones so each area has a clear character and scents don’t fight in shared airflow paths. Assign one scent direction per major zone — for example, bright citrus-spice in the kitchen, evergreen in the living room, soft bakery in dining, and cool mineral in entryways or bathrooms. This approach prevents muddled aroma blends and makes each space feel intentionally designed.
Checklist:
- Map your home into zones (kitchen, living, dining, bedrooms, bathrooms, hallway).
- Pick one scent direction per zone and stick to it for at least a week to evaluate.
- Place scented items away from direct airflow paths between zones (avoid fronts of HVAC vents, stair wells, or open-plan sightlines).
- If scents still cross, lower intensity in the stronger zone or switch to a subtler delivery method (reed diffuser vs. candle).
4. Choose one anchor note and one supporting note
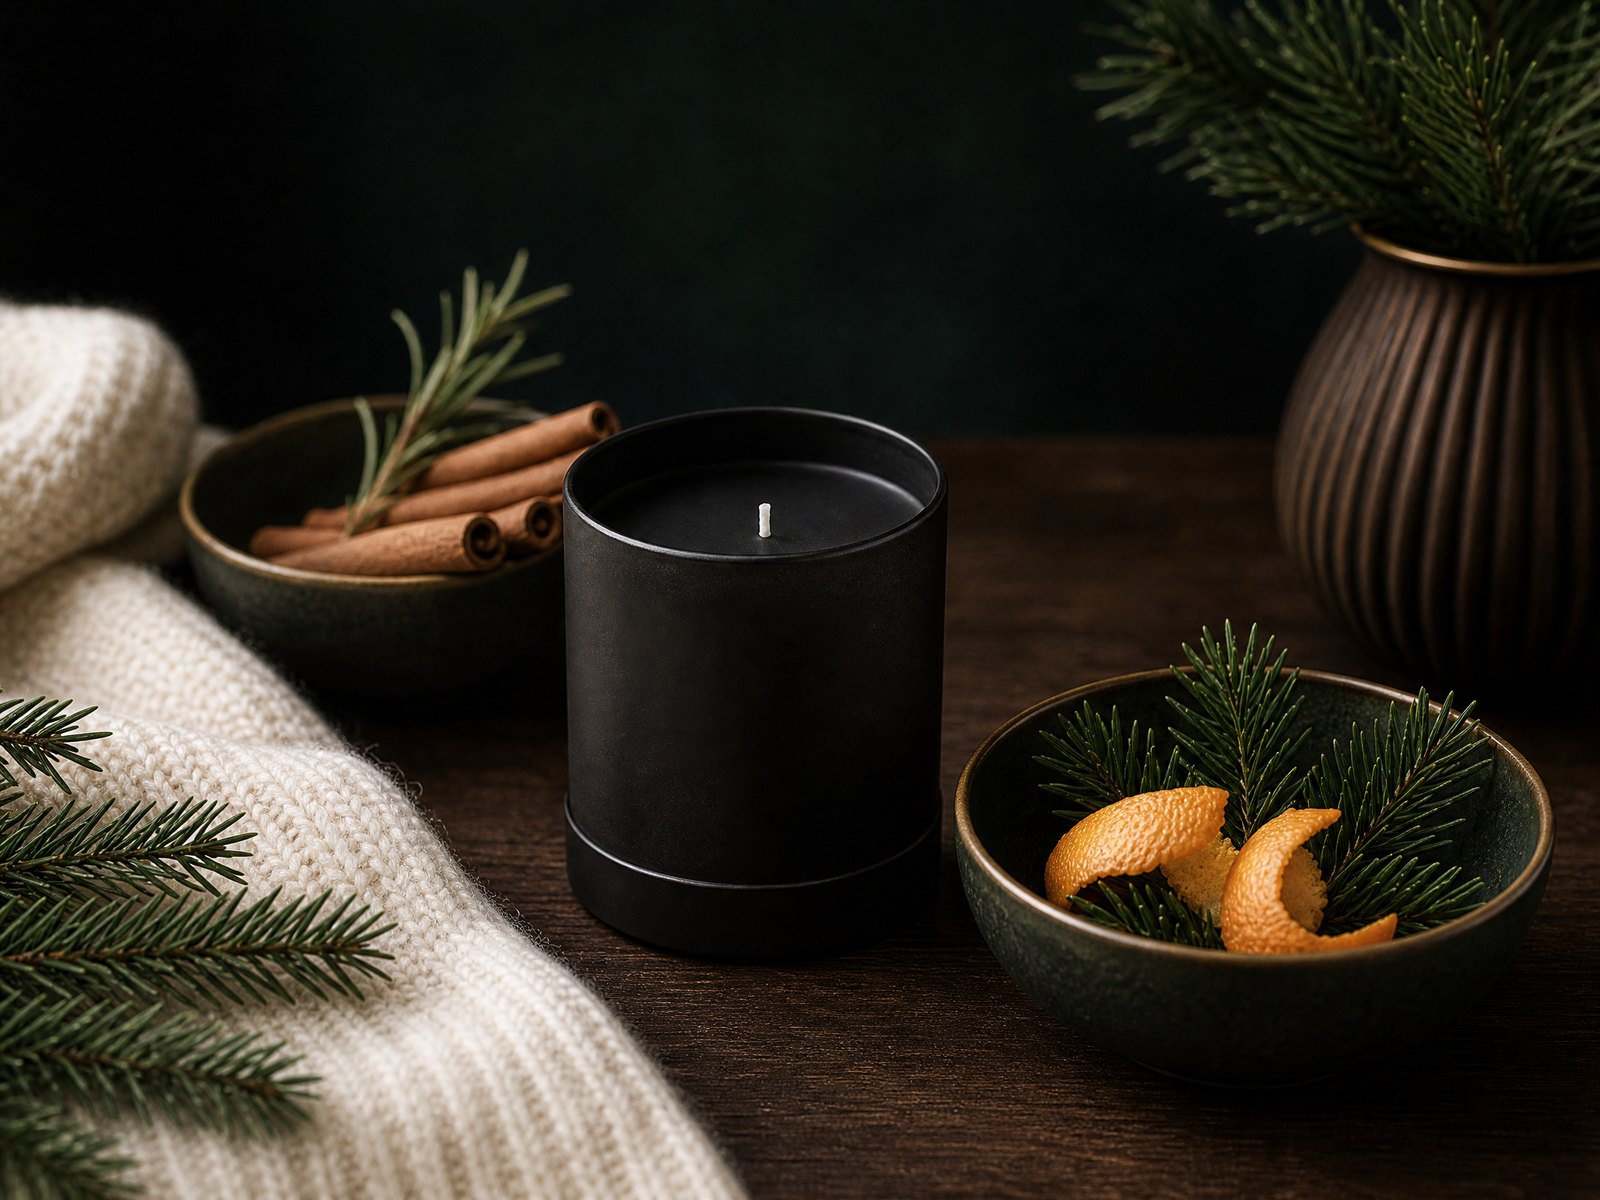
A simple two-note framework keeps layering approachable and elegant: pick one dominant anchor note that defines the direction and one supporting note that adds nuance. The anchor should be the recognizable thread — for citrus-spice that could be orange, for evergreen a cedar or fir heart, for bakery a vanilla or butter accord, for cool mineral a saline or ozone-like facet. The supporting note complements without competing: spice, resin, caramel, or mineralic accents, respectively.
When deciding pairs, think of balance: heavy anchors (e.g., dense wood or sweet caramel) benefit from a lighter, brighter support to prevent cloying; lighter anchors (e.g., citrus) can be warmed slightly by spice or vanilla. Test pairings at low intensity before scaling up — a small diffuser blend or a half-melt of wax can reveal whether the combination feels cohesive.
5. Non-flame alternatives for safer, longer wear

Electric diffusers, ultrasonic nebulizers, reed diffusers, wax warmers, and linen sprays provide controlled scenting without an open flame. Each method has pros and cons: ultrasonic diffusers add humidity as they disperse aroma, reeds offer a steady low-key presence, wax warmers give a candle-like throw without fire, and sprays deliver an immediate lift that dissipates quickly.
Checklist:
- Choose delivery based on room function (ultrasonic for living areas, reed for bathrooms/closets, sprays for quick refreshes).
- Match intensity to size: fewer reeds in small rooms, multiple diffusers or a higher output for large spaces.
- Rotate methods if scent fatigue develops — switch from a diffuser to a reed set every few weeks to keep the experience fresh.
- Maintain devices per manufacturers’ guidance: clean reservoirs and replace reeds or pads regularly to avoid microbial buildup.
6. Manage scent sensitivity and accommodate guests

Not everyone reacts the same way to fragrances; be proactive in managing sensitivity. Use low-intensity, single-note compositions and avoid heavy synthetic mixes in areas where sensitive people will spend time. Offer scent-free zones such as a guest bedroom or a quiet corner and clearly communicate temporary scent plans when hosting to let people opt out.
If someone reports irritation, stop the offending fragrance immediately and ventilate the space. Use unscented cleaning products and keep linens neutral to minimize background aromas. For shared living situations, establish simple rules: a maximum number of active diffusers, a gentle scent policy, and a neutral hallway scent baseline that doesn’t intrude into private spaces.
7. Candles: enjoy them responsibly and safely
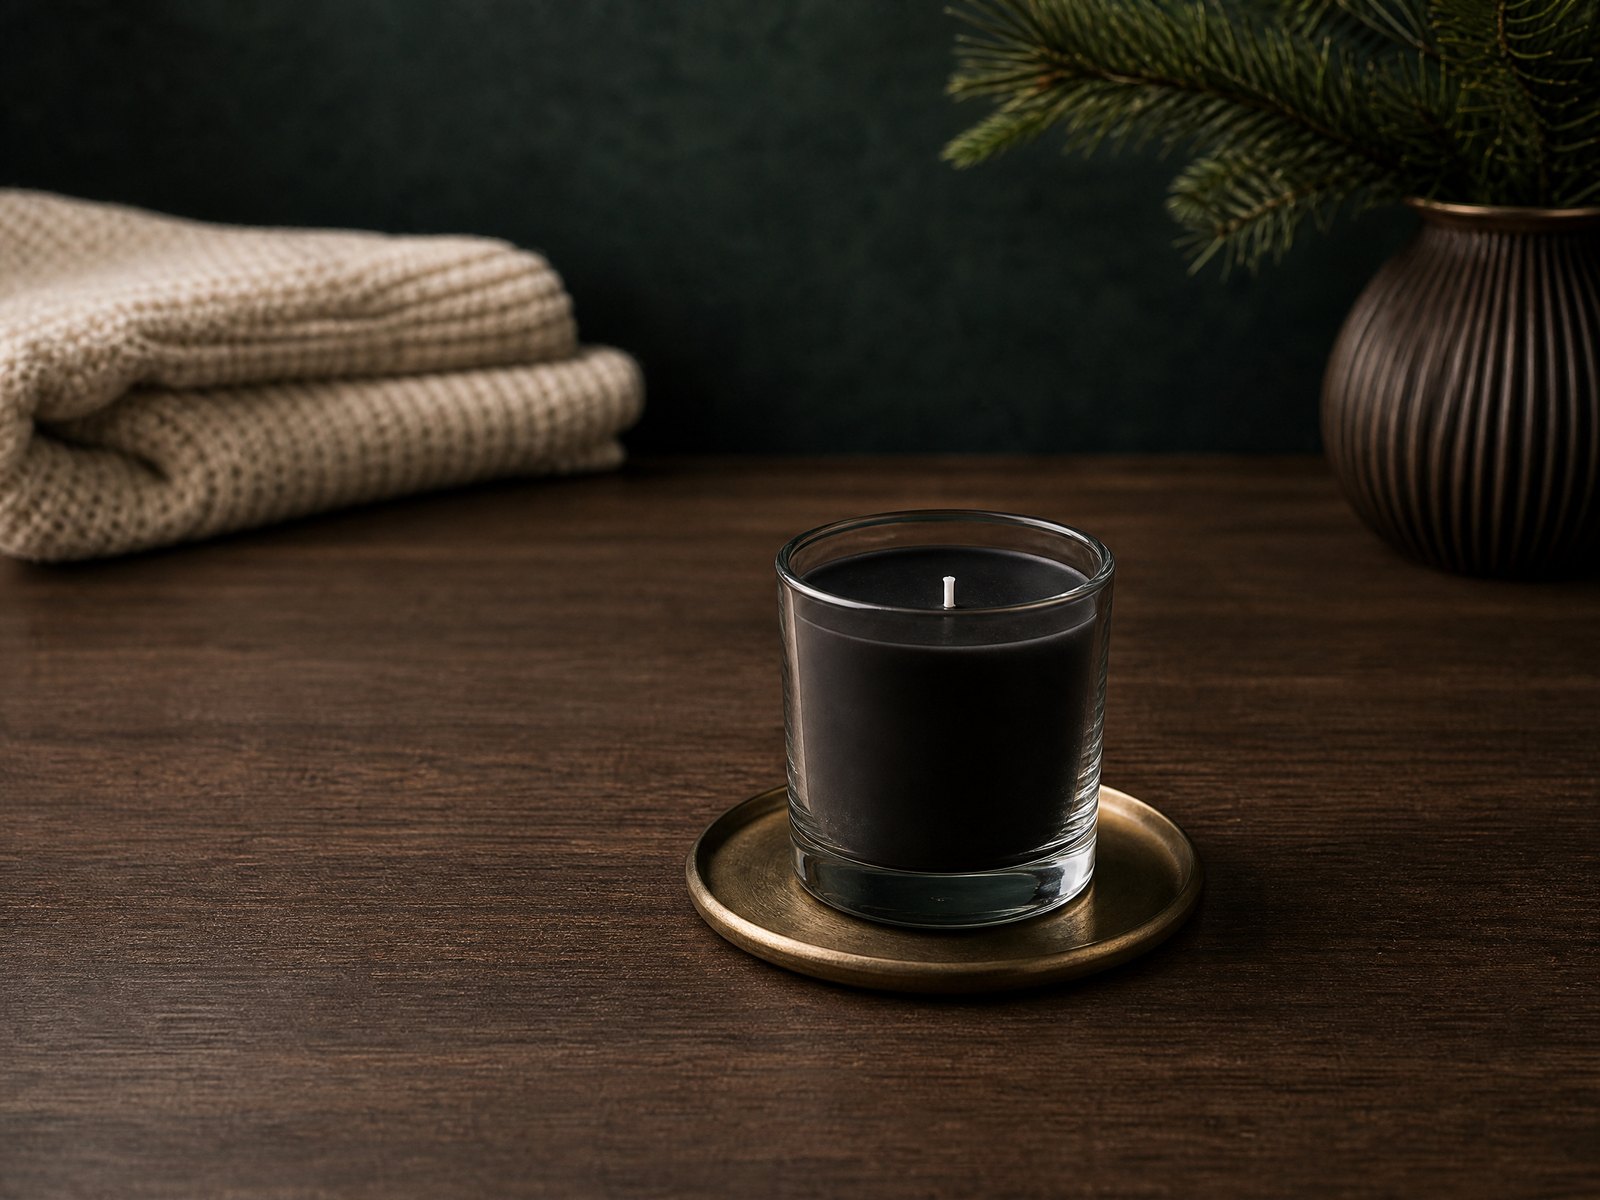
Candles create focal warmth and strong scent throw, but they require disciplined safety habits. Burn candles on stable, heat-resistant surfaces away from drafts, flammable objects, and out of reach of children and pets. Trim wicks to about 5 mm (1/4 inch) before lighting, and don’t burn any candle for more than three to four hours at a time to prevent overheating.
Checklist:
- Place candles on a non-flammable tray or coaster and keep them at least 30 cm (12 inches) from anything combustible.
- Never leave a burning candle unattended; extinguish before leaving a room or going to sleep.
- Keep matches and lighters out of sight and reach of children.
- If wax tunnels or excessive smoke occur, extinguish, let cool, and trim wick before relighting.
8. Plan a seasonal layering strategy and maintenance routine
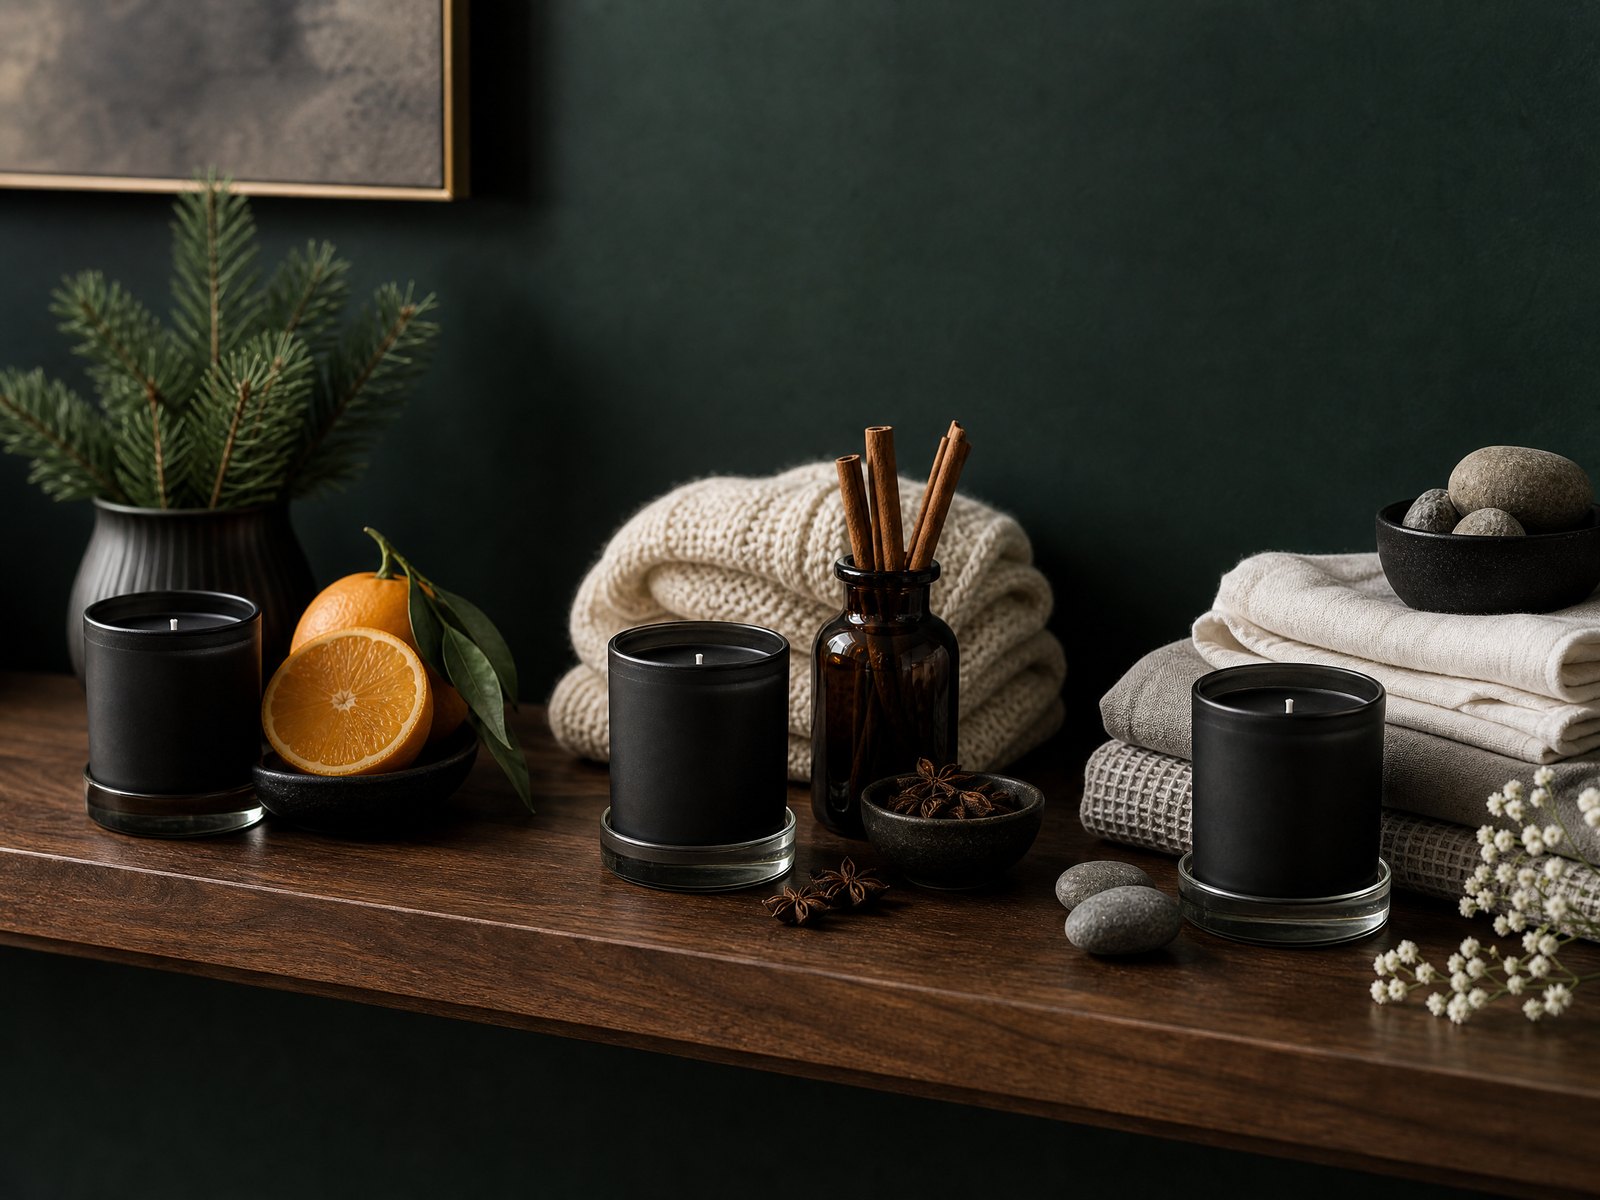
Think of scenting as a seasonal playlist: rotate directions and delivery methods to refresh the atmosphere. In early winter you might favor brighter citrus-spice in the kitchen and bakery warmth in the dining room for gatherings; transition to deeper evergreen and wood notes as the season progresses. Keep a simple calendar or note of what’s in each zone so you can avoid overuse and identify what worked well.
Regular maintenance keeps scents clean and effective. Replace reeds and diffuser pads every few months, clean oil reservoirs and warmers, launder textiles that trap odor, and wipe dust from candle jars. Small rituals like airing rooms for 10–15 minutes daily and swapping or diluting heavy blends before visitors arrive will keep your home smelling intentional rather than stale.
Final Thoughts
Layering winter scents is about restraint and intention: pick a clear direction for each zone, pair one anchor with one supporting note, control intensity by room size, and choose non-flame options where appropriate. With mindful placement, sensitivity awareness, and simple candle safety, you can create a welcoming, coherent fragrance story throughout your home that enhances the season without overpowering it.
Use the two-note approach and the zone system as your baseline — test small, adjust often, and let each room tell its own scent-led story.