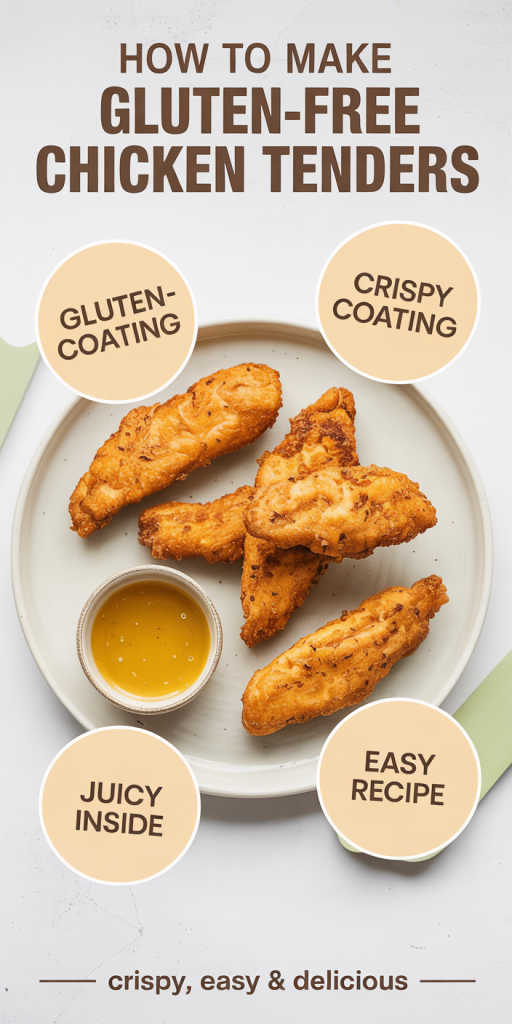
Making gluten-free chicken tenders is a delicious adventure that allows us to enjoy a classic comfort food without the worry of gluten. Whether we’re serving them up for a family dinner, a game day snack, or a quick weeknight meal, these tenders are sure to please everyone’s palate. We’ll guide you through understanding gluten-free cooking, selecting the best ingredients, and preparing mouth-watering chicken tenders that are crispy on the outside and juicy on the inside. Let’s immerse and transform this simple dish into something extraordinary.
Understanding Gluten-Free Cooking
Gluten-free cooking can seem daunting at first, but it’s essential for those with gluten sensitivities or celiac disease. Gluten, a protein found in wheat, barley, and rye, can cause various health issues for those who cannot tolerate it. Understanding gluten-free cooking means rethinking our ingredient choices and methods to ensure flavor and texture are not sacrificed.
Gluten serves as a binding agent in traditional recipes, which can be particularly challenging in dishes like chicken tenders. Our goal in gluten-free cooking is to find alternatives that provide that same delicious crunch and hold everything together. By using gluten-free flours, binders, and seasonings, we can create a fantastic dish that does justice to the original. We’ll explore how to achieve the perfect crust and flavorful chicken without the gluten.
Choosing The Right Ingredients
Selecting the right ingredients is crucial for achieving the best gluten-free chicken tenders. Here’s what we need to consider:
Chicken
- Quality Chicken: Start with fresh, high-quality chicken breasts or tenders. Look for organic options whenever possible to ensure better nutrition and taste.
Gluten-Free Breading Options
- Gluten-Free Flour: Choose a gluten-free all-purpose flour blend for the foundation of our breading. Brands like Bob’s Red Mill or King Arthur Flour have great options.
- Breadcrumbs: Look for gluten-free breadcrumbs that can add that irresistible crunch. They often come in various flavors, adding extra taste.
- Panko: If we prefer a lighter, crispier coating, gluten-free panko breadcrumbs are an excellent choice.
Bindings and Seasonings
- Eggs: Eggs are essential for binding the breading to the chicken. They help create that golden crust we love.
- Seasonings: Use salt, pepper, garlic powder, onion powder, and paprika to season our flour and breadcrumbs. Feel free to experiment with your favorite spices: they can elevate our chicken tenders to new heights.
Step-By-Step Preparation
Now that we have our ingredients lined up, it’s time to get cooking. Here’s a step-by-step guide to preparing our gluten-free chicken tenders:
Step 1: Prepare the Chicken
- Trim and Slice: Start by trimming any excess fat from the chicken and slice it into strips of even thickness for uniform cooking.
Step 2: Set Up Your Breading Station
- Breading Bowls: Setup three bowls, one for gluten-free flour mixed with seasonings, one for beaten eggs, and one for gluten-free breadcrumbs.
Step 3: Bread the Chicken
- Dredge: Take each piece of chicken and first coat it in the seasoned gluten-free flour, shaking off the excess.
- Dip: Next, dip it into the beaten eggs, ensuring it’s fully coated.
- Coat: Finally, roll it in the gluten-free breadcrumbs until well covered. Repeat this process for each chicken strip.
Step 4: Rest the Chicken
- Let It Rest: Allow the breaded chicken tenders to rest on a wire rack for about 15 minutes. This helps the coating adhere better during cooking.
Cooking Methods for Chicken Tenders
Choosing the right cooking method can significantly impact the taste and texture of our gluten-free chicken tenders. Here are a few methods we can use:
Baking
- Oven Baked: For a healthier option, preheat the oven to 400°F (200°C). Place the breaded chicken tenders on a parchment-lined baking sheet and lightly spray or brush with olive oil. Bake for 20-25 minutes or until golden brown and cooked through, turning halfway.
Frying
- Deep Frying: For that classic crispy texture, we can deep fry the chicken. Heat oil in a deep fryer or a heavy-set pot to about 350°F (175°C). Fry the tenders in batches for 3-5 minutes until golden brown. Ensure to let them drain on paper towels after frying.
Air Frying
- Air Frying: This is an excellent option for those who want a crispy exterior with less oil. Preheat the air fryer to 400°F (200°C) and cook the tenders in batches for about 10-12 minutes, flipping halfway through.
Serving Suggestions and Pairings
Once our gluten-free chicken tenders are golden and crispy, it’s time to think about how we want to serve them. Here are some delicious ideas:
Dipping Sauces
- Classic Ranch or Honey Mustard: These are always crowd-pleasers and pair well with the tenders.
- Buffalo Sauce: For those who love a kick, toss the tenders in buffalo sauce right after cooking.
- Sweet and Sour Sauce: A delightful combination for those who enjoy a mix of flavors.
Side Dishes
- French Fries: Make sure to use gluten-free fries or opt for sweet potato fries for a tasty alternative.
- Salads: A fresh side salad with a light vinaigrette can balance the meal.
- Vegetables: Roasted or steamed veggies add a healthy touch and color to our plate.
Presentation Tips
Serve the chicken tenders on a beautiful platter with dipping sauces in small bowls for a visually appealing meal that will impress any guest.
Storing Leftovers
If we happen to have any leftovers (which is pretty rare.), storing them properly can keep them delicious for later. Here’s how:
Cooling and Storing
- Cool: Let the chicken tenders cool to room temperature.
- Refrigerate: Place them in an airtight container and store them in the refrigerator for up to 3 days.
Reheating
- Oven Reheat: Preheat the oven to 350°F (175°C). Place the tenders on a baking sheet and reheat for about 10-15 minutes until heated through.
- Microwave: This option is quicker but may result in a less crispy texture. Heat on medium power for 1-2 minutes.
Conclusion
Making gluten-free chicken tenders at home is not only simple but incredibly rewarding. With the right ingredients, preparation, and cooking methods, we can enjoy a crispy, delicious meal that everyone will love, regardless of dietary restrictions. So, whether we’re whipping these up for a family dinner or a casual gathering, we can take pride in our kitchen creation. Now it’s time to roll up our sleeves, grab some chicken, and start cooking.