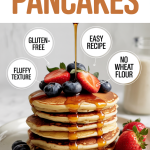
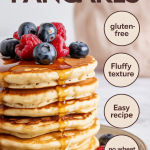
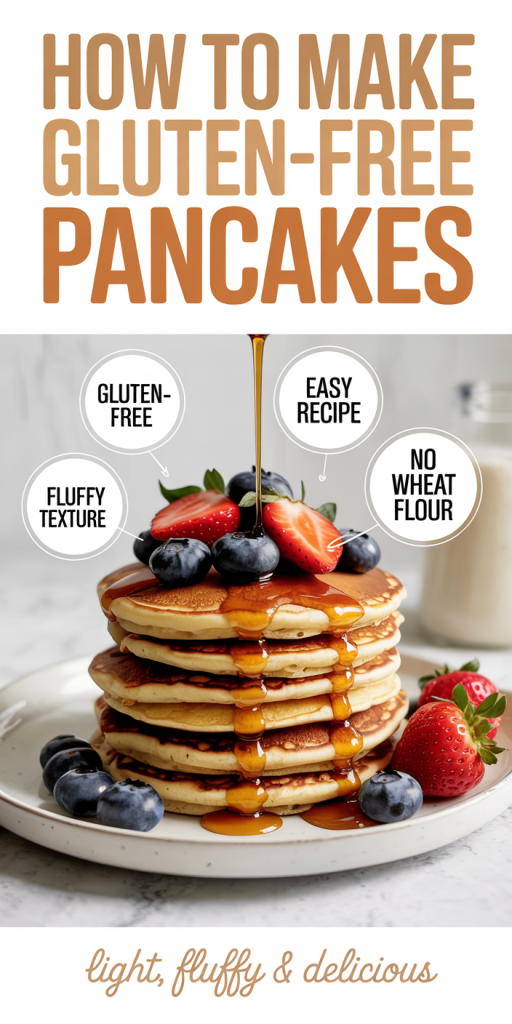
Pancakes are a beloved breakfast staple for many, but if we’re avoiding gluten, it can seem challenging to whip up a delicious, fluffy stack. Fear not. We’re here to show you how to make gluten-free pancakes that not only taste incredible but also suit a variety of dietary needs. By using the right ingredients and techniques, we can enjoy pancakes that everyone will love. Let’s jump into this guide on gluten-free pancakes, starting with understanding the ingredients that make them shine.
Understanding Gluten-Free Ingredients
Eating gluten-free doesn’t mean sacrificing flavor or texture in our pancakes. Instead, it opens up a world of unique ingredients.
Choosing the Right Gluten-Free Flour
When it comes to gluten-free pancakes, the choice of flour is crucial. Not all flours yield the same results, so it’s essential to select the right type. Here are some of our favorites:
- Almond Flour: This is made from finely ground almonds. It adds a nutty flavor and a moist texture, but also requires adjustments to our liquid ratios.
- Coconut Flour: Though very absorbent, it can create a delightful texture when mixed with other flours. Remember, we’ll want to use it sparingly.
- Brown Rice Flour: This is versatile and provides a base that mimics traditional flour: it’s light and has a mild flavor.
- Oat Flour: Ground oats (make sure they’re labeled gluten-free) offer a hearty base with a slightly sweet taste.
Common Gluten-Free Flour Blends
Combining different gluten-free flours can enhance flavor and texture. We can find pre-made gluten-free flour blends at the store, or we can mix our own. A good starting point is:
- 40% brown rice flour
- 30% almond flour
- 30% tapioca flour
This mixture creates an excellent base for fluffy pancakes that don’t crumble easily.
Other Key Ingredients for Gluten-Free Pancakes
Aside from flour, several other ingredients play critical roles in the texture and taste of our gluten-free pancakes.
Liquid Ingredients: Milk and Alternatives
When making gluten-free pancakes, the right liquid is essential. We can use traditional cow’s milk, but many alternatives exist that can add their own flavors:
- Almond Milk: This adds a subtle nuttiness and complements almond flour nicely.
- Coconut Milk: Rich and creamy, this will enhance both flavor and moisture.
- Oat Milk: A great option for those avoiding nuts, with a light, sweet flavor.
Eggs and Binding Agents
Eggs are vital in gluten-free pancakes as they help bind the ingredients together. We can also look at alternatives if needed:
- Flaxseed Meal or Chia Seeds: Combined with water, they can create a gel-like consistency that works as a binding agent.
- Applesauce: Adds moisture and natural sweetness, while also acting as a binder.
Step-by-Step Guide to Making Gluten-Free Pancakes
Now that we have a grasp on our ingredients, let’s get into the culinary fun. Here’s a straightforward method to create our perfect gluten-free pancakes.
Mixing the Batter
- In a large bowl, combine our gluten-free flour blend, baking powder, salt, and any sugar alternative.
- In a separate bowl, whisk together our liquid ingredients (milk of choice) and eggs (or substitutes).
- Gradually add the wet ingredients to the dry ones, mixing until smooth. If the batter appears too thick, adding a tablespoon of milk can help reach the desired consistency.
Cooking the Pancakes
- Heat a skillet over medium heat and lightly grease it with oil or cooking spray.
- Pour a ladle of batter onto the skillet for each pancake.
- Cook until bubbles form on the surface, about 2-3 minutes, then flip and cook for another 2-3 minutes until golden brown.
Tips for Perfect Gluten-Free Pancakes
With our pancakes sizzling away, let’s ensure they turn out delightful with these pro tips.
Texture and Consistency Tips
- Don’t Overmix: Mix until just combined to avoid dense pancakes: lumps are okay.
- Let the Batter Rest: Allowing the batter to sit for about 5-10 minutes can help it thicken and create fluffier pancakes.
Flavor Enhancements and Add-Ins
We can make our gluten-free pancakes even more enjoyable. Consider adding these:
- Vanilla Extract: A splash can elevate flavor depth.
- Chocolate Chips or Nuts: Stir these in for extra texture and sweetness.
- Spices like Cinnamon: Add a pinch to bring warmth and complexity.
Storing and Reheating Gluten-Free Pancakes
If we end up with leftover pancakes (or intentionally make extra for meal prep), here’s how to store and reheat them properly to maintain their quality.
Freezing Pancakes for Later Use
- Allow pancakes to cool completely.
- Layer them with parchment paper in an airtight freezer-safe bag or container.
- They can be frozen for up to 2-3 months: simply pop them in the toaster or microwave when we’re ready to enjoy.
Reheating Methods
- Toaster: This works wonders for keeping pancakes crispy on the outside.
- Microwave: If we’re in a hurry, warm them for about 30 seconds (checking often) until heated through.
Conclusion
Making gluten-free pancakes is not just simple: it’s also a flavorful opportunity to switch things up at breakfast. With the right ingredients and a few techniques, we can enjoy delicious pancakes that cater to our dietary needs. Whether we indulge in a classic stack or experiment with fun add-ins, these pancakes can be a great way to start the day. So, grab your pancake mix, get those griddles heating, and let’s create some gluten-free magic.