Moonlit Tides: Chic Halloween Ideas for a Beachside Wedding
There’s something quietly theatrical about celebrating a wedding where the horizon meets the sea on a Halloween night. The collision of salt air, moonlight and a hint of spookiness creates a naturally dramatic backdrop that needs little embellishment — but with a few thoughtful choices you can balance eerie and elegant to create a ceremony and reception that feel cozy, cinematic, and unmistakably yours.
This article breaks down practical, stylish ways to bring Halloween charm to a coastal celebration. You’ll find approachable ideas for seaside decor that look polished without being kitschy, easy-to-execute beach-friendly bites that travel well in warm or breezy conditions, and reasons a Halloween beach wedding can feel especially fitting. We’ll also cover how to dress for comfort and photographs, and suggest inclusive shore-side activities that invite guests to linger and celebrate together. Whether you’re planning an intimate elopement or a small reception on the sand, these suggestions focus on mood, weather-wise practicality, and simple touches that add up to a memorable night under the moon.
1. Seaside Spook: Easy, Elegant Halloween Beach Decor
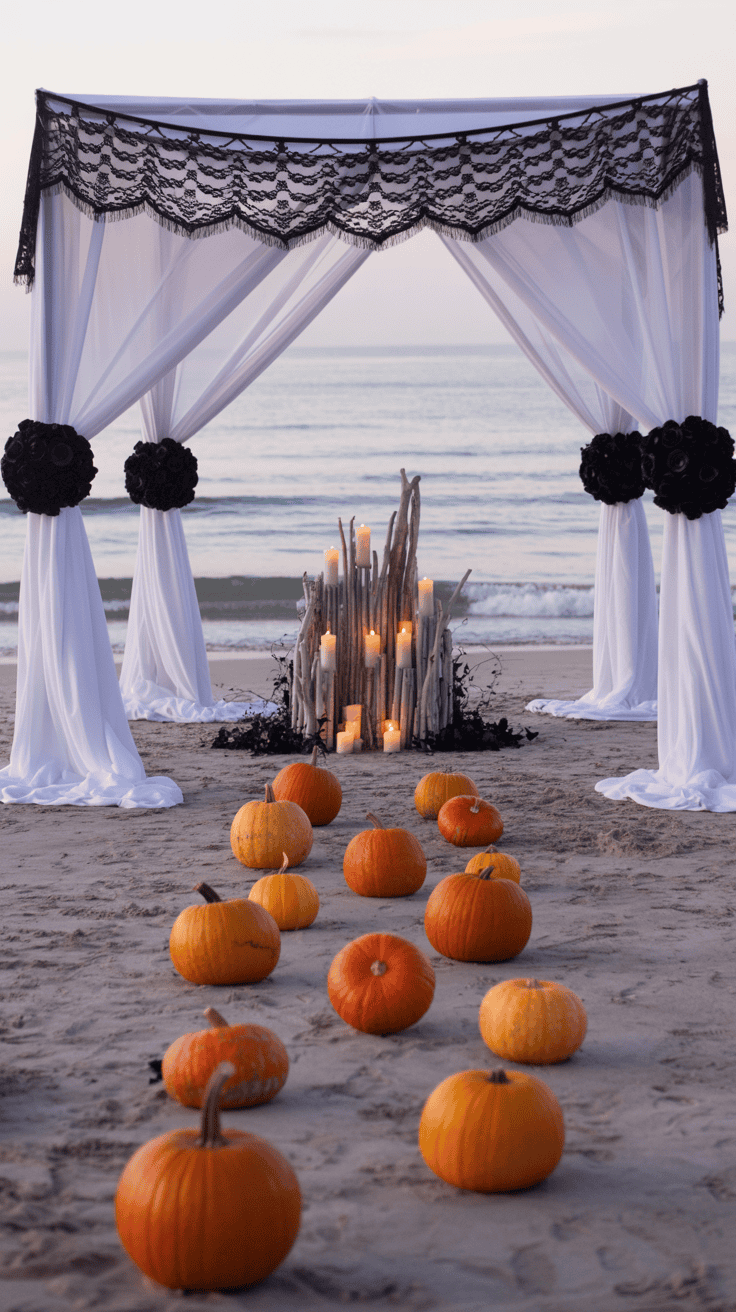
Create a beach wedding that feels both romantic and delightfully eerie by pairing classic coastal textures with playful Halloween accents. Think natural driftwood, sand-swept shells and soft fairy lights grounding the look, with pops of black, orange, and deep purple stepping in for the spooky tone. Choose one central motif—moody lanterns, painted pumpkins, or a skeleton-attended arch—and repeat it in small ways around the site to make the theme feel intentional rather than gimmicky.
Practical planning keeps the scene beautiful and stress-free. Prioritize windproof lighting (LEDs and securely anchored fixtures), materials that tolerate sand and salt, and decorations that are easy to clean up. Make a few elements interactive for younger guests—pumpkin-decorating stations or a mini haunted-sandcastle contest let kids contribute to the atmosphere while giving parents a breather. Above all, aim for layered lighting and tactile details so the ceremony and reception both read as cohesive when the sun goes down.
Materials
- – Lightweight driftwood pieces or a simple wooden arch
- – Gauze fabric or faux cobweb material
- – Assortment of pumpkins (real or faux) in various sizes
- – Battery-powered LED candles and string lights (warm white, orange, or purple)
- – Mason jars or glass vases and sand or small pebbles
- – Assorted shells, starfish, and small faux bones or plastic spiders
- – Black ribbon and thin wire or zip ties for securing items
- – Disposable tableware in coordinating colors (optional for easy cleanup)
- – Chalkboard signs or wooden signposts and a paint marker
- – Small plastic buckets, stickers, washable markers, and wipes for kids’ activities
Steps
- 1. Choose anchor pieces: place a driftwood arch or a cluster of larger pumpkins where photos will be taken; secure everything into the sand with buried stakes or weighted bases.
- 2. Layer lighting: wrap string lights around the arch and drape gauze lightly for texture; cluster LED candles inside mason jars filled halfway with sand and place them along pathways or on tables.
- 3. Build the aisle: alternate jars, small pumpkins, and shell-filled lanterns spaced evenly; use heavier bases for windy spots and consider a non-slip mat beneath any standing fixtures.
- 4. Create centerpieces: fill a vase with sand, stand a few stems of dried beach grass or faux blooms, and tuck in a painted mini pumpkin or a tiny skeleton for a wink of Halloween.
- 5. Make a photo backdrop: attach gauze and string lights to the arch, add a few hanging shells and a chalkboard sign with a witty message; secure loose pieces so they flutter but won’t blow away.
- 6. Set up kid zones: lay out stickers, markers, and small pumpkins on a covered table with wipes nearby; add a sand-sculpting station with buckets and simple prompts like “Haunted Sandcastle.”
- 7. Final check: walk the route at dusk to test sightlines and lighting; adjust placement for safety, stability, and best photos.
With these steps, the beach becomes an enchanting backdrop that’s spooky without sacrificing seaside charm.
2. Beach-Friendly Halloween Bites
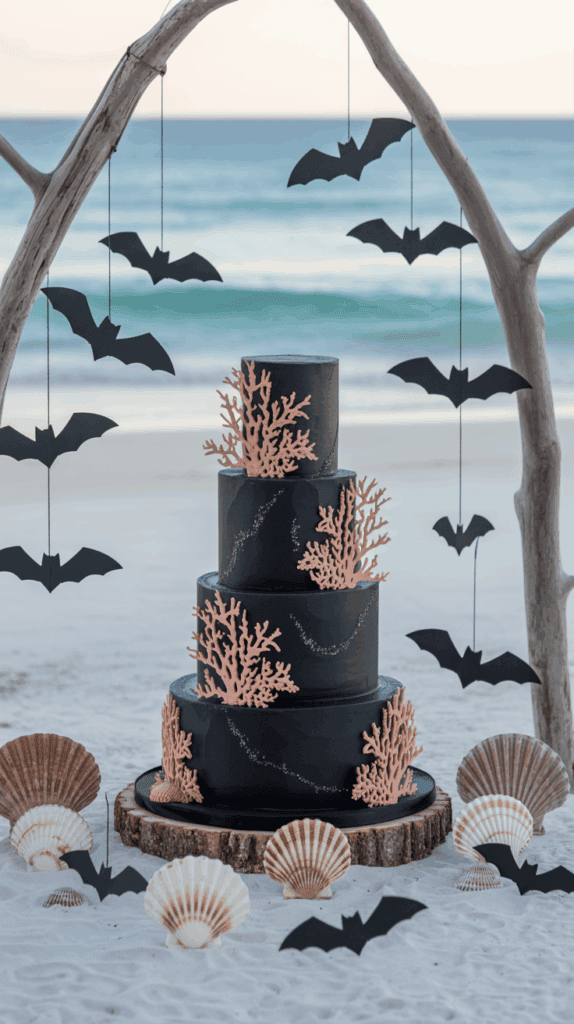
A Halloween wedding on the sand calls for snacks that are playful, portable, and resilient to a little ocean breeze. Think handheld treats that travel well from cooler to blanket, won’t turn into a sandy mess when passed around, and can be prepped the day before. Aim for a mix of sweet and savory, and include at least one no-fire option so kids and adults can grab something without a cooking station.
Keep presentation simple but festive: individual clear cups, cupcake wrappers, or mini paper cones make food easy to carry and limit cross-contamination. Label allergy-friendly items clearly, stash extra napkins and wet wipes nearby, and offer cold water or unsweetened iced tea alongside themed punches so everyone stays hydrated in the sun.
No-Fire S’mores Parfait Cups
Ingredients
- – 2 cups graham cracker crumbs (or gluten-free crumbs)
- – 1 cup mini chocolate chips or chopped dark chocolate
- – 1 1/2 cups marshmallow fluff or mini marshmallows
- – 2 cups chocolate or vanilla pudding (store-bought or homemade)
- – 1/2 cup crushed pretzels or toasted coconut (for a salty-sweet finish)
- – Sea salt, a pinch (optional)
- – Mini clear cups or 4-ounce compostable cups and lids (about 12 servings)
- – Optional: 1/2 cup chopped roasted nuts or a dairy-free pudding for allergy needs
Instructions
- 1. Prepare components: place graham cracker crumbs in a shallow bowl, melt chocolate chips in short bursts in the microwave (stirring every 20 seconds) until smooth, and have pudding and marshmallow fluff ready. If using mini marshmallows, lightly toast them briefly under a broiler or with a kitchen torch, then cool.
- 2. Layer the base: spoon 1–2 tablespoons of graham cracker crumbs into the bottom of each cup to form a crunchy foundation.
- 3. Add pudding: top crumbs with 2–3 tablespoons of pudding, smoothing it into an even layer.
- 4. Chocolate layer: drizzle or spoon about a teaspoon of melted chocolate over the pudding in each cup.
- 5. Marshmallow layer: add a dollop (about a tablespoon) of marshmallow fluff or a few mini marshmallows. For a gooey effect, fold a bit into the warm chocolate layer.
- 6. Repeat: add another thin layer of crumbs, a touch more pudding, and finish with a sprinkle of crushed pretzels or toasted coconut and a tiny pinch of sea salt for contrast.
- 7. Chill and secure: place lids on cups or cover tightly with plastic wrap and refrigerate for at least 30 minutes to set. Keep them in a cooler for the beach and serve cold.
Notes: Offer a labeled allergy-friendly row using gluten-free crumbs and dairy-free pudding. These parfaits are quick to assemble, travel well, and give the familiar campfire flavor without needing an open flame.
3. Why a Halloween Beach Wedding Feels Right
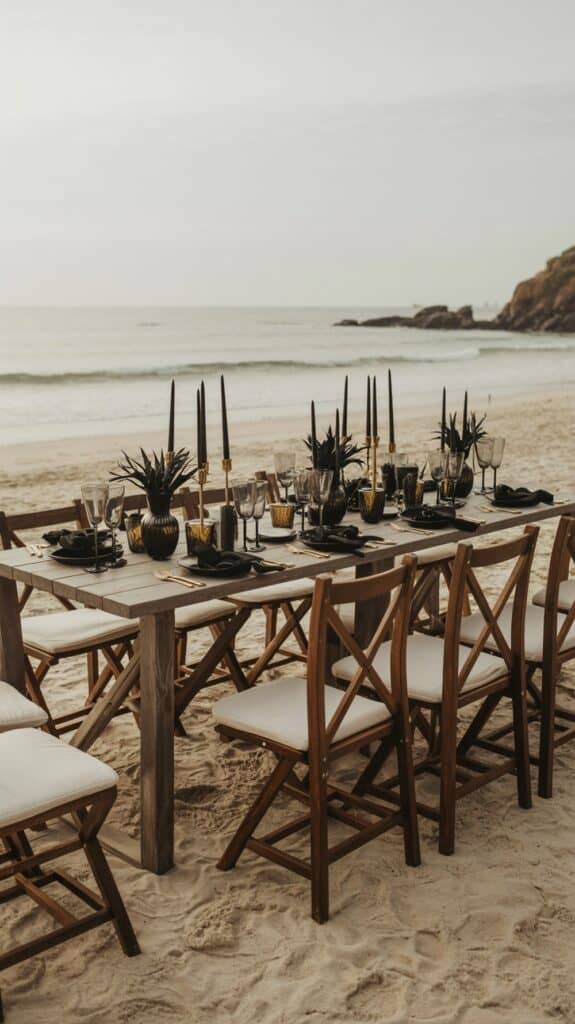
A Halloween beach wedding blends the carefree, open-air spirit of the shore with the playful, theatrical energy of the season. The coast gives you an instant, dramatic backdrop—sunset skies, rolling waves and soft sand—so you can lean into big moments without needing a lot of staged decor. Choosing October or late-September also brings cooler air that makes costumes comfortable and evenings glow with lanterns or fairy lights.
This style of celebration naturally relaxes expectations. Guests are invited to focus on fun: costumes that survive a little sand, picnic-style seating, and activities that include everyone from toddlers to grandparents. That relaxed tone helps you prioritize memory-making over perfection, and it’s easier to plan family-friendly elements like scavenger hunts, glow-stick dances, or a costume parade along the shore.
Practical choices make the day feel thoughtful rather than chaotic. Use the beach’s strengths—natural lighting, open space, and sound of the ocean—and adapt logistics to protect guests and the environment. Think ahead about tides and permits, pack breathable costumes and layered options for temperature swings, and opt for cordless, battery-powered lighting. Remember to keep decor anchored (sandbags, tent stakes) and avoid items that could become litter or harm wildlife.
For photos and pacing, plan your timeline around sunset; a short solemn ceremony as the sky changes is cinematic and easy to execute. Then let the reception be flexible: casual food stations, plenty of seating clusters, and pockets of planned entertainment so guests can choose how to participate. The result is a wedding that feels like a beloved beach day with a spooky, whimsical twist.
Materials
- – Lightweight arch or driftwood frame and sand anchors (sandbags or stakes)
- – Battery-operated string lights and flameless candles
- – Waterproof blankets, large throws, and folding low-profile seating
- – Weatherproof signage and chalkboard for directions/menus
- – Costume-friendly decor: pumpkins (real or faux), shells, fabric bunting
- – Portable speaker and charged power bank
- – Trash and recycling bins, biodegradable tableware
- – Permits, first-aid kit, insect repellent, and extra towels
Steps
- 1. Check local beach regulations and obtain any required permits for ceremonies, amplified sound, or tents.
- 2. Pick a ceremony time based on tide charts and sunset; schedule photography just before and after golden hour.
- 3. Create a guest comfort plan: seating clusters, blankets, heaters if needed, and a clear path to restrooms.
- 4. Design low-impact decor anchored for wind and wildlife safety; avoid loose glitter or non-biodegradable items.
- 5. Choose battery lighting and test visibility after dusk; use glow sticks for children’s activities.
- 6. Organize food as finger-friendly stations or boxed servings to limit sand and spills.
- 7. Build a brief, memorable ceremony script and follow with open-play reception ideas (costume parade, sandcastle contest, scavenger hunt).
- 8. Prepare a rain/tide backup plan—nearby pavilion, rented tent, or indoor backup venue—to keep the celebration seamless.
4. Dressing for a Halloween Beach Wedding — Comfortable, Festive, and Photo-Ready
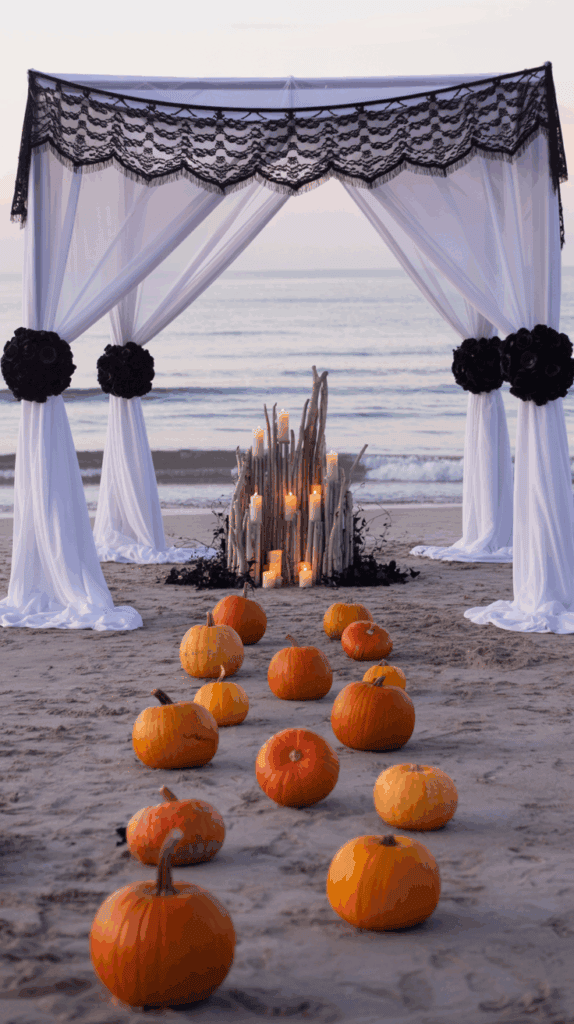
A beach wedding with a Halloween twist should feel effortless and joyful at every age. Focus first on comfort: lightweight, breathable fabrics that move easily in the breeze and tolerate sand and sun. Use classic coastal colors (soft white, sand, and sea greens) as a base and let Halloween accents—orange, deep purple, matte black, or metallics—appear in accessories, hats, or a single statement piece. Aim for looks that read as intentional rather than costume-y unless the couple requests full-on dress up.
Let each generation bring their own energy. Kids can lean into playful elements like capes, themed tees over swimwear, or simple props that won’t restrict running and playing. Teens often prefer one standout item—a velvet choker, a dramatic hat, or temporary hair streaks—paired with their everyday favorites. Adults can choose one bold accessory (a spider-pin lapel, shell crown, or lace shawl) to nod to the theme while staying polished; grandparents will appreciate slip-on sandals, lightweight wraps, and small, pin-on accents that feel festive without fuss. Coordinate the wedding party with color palettes or accessory kits rather than strict costumes so everyone is unified but comfortable.
Materials
- – Lightweight fabrics: linen shirts, cotton sundresses, knit wraps
- – Accessory kit items: ribbon sashes, brooches or pins, bandanas, mini hats, capes, costume jewelry
- – Footwear options: flexible sandals, espadrilles, slip-on shoes, water-friendly slides
- – Warm layers: shawls, ponchos, or cardigans for sunset
- – Practical extras: sunscreen, safety pins, fashion tape, small sewing kit, hair ties, clips
- – Fun touches: temporary hair color spray, glow bracelets, face gems, pocket hand warmers (optional)
Steps
- 1. Decide the dress-code tone (casual Halloween accents, themed-chic, or full costume) and communicate it clearly on invitations or a wedding website.
- 2. Share visual inspiration: a simple mood board of colors, textures, and accessory examples helps guests plan.
- 3. Put together small accessory kits for guests or the wedding party—ribbons, pins, and a couple of hat options make it easy to add flair.
- 4. Suggest fabric and footwear choices in the RSVP notes (e.g., “sand-friendly shoes encouraged”) so guests pack appropriately.
- 5. Offer subtle variations for different ages: costume tees for kids, statement pieces for teens, comfortable elegance for adults, and easy-on options for older guests.
- 6. Prep an emergency kit for common wardrobe issues: tape, pins, stain wipes, spare hair ties and sunscreen.
- 7. Encourage guests to try full outfits at home and practice moving around—sitting, walking on sand, and dancing—before the big day.
- 8. Finally, remind everyone the goal: celebrate by the water, stay comfy, and enjoy a little spooky sparkle together.
5. Activities That Bring Everyone to the Shore
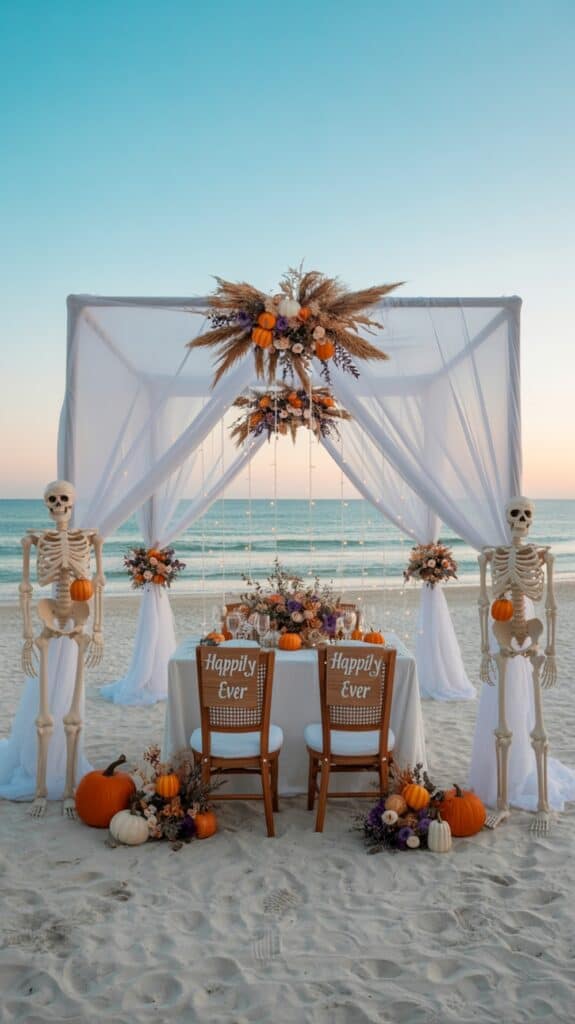
A beach gives you a naturally playful backdrop for a Halloween wedding—wide open space, sand that invites hands-on fun, and an easy flow between active and quiet zones. Pick a mix of high-energy games and calmer crafts so every age can join in on their terms: lively relays and team contests for the energetic crowd, scavenger hunts and creative tables for younger kids or guests who prefer a gentler pace.
Plan with flexibility in mind. A loose timeline and clearly marked activity areas keep things moving without feeling like a schedule-driven event. Recruit a few family members or friends to “host” stations so guests can dive right in, and make sure there’s a comfortable spot nearby for adults who want to watch or take a break. Small prizes, glow accents at twilight, and photo prompts will turn simple moments into memories that show up in everyone’s photos.
Materials
- – Plastic witch hats or cones (for tossing targets)
- – Glow-in-the-dark rings, necklaces, and bracelets
- – Small pumpkins and buckets, shovels, toilet paper or crepe paper (for relay and wrap races)
- – Beach ball(s) and markers to draw faces
- – Assorted plastic Halloween props: spiders, skeletons, bats
- – Small toys, stickers, or wrapped treats for scavenger-hunt prizes
- – Craft supplies: plain masks, washable paints/markers, shells, glue, mini pumpkins, disposable table covers
- – Clipboards, paper, and pencils for scavenger lists and voting ballots
- – Lightweight signs or flags to mark activity zones
- – LED lanterns, battery-operated fairy lights, and a portable speaker
- – Blankets, pillows, and low tables for a relaxation area
- – Optional: s’mores supplies and a safe bonfire kit (if local rules allow)
Steps
- 1. Map the space: Choose separate areas for active games, crafts, treat stations, and a relaxation circle so activities don’t crowd one another. Mark each with a sign or flag.
- 2. Build a simple timeline: Schedule the scavenger hunt and relays earlier while kids have energy; move to crafts and a glow dance as the sun sets.
- 3. Assign hosts: Give each station a volunteer, a quick list of rules, and a small box of supplies so setup is fast and consistent.
- 4. Run a scavenger hunt: Prepare short clue sheets per age group and scatter small prizes. Use shells and natural items to keep it beach-friendly.
- 5. Organize contests: Announce time limits for the haunted sandcastle and relay races; rotate judges to keep everyone involved.
- 6. Set up quiet crafts: Cover tables, sort materials into trays, and label finished stations for drying and display.
- 7. Transition to twilight: Hand out glow items, cue the playlist, and open the dance area with soft lighting.
- 8. Wind down safely: If you have a bonfire, confirm permits, keep a water bucket nearby, and circle seating to encourage shared stories.
With simple planning and a few themed supplies, your wedding can be a multigenerational celebration where every guest—little and large—takes home a smile.
Final Thoughts
A Halloween beach wedding gives you a chance to blend moody atmosphere with relaxed coastal ease. By leaning into natural elements — driftwood arches, lantern light, and the ocean’s soundtrack — and pairing them with seasonal accents, tasty portable food, and thoughtful attire, you can create a celebration that feels both festive and authentic.
Keep the guest experience front of mind: choose activities everyone can enjoy, plan for wind and sand in your logistics, and prioritize fabrics and footwear that let you move freely. With a clear mood, a few smart practical choices, and a focus on comfort, your shoreline ceremony can be as enchanting as it is unforgettable.