Coastal Costume & Party Guide: How to Host a Sand-Savvy, Spooky Halloween Bash
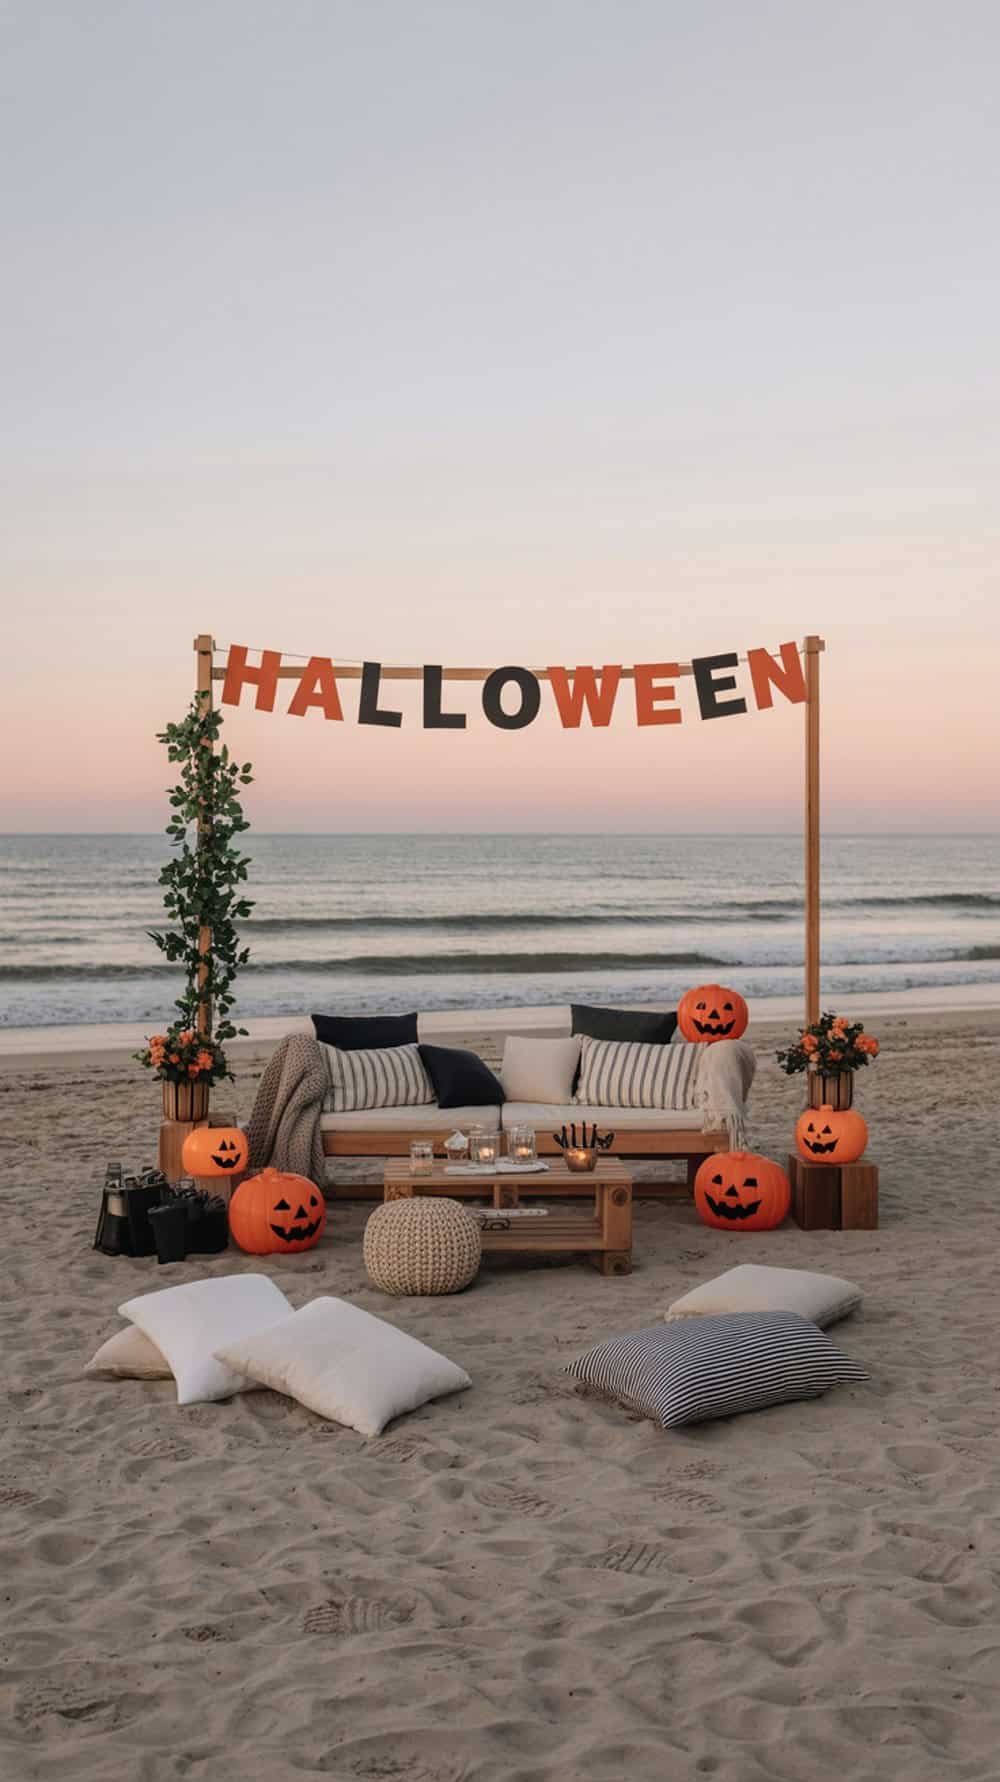
Celebrating Halloween by the water brings a unique mix of salty air, sunset backdrops, and playful sand — but it also takes a bit of planning to keep things comfortable, safe, and fun. This guide walks through simple, creative ways to stage a spooky shoreline party that works for kids, teens, and grown-ups. You’ll find easy active games, durable decorations, costume tips that handle sun and surf, portable treats, and stress-reducing hosting strategies so the celebration feels festive without fuss.
Over the next sections you’ll discover quick-to-set-up activities that get everyone moving, ideas for décor that stands up to wind and sand, and costume solutions that let you look the part while staying comfortable. We’ll also share a clever, portable treat idea — beach-friendly sand parfait cups — and a checklist for hosting that keeps safety, cleanup, and low-stress entertaining front and center. Use these concepts to build a relaxed, memorable shoreline event that leans into the spooky vibe while respecting the elements and your fellow beachgoers.
1. Spooky Shoreline Games: Easy, Active Fun for All Ages
Bring playful energy to your Halloween beach party with a handful of low‑fuss games that lean into sand, surf and dusk-time glow. Choose a few activities that suit the ages and mobility of your guests, rotate stations so everyone gets a turn, and place an adult near water and dim light. A mix of active relays, creative builds and scavenger hunts keeps kids engaged while giving grown-ups options to join or relax.
Plan for simple prizes (stickers, glow bracelets, extra dessert) and photo ops—most of these games are irresistibly camera-ready. Use soft, non-breakable props, keep games inside a clear boundary away from the waterline, and set a firm curfew for any light-based games to end before tides or cold set in. With minimal gear and a little organization, you’ll get laughs, movement and sand-sprinkled memories.
Materials
- – Small buckets and shovels
- – Mini pumpkins or orange beach balls
- – Glow sticks (bracelet and necklace styles)
- – Plastic eyeballs, fake spiders, seashells, pipe cleaners, googly eyes
- – Witch hats or cones and glow-in-the-dark rings/hula hoops
- – Small trinkets for scavenger hunt (plastic rings, skeletons, glow spiders)
- – Towels, waste bags, first-aid kit, hand sanitizer
- – Marker cones or sticks to mark game lines
- – Phone or camera for photos
Steps
- 1. Setup: pick a flat area of sand away from the tide, mark play boundaries with cones, and designate an adult safety station. Keep water and towels handy.
- 2. Sand Monster Contest: split into teams, give each team buckets, shovels and a tub of monster bits. Set a 10–15 minute timer to build the spookiest sand creature. When time’s up, have a show-and-tell and vote for winners.
- 3. Glow Stick Tag (dusk): hand out glow sticks and necklaces; choose one player as “It.” Tagged players link arms as helper ghosts until one person remains free. Stop the game if visibility drops or beach rules require.
- 4. Pumpkin Relay: form teams, place pumpkins or orange beach balls at the start line. Players race carrying the pumpkin in a silly way (on head, between knees, with a spoon) and tag the next teammate. Best of three wins.
- 5. Witch Hat Ring Toss: arrange hats or cones, toss glow rings from a marked line. Assign point values for distance and offer bonus rounds for tricky throws or blindfolded adults for laughs.
- 6. Haunted Scavenger Hunt: give teams picture cards of items to find (natural and hidden trinkets). Use buckets for collecting; set a time limit and award a prize to the first team to complete the list.
- 7. Wind‑down craft (optional): set a blanket with shells, paint pens and googly eyes for quiet shell‑monsters while everyone cools off and takes photos.
- 8. Cleanup: collect trash, return borrowed items, and rinse sandy tools in freshwater if available.
Rotate stations, keep the pace brisk, and let guests pick favorites—short, varied games are the secret to a successful spooky shoreline bash.
2. Beach-Ready Spooky Decor That Stands Up to Sand and Surf
The beach gives you a stunning backdrop but also a few design challenges: wind, bright light, shifting sand, and salt air. Choose bold colors and textures so pieces don’t dissolve into the dunes — think neon accents, glossy plastics, and matte black silhouettes that read from a distance. Favor weatherproof materials (plastic, EVA foam, coated fabrics) and battery-powered LEDs over paper and candles. Plan anchors and weights for every freestanding item; a well-anchored decoration looks intentional and stays put, even when the breeze picks up.
Balance one or two showstoppers with plenty of playful, interactive touches. A tall focal piece—like a skeleton lounging in a lifeguard chair or a glowing ghost arch—gives the eye somewhere to land and creates great photo ops. Around that, scatter hands-on props: glow-in-the-dark beach balls, stashable scavenger-hunt items, and cauldrons of sand toys. These double as entertainment for kids and buffer your main displays from curious hands and waves.
Materials
- – 3 lengths of 1–1.5-inch PVC pipe (10–12 feet total) or lightweight wooden dowels
- – 3 elbow and 2 T PVC fittings (or connector pieces for dowels)
- – 2 heavy-duty sand anchors or long rebar stakes
- – 2 sandbags (or buckets you can fill with sand)
- – Sheer white fabric or old sheet (for ghostly drape)
- – Black or neon outdoor spray paint (optional accents)
- – Battery-powered LED string lights and a waterproof lantern or two
- – Zip ties or strong twine, duct tape
- – Scissors and a utility knife
- – Seashells, plastic skulls, or ribbon for finishing touches
Steps
- 1. Build the frame: Connect PVC lengths into a simple arch using elbows and T fittings so it can be sunk into the sand at three points (two base legs and a central support). If using dowels, lash them together securely with twine at the top and reinforce with duct tape.
- 2. Anchor it: Push the base legs into deep holes in the sand and pack sand tightly around them; drive rebar or sand anchors through the base joints for extra hold. Place sandbags or buckets filled with sand over the exposed base for additional weight.
- 3. Drape fabric: Tie the top of your fabric to the arch, letting it billow naturally. Layer a second sheet or a strip of neon fabric behind it so the wind makes colors peek through.
- 4. Add lighting: Weave LED string lights through the fabric and secure with zip ties. Place a waterproof lantern at the base for an eerie upward glow after sunset.
- 5. Secure accents: Attach shells, ribbons, or plastic skulls along the sides with zip ties. Spray-paint accents before attaching if you want bolder color contrasts.
- 6. Safety check: Move the arch back from the high-tide line, test stability in a gust, and keep battery packs sealed from sand and water.
This arch works as a dramatic entryway, a photo backdrop, or the centerpiece of a pirate-ship or ghost-theme zone—sturdy, portable, and built to survive a spirited evening by the waves.
3. Beach-Ready Costumes: Practical Tips for Sand, Sun, and Spooky Fun
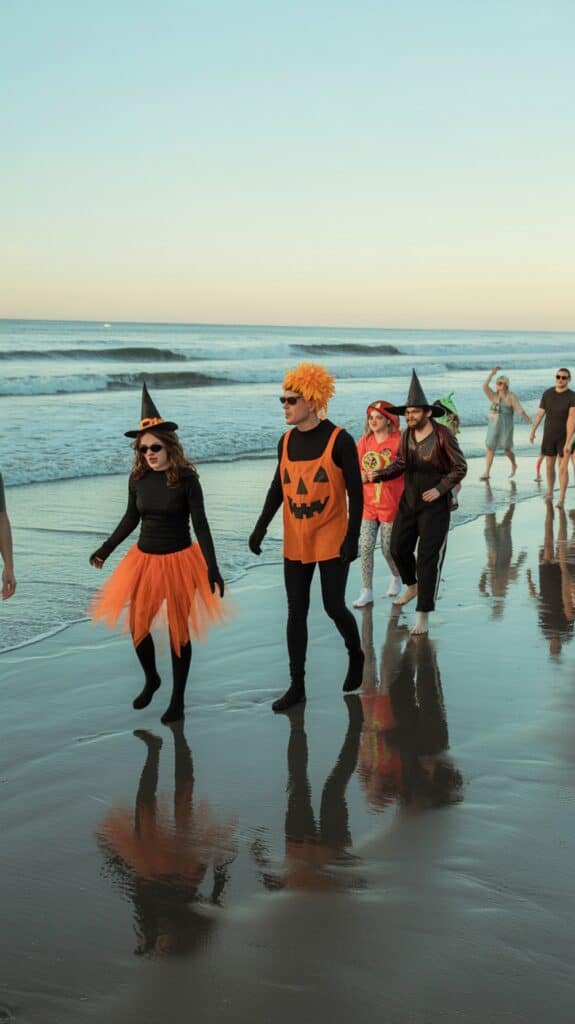
Nothing beats the sight of capes, shells, and pirate bandanas bobbing along a shoreline — but the beach throws its own costume curveballs. Wind, sun and surprise splashes mean the outfit that works at a yard party might not survive fifteen minutes on sand. Think lightweight, quick-dry, and low-fuss pieces that let kids run, dig, and jump without a meltdown.
Keep comfort and safety first: start with a swimsuit or moisture-friendly base, avoid heavy layers, and trade fragile props for items that stand up to tide and tumble. Focus on a few secure details — tied hats, Velcro attachments, and foam props — so a great look doesn’t fall apart when the wind picks up.
Materials
- – Lightweight clothing (cotton blends, rash guards, quick-dry shorts)
- – Swimsuits or swim shirts as base layers
- – Hair ties, bobby pins, safety pins, and small Velcro strips
- – Non-toxic face paint or temporary tattoos
- – Closed-toe water shoes or sturdy sandals
- – Bandanas, lightweight capes, and zip-up ponchos
- – Glow sticks, waterproof LED bracelets, or clip-on lights
- – Foam props (swords, hooks) or plastic accessories
- – Small dry bag or resealable pouch for accessories
- – Sunscreen, towel, and a spare change of clothes
Steps
- 1. Apply sunscreen before dressing: get an even, early layer on exposed skin so costumes don’t trap sticky lotion or rub it off.
- 2. Start with a swim-ready base: have kids wear their swimsuit, rash guard, or quick-dry tee so they can splash without worry and change fast if needed.
- 3. Layer smart: add lightweight capes, ponchos, or short skirts over the swim base instead of heavy costumes. Use breathable fabrics and avoid long trains or trailing hems.
- 4. Secure small pieces: attach hats or lightweight masks with hair ties, bobby pins, or small Velcro tabs. Safety-pin felt pieces on from the inside so they won’t snag.
- 5. Swap full face masks for makeup: choose non-toxic face paint or temporary tattoos so kids can breathe, see, and play comfortably.
- 6. Choose beach-sensible shoes: closed-toe water shoes or sturdy sandals protect feet from shells and hot sand while still letting kids run.
- 7. Pack an emergency kit: include a towel, spare outfit, wet wipes, glow accessories, and a resealable pouch to keep small items sand-free.
- 8. Make props beach-proof: replace glass or metal with foam/plastic alternatives and stash extras in the dry bag.
- 9. Plan a quick parade or photo walk early: let everyone show off before costumes get sandy; use glow accessories after dusk for safe, magical photos.
- 10. Rinse and change before heading home: a quick water rinse and a fresh set of clothes keeps the ride home comfy and prevents sandy stains.
These simple swaps and checks keep costumes fun, safe, and ready for whatever the shoreline brings — more smiles, fewer tears.
4. Beach-Friendly Sand Parfait Cups — Spooky, Portable Treats
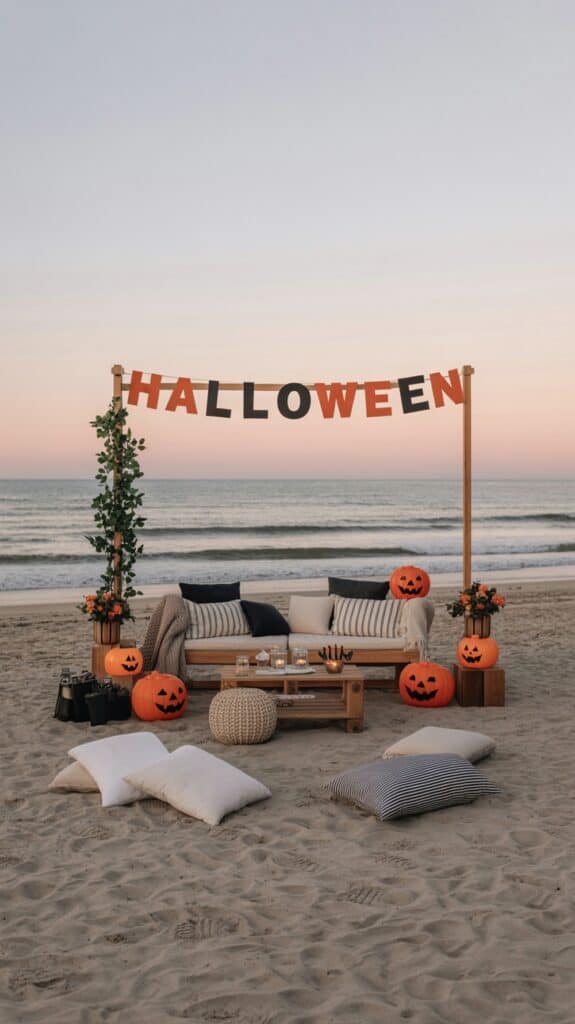
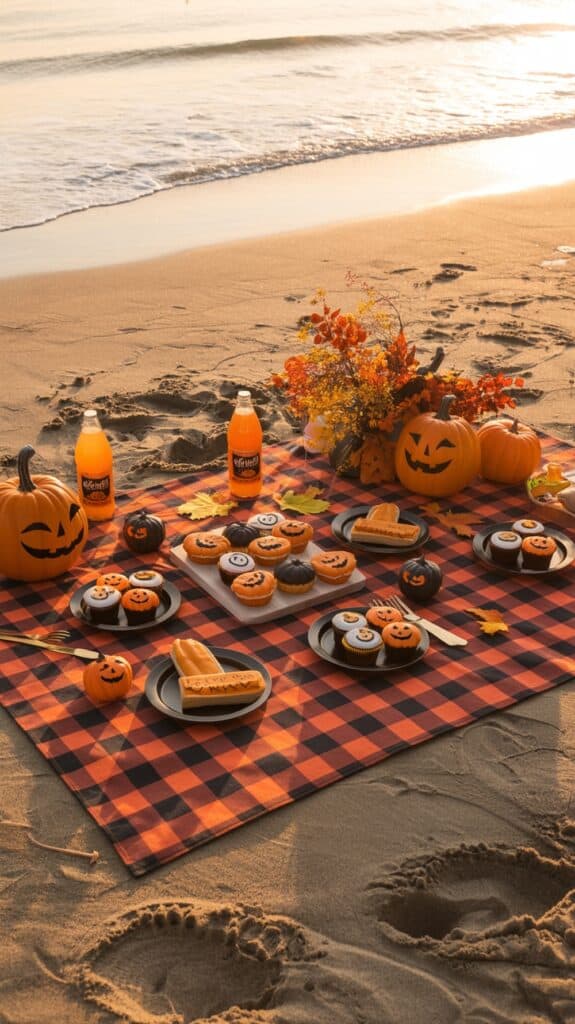
A beach Halloween calls for treats that survive sun, sand and tiny, excited hands. Individual parfait cups are perfect: they keep sandy fingers out of shared bowls, travel easily in a cooler, and deliver that classic “sand and worms” look kids love. Choose layers that won’t melt quickly—puddings, whipped fillings, cookies and fresh fruit make a sturdy, sweet combination that still reads spooky when you top with gummy worms and candy eyes.
Prep as much as you can at home and finish the styling on the sand. Assemble most of the layers and leave the top crumb or gummy decoration for the beach so the texture stays crisp. Use a small cooler with ice packs to hold the cups until dessert time, and hand out lids or small spoons to keep things tidy. For allergy-friendly gatherings, swap dairy pudding for a coconut-based pudding and use seed-butter cookie crumbs instead of nut-containing varieties—label the cups so everyone knows which is which.
Ingredients
- – 4 cups prepared vanilla pudding (dairy or dairy-free) or thick coconut pudding
- – 2 cups crushed vanilla wafers or graham crackers (for “sand”)
- – 1 1/2 cups whipped topping or whipped coconut cream
- – 1 cup mixed berries or diced oranges (optional for bright color)
- – 1 package gummy worms
- – 24 small candy eyes or chocolate chips for eyes
- – 8 clear plastic or reusable cups with lids and 8 small spoons
- – Optional: 1/2 cup chopped toasted coconut or brown sugar for extra texture
Instructions
- 1. Make the pudding according to package or recipe instructions and chill until set. If using a ready-made pudding, give it a quick stir before layering so it’s smooth.
- 2. Crush cookies finely and mix with the optional toasted coconut or brown sugar for a more realistic “sand” texture. Store crumbs in an airtight container so they don’t absorb moisture.
- 3. In each cup, place a 2–3 tablespoon layer of cookie crumbs as the base.
- 4. Spoon about 1/4 cup of pudding over the crumbs, then add a few berries or fruit pieces if using. Smooth gently.
- 5. Add a second thin layer of crumbs, followed by another 1/4 cup of pudding. Top with a dollop of whipped topping or coconut cream.
- 6. Right before serving at the beach, remove lids and press a couple of gummy worms partially into the top so they look like they’re wriggling out of sand. Place candy eyes or chocolate chips nearby for extra spooky faces.
- 7. Keep cups chilled in a cooler until ready to eat. Discard any leftovers after two hours in warm weather or sooner if temperatures are high.
Tip: To reduce mess, let kids decorate their own cups from a small assembly station—less cleanup and extra fun for little monsters.
5. How to Host a Spooky, Stress-Free Halloween on the Beach
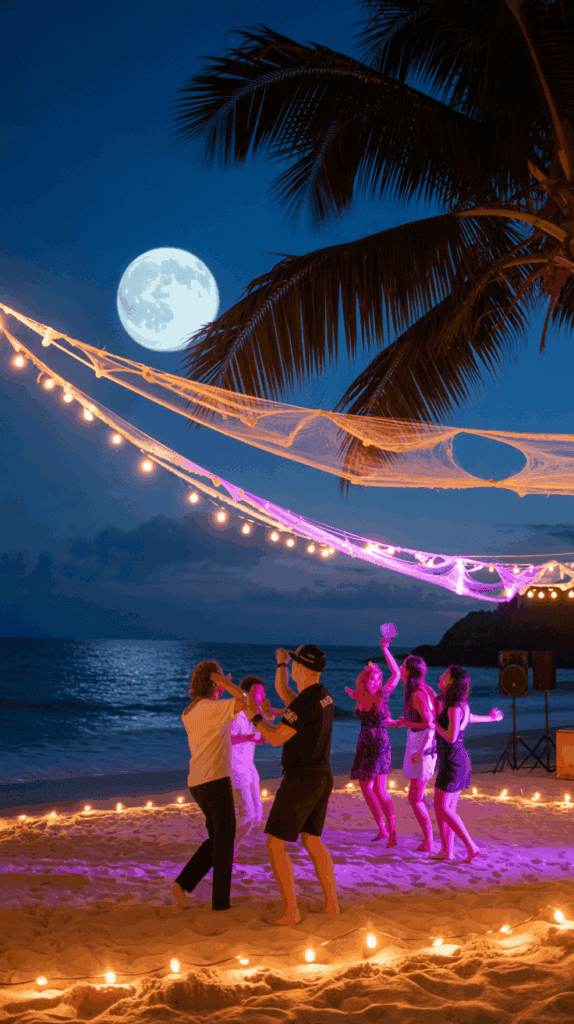
Throwing Halloween on the sand is about blending seaside calm with a playful, spooky vibe—no haunted mansion required. Think soft lantern light, costumes that can handle a breeze, and simple games that work whether kids get wet or stay dry. With a little planning, the salt air becomes part of the atmosphere and the whole event feels effortless and memorable.
Keep your plan flexible: set a loose timeline, pack a few backup layers and extra towels, and choose decorations that won’t fly away. Prioritize safety—check tide times, pick an area with easy parking and restroom access, and bring glow items so everyone stays visible after sundown. A few clever prep steps mean you spend more time enjoying the night and less time chasing rolling pumpkins.
Materials
- – Large beach blanket or tarp (for a sand-free base)
- – Folding chairs and low tables (optional)
- – Windproof lanterns, LED string lights, and glow sticks
- – Plastic pumpkins, buckets, and sealed containers for treats
- – Lightweight props (plastic tombstones, pinwheels, flags)
- – Extra towels, blankets, and a change of clothes
- – Cooler with drinks and non-melty snacks
- – Trash bags, wet wipes, hand sanitizer, and first-aid kit
- – Portable speaker and a small, battery-powered light source
- – Small stakes or sand anchors to secure décor
Steps
- 1. Pick the spot (1–2 weeks ahead): Scout a stretch of beach with nearby parking, restrooms, and a quieter corner to avoid crowds. Double-check the tide chart for your hour of activity to keep the setup dry.
- 2. Plan a short timeline (day-of): Arrive 30–45 minutes early to stake out space and set a cozy base. Schedule a 10–15 minute costume parade, 30–45 minutes of group games or a scavenger hunt, snacks/dinner, then free play with glow-stick tag as dusk falls.
- 3. Pack smart (night before): Use a single tote for essentials—first aid, wipes, and trash bags—plus separate containers for food and décor. Include extra weights or sand anchors so banners and lights stay put.
- 4. Set up with wind in mind (arrival): Lay the tarp first, then blankets and chairs. Place lanterns on low tables or in sand-stable holders and put heavier items like coolers or buckets at the corners to hold things down.
- 5. Keep activities simple: Favor games that don’t require flat surfaces—sandcastle carve-offs with a spooky twist, shell hunts with hidden treats, or relay races in costume. Use a short playlist for ambience rather than complex tech.
- 6. Clean and depart: Leave no trace—bag trash, scatter any natural décor back to the shoreline, and do a quick sweep for forgotten costumes or gear. A 10–15 minute team clean-up keeps the beach ready for the next day.
With solid prep and flexible expectations, a beach Halloween becomes an easy, enchanting night for all ages.
Final Thoughts
A memorable Halloween at the shore balances atmosphere with practicality: choose games that travel well, decorations made for outdoor conditions, and costumes that tolerate sand and sun. Portable, tidy treats and clear plans for safety, cleanup, and guest comfort make the day enjoyable for everyone. Keep the setup simple, prioritize weather-ready materials, and plan for easy transitions between play and relaxation.
With a few smart choices and a flexible approach, you can create a spooky, sand-friendly celebration that’s inclusive, low-stress, and full of seaside charm. Have fun experimenting with the ideas here and adapt them to your group, location, and local rules for a safe, crowd-pleasing shoreline bash.
