Seaside Style at Home: Practical Ways to Layer Coastal Charm on Your Walls
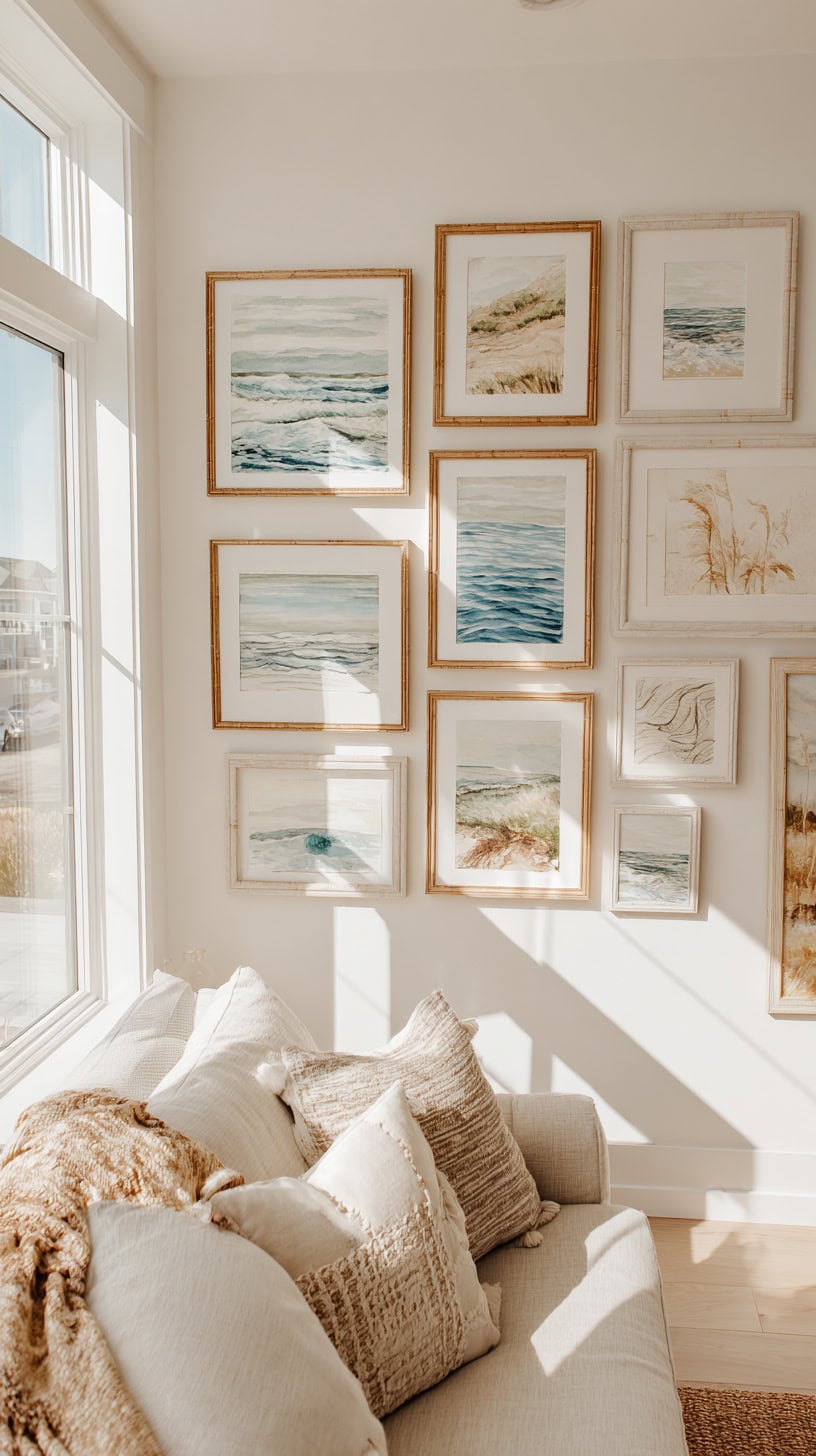
A home that feels tranquil and seaside-inspired doesn’t require dramatic remodeling. Small changes on walls—thoughtful groupings, textured materials, and a few curated finds—can instantly create a relaxed coastal atmosphere. Focus on natural fibers, marine-inspired prints, and three-dimensional displays to bring the quiet rhythm of the shore indoors.
Approach decorating as a gradual, personal process: start with one focal wall, introduce tactile pieces that catch light, and rotate or add items as collections grow. This keeps the look fresh while preventing spaces from feeling overly themed or cluttered.
1. Turn Beach Finds into a Meaningful Display
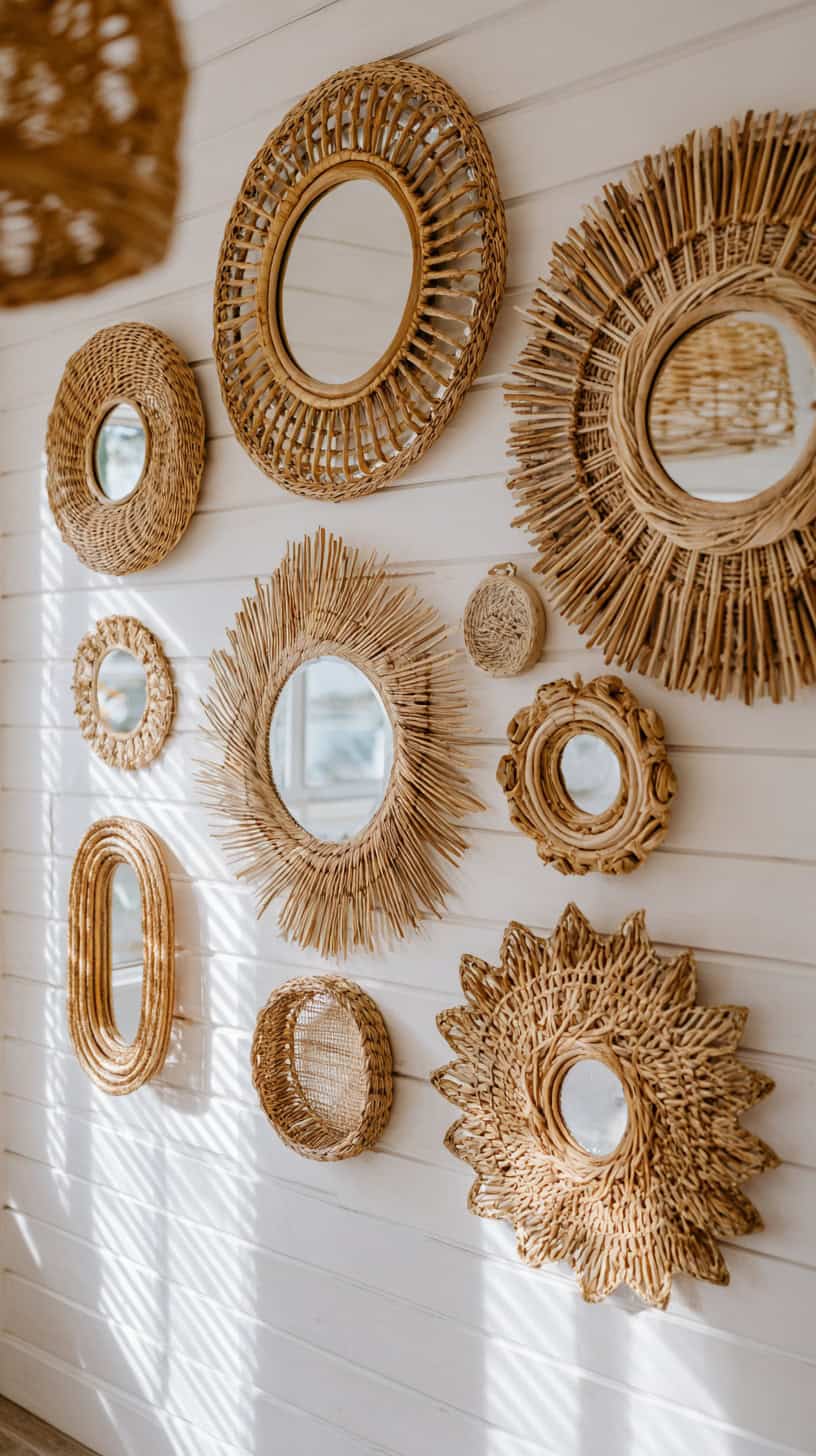
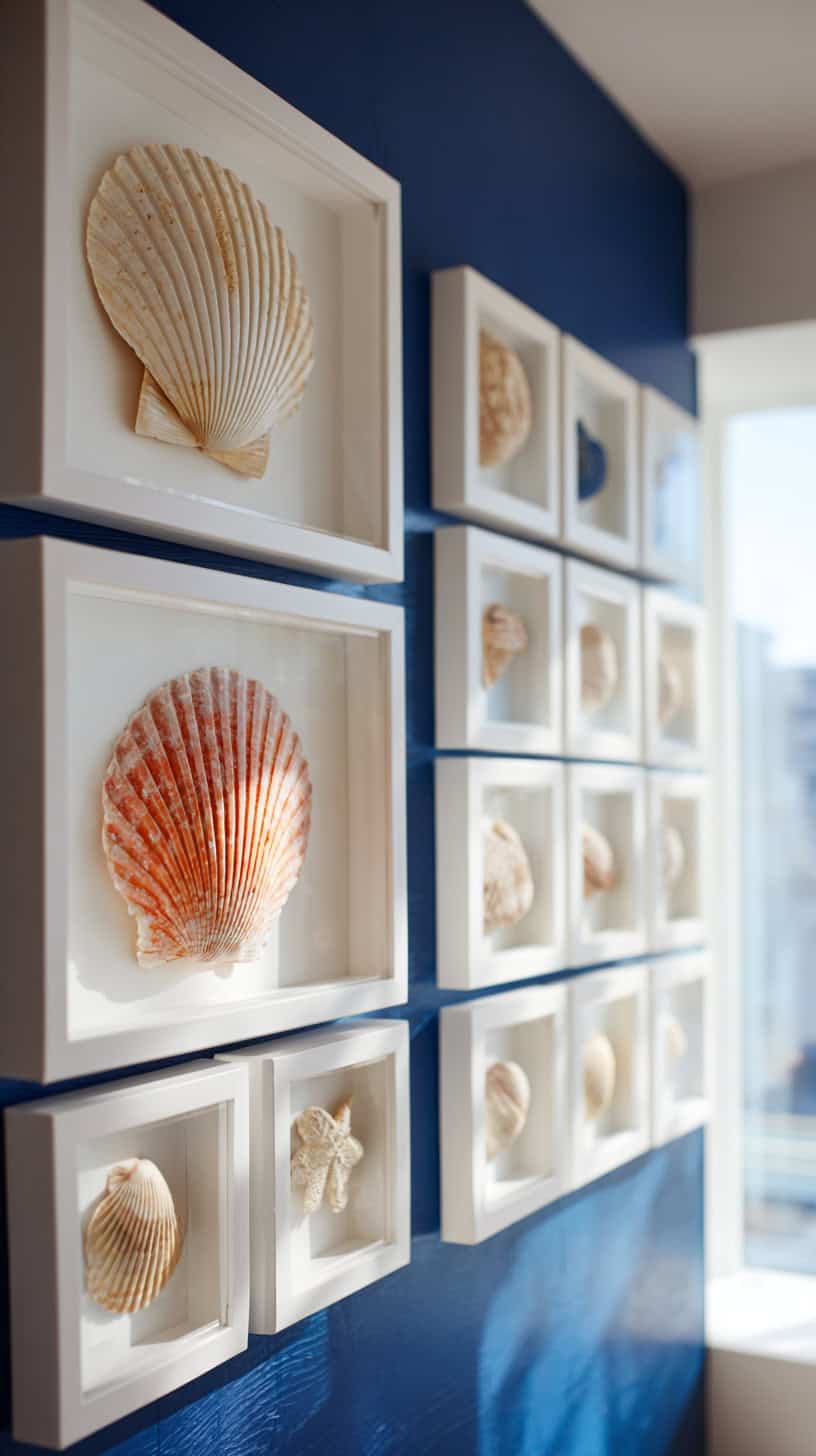
Transforming shells, pieces of driftwood, and other collected items into a cohesive wall installation gives rooms a personal, story-driven focal point. Use shadow boxes to protect more fragile finds; choose a solid, contrasting background like navy or sand to make lighter shells pop. For larger, irregular pieces such as driftwood, mount them as narrow shelves or ledges to display small vases, framed photos, or sea glass. Labeling each item with where and when it was found adds narrative value and makes the display feel like a family archive. Secure pieces with museum putty or small pins to keep them stable, especially in homes with active children or pets. Rotating a few items seasonally keeps the arrangement interesting without requiring a complete redo.
2. Add Warmth and Light with Natural Weaves
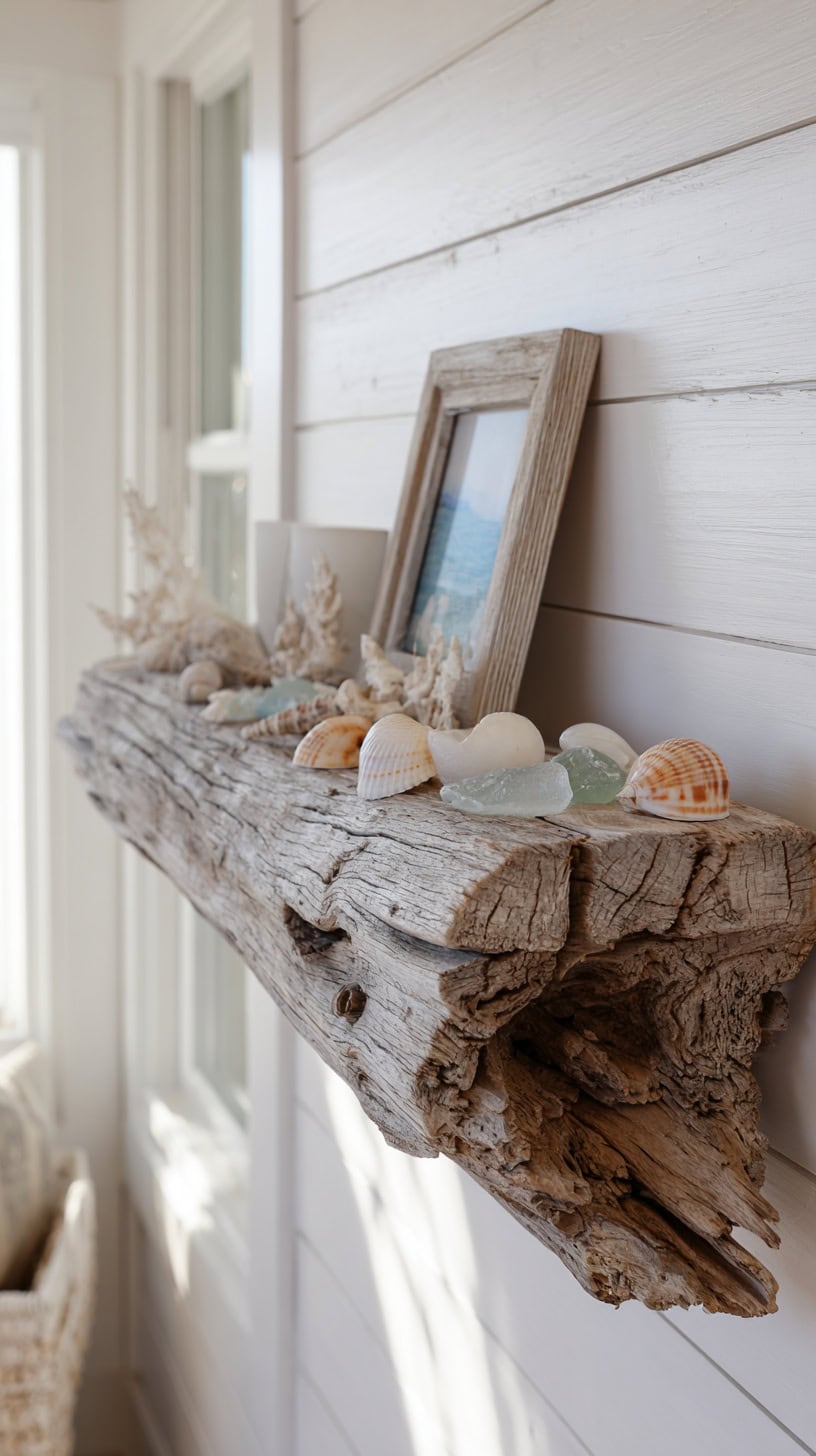
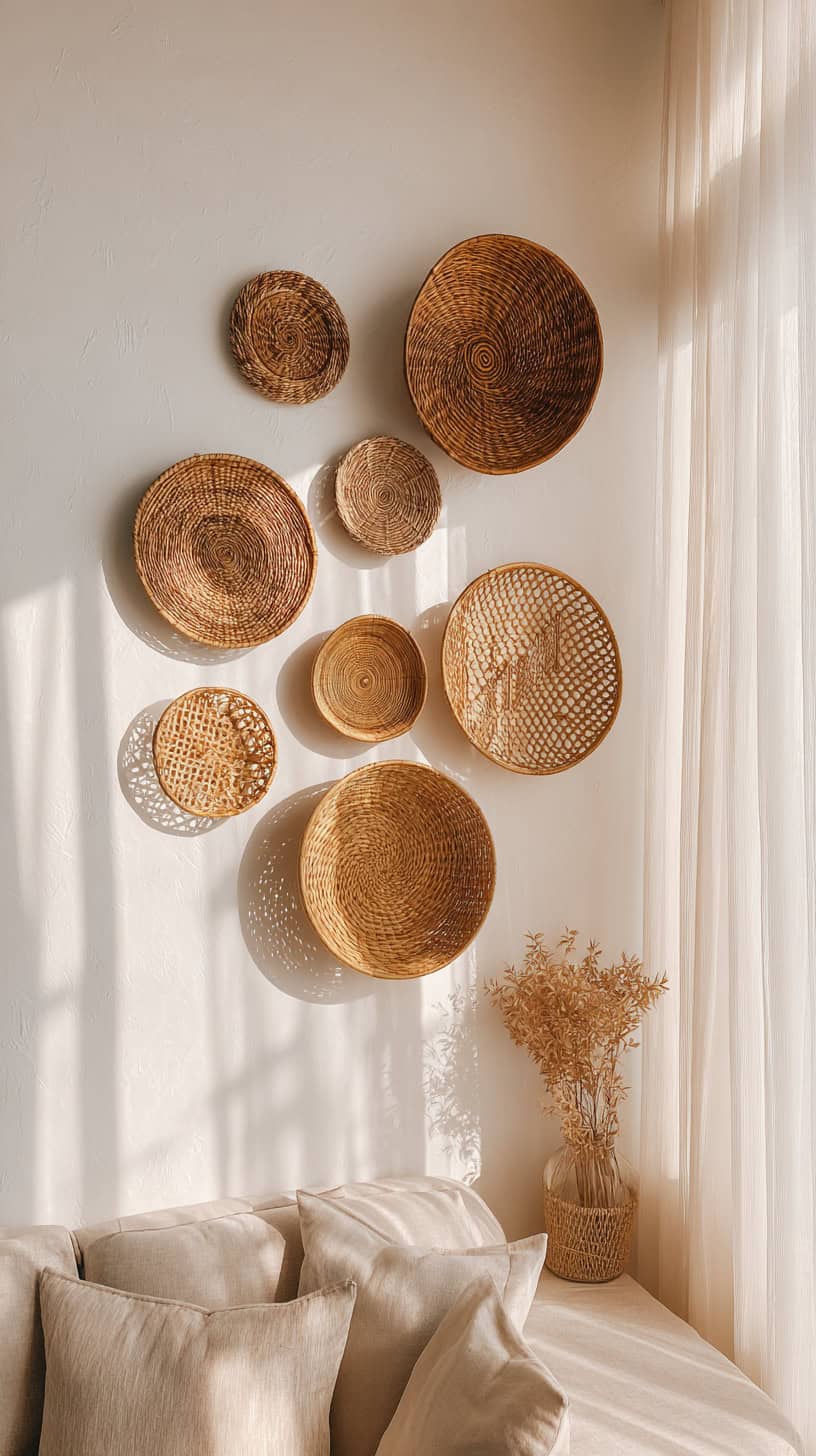
Woven surfaces—rattan, jute, seagrass and other natural fibers—introduce soft warmth and visual texture that complements cool coastal palettes. Consider hanging a cluster of woven mirrors to bounce daylight into darker corners while creating an organic focal point. Mix flat decorative wall baskets with deeper styles for both aesthetic appeal and light storage; shallower pieces read as art, while deeper baskets can hold scarves, mail, or small textile accents. Neutral finishes work well as a base, and layering in one or two painted or dyed pieces prevents monotony. Keep spacing relaxed and staggered so the composition feels collected rather than regimented.
3. Make a Bold Statement with Stripes and Nautical Artwork
Graphic elements such as broad horizontal stripes or vintage sailing prints can anchor a room and set the overall tone. Oversized stripe panels simplify the visual field and create a sense of width when placed on long walls; select two to three blues within the same undertone for a harmonious stripe palette. Complement stripes with smaller maritime illustrations—old boat sketches or faded chart reproductions—for a layered, curated look. Frames in warm woods or matte black provide contrast and keep the arrangement grounded. When pairing bold graphics with textured pieces, allow breathing room so each element retains impact without overwhelming the eye.
4. Assemble a Balanced Gallery Wall
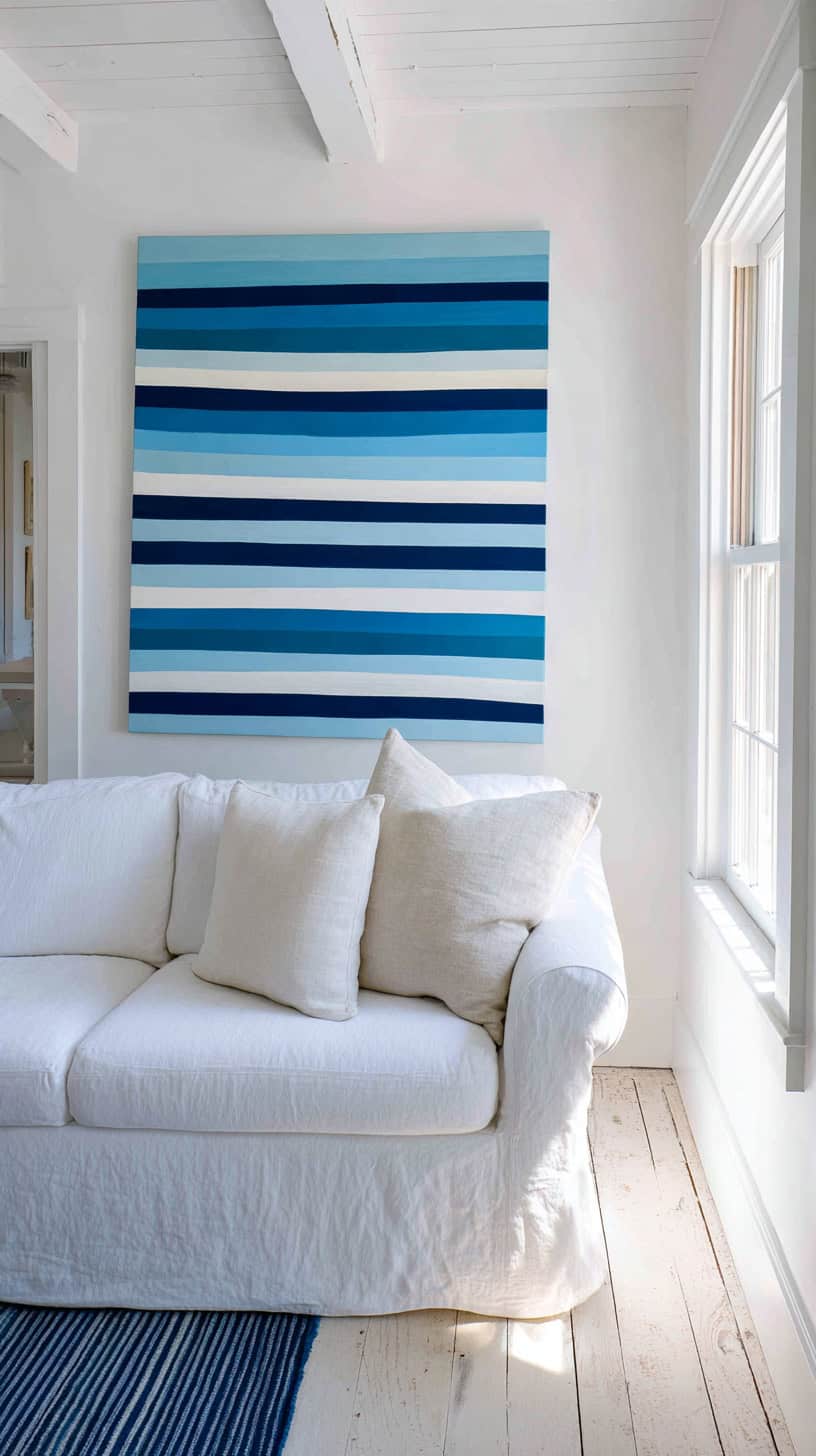
A successful gallery wall blends scale, color and negative space. Begin with a larger anchor piece—such as a framed coastal print or a sizable woven item—then arrange smaller frames and objects around it, keeping the visual weight balanced on both sides. Stick to a limited color palette (for example, whites, soft blues and sandy neutrals) to maintain cohesion, and mix frame styles thoughtfully: a few matching frames with varied mats can create unity while allowing smaller mismatched pieces to add character. Lay the arrangement on the floor first or use paper templates on the wall to test spacing before committing to nails.
5. Choose Words That Enhance the Mood, Not Overwhelm It
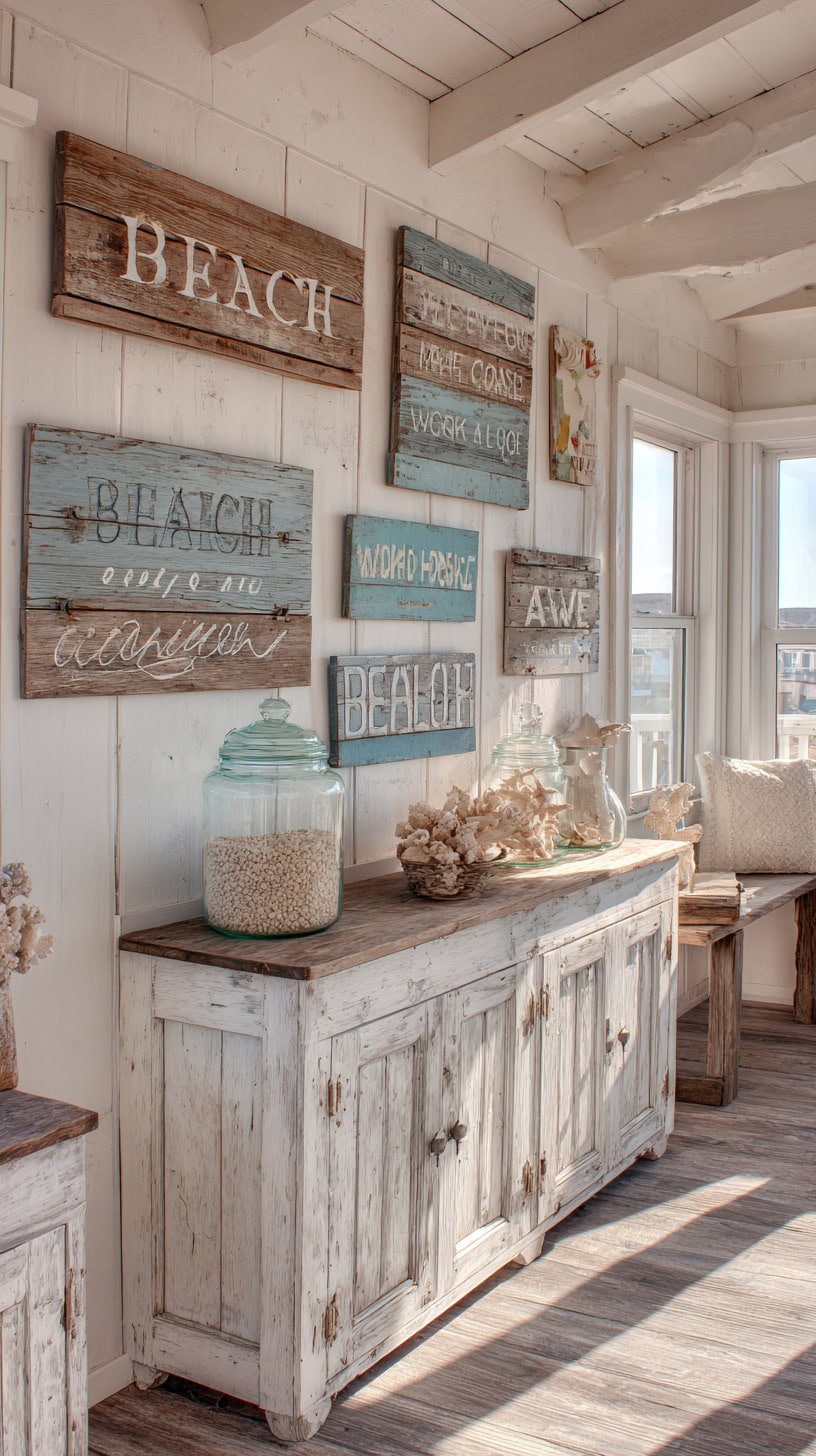
Typography on walls can add personality, but restraint keeps the tone relaxed. Select a single phrase or short collection of words that reflect the feel desired—calm, playful, or nostalgic—and present them on materials that echo the room’s texture, such as reclaimed wood or linen-backed canvases. Opt for simple, legible lettering and avoid placing multiple text-heavy signs in one area. Integrate a worded piece into a larger vignette of three-dimensional objects or framed art so it complements rather than competes. For a custom touch, hand-lettered signs or stenciled boards can be tailored to family favorites without dominating the space.
6. Layer Two- and Three-Dimensional Pieces for Depth
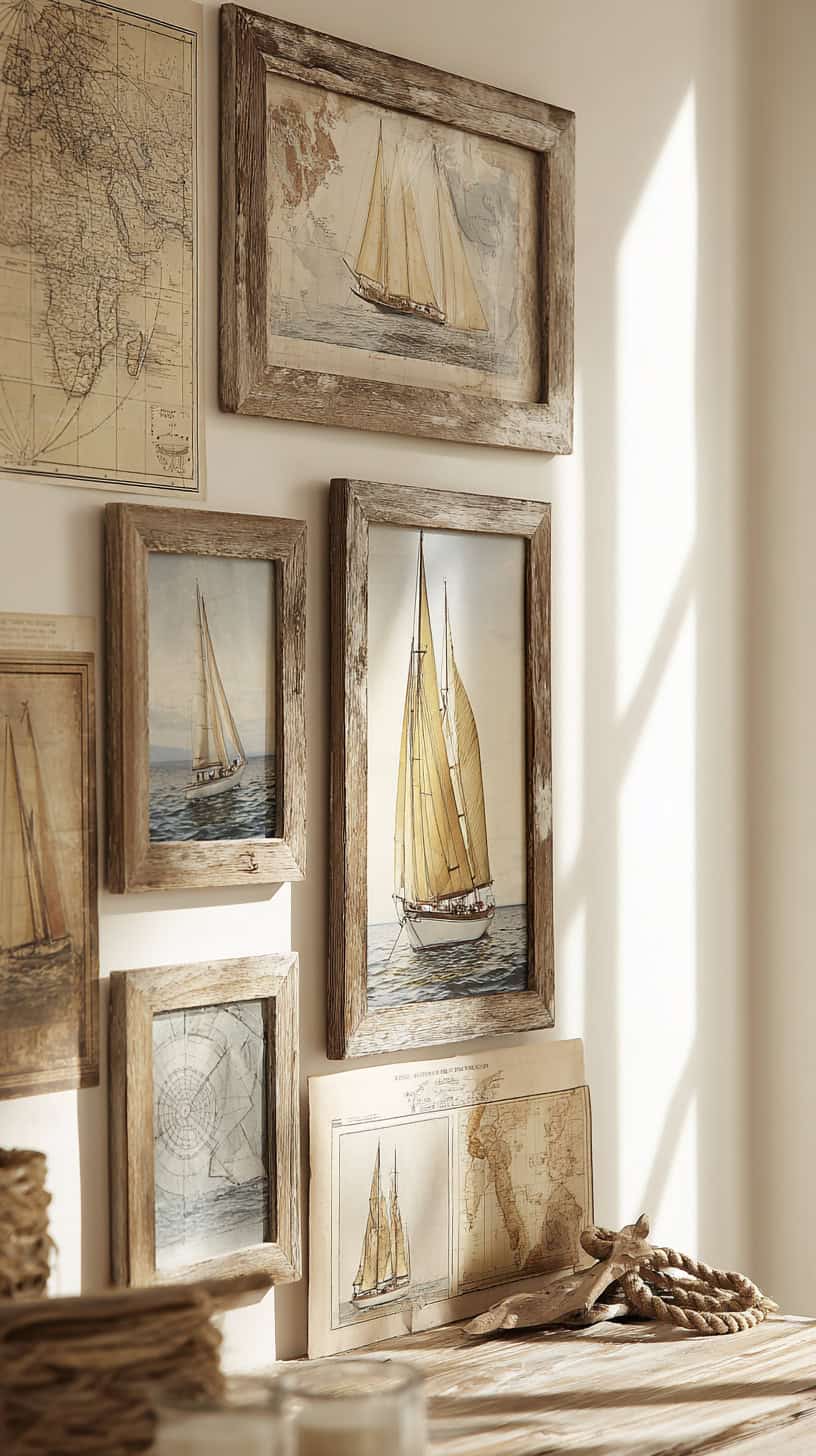
Combining flat artwork with protruding elements creates depth and visual interest. Place framed prints above a shallow shelf to allow for small sculptures or planted succulents to sit in front, or intersperse shadow boxes and woven baskets among framed images. When integrating 3D objects, consider sightlines and furniture placement so items don’t interfere with daily use. Keep the scale appropriate: small three-dimensional pieces work best with smaller frames, while larger sculptural items should be paired with more open wall space. This layered approach makes walls feel curated and lived-in rather than flat or static.
7. Keep It Practical: Renter- and Kid-Friendly Options
Not every decorating choice needs to be permanent. Use removable hanging strips, peel-and-stick hooks, and lightweight fixtures to create impact without damaging walls. Choose shatterproof mirrors and framed prints with acrylic glazing in homes with children. Encourage family involvement by dedicating a small wall or section for rotating artwork and travel finds—this makes it easy to update displays over time. Store valuable or fragile items in shadow boxes with secure fastenings, and prefer washable textiles like linen banners that can be laundered if they collect sand or dust. These approaches preserve both style and functionality.
Final Thoughts
A layered coastal wall scheme is achieved through thoughtful combinations: natural fibers for warmth, curated finds for personality, and graphic elements for structure. Working gradually and using renter-friendly hardware makes it simple to evolve a space into a calm, seaside-inspired retreat without overcommitting.
