Elevating a Gray Living Room: Wall Decor That Warms and Defines the Space
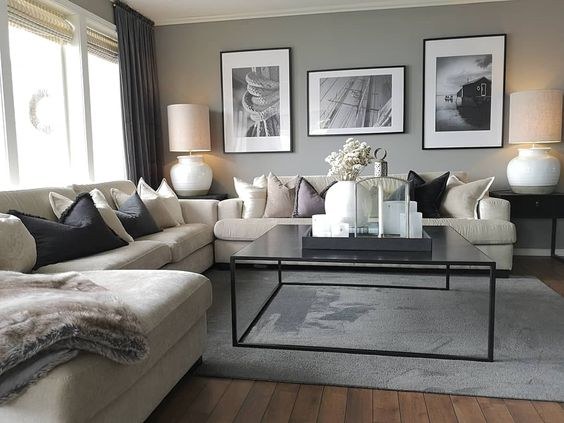
Gray is a wonderfully adaptable backdrop—sophisticated, calming and ready to take on style through thoughtfully chosen wall decor. The right accents can nudge a room toward cozy, modern, or sculptural without overwhelming the neutral base.
This article walks through practical, design-forward approaches to dressing gray walls: selecting hues that harmonize with your undertone, balancing texture and scale, adding light and storage, and creating a living focal point. Each section includes concise steps and a checklist so you can plan and execute with confidence and safety.
1. Tune Into the Undertone: Choosing Complementary Colors
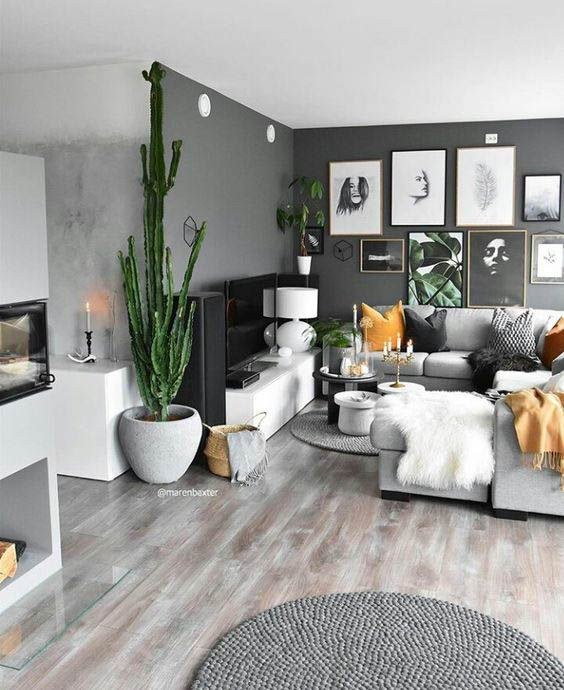
Gray can read warm, cool or neutral depending on lighting and finishing touches. Identifying the undertone of your paint helps you pick accent colors that feel intentional rather than accidental. Warm grays work well with amber, rust and olive, while cool grays welcome teal, navy and soft lavender. Keep contrast in mind: small bright pops enliven, while larger blocks of color ground the room.
What You’ll Need
- Paint swatches or sample pots
- Natural and artificial light at different times of day
- Tape measure and paper for ratio planning
- Mood board or digital collage app
How to Put It Together
- Observe the walls at morning and evening light to determine warm or cool undertones.
- Place 3–5 swatches or framed samples against the wall and live with them for a day to see how they read.
- Choose a primary accent (larger textiles or one big artwork) and a secondary accent (smaller accessories), keeping a 60/30/10 visual ratio (wall/furniture/accessories).
- Test textiles and throw pillows in the chosen accents before buying larger pieces to ensure harmony across materials.
2. Layer Texture and Materials for Depth

On gray walls, texture becomes an important source of warmth and visual interest. Mix woven fibers, matte and metallic frames, reclaimed wood shelves and plaster or ceramic art to introduce tactility. Avoid too many shiny surfaces at once so the room keeps a cozy, curated feel.
What You’ll Need
- One or two textured wall hangings (woven, macramé, or mixed media)
- A wooden or metal floating shelf
- Assorted frame finishes (matte black, warm wood, brushed metal)
- Appropriate anchors and screws for your wall type
How to Put It Together
- Pick one wall as the textural anchor (above the sofa or behind a console) and place the heaviest texture there.
- Balance warm and cool finishes—e.g., a wood shelf with a metal-framed print—to avoid temperature clashes.
- Layer smaller items in front of textured pieces (plants, small sculptures) to create depth.
- Use suitable anchors for the wall material and two-person lifts for heavy items; check weight ratings on hardware.
3. Arrange a Gallery That Feels Curated, Not Crowded
A gallery wall personalizes gray walls and can either soothe or energize depending on layout and framing. Aim for consistent spacing and a unifying element—color matting, similar frames, or a repeating motif—to keep the composition cohesive. Negative space is as important as the art itself.
What You’ll Need
- A mix of frames and art pieces in planned sizes
- Painter’s tape or paper templates to map the layout
- Measuring tape, pencil and a level
- Picture-hanging hardware rated for each item
How to Put It Together
- Lay the arrangement on the floor or use paper templates on the wall to experiment with spacing before committing.
- Choose a visual center (often above the seating midpoint) and build outward; hang the largest or heaviest piece first.
- Keep even spacing—2–4 inches is common—and step back frequently to check balance.
- Use appropriate wall anchors and picture hooks; for heavy groupings, secure a rail or picture-hanging system to studs.
4. Use Mirrors and Layered Lighting to Add Air and Warmth
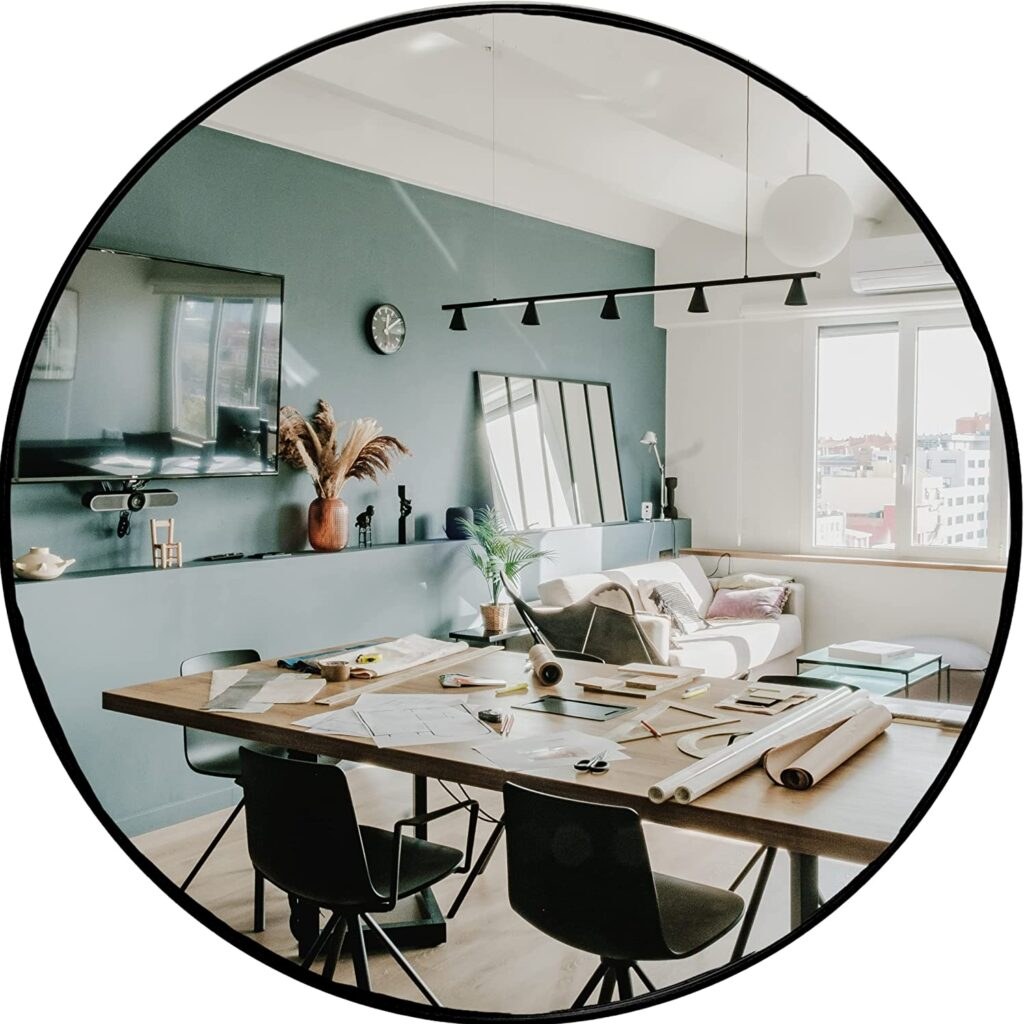
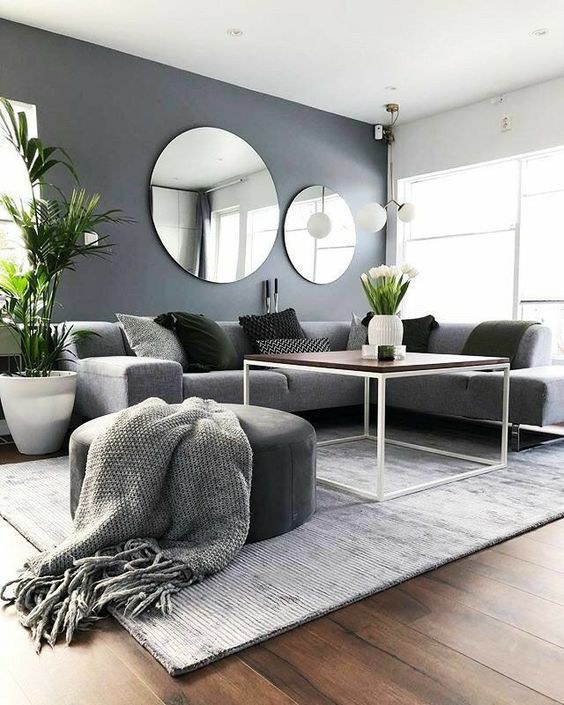
Mirrors reflect light and expand a gray room visually, while layered lighting (ambient, task, accent) transforms flat walls into living surfaces. Consider mirror shape and frame finish—rounded shapes soften angles, while a thin metal frame reads modern. Position reflective pieces to catch daylight rather than creating glare.
What You’ll Need
- One appropriately sized mirror or a collection of small mirrors
- Wall-mounted sconces or picture lights with dimmable bulbs
- Anchor hardware, wire cutters and a second person for installation
- Smart bulbs or a dimmer switch for adjustable ambiance
How to Put It Together
- Identify natural light sources and hang mirrors to bounce that light deeper into the room—opposite or adjacent to windows works well.
- Add layered lighting: a central ambient source, task lighting for reading, and accent lights to highlight artwork or shelves.
- Use warm-color temperature bulbs (2700–3000K) in living spaces to keep gray from feeling chilly.
- Install sconces and hardwired fixtures with power off; if unsure about electrical work, hire a licensed electrician. Always have a second person when mounting large mirrors.
5. Combine Storage and Display with Functional Wall Systems
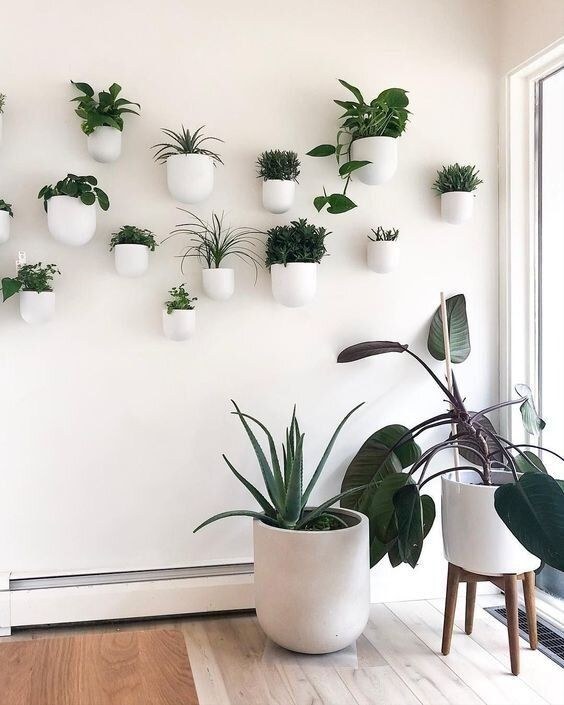
Walls are prime real estate for both storage and styling—floating cabinets, open shelving and pegboards keep surfaces clear while showcasing objects that add personality. Choose shelf heights that fit everyday use: about 42–48 inches for consoles, and 48–60 inches for display shelves above seating. Keep heavy items lower for safety and easy access.
What You’ll Need
- Floating shelves or slim wall cabinets
- Stud finder, level and heavy-duty screws or toggle anchors
- Baskets, boxes and non-slip liners for organization
- Anti-tip straps for taller cabinets
How to Put It Together
- Plan the wall by mapping studs and marking heights for comfortable reach; sketch the layout before drilling.
- Mount heavier storage into studs; use toggles only when studs aren’t available and the load is light.
- Style shelves in groups (odd numbers tend to read well): mix books, plants and a few framed pieces, leaving breathing room.
- Secure tall pieces with anti-tip straps, and store heavier items on lower shelves to reduce strain and risk of fall.
6. Bring Life to Gray with Botanical and Sculptural Features
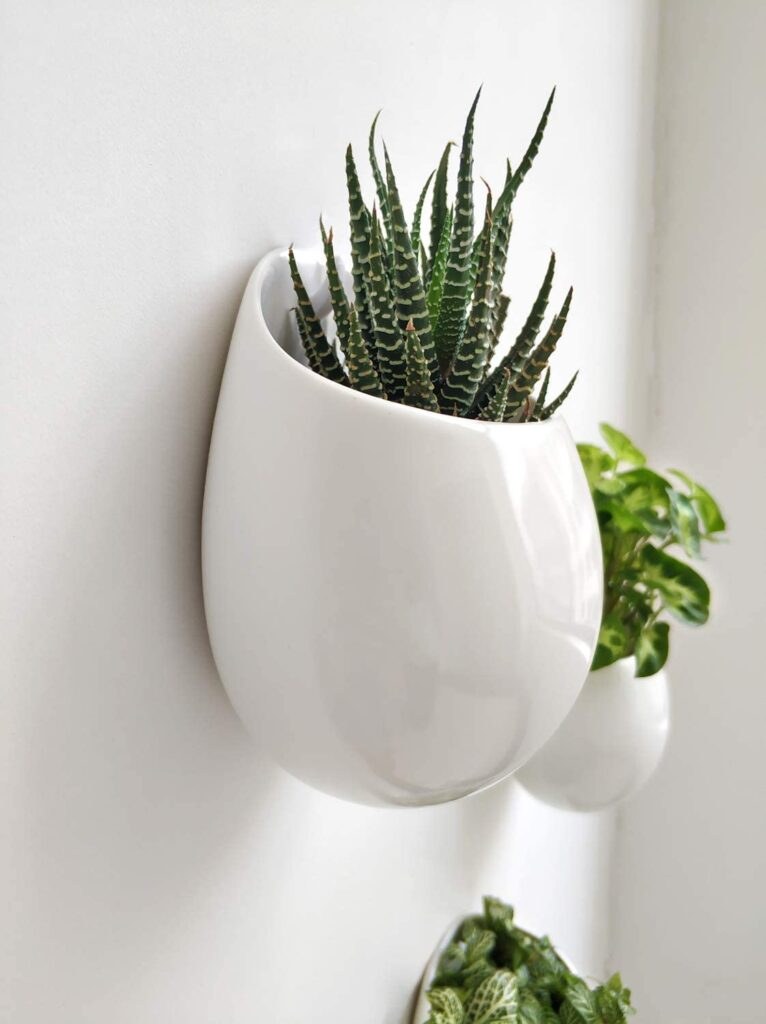
Plants and sculptural wall pieces add warmth and personality to gray rooms. Live plants introduce color and texture but require placement near light sources and appropriate planters to protect walls. For a low-maintenance option, sculptural art or oversized framed botanical prints offer the same natural vibe without daily care.
What You’ll Need
- Wall planters or sturdy planter stands for living walls, or large-scale botanical art
- Waterproof trays or drip guards for live plants
- Hanging hardware suited to the combined weight of planter and soil
- A watering can and a moisture meter for plant care
How to Put It Together
- Choose plant varieties suited to the light available (low-light options for north-facing rooms; brighter-tolerant plants for sunny spots).
- Install wall planters using hardware rated for wet, heavy loads; protect the wall with a water-resistant backing or tray.
- If using live plants, create a maintenance routine: watering, pruning and rotating for even light exposure.
- For sculptural or framed botanical pieces, center the work at eye level or above furniture; anchor larger pieces into studs and consider a two-person hang for safety.
Final Thoughts
Gray living rooms offer an elegant blank canvas—small, deliberate choices in color, texture, lighting and storage turn neutrality into personality. By planning scale, prioritizing safety when hanging heavy or wet items, and layering elements thoughtfully, you’ll create a room that feels both grounded and inviting.
Start with one wall or one technique that excites you, then build in complementary touches over time. The best-decorated rooms are those that balance functionality with soulful pieces that reflect how you live.