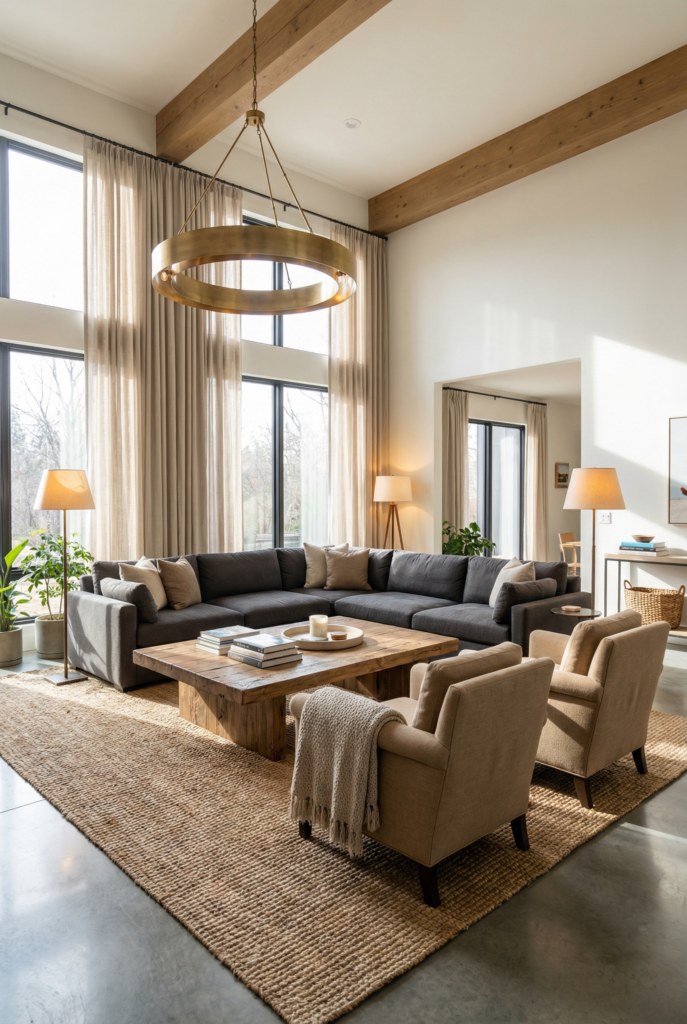
Style Your Living Room Ledge on a Budget: Practical, Warm Ideas
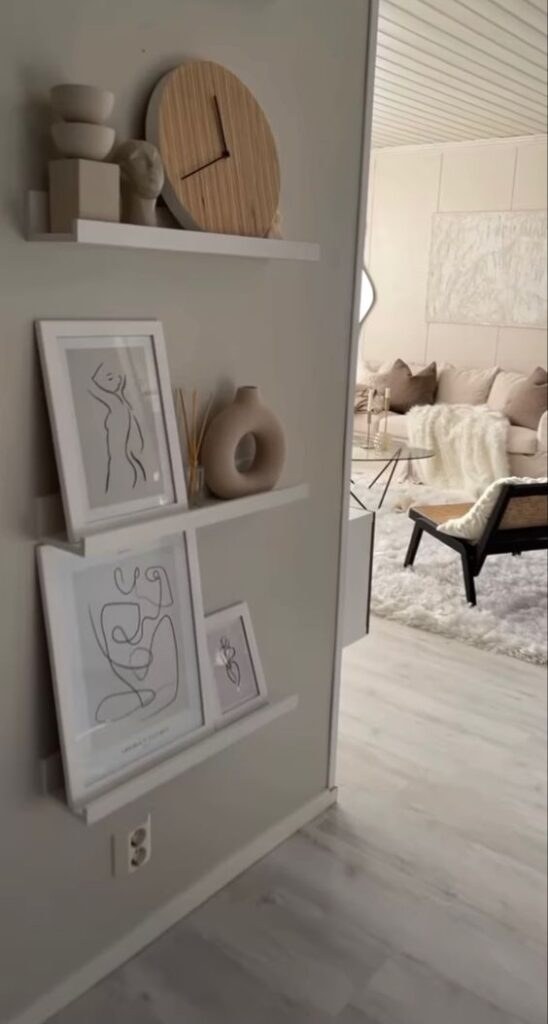
A narrow ledge running above a sofa or around a room is one of those small architectural features that can quietly lift your whole living room. With a little planning and a few affordable finds—many of them items you probably already own—you can turn that overlooked strip of wall into a thoughtful vignette that adds personality, scale, and warmth.
This guide walks through approachable styling strategies that focus on balance, lighting, color, and function. Each section includes simple materials lists and step-by-step assembly so you can try the looks without a big investment or a weekend of work.
1. Plan First: Scale, Sightlines, and a Simple Color Story
Begin by treating the ledge like a mini stage. Take a moment to consider the height of the ledge relative to seating, the primary sightlines from the room, and the dominant colors already in the space. A restrained color story—three related hues or a neutral base with one accent—keeps a long ledge from feeling chaotic.
What You’ll Need
- Tape measure and a notepad
- A simple color swatch (paint chips or fabric samples)
- A phone camera to snap sightline photos
How to Put It Together
- Measure the ledge length and note the nearby ceiling height and furniture placement. This helps decide whether to use tall objects or low, horizontal compositions.
- Take photos from main seating positions so you can preview how items will read from where people sit. Use these as a reference while styling.
- Choose a color palette: pick one neutral, one midtone, and one accent. Limit metallics or patterns to one area to keep things cohesive.
- Plan repeating elements (e.g., two baskets or three frames) to create rhythm along the ledge and avoid random single pieces that fight for attention.
2. Layering with Books, Trays, and Groupings
Layering gives depth to a narrow surface. Books, shallow trays, and a mix of horizontal and vertical elements create a base that supports smaller objects and prevents everything from looking flat. Use odd-numbered groupings for natural-looking arrangements.
What You’ll Need
- A small stack of hardcover or large-format books
- One or two shallow trays or platters
- A pair of bookends or a decorative object
How to Put It Together
- Start with a long, flat element like a tray centered on the ledge to anchor the arrangement and protect the surface from water or sap if you add plants.
- Place a stack of books at one end of the tray and lean a framed print behind them to create a layered backdrop.
- Balance that cluster with a mid-height object on the opposite side—such as a ceramic vase or a sculpture—so the eye moves along the ledge.
- Keep groupings to mostly odd numbers (three or five) and vary heights by stacking books or placing objects on small risers to prevent a monotonous line.
3. Bring Life Up Top: Plants That Play Well on Ledges
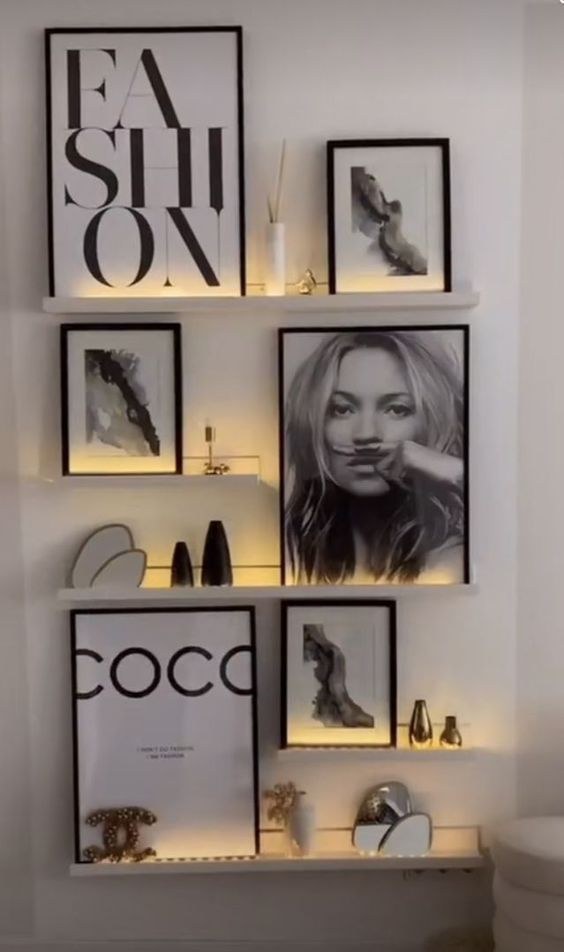
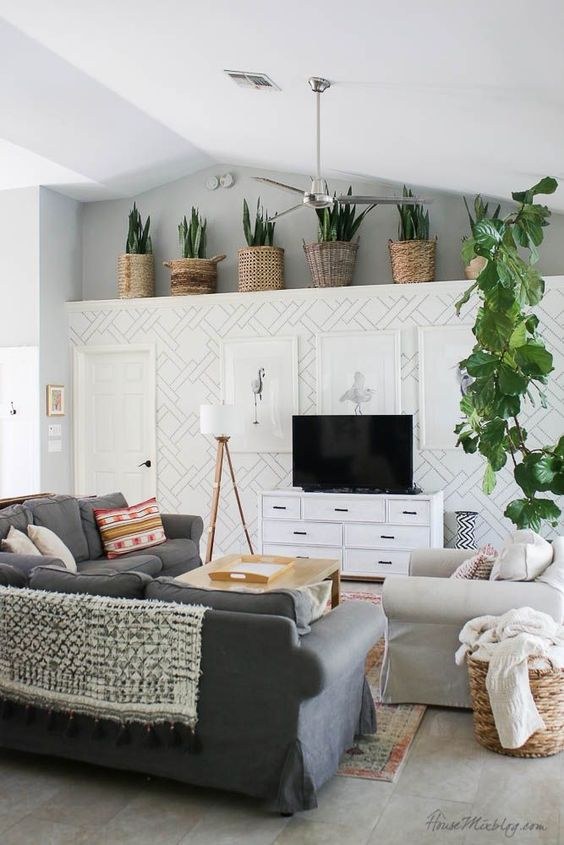
Plants add movement and a fresh texture to a ledge, but choosing the right pots, sizes, and placements matters—especially when the ledge is high or out of reach. Mix trailing varieties with upright plants for a layered silhouette that looks intentional from below.
What You’ll Need
- A selection of small to medium potted plants (succulents, ferns, or trailing ivy)
- Lightweight pots or baskets with drainage trays
- A small step stool for safe placement
How to Put It Together
- Group plants in clusters rather than spacing them evenly. Place one taller plant toward a visually dominant end and allow trailing plants to drape slightly for balance.
- Use lightweight pots to reduce strain on the ledge and add non-slip pads under pots to prevent shifting.
- Mind light and heat: avoid placing plants directly above radiators or too close to vents, and choose types that suit the natural light the ledge receives.
- Water plants carefully on a tray or take them down to water to avoid spillage and dampness that could damage the ledge surface.
4. Light It Right: Accent and Low-Voltage Options
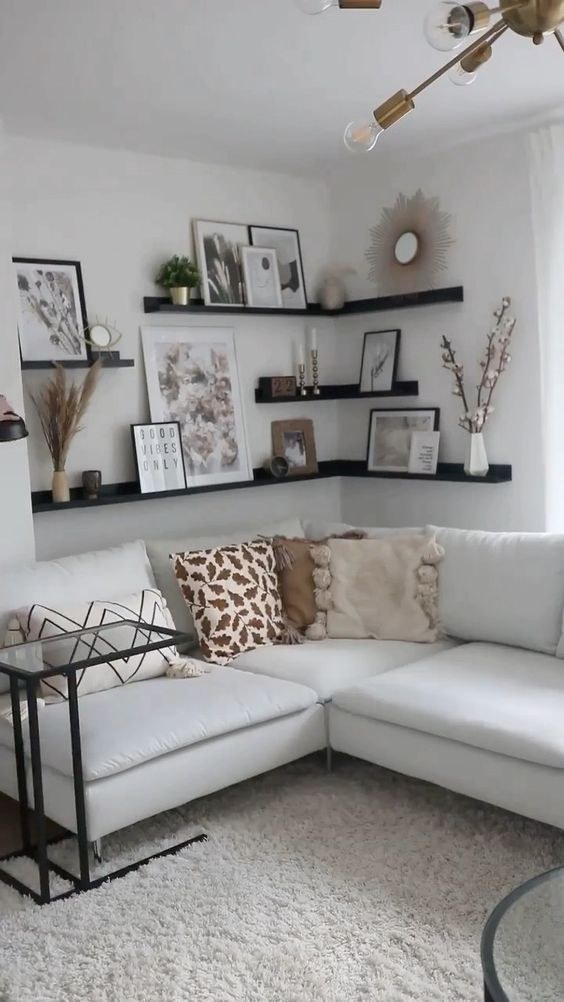
Good lighting transforms a ledge from decorative to atmospheric. Low-voltage LED strips, battery-operated puck lights, and a few strategically placed lamps add warmth and draw attention to important pieces without requiring major electrical work.
What You’ll Need
- Stick-on LED strip or battery-operated puck lights
- Cordless plug-in lamps (if outlets are available) or battery string lights
- Double-sided adhesive pads and/or cable clips
How to Put It Together
- Test lighting options before final placement. LED strips placed behind larger objects offer a soft backlight while puck lights highlight small sculptures or frames.
- Use adhesive cable clips and tucked-in wires to keep cords neat and away from the edge; avoid loose cables that could be pulled or cause trips.
- If using battery lights, set a reminder to replace batteries seasonally so your ledge remains consistently lit.
- Keep flame-based lights off high ledges; opt for LEDs to eliminate fire risk and heat buildup near decorative items or plants.
5. Functional Styling: Storage, Hideaways, and Dual-Purpose Pieces
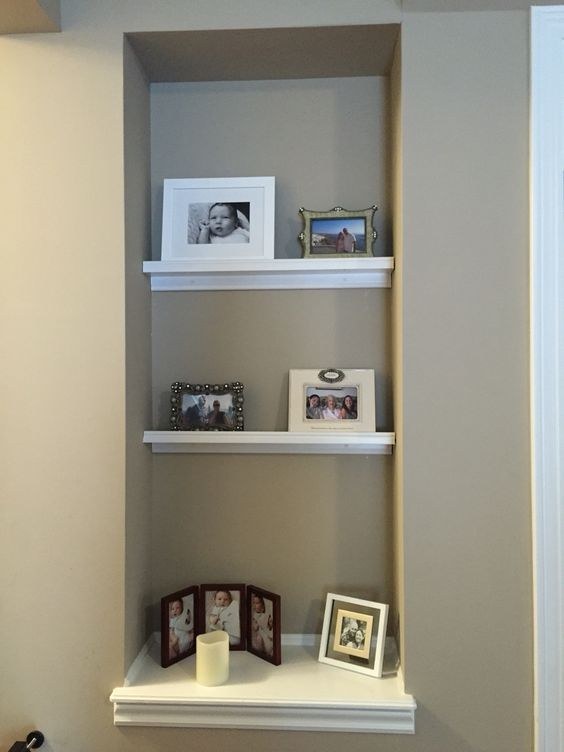
A ledge can be both pretty and practical. Low-profile baskets, decorative boxes, and benches beneath the ledge extend storage and help keep everyday clutter out of sight, while maintaining the ledge as a curated surface.
What You’ll Need
- Shallow woven baskets or stackable boxes
- Labels or small tags (optional)
- A bench or low console (optional, for below the ledge)
How to Put It Together
- Place shallow baskets at intervals along the ledge to collect small items like remotes, candles, or TV cords; choose styles that complement the ledge color and texture.
- If the ledge is above a bench, coordinate the bench cushion or throw with the ledge’s color scheme to create a cohesive look.
- Store bulkier items in covered boxes and tuck them toward the center or ends, keeping the middle of the ledge more visually open.
- Periodically remove items from baskets to avoid weight buildup and inspect the ledge for dust or wear.
6. Seasonal Swaps and Easy DIY Touches
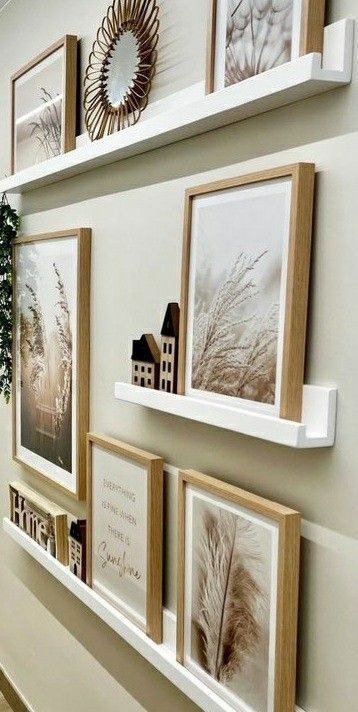
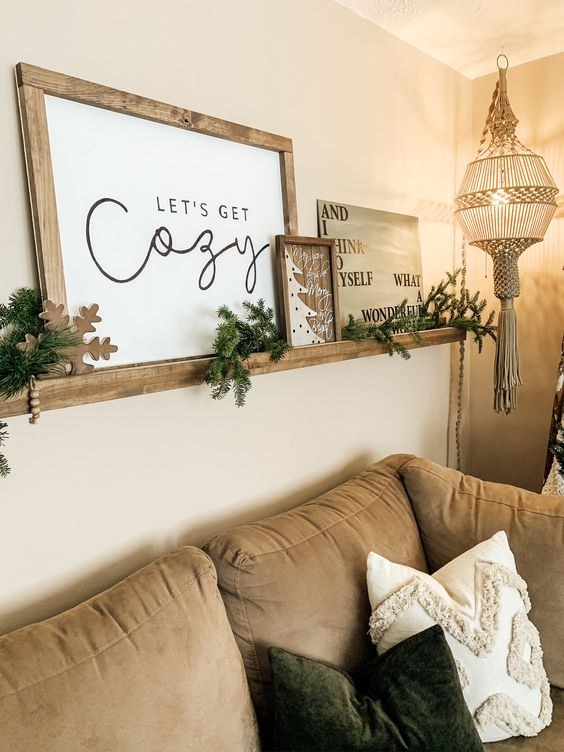
Keep the ledge feeling fresh with minor seasonal updates and a few DIY accents—painted pots, a hand-lettered sign, or a small woven wall hanging. Simple swaps provide big impact without cost: change textiles, rotate a key art piece, or add seasonal greenery.
What You’ll Need
- A few basic craft supplies (paint, twine, small brushes)
- A padded hanger or picture hook for lightweight art
- A small set of interchangeable decor (mirrors, frames, or vases)
How to Put It Together
- Decide on one focal swap per season (e.g., a bright textile in summer, a warm-toned throw in fall) to keep transitions easy and affordable.
- Make one DIY piece that can be reused in multiple seasons—like a painted wooden sign with a neutral motif or a set of hand-decorated terracotta pots.
- When hanging lightweight art above the ledge, use appropriate anchors and keep the lower edge at least a few inches above the ledge surface to avoid tipping objects.
- Store seasonal items compactly in labeled boxes so swapping decor takes just a few minutes and doesn’t add clutter to the living room.
Final Thoughts
A living room ledge is a small stage that rewards thoughtful, low-cost touches. By planning around scale and sightlines, layering materials, adding safe lighting, and incorporating plants and storage, you create an attractive and useful feature that feels effortless.
Start small—choose one approach above and build from there. With a few everyday items, some inexpensive craft supplies, and attention to balance and safety, your ledge can become a flexible, inviting part of the room you’ll enjoy updating year-round.